If you have ever stared at your cabinet doors and thought, “I just want them to look factory smooth,” you are not alone. I was right there seven years ago with my honey-oak kitchen and a budget that basically said: make it work.
The good news is you do not need a professional booth or a thousand-dollar setup to get a smooth finish. You do need the right expectations, the right prep, and the right application method for your space. Let’s break down foam rollers versus paint sprayers in a way that helps you decide with confidence.
What “factory-smooth” means
A true factory finish is applied in controlled conditions with professional spray equipment, filtration, and coatings designed to cure hard fast. Many cabinet lines use UV-cured or catalyzed systems (and some use other spray-applied coatings), but the common thread is consistency and a dust-controlled environment.
At home, “factory-smooth” usually means:
- No brush marks
- Minimal to no roller texture
- Even sheen with no dull patches
- No drips on door edges and profiles
- A finish that looks intentional, not “DIY”
You can get there with either method, but the path is different.
Before you start
If you want cabinets that still look good next year, a little upfront organization goes a long way.
- Remove doors, drawer fronts, and hardware. Bag the screws and label everything so reassembly is painless.
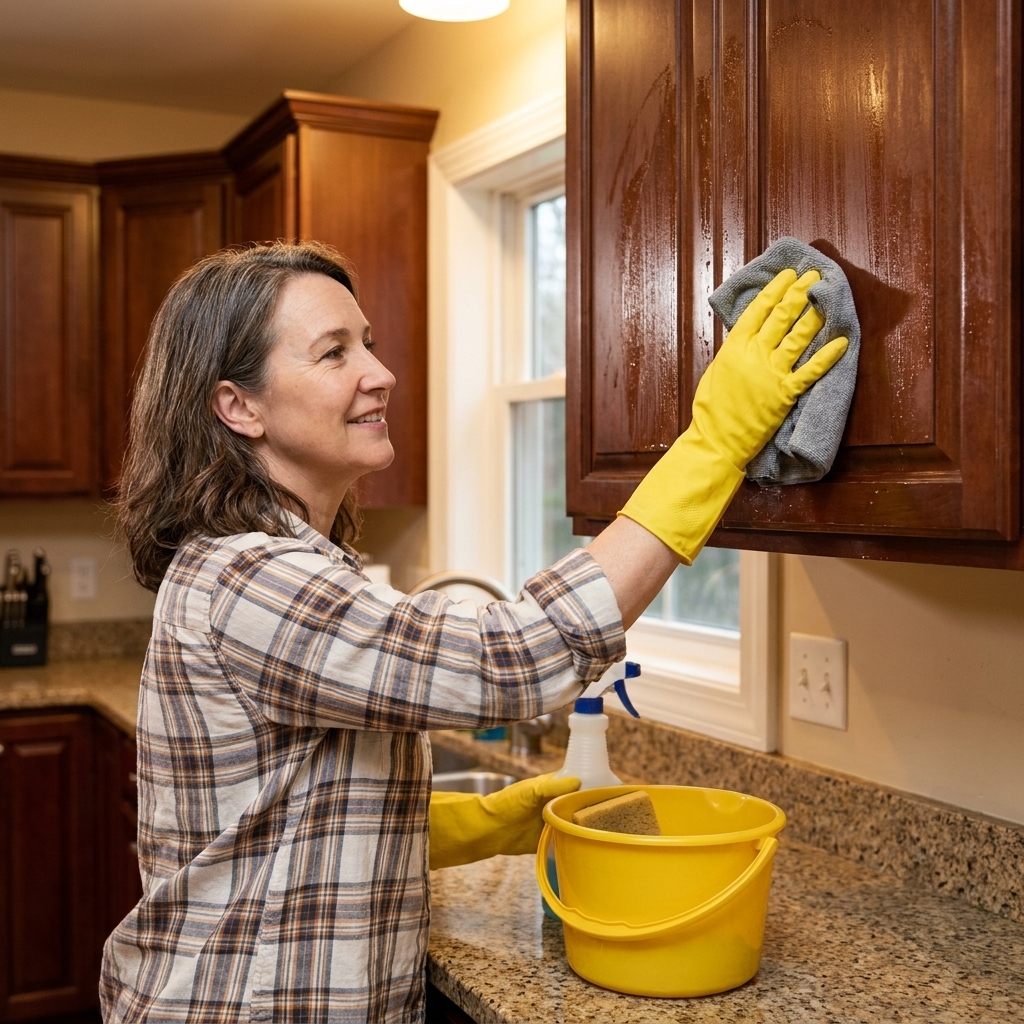
- Degrease first. Especially around pulls and near the stove. Paint does not stick to cooking oil.
- Patch and fill. Fix dents, chips, and old hardware holes before primer if you are changing pulls.
- Plan for cure time. Dry to the touch is not the same as fully cured. Check your paint label for recoat and cure guidance.
- Mind conditions. Temperature and humidity affect leveling, dry time, and cure time. Most cabinet paints behave best in mild temps with reasonable humidity. If it is cold, very humid, or very hot, expect slower curing or more texture issues.
Foam roller
If you want the simplest setup, the least mess, and the lowest cost, a foam roller is hard to beat. For a lot of weekend DIYers, it is the fastest route from “dated” to “fresh” without buying new tools.
Pros
- Low upfront cost: roller frame and foam covers are inexpensive.
- Low overspray risk: great if you are painting in a kitchen, basement, or shared garage.
- Easy learning curve: fewer settings and variables than spraying.
- Quiet and low maintenance: cleanup is straightforward.
Cons
- Texture risk: some paints and some foam covers leave a faint orange peel look.
- Edges and profiles are tricky: you can load too much paint and get ridges on door details.
- More sanding between coats: not always, but often, especially if you chase ultra-smooth.
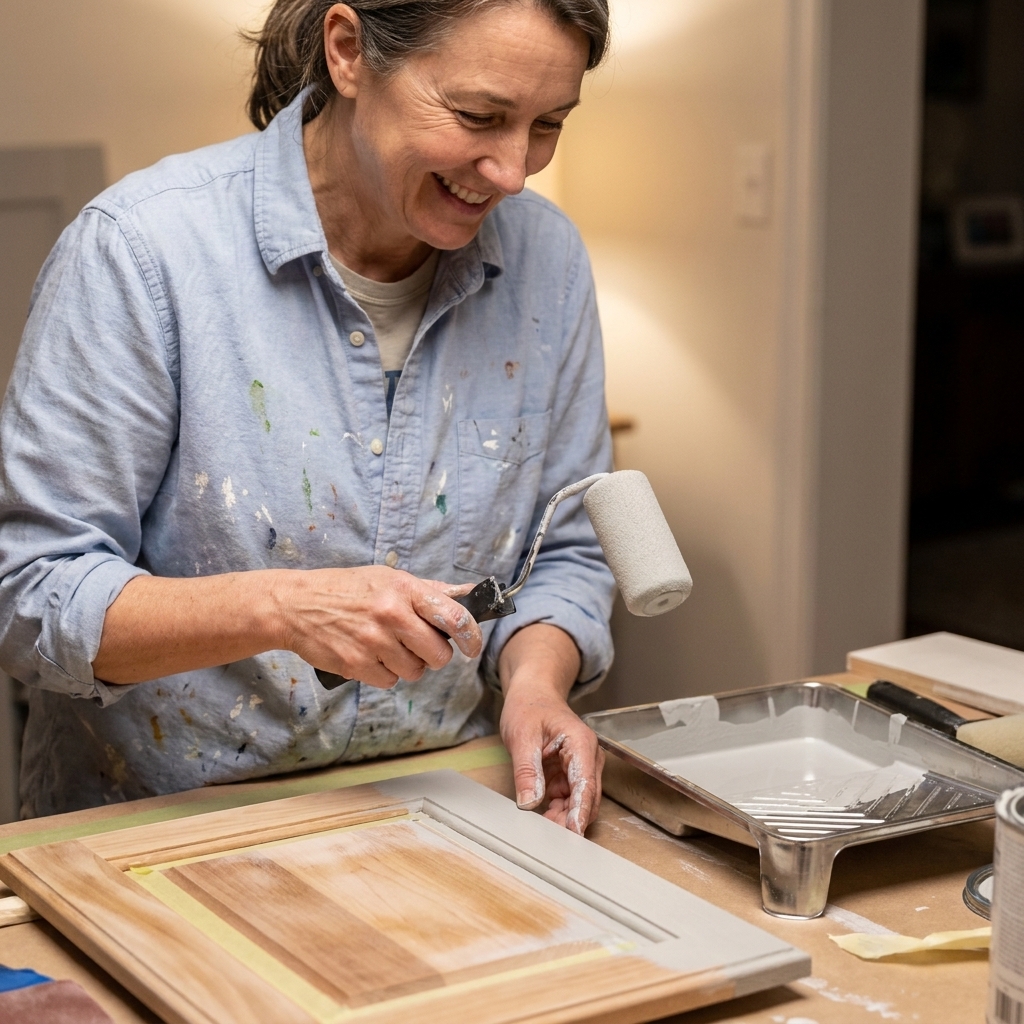
My budget roller setup
- High-density foam mini roller (4 inch is my favorite for doors)
- Quality angled sash brush for corners and tight profiles (used lightly, then immediately rolled out)
- Paint tray liners to keep things moving
- 220 to 320 grit sanding sponges for between coats
How to roll smooth
This is where most rolled cabinets either look amazing or look obviously rolled. Here is what consistently works for me:
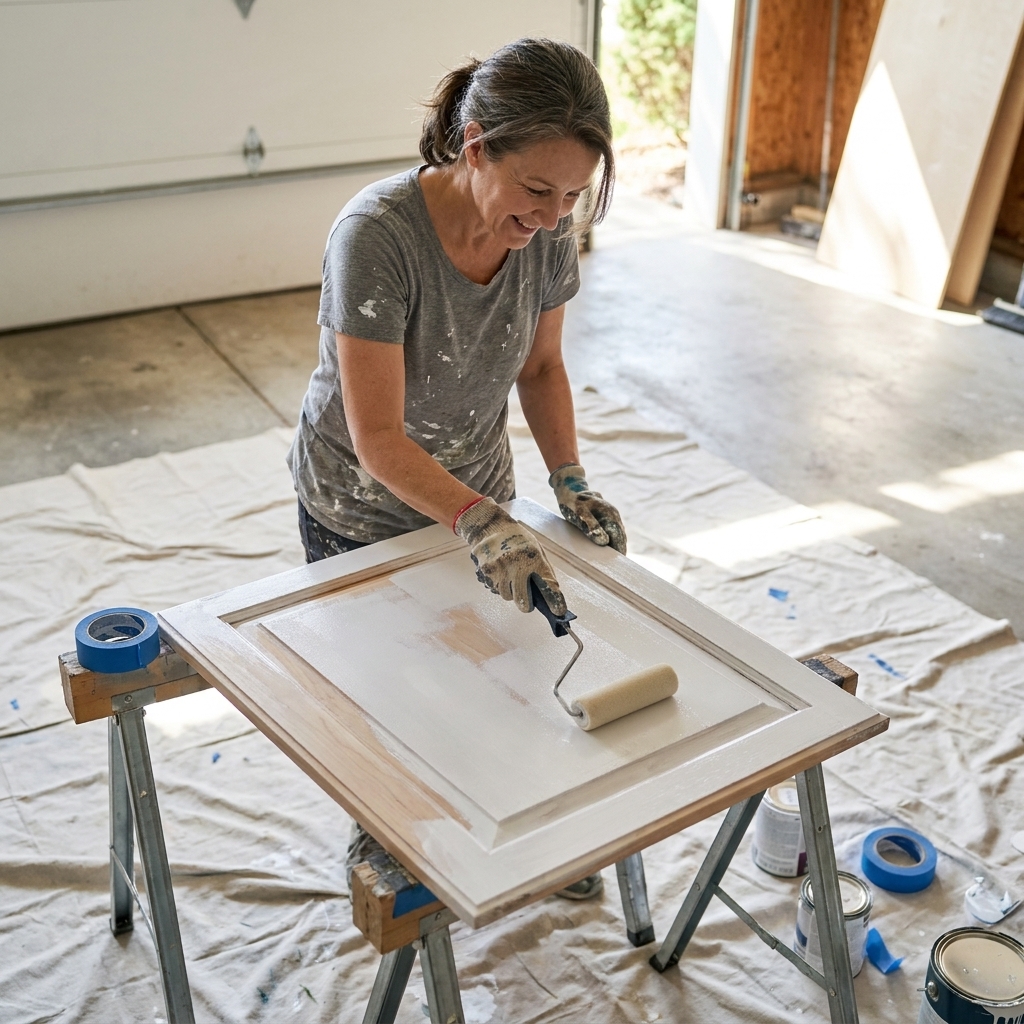
- Use less paint than you think. Load the roller, roll it out well in the tray, and apply thin coats. Thick coats create ridges and soft edges.
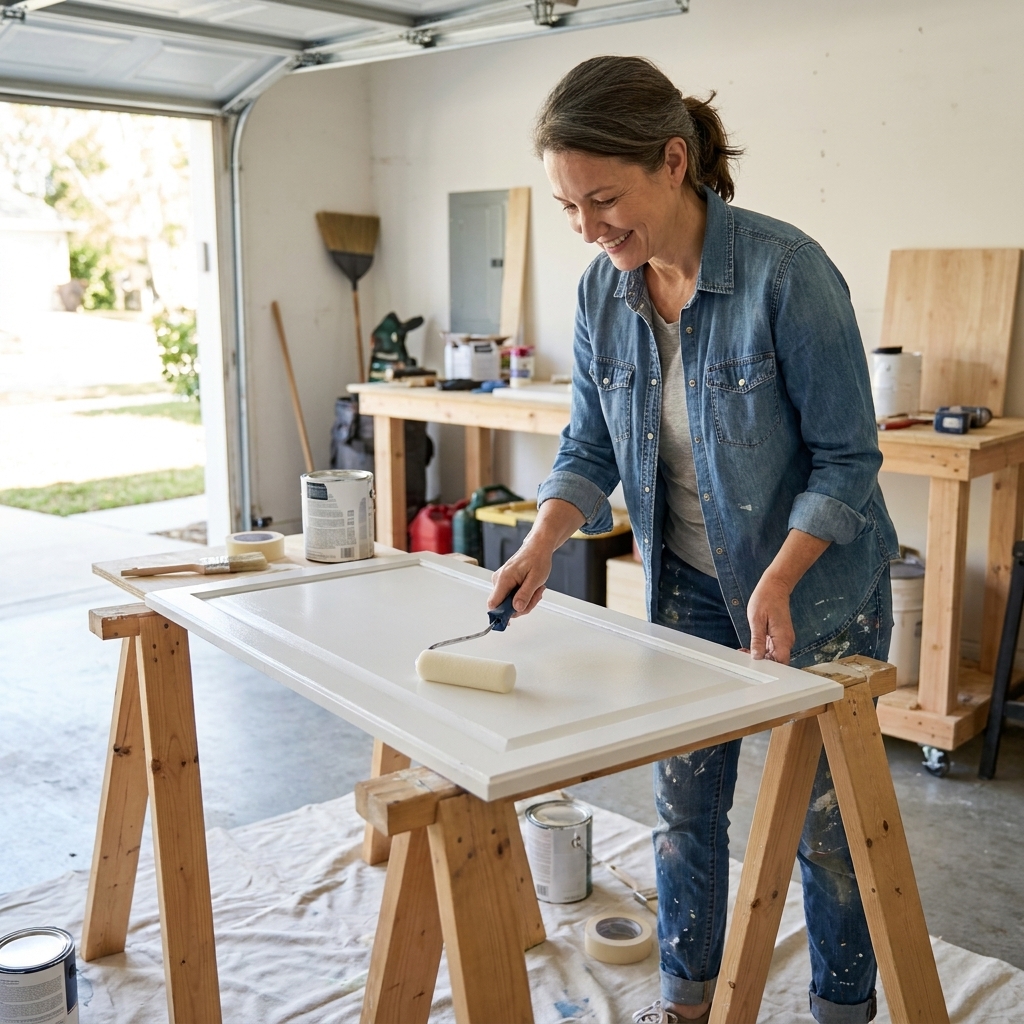
- Work flat whenever possible. Doors on sawhorses will level better than doors painted vertically.
- Roll, then lay off. After covering the area, very lightly roll in one direction with almost no pressure to even out stipple.
- Keep a wet edge. Do not overwork paint that is starting to tack up. That is how you get drag marks and texture.
- Sand lightly between coats. A quick pass with 320 grit after the coat cures knocks down dust nibs and helps the next coat look closer to sprayed.
Best paints for rolling
Look for products that level well and dry to a hard finish. In most DIY kitchens, the sweet spot is a cabinet and trim enamel or a urethane-reinforced enamel. These tend to level better than wall paint and cure harder for daily use.
If you love the look of a dead-smooth finish, choose a satin or semi-gloss formulated for trim and cabinets, and follow the full cure time on the label. Cabinets get touched constantly, so cure time matters almost as much as application.
Paint sprayer
When people say “sprayed cabinets,” they usually mean that seamless, even surface with crisp edges and no roller texture. Spraying can absolutely deliver that, but it asks more of your prep, your space, and your patience.
If you are on the fence, here is the simplest way to think about it: rolling is a lower-stress process with a higher chance of faint texture, while spraying is a higher-prep process with a higher chance of that wow-smooth finish.
Pros
- Smooth, even finish that looks closest to factory
- Fast coverage once you are set up
- Great for door profiles because paint lands more evenly in grooves and bevels
Cons
- Overspray and dust control are real issues
- More prep time: masking and booth setup can take longer than spraying
- Tool cost: even budget-friendly sprayers cost more than rollers
- Practice required: too much paint equals runs fast
- Cleanup time: sprayers need prompt, thorough cleaning or they clog and misbehave
Sprayer options
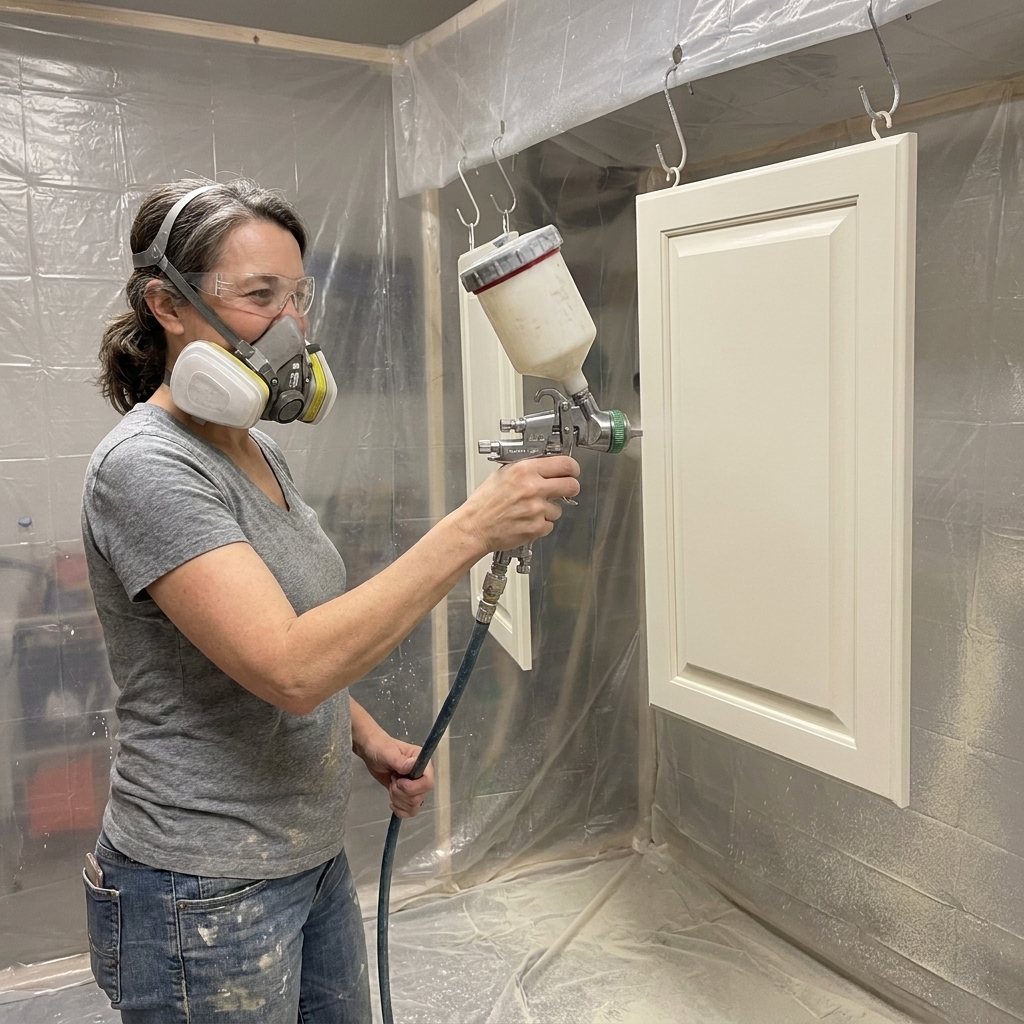
You do not need a pro rig, but you do need the right type of sprayer for cabinet paint.
- HVLP turbine sprayer: A DIY-friendly option for cabinets because it offers good control and, in many home setups, can reduce overspray compared with an airless sprayer. Great if you want a smoother finish with a manageable learning curve.
- Airless sprayer (entry-level): Fast and powerful. Great for lots of doors, but it can be less forgiving. If you go airless, use a fine-finish tip and practice first.
- Handheld cup sprayer: Convenient, but some struggle with thicker cabinet enamels and can spit if the paint is not thinned and strained properly. I see mixed results on cabinets, so I treat these as “try with caution.”
Tip and nozzle reality
Nozzle and tip recommendations are always sprayer and paint specific, so your best move is to start with your sprayer manual, your paint label, and a test board. As a general rule, cabinets need a finer finish setup than walls and fences, and a smaller tip or needle/nozzle combo is usually the right direction.
How to spray clean
Spraying is all about balancing four things: paint viscosity, tip choice, distance, and speed.
- Strain your paint. Nearly always, especially with sprayers. A cheap mesh strainer prevents clogs and random splatters.
- Dial in the distance. Start around 6 to 10 inches away (varies by sprayer). Too far gives you dry spray and roughness. Too close causes runs.
- Move before you pull the trigger. Start your pass off the edge, sweep across, then release off the edge. This prevents heavy spots at start and stop points.
- Overlap each pass about 50%. This keeps coverage even and avoids striping.
- Do light coats. Two to three light coats beat one heavy coat every time.
- Watch the sheen. You want an even, slightly wet look. If it looks dusty, you are too far away or moving too fast.
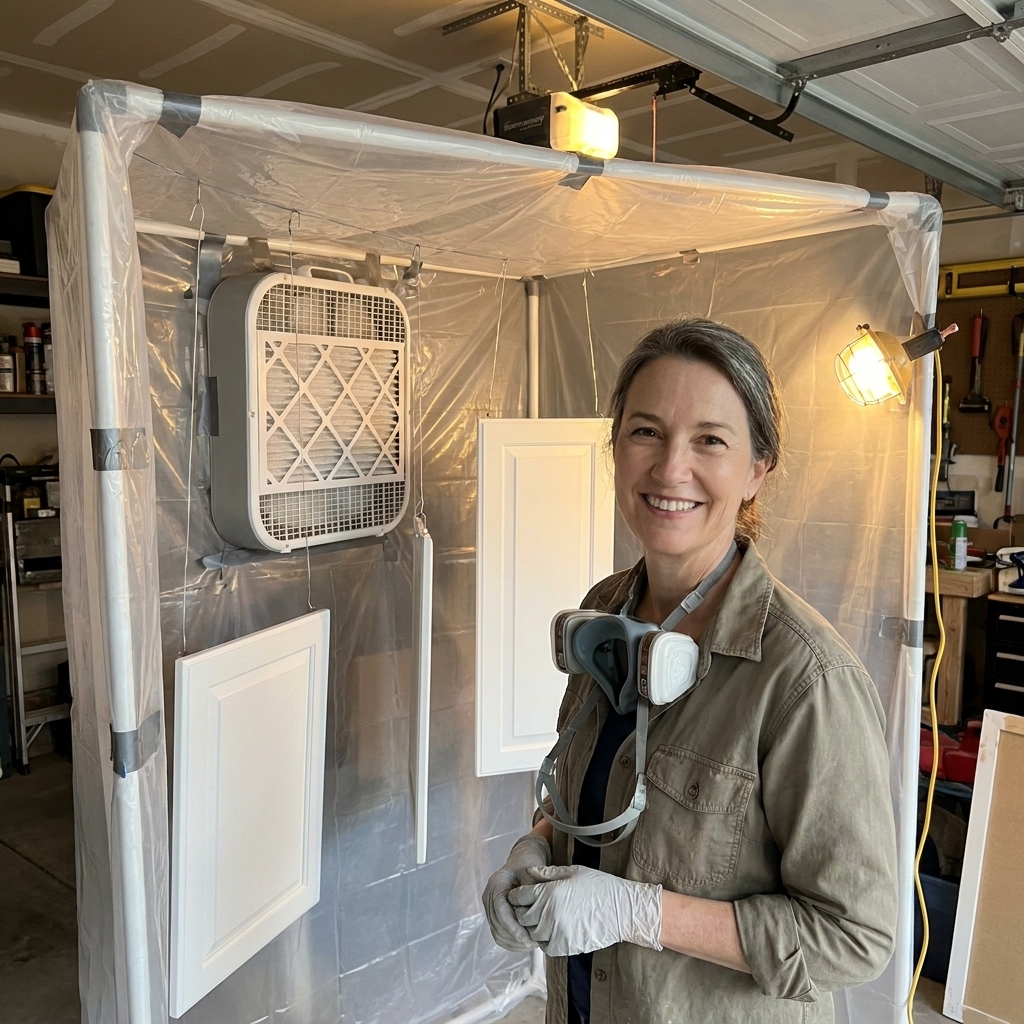
A realistic garage setup
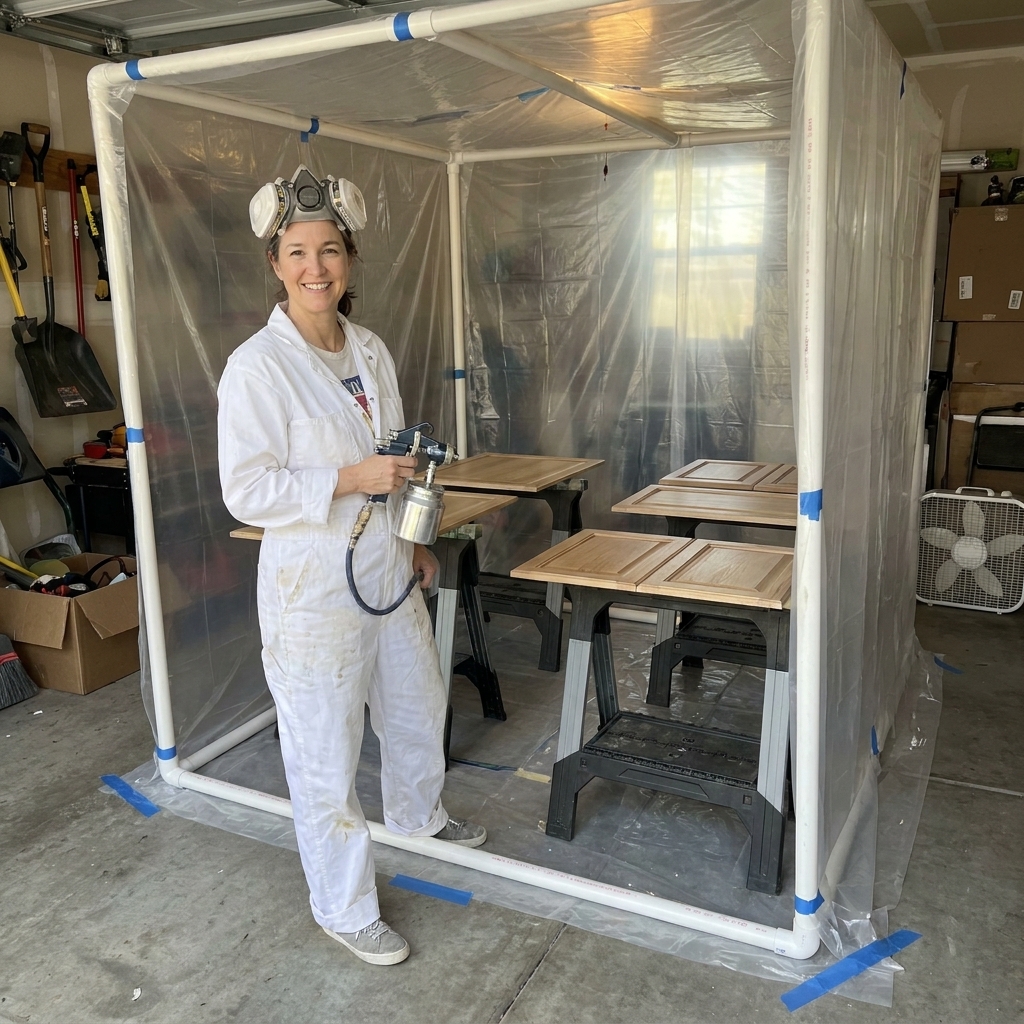
You do not need a full booth, but you do need to control dust and overspray, and you need to take ventilation seriously.
- Hang plastic sheeting to create a simple enclosure
- Wet the floor lightly (a mist) to keep dust from kicking up
- Vent to the outdoors if possible, and keep pets and kids away from the spray area
Fan and ventilation safety
If you use a box fan and filter setup, treat it as a help for waterborne overspray only, and still follow your product SDS for ventilation requirements. Standard box fans are not designed for flammable solvent fumes, and filters can load up quickly. The safest approach is exhausting air outdoors with equipment rated for the job, keeping motors out of the direct airflow, and using a proper respirator for spraying.
Primer basics
Primer is not the glamorous part, but it is what keeps your paint looking good after a year of fingerprints, steam, and scrubbing.
- Bonding primer: great for slick surfaces (previous paint, laminate, glossy finishes) and for improving adhesion after scuff sanding.
- Stain-blocking primer: important if you have tannin bleed risk (oak and other woods) or old stains. Shellac-based and specialty stain blockers are common choices here. Follow the label and ventilation guidance.
- Grain filler (optional): if you want oak to look more modern and less textured, primer alone may not hide grain. Grain filler, or a prime, sand, prime routine, makes a big difference.
Cost breakdown
Budgets vary wildly depending on what you already own, but here is the general reality.
Foam roller setup
- Roller frame and foam covers
- Brush for detail work
- Sandpaper or sanding sponges
- Tack cloth or microfiber cloths
Typical cost: low. This is the clear winner if you are trying to keep tool spending minimal.
Sprayer setup
- Sprayer
- Extra tips or needle sets (depending on sprayer type)
- Paint strainers
- Masking paper or plastic, tape, and drop cloths
- Respirator and filters
- Extra cleanup supplies (brushes for parts, buckets, rags)
Typical cost: moderate upfront, but it can pay off if you plan to paint more cabinets, furniture, or trim in the future.
Which method to choose
Here is my honest rule of thumb after helping lots of people through their first cabinet refresh.
Choose a foam roller if:
- You are painting in a lived-in home and cannot create a spray zone
- You want the lowest mess and fastest cleanup
- You are okay with a finish that is very smooth but not quite spray-booth perfect
- You are painting a small kitchen and want minimal equipment
Choose a sprayer if:
- You can remove doors and spray in a garage, basement, or covered outdoor area
- You want the smoothest finish possible
- You have a lot of detailed door profiles
- You can commit to masking and you are willing to practice first
My favorite compromise
If you want a budget-friendly path to a truly polished look: spray the doors and drawer fronts, and roll the cabinet boxes. Boxes are often harder to spray cleanly inside a kitchen, and roller application can look fantastic there with the right technique. Doors are where the eye goes first, so spraying them gives you the biggest wow for the effort.
Avoid brush strokes
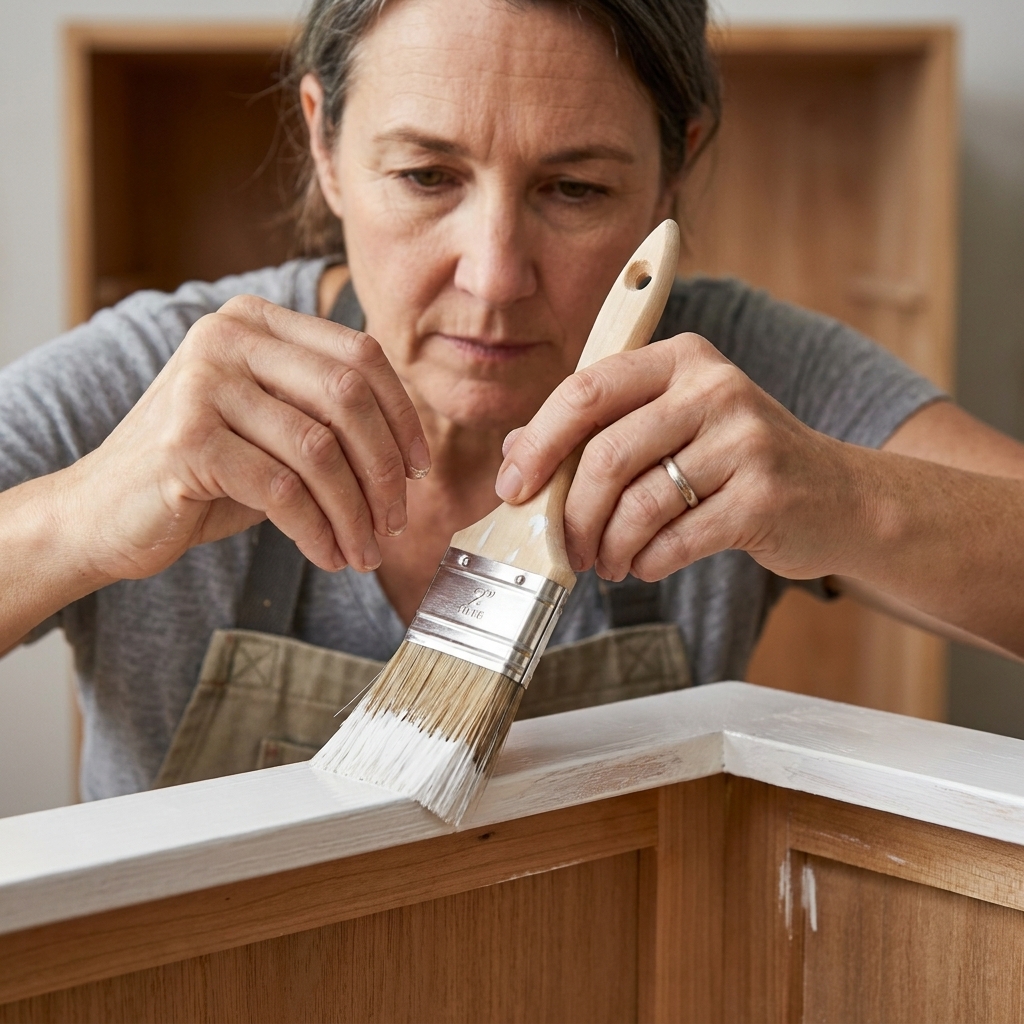
Even in a foam-roller project, you will usually need a brush at some point for corners, profiles, and tight spots. The trick is using it strategically.
- Use a high-quality brush. Cheap brushes leave tracks and shed bristles into your finish.
- Do not paint like a wall. Use the brush to get paint into corners, then immediately smooth it with your roller while it is wet.
- Keep coats thin. Thick paint shows every mark and takes longer to level.
- Condition carefully. Some enamels accept a small amount of water or conditioner for improved leveling. Follow your paint label and do not over-thin, especially for cabinets.
Prep that matters
I know prep is the part nobody wants to hear about, but it is the difference between “looks great for Instagram” and “still looks great next year.”
My non-negotiables
- Clean thoroughly with a degreaser, especially around pulls and near the stove
- Scuff sand to remove shine and help primer grip
- Prime properly based on your surface and stain risk
- Fill and sand dents and old hardware holes before primer if you are changing pulls
- Remove dust with a vacuum and a damp microfiber cloth
One tip for oak
If you are painting oak and want that smoother, more modern look, you may need more than primer. A grain filler or a few rounds of prime, sand, prime can significantly reduce visible grain. It is extra time, but it is the quickest way to stop that honey-oak texture from telegraphing through paint.
Troubleshooting
Orange peel texture
- With a roller: too thick a coat, wrong roller cover, or paint that does not level well. Use thinner coats and a high-density foam cover.
- With a sprayer: paint too thick, spraying too far away, or not enough material hitting the surface. Strain paint, adjust settings, and keep consistent distance and overlap.
Runs and sags
- Cause: too much paint, especially on door edges and profiles.
- Fix: lighten your coats. On doors, do a quick pass on the details first, then fill in the flats. Let the coat dry, sand the run flat, then recoat.
Dust nibs
- Cause: dusty workspace, fans blowing unfiltered air, or painting near household traffic.
- Fix: clean your space, strain paint, and sand lightly between coats with 320 grit.
Brush marks in corners
- Cause: brushing too much paint and letting it set before smoothing.
- Fix: brush sparingly and immediately roll over the area to level it out.
My simple game plan
If you want a clear path, here is the approach I recommend most often. This is also where that smooth, professional look becomes realistic without turning your house into a full-time paint booth.
- Remove doors and drawer fronts. Label everything.
- Clean, scuff sand, and choose the right primer for your surface.
- If you can spray, spray the doors with two to three light coats, sanding lightly between coats if needed.
- Roll the boxes with a high-density foam roller using thin coats and light layoff passes.
- Let everything cure before rehanging and reinstalling hardware.
This combo keeps costs lower than spraying the entire kitchen, avoids the worst overspray headaches, and still delivers that smooth, updated look.
FAQ
Can a foam roller look sprayed?
In many kitchens, yes, especially on flatter door styles. The keys are thin coats, a high-density foam cover, and light sanding between coats. Under harsh lighting and close inspection, sprayed doors usually look smoother, but a well-rolled finish can look incredibly professional.
Is spraying always better?
Not always. If you cannot control dust, you are painting in a tight space, or you cannot mask thoroughly, spraying can create more problems than it solves. In those cases, a roller can give you a cleaner final result.
Do I need to thin paint for a sprayer?
Sometimes. It depends on the sprayer type and the paint. Always start by reading your paint label and sprayer manual, then test on a scrap board. Straining paint is essential whether you thin or not.
How long should cabinets cure before reinstall?
Dry and cured are different. Many cabinet enamels feel dry within hours but need significantly longer to fully harden. Check your product label, because full cure is commonly in the range of about 7 to 30 days depending on the paint, humidity, and temperature. If you can, wait at least a few days before heavy use, and be gentle for the first couple of weeks while the finish toughens up.
What safety gear do I need?
For rolling, basic ventilation plus gloves and eye protection is a smart baseline. For spraying, step it up: a properly fitted respirator with cartridges appropriate for your coating (check the SDS), eye protection, gloves, and strong ventilation. If you are unsure, choose the safer option and improve ventilation.
Bottom line
If you want the lowest-cost, lowest-mess option, a foam roller can absolutely produce a smooth, beautiful cabinet finish with the right technique. If you want the closest thing to a factory look and you can commit to prep, masking, and safety, a sprayer is the fastest route to that seamless finish.
Whichever route you choose, remember this: prep + thin coats + patience is what makes cabinets look professionally done, not the fanciest tool.