If you have ever finished a cabinet door and spotted a stray bristle stuck forever in the paint, you already understand why brush choice matters. Cabinets are fussy: lots of corners, raised profiles, and long runs where brush marks love to settle in.
In my own first kitchen makeover (hello, 1990s honey oak), I assumed any “nice brush” would do. It did not. Since then I have tested a whole parade of brushes on cabinet frames and doors, and the right one absolutely makes the job faster and the finish smoother.
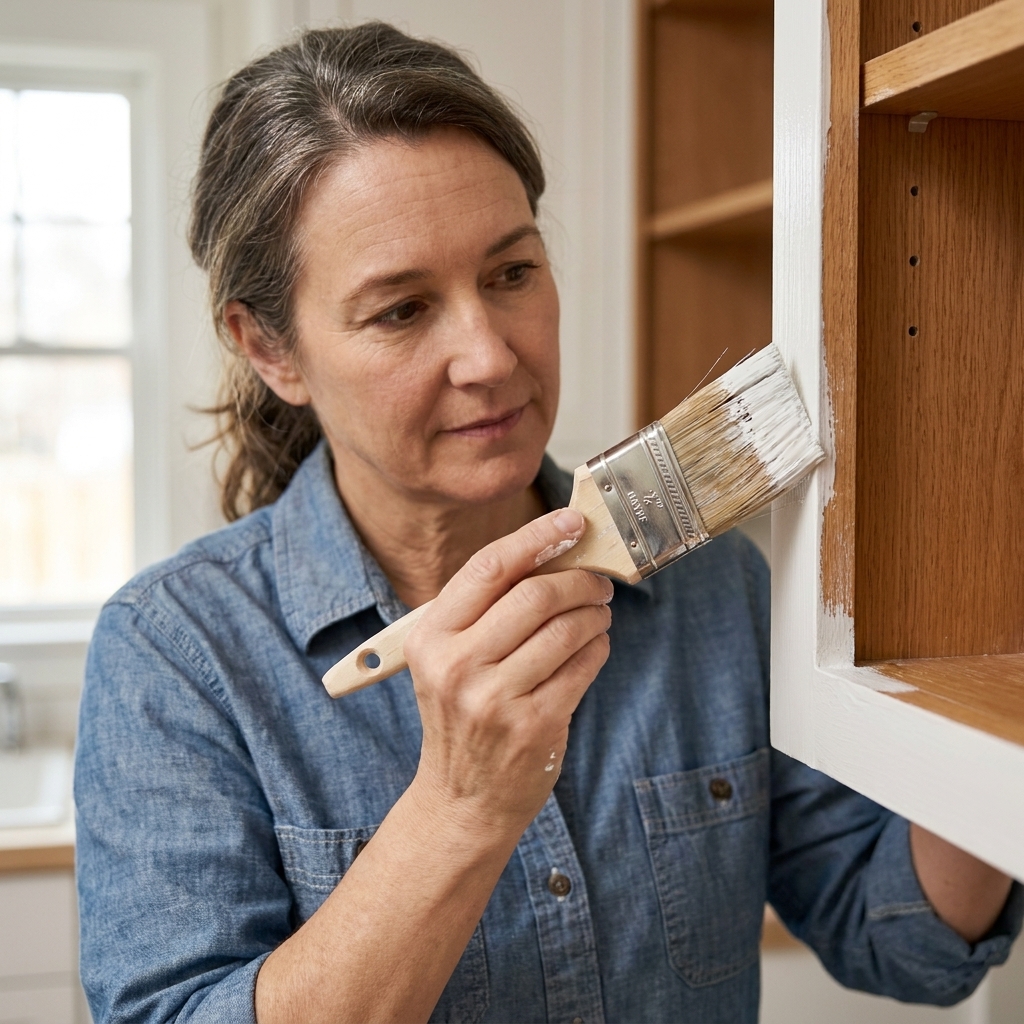
Synthetic vs. natural bristle
Paint brush “bristle” is just the fiber. For cabinets, the bristle material affects how the brush holds paint, how cleanly it releases it, and how it behaves in water-based vs. oil-based products.
Synthetic bristle (nylon, polyester, or a blend)
This is the go-to for most DIY cabinet jobs today. Most cabinet primers and cabinet paints sold for homeowners are water-based (acrylic or waterborne alkyd). Synthetic bristles are designed for exactly that.
- Best for: Water-based primer, acrylic cabinet paint, waterborne alkyd cabinet enamels
- Why it works: Synthetic bristles keep their shape in water and often release paint more evenly, which helps you stay in control on edges and profiles
- What it looks like: Cleaner cut-ins and fewer random brush hairs stuck in your finish
Nylon tends to be softer and can leave a smoother finish, especially with thinner paints. Polyester is a bit stiffer and can feel “snappier,” which helps push paint into detailed profiles. A nylon-poly blend is my favorite balance for cabinet doors.
You may also see modern flagged or tipped synthetic brushes, sometimes marketed as “hybrid” because they are designed to mimic the softer feel of natural bristle while still playing nicely with water-based enamels. A good one can be excellent for cabinets.
Natural bristle (usually hog or ox hair)
Natural bristle shines with traditional oil-based paints and solvent-based finishes, but it is usually not the best match for modern water-based cabinet products.
- Best for: Oil-based enamel, solvent-based varnish, some oil-based stains
- Not ideal for: Water-based paints and primers
- Why: Natural fibers absorb water, swell, and can get floppy, which can lead to streaks and less controlled edges
If you are using a true oil-based enamel (less common for DIY cabinets now), a natural bristle brush can feel like magic. If you are using a water-based cabinet enamel, stick with synthetic.
Brush shapes for cabinets
Cabinet painting is not one “paint the wall” motion. You are cutting in, feathering, and navigating profiles. Shape matters as much as bristle type.
Angled sash brush (my workhorse)
If you buy one brush for cabinets, make it an angled sash in a high-quality synthetic bristle.
- Best for: Cutting in cabinet frames, painting stiles and rails, and tight corners
- Why it helps: The angled edge acts like a steering wheel for clean lines and controlled paint placement
For most kitchens, a 2-inch angled sash is the sweet spot. If your cabinets have narrow stiles or lots of tight areas, a 1.5-inch angled sash can feel easier to control.
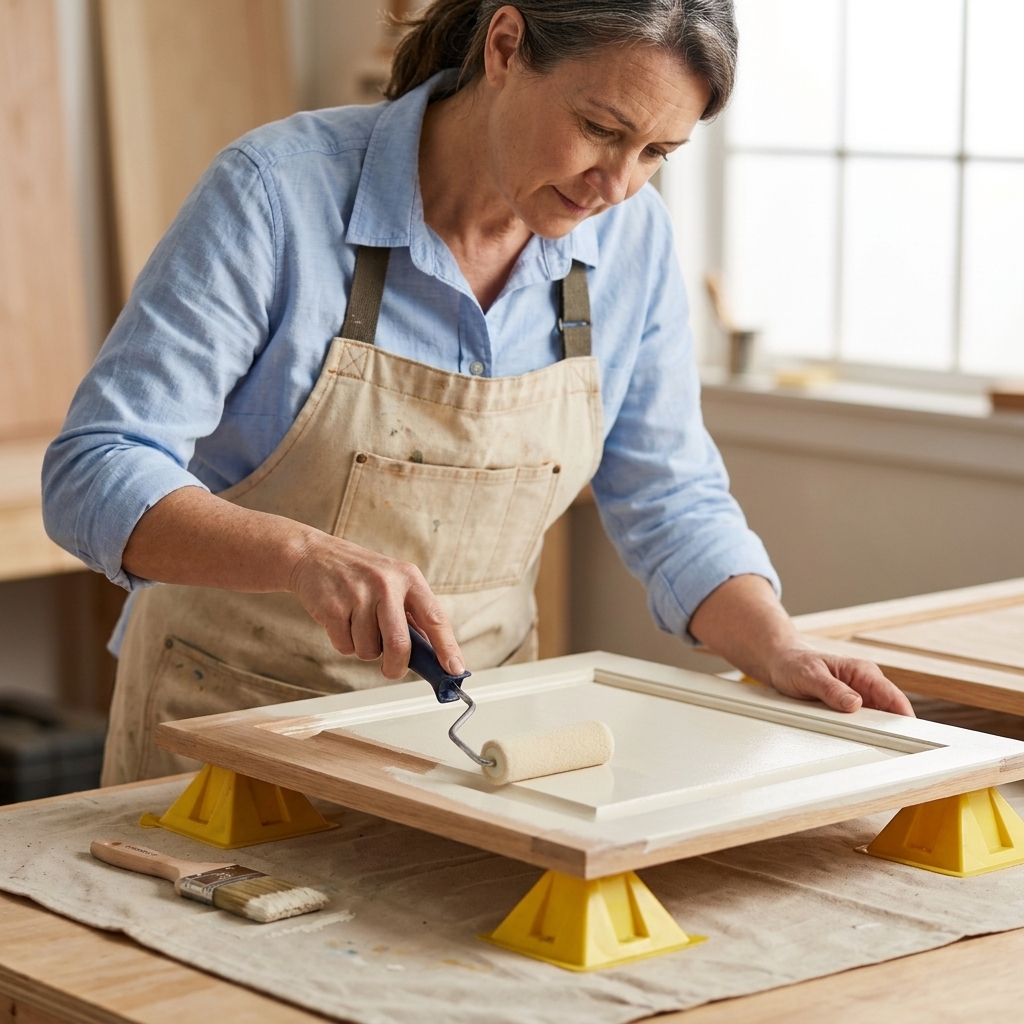
You will see “tipping off” mentioned a lot in cabinet painting. It simply means making a final, very light pass with a nearly unloaded brush to smooth roller texture and help the paint level before it starts to tack up.
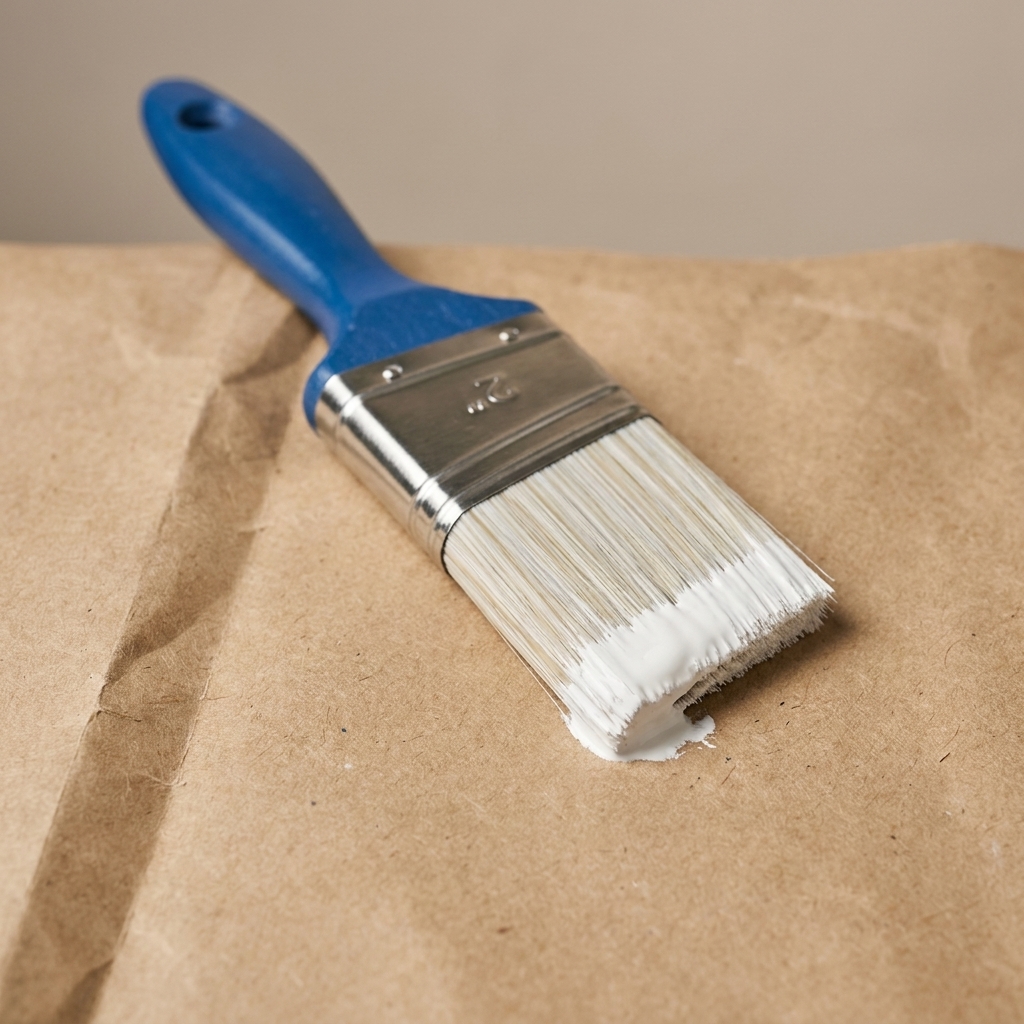
Flat (straight) brush
A flat brush is useful when you want even coverage over a flat area without constantly rotating your wrist.
- Best for: Flat cabinet sides, long straight runs, toe kicks
- Watch for: Heavier lines at the edges if you do not feather your strokes
I use a flat brush less than an angled sash, but it is handy for long, straight sections.
Round or pointed trim brush
Round brushes can push paint into crevices and detailed trim, but they are easier to overload. Overloading is how you get drips in corners and gummy buildup on door profiles.
- Best for: Very detailed molding or carved details
- Not necessary for: Standard Shaker doors and most raised-panel doors
Best brush sizes
Here is the simple lineup that covers almost every cabinet style without buying a whole brush collection.
For cabinet frames
- 2-inch angled sash (synthetic): Best all-around for cutting in and painting frame edges cleanly
- 1.5-inch angled sash (synthetic): Great for tighter areas and working around hinges you did not remove
For cabinet doors
- 2-inch angled sash (synthetic): Excellent for rails and stiles and for tipping off after rolling
- 1-inch angled sash (synthetic): Perfect for the inner profile of raised-panel doors and narrow details
For raised panels (less brush texture)
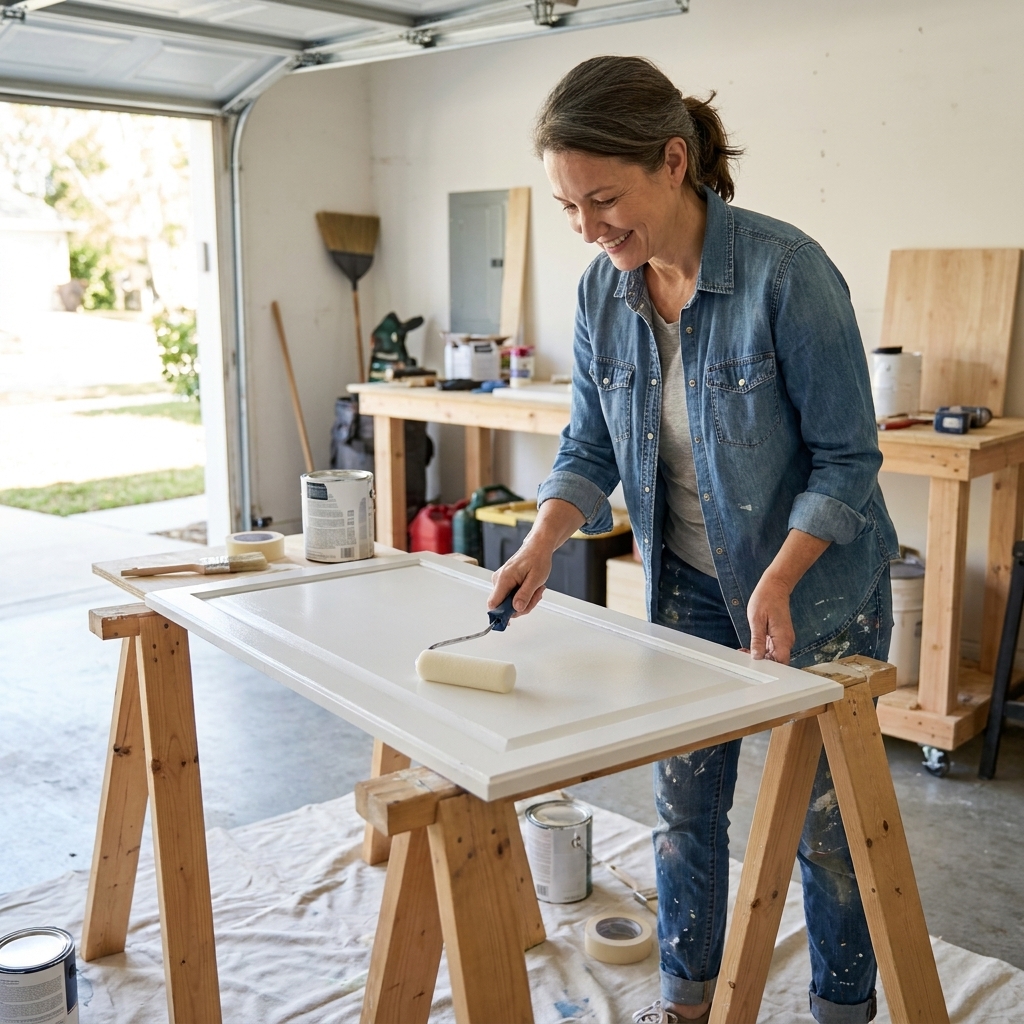
My favorite approach is to roll the flat panel with a small microfiber or foam mini roller, then lightly tip off with your angled sash brush. The brush is not doing the heavy lifting, it is just smoothing and blending.
How to stop shedding
Shedding is partly a brush quality issue and partly a prep issue. Cabinets give you nowhere to hide, so it is worth doing this.
1) Prep a new brush
- Wash and spin: Rinse synthetic brushes with warm water and a drop of dish soap, then rinse well.
- Flick and comb: Gently flex the bristles and comb with your fingers to remove any loose ones.
- Condition for water-based paint: Lightly dampen the brush (not dripping) so paint does not climb into the ferrule as easily.
2) Do not dunk past the first third
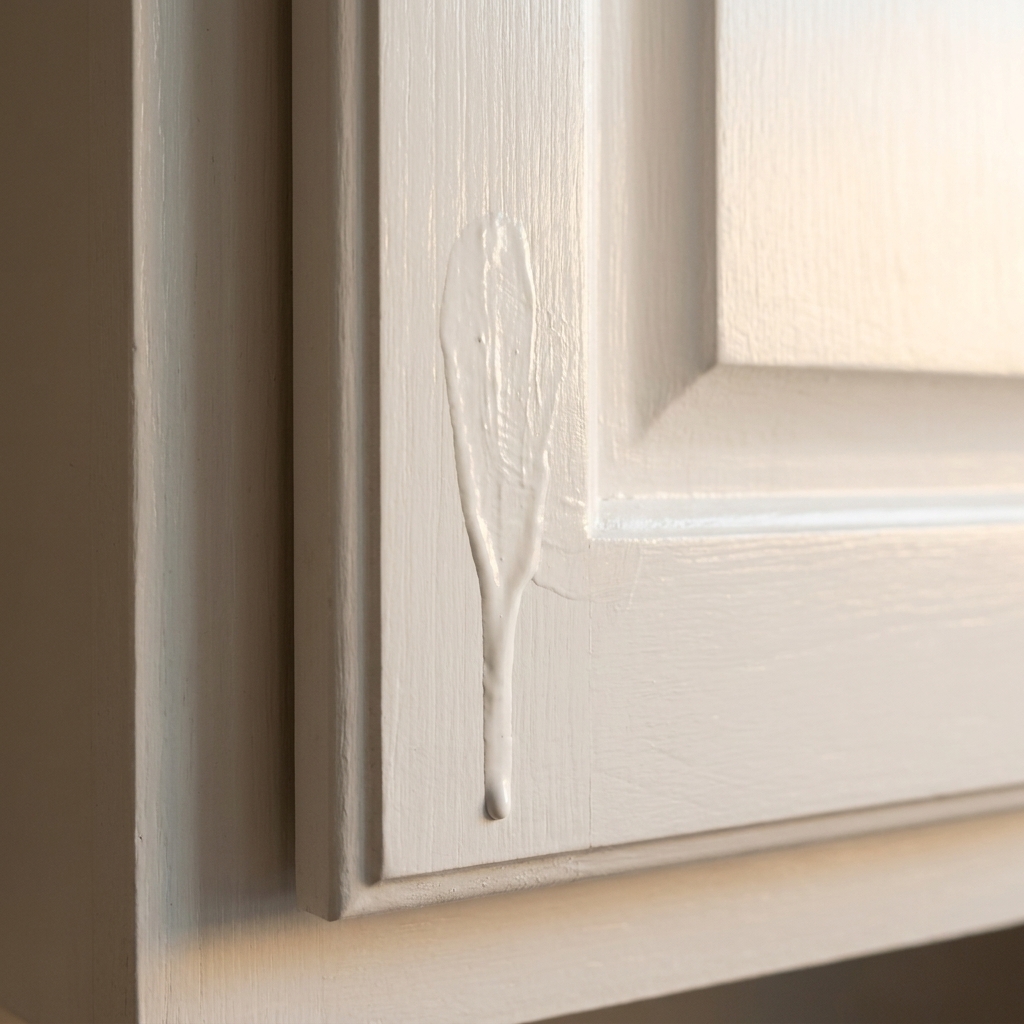
Loading paint too high up into the brush is a fast track to drips, sloppy edges, and paint drying near the ferrule, which can force bristles out over time.
3) Have a bristle rescue plan
If you spot a bristle in wet paint, grab it with tweezers and lightly re-level the area with a near-dry brush. If the paint has started to tack up, leave it alone until dry, then sand that tiny spot and touch up. Digging at tacky paint makes a crater.
Brush marks and how to prevent them
Brush marks usually come from one of four things: the wrong brush stiffness, paint that is drying too fast, paint applied too thick, or overworking the surface.
Match the brush to the paint
- Water-based cabinet enamel: High-quality synthetic, medium softness (nylon-poly blend is ideal)
- Thicker paints: A slightly stiffer synthetic can help you move paint without mashing the bristles
Use fewer, longer strokes
Lay the paint on, then lightly tip off in one direction. Going back and forth over semi-dry paint is the quickest way to add texture.
Work in a door-friendly order
On a door: paint the profile details first, then the center panel, then the rails and stiles. Keep a wet edge so sections blend instead of forming ridges.
Mind conditions and working time
Water-based paints, especially waterborne alkyds, can start tacking up quickly in warm, dry rooms or under a fan. If the paint feels like it is “dragging,” slow down the drying by working in smaller sections, avoiding direct airflow, and painting when temperature and humidity are moderate. If your paint label allows it, a paint conditioner or extender can also give you a little more open time for leveling.
Brush kit I use
You do not need ten brushes for a great cabinet finish. This is what I keep on hand for brush-and-roll cabinet projects:
- 2-inch angled sash, synthetic (nylon-poly blend): daily driver for frames and door edges
- 1.5-inch angled sash, synthetic: tight spots and narrow stiles
- 1-inch angled sash, synthetic: raised-panel profiles and detail work
- Mini roller (4-inch) with a smooth microfiber cover: for flat door panels and cabinet sides
If you are trying to keep costs down, start with the 2-inch angled sash plus a mini roller. That combo gets you surprisingly far.
Workflow tips
Remove doors and label them
If you can, remove doors and drawers, label them, and lay them flat to paint. It is easier to get a smoother finish, and you are less likely to fight runs on vertical surfaces. If you are keeping hinges on, that is when the 1.5-inch angled sash really earns its keep.
If you are spraying
Spraying can produce an ultra-smooth finish, but you will still want a great angled sash brush for cut-ins inside the cabinet box, quick touch-ups, and any spots the sprayer cannot reach cleanly.
Care and cleaning
A brush that has dried paint near the ferrule will never feel crisp again, and crisp is what cabinets need.
For water-based primer and paint
- Wipe excess paint onto cardboard or paper.
- Rinse with warm water until the water runs mostly clear.
- Wash with a small amount of dish soap, working soap through the bristles with your fingers.
- Rinse thoroughly.
- Spin or shake out water, then reshape the bristles.
- Let it dry flat or hanging, with bristles not crushed.
For oil-based products
Use the appropriate solvent for cleanup and follow the paint label. Oil products are where natural bristle can make sense, but cleanup is more work, so read labels and plan ahead.
Quick FAQs
Is a foam brush good for kitchen cabinets?
Foam brushes can work for tiny touch-ups, but for full cabinet doors they can create bubbles and drag once the paint starts to tack up. A quality synthetic angled sash and a mini roller are more reliable.
Should I brush or roll cabinet doors?
For most DIYers, roll the flat areas and brush the details. It is faster and tends to leave less texture than brushing everything.
What brush stiffness should I buy?
For cabinets with water-based enamel, aim for medium-soft synthetic. Too soft can feel floppy in corners, too stiff can leave more visible lines.
How many brushes do I need for an average kitchen?
You can paint an entire kitchen with one great 2-inch angled sash brush, but adding a 1-inch angled sash makes raised-panel doors much easier and cleaner.
Bottom line
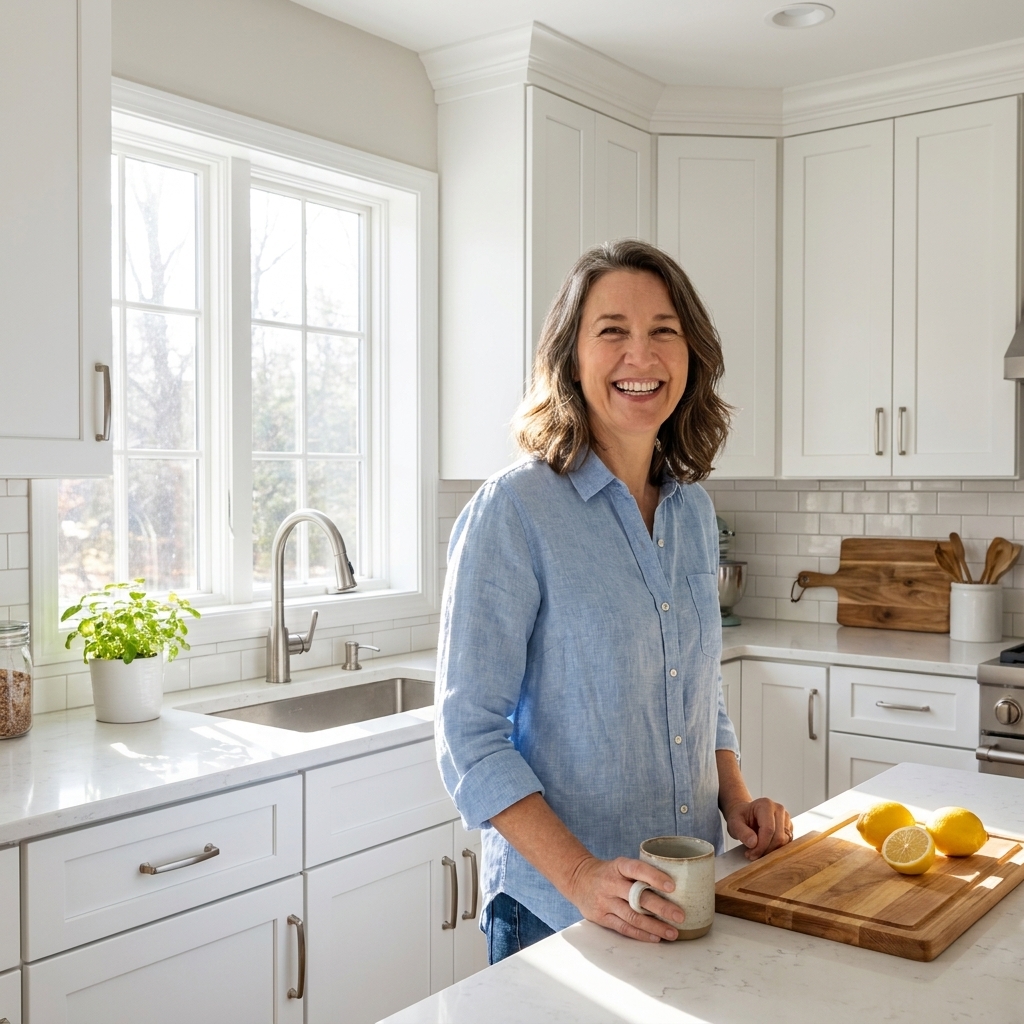
If you are painting kitchen cabinets with modern water-based primer and cabinet paint, choose a high-quality synthetic brush. Pair a 2-inch angled sash for frames and edges with a 1-inch angled sash for profiles, and you will get cleaner cut-ins, fewer stray bristles, and a smoother finish that looks like you took your time, even if you knocked it out over a weekend.