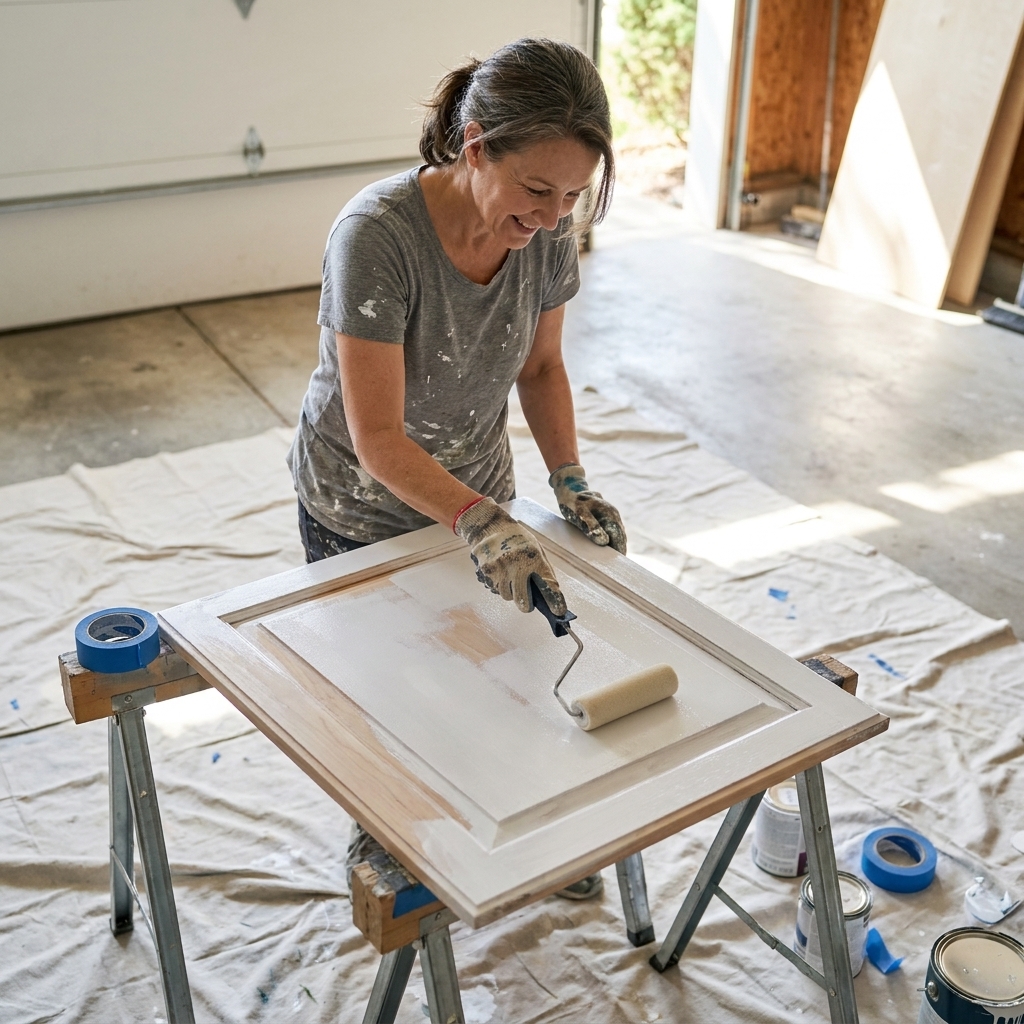
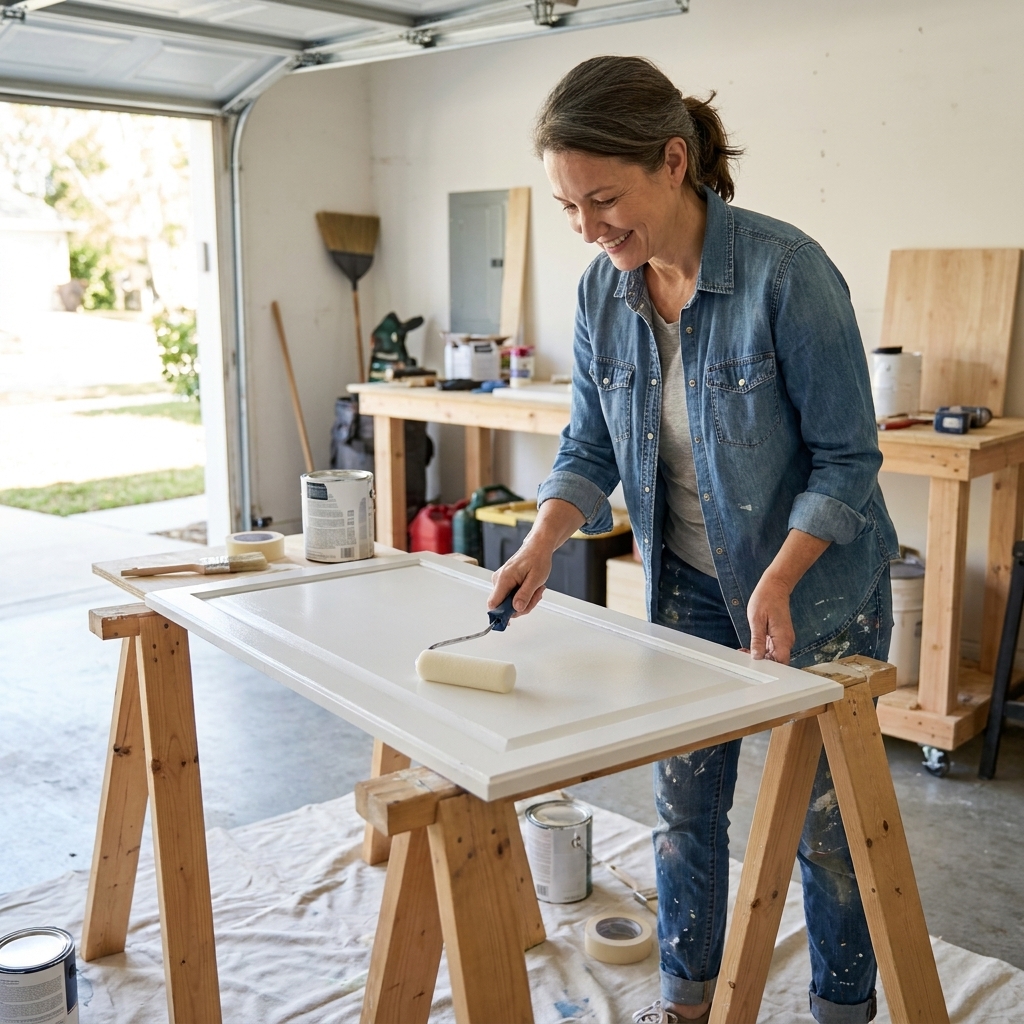
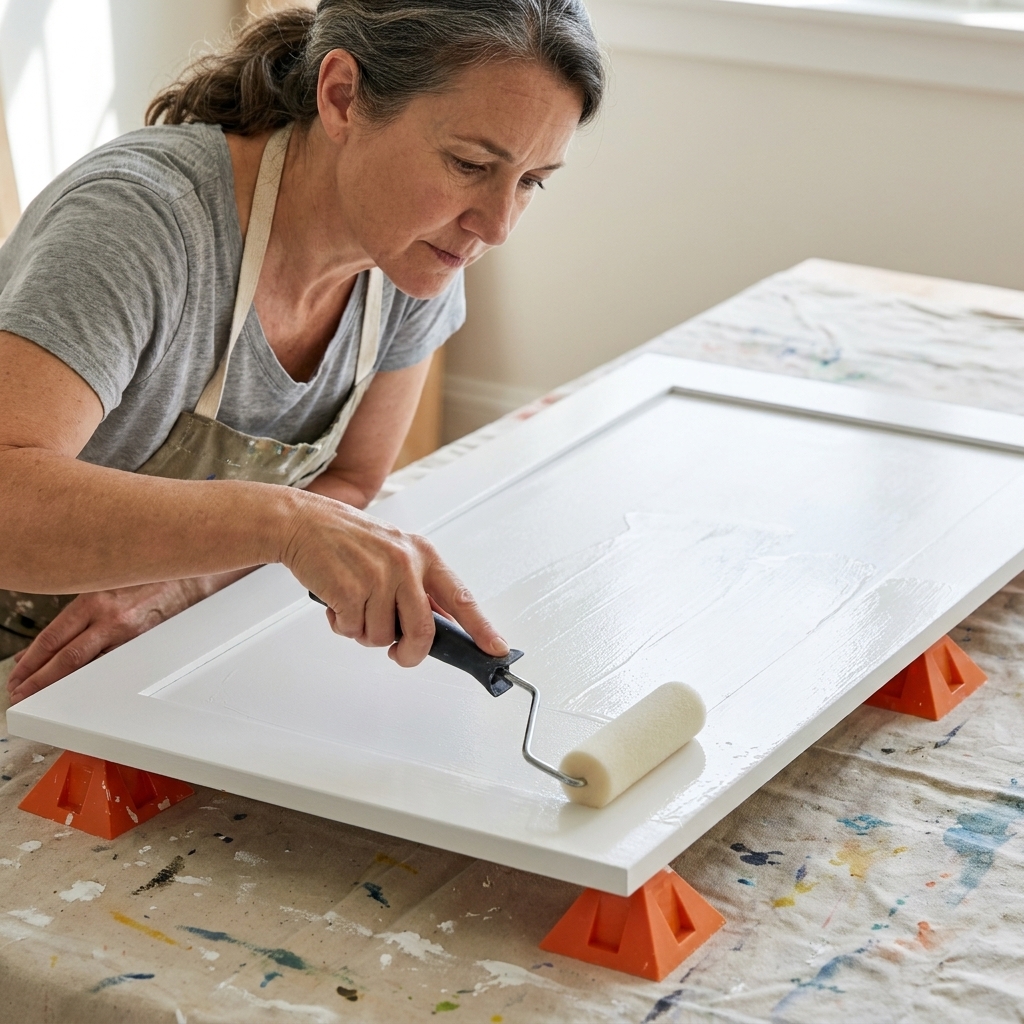
If you have ever stood in the paint aisle holding three different cans and questioning every life choice, welcome. I have painted more cabinet doors than I can count, and the truth is this: all three of these paints can work on kitchen cabinets, but they do not behave the same way once real life hits (steam, greasy fingerprints, kids, dogs, and that one drawer you yank open 40 times a day).
Below is my practical, cabinet-specific breakdown of chalk paint vs. enamel vs. latex, with honest pros and cons, what prep you can and cannot skip, and which one I would choose depending on your kitchen and your patience level.

Quick pick: which paint wins?
If you just want the bottom line:
- Best durability (most kitchens): Enamel (cabinet and trim paint, often an acrylic-alkyd or waterborne enamel).
- Fastest transformation with the least prep: Chalk paint (but plan to seal it correctly, and accept some limitations).
- Best “I already have paint” choice: Latex can work if you choose a high-quality trim or cabinet formula, prep well, and respect curing. In a high-traffic kitchen, it is not my first pick.
Now let’s get into the “why,” because your cabinet material, your finish goals, and your tolerance for prep matter.
Prep basics (all paints)
Cabinet paint jobs succeed or fail in the boring steps. No matter what paint you choose, this baseline gets you 80 percent of the way to a finish that sticks:
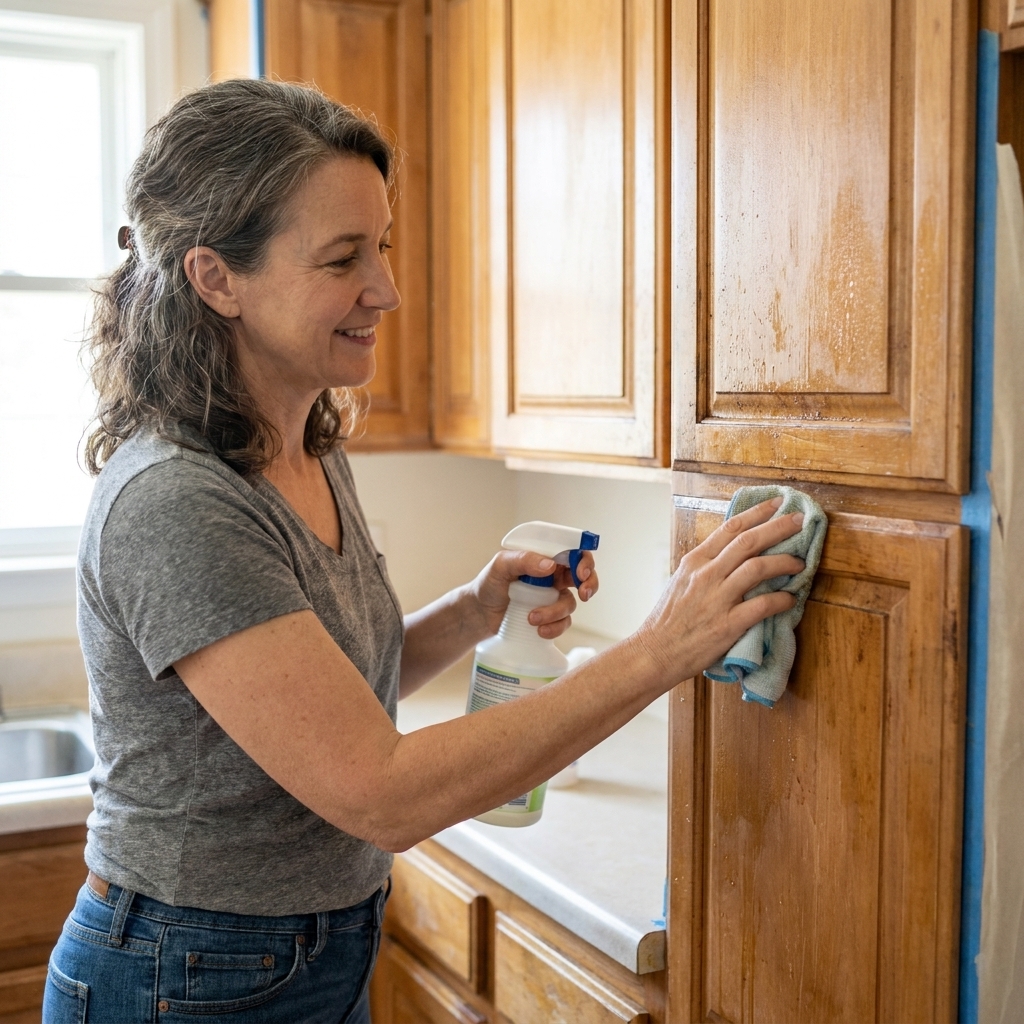
- Remove doors and drawers: Label them, bag the hardware, and you will thank yourself later.
- Degrease: Use a grease-cutting cleaner, then rinse with clean water and let everything dry.
- De-gloss or scuff sand: Especially on factory finishes (think 180 to 220 grit).
- Remove dust: Vacuum, then wipe down with a damp microfiber cloth. Dust is texture.
- Prime when needed: Bonding primer for slick surfaces, stain-blocking primer for tannins, knots, and mystery stains.
- Mind conditions: Temperature, humidity, and ventilation affect leveling and cure time more than most people realize.
What matters on cabinets
Cabinets are not walls. They get handled constantly, cleaned more aggressively, and rubbed at the corners and around knobs. When I am choosing a cabinet paint, I care about five things:
- Adhesion: Will it bite into slick factory finishes and previously painted doors?
- Hardness after curing: Will it resist dents, nail marks, and “sticky” doors?
- Washability: Can you wipe spaghetti sauce splatter without burnishing the sheen?
- Leveling: Does it dry smooth, or will it look roller-textured?
- Repairability: When you inevitably ding a corner, can you touch it up without it flashing?
Chalk paint on cabinets
Chalk paint became popular because it feels forgiving. It grabs onto surfaces, dries quickly, and the matte finish hides a lot of sins. For cabinet makeovers on a deadline, I understand the appeal.
Where chalk paint shines
- Older wood cabinets with detail: It gets into grooves and profiles nicely.
- Low-prep situations: If you clean well, scuff sand, and use the right sealer, you can often skip a traditional primer (not always, but often).
- Distressed or vintage looks: If you want a soft, timeworn finish, chalk paint makes that easy.
Where chalk paint struggles
- High-touch durability without the right topcoat: Chalk paint itself is not the “armor.” The sealer is.
- Water and grease exposure: Around the sink and stove, an imperfect sealer job can show wear faster.
- Modern smooth finish goals: A dead-matte, velvety cabinet can look beautiful, but it does not mimic a factory finish unless you work hard on smoothing and sealing.
My chalk paint rules
If you go the chalk paint route, do it like you mean it:
- Degrease first: Kitchen grime is one of the most common reasons cabinet paint fails, because it blocks adhesion.
- Scuff sand: Even “no prep” products behave better with a quick scuff (think 180 to 220 grit).
- Seal with the right product: Wax is common in furniture projects, but for kitchen cabinets I prefer a durable water-based polyurethane or a tough clear coat made for cabinetry. Wax can attract grime and can be tricky to clean long-term.
- Expect maintenance: Chalk-painted cabinets can be touched up easily, but you may do more touch-ups over the years.
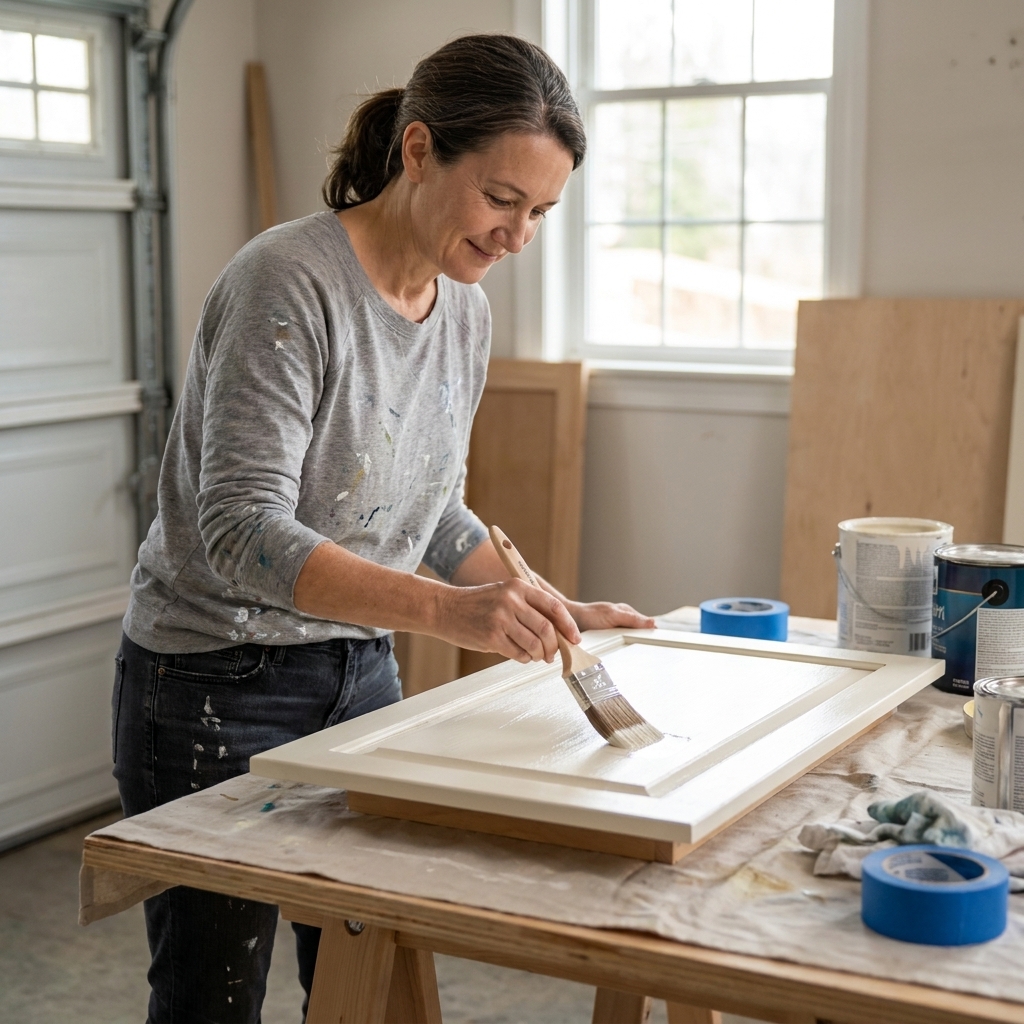
Best for: A budget makeover with a matte, cozy look, especially if you are comfortable sealing properly and you do not mind the possibility of future touch-ups.
Enamel paint on cabinets
When people say “cabinet paint,” what they usually mean is some form of enamel. Quick clarification: enamel is a performance category, not a guarantee of oil-based paint. Many modern cabinet enamels are waterborne and still cure to a harder, smoother finish than typical wall paint.
Why enamel is my default
- Harder finish after curing: It resists dings and sticky drawer edges better than standard wall latex.
- Better washability: You can wipe down cabinets without instantly dulling the sheen.
- More professional look: Many enamels self-level nicely, especially when applied in thin coats.
Potential downsides
- Longer cure time: Dry to the touch is not the same as cured. Some enamels take days, and full hardness can take a few weeks depending on conditions.
- More finicky application: Overworking it with the brush can cause drag marks as it starts to tack up.
- Cost: Cabinet and trim enamels are often pricier per gallon.
Enamel tips that save headaches
- Do not skip primer when you should not: If your cabinets are glossy, previously oil-painted, stained with tannins (oak, cherry), or you are covering a very dark color, a bonding or stain-blocking primer is your friend.
- Thin coats win: Two to three thin coats look better and cure harder than one thick coat.
- Respect cure time: Be gentle for the first couple weeks. Avoid harsh cleaners, and if the paint still feels at all soft, hold off on adding rubber bumpers that can imprint. Felt pads can be a temporary stand-in.
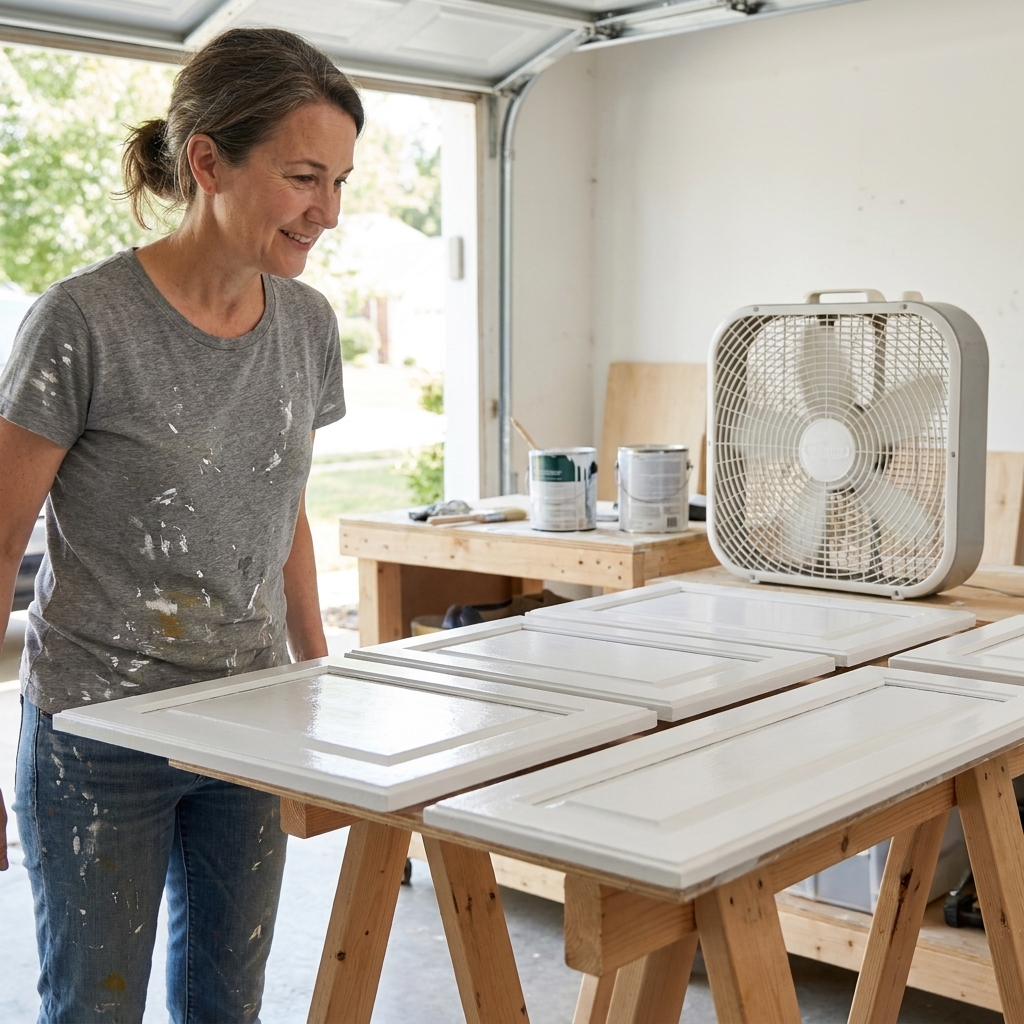
Best for: Most kitchens, especially busy households that need a durable, cleanable finish that looks polished.
Latex paint on cabinets
“Latex” is where people get tripped up, because that word gets used for everything from cheap wall paint to excellent 100 percent acrylic trim paint. The issue is that standard wall latex is not designed for constant handling.
When latex can work
- You choose the right kind: Look for a high-quality 100 percent acrylic product labeled for trim, doors, or cabinets. These formulas tend to cure harder and resist blocking (sticking) better than basic wall paint.
- Your kitchen is lower wear: Adult household, lighter cooking, fewer greasy hands.
- You prep thoroughly: Cleaning, scuff sanding, and priming are the difference between “fine for now” and “why is it peeling?”
Common latex cabinet problems
- Softer finish for longer: It can feel dry but dent easily for a while.
- Blocking: Doors and drawers can stick if the paint stays a little rubbery.
- Burnishing: Repeated wiping can create shiny spots on lower-sheen finishes.
How to make latex behave
- Prime first: A bonding primer improves adhesion and gives the latex something stable to grip.
- Upgrade the sheen: Satin or semi-gloss is typically more washable than flat or matte on cabinets.
- Let it cure longer than you think: Treat your cabinets gently for at least 7 to 14 days, and know that full cure for some products can take up to about 30 days, especially in cool or humid conditions.
Best for: Quick refreshes or tight budgets when you are committed to good prep and realistic expectations.
Comparison table
| Category | Chalk Paint | Enamel | Latex |
|---|---|---|---|
| Durability in a busy kitchen | Medium (depends heavily on sealer) | High | Low to medium (formula-dependent) |
| Prep required | Low to medium | Medium | Medium to high |
| Ease for beginners | High | Medium | Medium |
| Smooth, factory-style finish | Medium | High | Medium |
| Dry time | Fast | Medium | Medium |
| Cure time | Medium | Medium to long | Medium |
| Budget-friendliness | Medium | Low to medium | Medium (varies a lot by quality) |
| Best look | Soft matte, vintage | Smooth satin to semi-gloss | Varies, often more “painted” |
Pick by cabinet type
Honey oak and tannin-heavy wood
If your cabinets are oak (especially that classic 1990s honey oak), the grain can telegraph and the tannins can stain through paint. No matter which paint you choose, I recommend a stain-blocking primer before topcoats. This is the step that keeps your beautiful creamy white from turning slightly yellow at the knots, seams, and edges.
Previously painted cabinets
If the existing paint is in good shape, you can often repaint successfully with:
- Deep cleaning
- Scuff sanding
- A bonding primer where needed (chips, repairs, glossy areas)
- Your chosen topcoat
If the old paint is peeling or gummy, fix that first. No paint type will save a failing base layer.
Laminate or thermofoil
These surfaces can be painted, but they are the least forgiving. Many pros will tell you flat-out that thermofoil is a replacement situation, because failures are common when moisture and daily wear get involved. If you do paint it, plan on careful sanding, a true bonding primer made for slick surfaces, and realistic expectations. Enamel is usually your best bet here.
My recommendations
If you want the longest-lasting finish
Choose enamel plus the right primer for your surface. Take your time, let it cure, and you will be happiest a year from now.
If you want the easiest weekend project
Choose chalk paint, but plan for a proper protective topcoat that fits a kitchen. Skip the wax if you want the most practical, wipeable finish.
If you are painting to sell
Go with enamel in a classic satin finish. It photographs well and feels more like a “real” cabinet finish when buyers open doors and drawers.
If your budget is tight
A good 100 percent acrylic latex can work if you prime, use multiple thin coats, and treat the cabinets gently while they cure. If you can swing the upgrade, a cabinet enamel is usually worth it.
Brush, roller, or sprayer?
Brush
Best for: profiles, corners, and smaller kitchens. Use a quality angled brush and avoid over-brushing once the paint starts to tack.
Foam or microfiber mini roller
Best for: flat door panels and face frames. Foam can give a smoother look, while microfiber can hold more paint. Either way, keep coats thin.
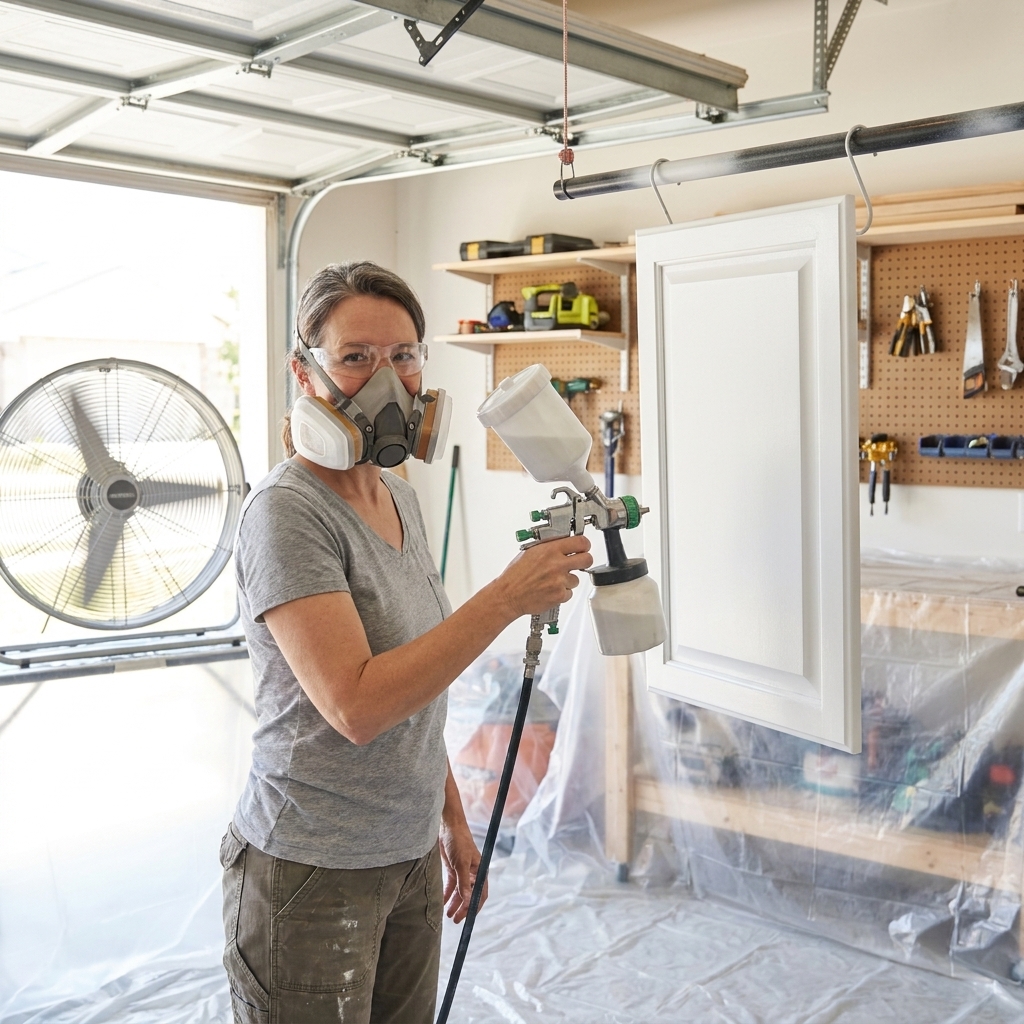
Sprayer
Best for: the most uniform finish, especially on shaker doors. Spraying requires extra prep and masking, but enamel sprayed in thin coats can look very close to factory.
FAQ
Do I need a topcoat over enamel or latex?
Usually, no. Most cabinet enamels and quality trim paints are designed to be the final finish. A clear coat can help in some situations, but it can also introduce adhesion issues or shift the sheen. I would rather put the money into a better paint and primer system than add a clear coat “just because.”
Do I need a topcoat over chalk paint?
In a kitchen, yes if you want it to stay looking good. Chalk paint needs protection from water, oils, and frequent wiping. Choose a durable, cleanable sealer appropriate for cabinetry.
Is satin or semi-gloss better?
Satin is my go-to for most kitchens because it looks soft but still cleans well. Semi-gloss is tougher and more wipeable, but it highlights surface flaws more.
How soon can I reinstall doors and hardware?
Follow the label, but here is a safe rule of thumb: reinstall carefully after 24 to 48 hours, then treat gently for 7 to 14 days while the paint cures. In cooler or humid conditions, or with slower-curing products, full cure can take up to about 30 days, so the gentler you are early on, the better it looks long-term.
My bottom line
If you want me to pick one for the average DIY kitchen: enamel wins for the best balance of durability, washability, and a finish that looks intentionally “cabinet-like,” not “painted like a wall.”
That said, I have seen beautiful chalk-painted kitchens that hold up well because the owner sealed them properly and accepted that cabinets are living surfaces. And I have seen quality acrylic latex jobs last years in calmer households with excellent prep and patience during curing.
If you tell me what your cabinets are made of (oak, maple, MDF, laminate) and the finish you want (matte, satin, smooth, distressed), I can help you narrow it to the best paint path for your exact kitchen.