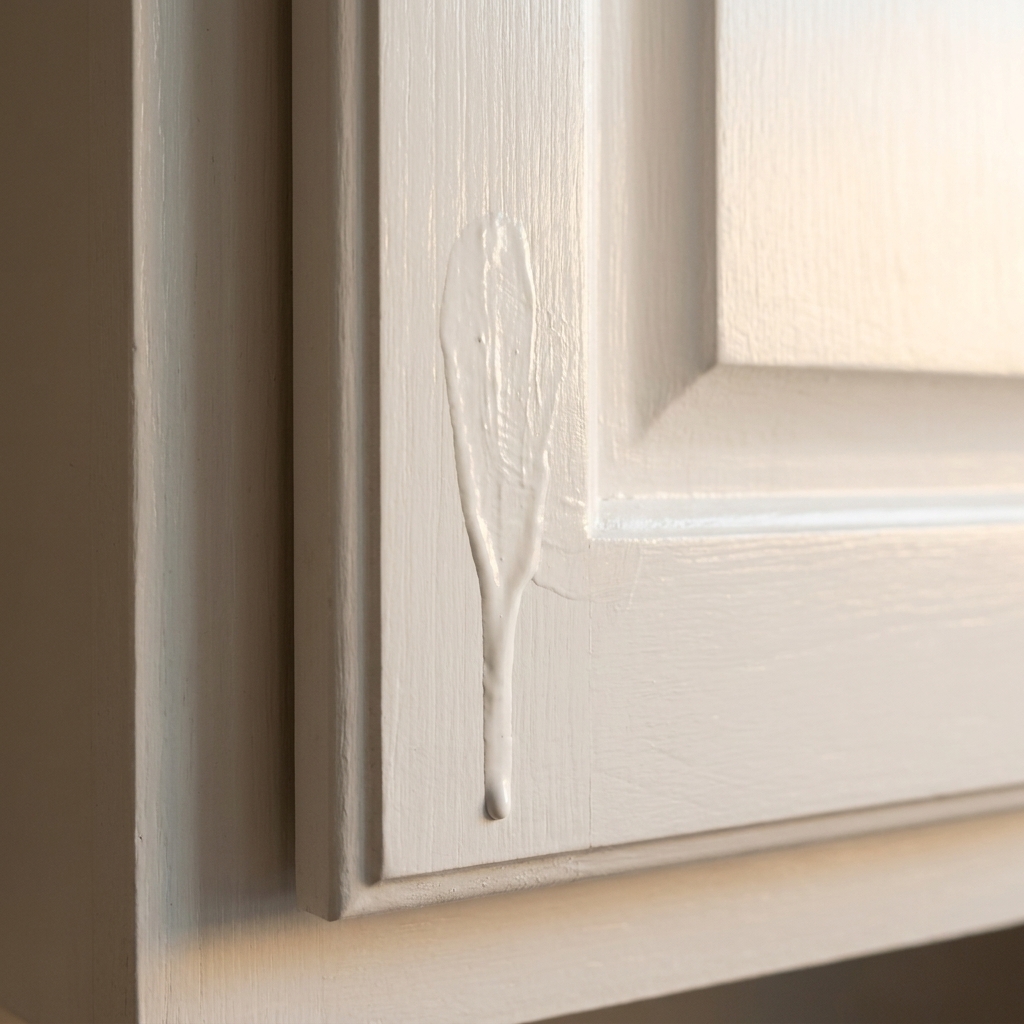
If cabinet paint ever “mysteriously” peels, chips around the knobs, or stays tacky, the culprit is most often prep. Kitchens are greasy by nature, and that invisible film can keep primer from bonding even if the cabinets look clean. (Product compatibility, cure time, humidity, and previous failing finishes can also play a role, but prep is the first place I look.)
Below is the exact process I use to get cabinet surfaces squeaky-clean and paint-ready, whether you are brushing, rolling, or spraying. It is not complicated, but the order matters.

Before you start: what “clean enough” means
Your goal is not “looks clean.” Your goal is: no cooking oils, no hand grime, no silicone residue, and no slick barrier that primer cannot grab.
A quick test I love: after cleaning and drying, run a clean white rag dampened with water over a cabinet stile near a handle. If the rag picks up yellow or gray residue, keep cleaning.
Another clue is how water behaves. If water beads up aggressively, something may still be on the surface (often grease, wax, polish, or silicone). That said, some factory finishes are naturally slick even when they are clean, so treat beading as a signal to double-check, not a final verdict.
Tools and supplies
- Microfiber cloths (a bunch, you will go through them)
- Non-scratch scrub sponge
- Bucket with warm water
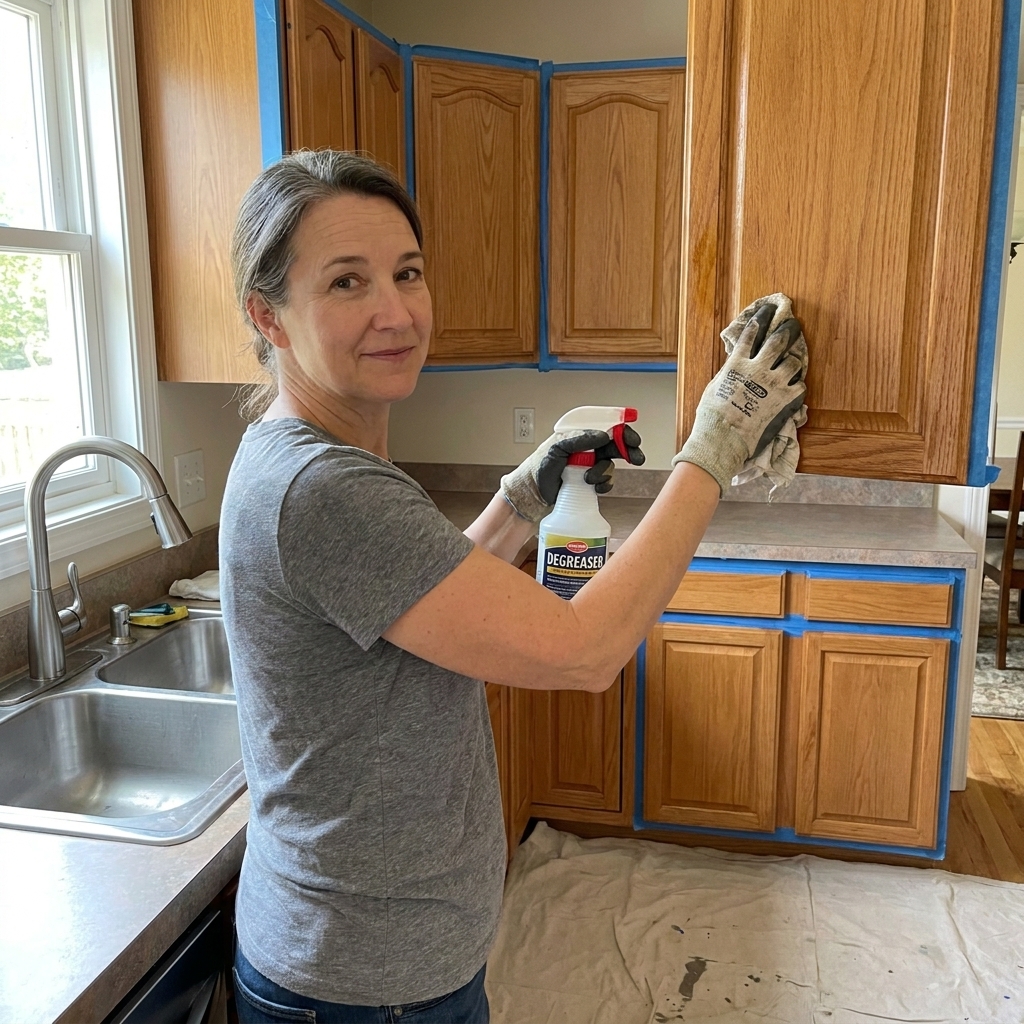
- Degreaser: a diluted dish soap mix or a kitchen degreaser labeled for cabinets
- Optional heavy-duty cleaner for stubborn buildup (see below)
- Gloves and eye protection
- Screwdriver or drill (for hardware removal)
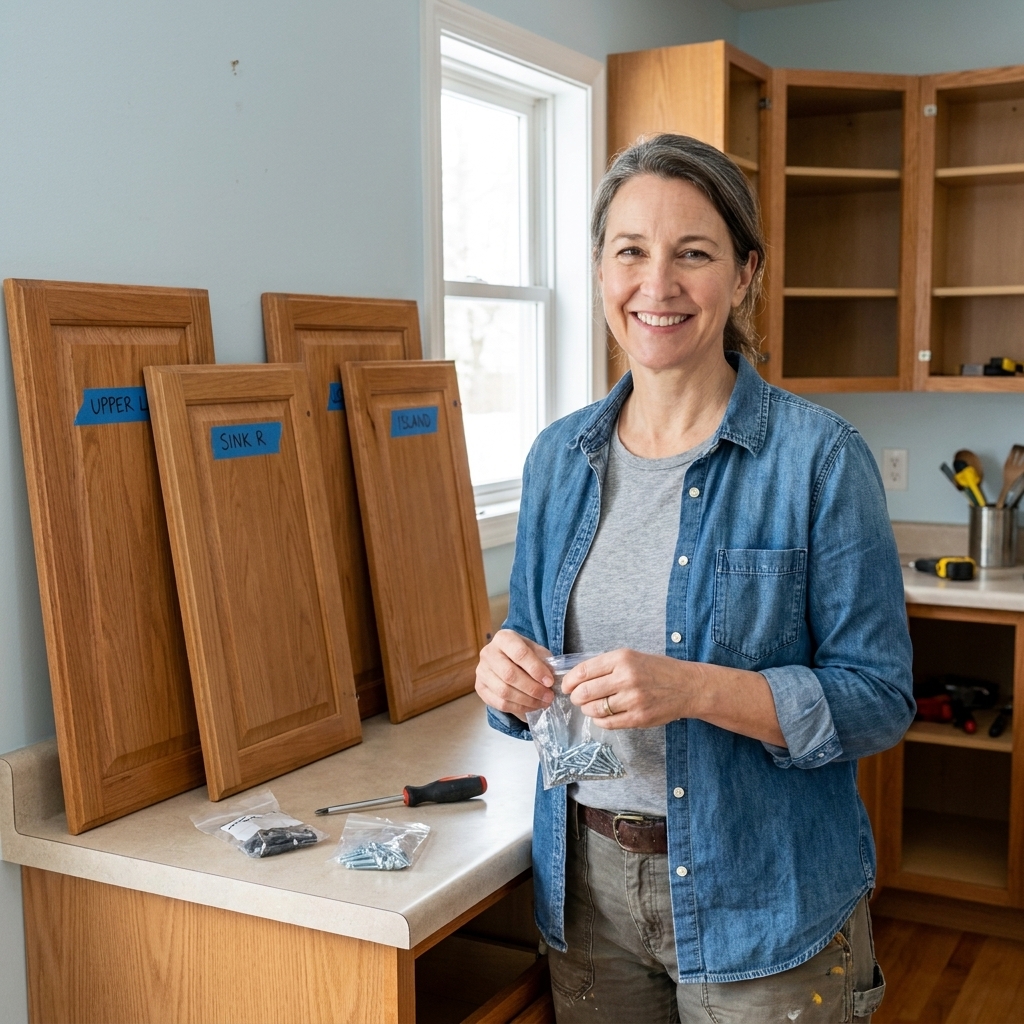
- Painter’s tape and a marker (for labeling doors)
- Wood filler (for old hardware holes)
- Sandpaper or sanding sponge (typically 120 to 220 grit)
- Vacuum or shop vac with brush attachment
- Tack cloth or damp microfiber cloth
My budget tip: Spend money on primer and paint, not fancy cleaners. Warm water, grease-cutting dish soap, and patient scrubbing get you very far.
Step 1: Clear, protect, and label
Empty the cabinets
Pull everything out. Grease loves the top edges and the cabinet face frames, and you will drip cleaner. It is much less stressful with empty boxes.
Protect floors and countertops
Drop cloths or rosin paper are great. If you are working in sections, even old towels will help catch drips.
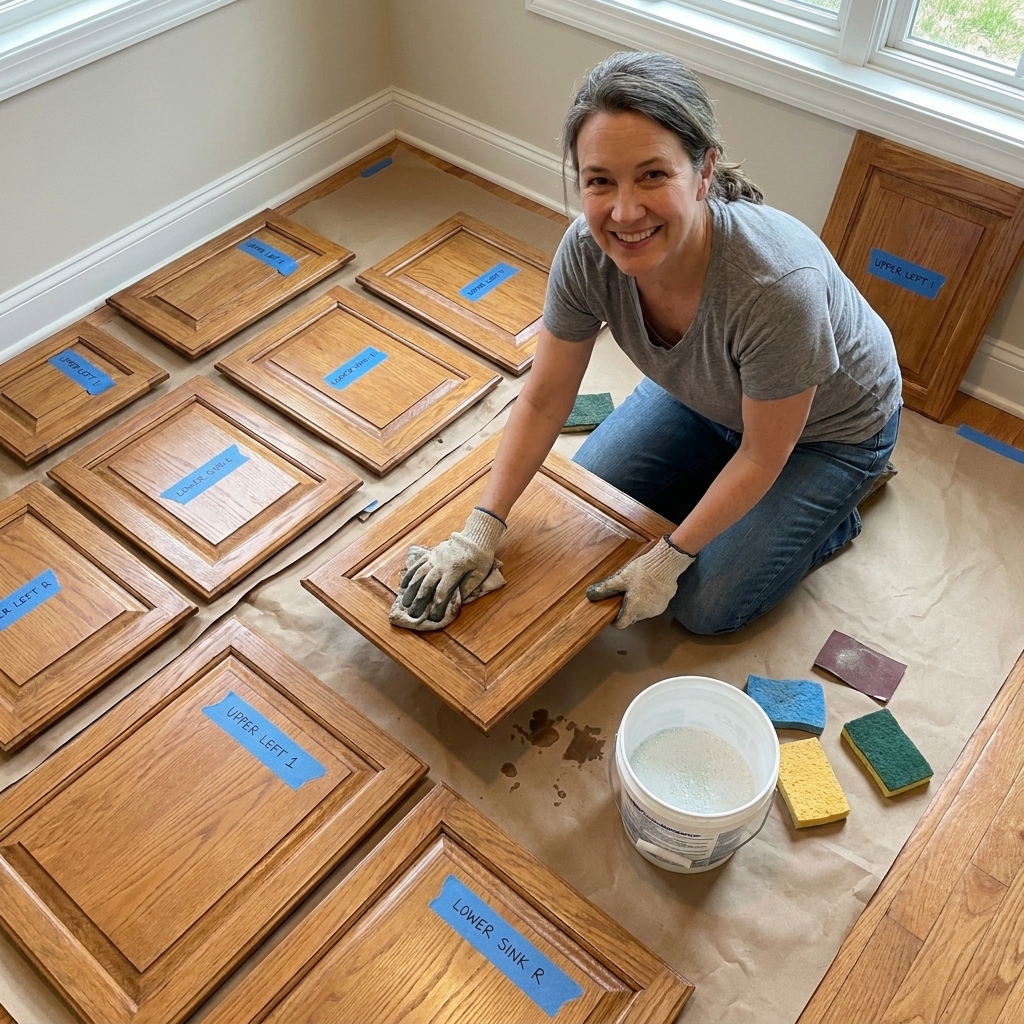
Remove doors, drawers, and hardware
Painting cabinets in place is possible, but prep is easier and results are better when doors and drawers are off.
- Bag hinges and screws per door.
- Label each door and its location with painter’s tape (for example: “Upper Left 1”).
- If you are keeping hinges, do not soak them in harsh cleaners. Wipe them and set aside.
Step 2: Dry clean first
Before liquid cleaners, do a quick dry pass to remove dust and crumbs. Otherwise you make gritty mud that you will smear around.
- Vacuum cabinet interiors, face frames, and the tops of doors.
- Use a dry microfiber cloth to grab loose dust from detailed trim.
Step 3: Degrease the right way
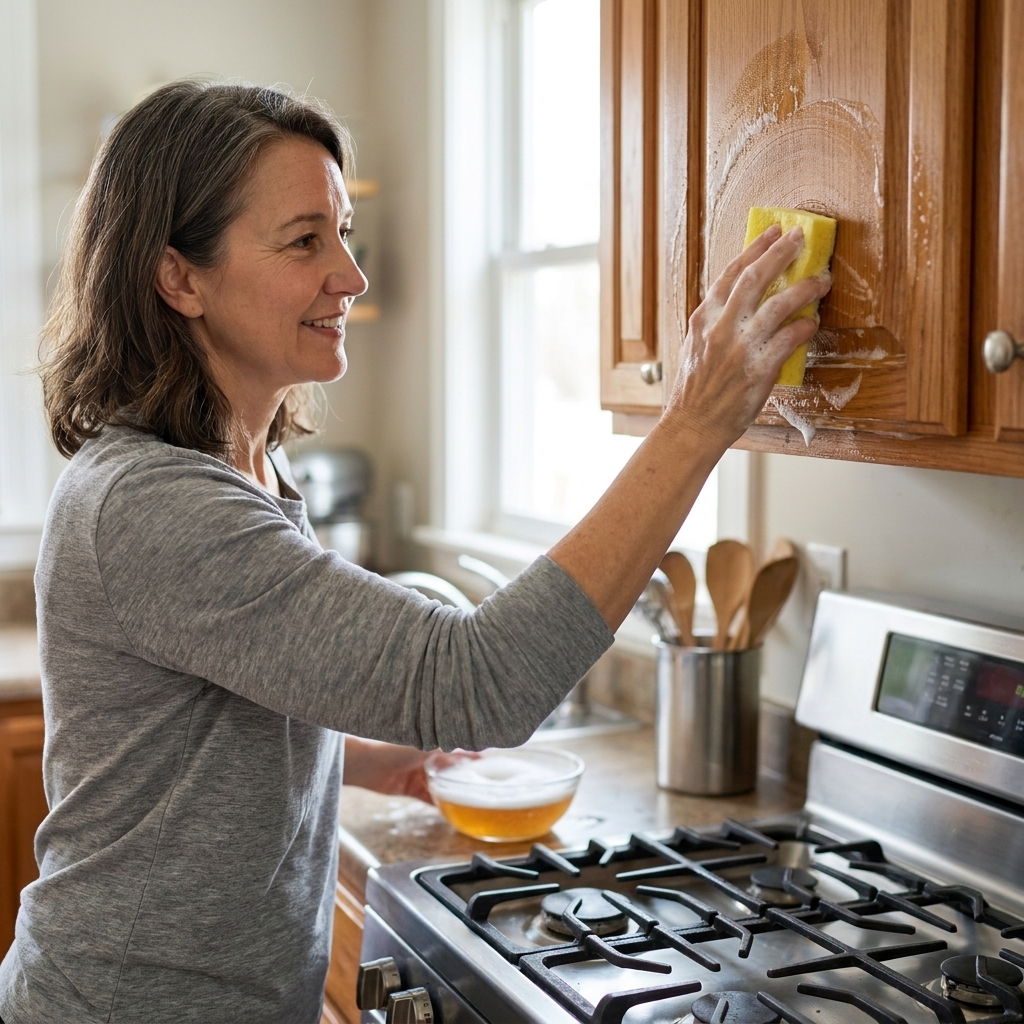
This is the big one. Degreasing is not a single wipe. It is a method: apply, dwell, agitate, and rinse.
Start with the worst spots
Hit the areas that collect the most hand oils first:
- Around knobs and pulls
- Edges where you grab to open doors
- Cabinet above the stove
- Base cabinets near the trash pull-out
My go-to degreasing mix
For most kitchens, this is enough:
- 1 gallon warm water
- 1 to 2 tablespoons grease-cutting dish soap
Dip a microfiber cloth or non-scratch sponge, wring it well (you do not want drips in door seams), and scrub in small sections.
When you need something stronger
If you feel a sticky drag when you wipe, or you have thick buildup near the stove, step up to a stronger cleaner meant to cut kitchen grease. Look for an alkaline degreaser or a cabinet-safe kitchen degreaser (common examples include Krud Kutter, Simple Green, and Zep kitchen degreasers). Follow the label, ventilate, and test on an inconspicuous spot first, especially on stained or previously painted cabinets.
Important: Avoid mixing cleaners, and never combine ammonia-based products with bleach.
Always rinse
Degreasers work by breaking oils loose. If you do not rinse, that loosened residue can dry back onto the surface.
- Use a fresh bucket of clean warm water.
- Wipe with a clean microfiber cloth.
- Change rinse water as soon as it looks cloudy.
Let it dry completely
Give doors and drawers at least a few hours in a warm, dry space. Overnight is even better before sanding or priming.
Step 4: Fix common surface issues
Cleaning is the time to spot problems that will show through paint (or interfere with adhesion) if you ignore them.
Yellow drips and brown stains
These are often old grease or cooking residue. Keep degreasing until the cloth wipes clean. If staining keeps bleeding back after drying, plan for a stain-blocking bonding primer.
Silicone at seams
If there is a silicone caulk bead where a cabinet meets tile or a side panel, paint does not bond well to silicone. Cut it out and replace later with a paintable acrylic latex caulk.
Silicone is the one to remove. Paintable acrylic caulk is the one you can use later to tidy gaps. Many people caulk after primer and before topcoats so the finish paint covers the caulk line, but follow the paint system you are using.
Wax or furniture polish
If the previous owner used cabinet polish, you may notice water beading even after cleaning. Expect extra cleaning passes, plus scuff sanding, and a quality bonding primer to be safe.
Step 5: Sand for adhesion
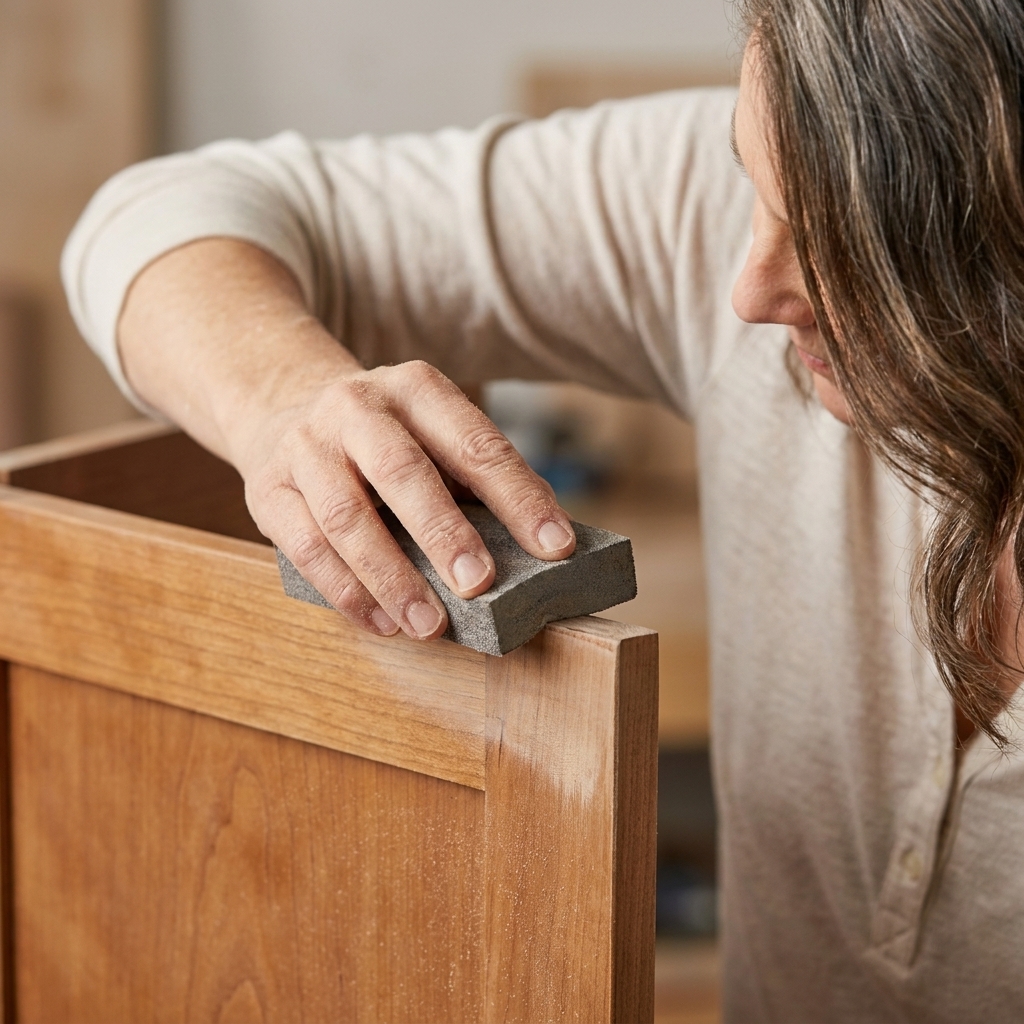
You do not have to sand cabinets down to bare wood for a paint job. But you do need to dull the sheen and give primer something to grip.
Quick sanding roadmap
- For glossy or previously painted cabinets: scuff sand with 150 to 180 grit.
- For raw or open-grain wood: start around 120 to 150, then finish 180.
- Before the first topcoat (after primer): lightly sand with 220 for a smoother finish.
Do not skip edges and profiles
Paint fails first on sharp edges and around routed details because they get the most handling. Use a flexible sanding sponge so you can follow curves without gouging.
Surface-type notes (worth reading)
- Laminate and thermofoil: These can be especially slick. Clean thoroughly, scuff carefully, and plan on a true bonding primer made for hard, non-porous surfaces. Some thermofoil is a poor candidate for paint if it is already lifting at edges.
- MDF: Go easy on edges. Aggressive sanding can fuzz them and create a texture you will fight later. Use a light touch and a good primer.
- Very hard factory finishes: If sanding barely dulls the sheen, a deglosser can help, but you still need a bonding primer.
Step 6: Fill dings and old hardware holes
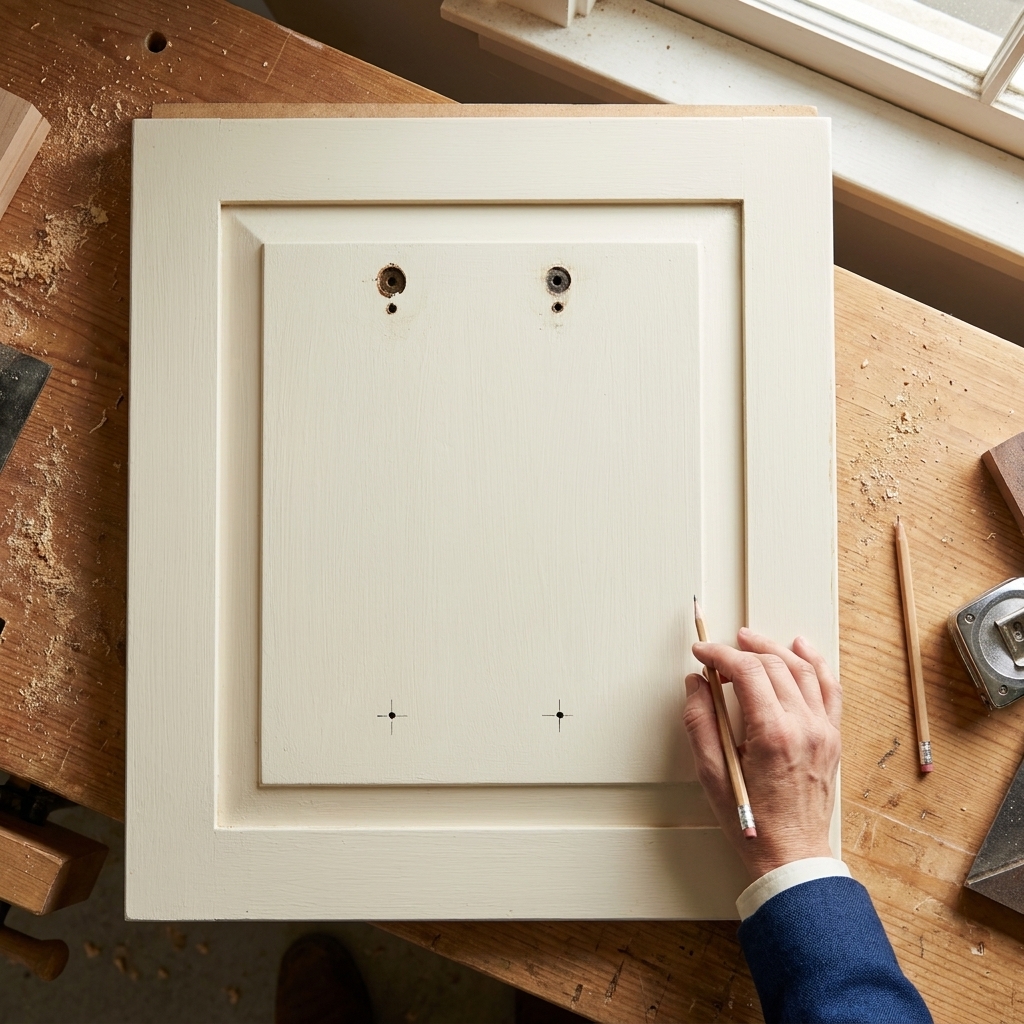
If you are changing hardware placement, fill the old holes before priming.
- Scuff around the hole lightly.
- Press wood filler in firmly, slightly overfilling.
- Let it dry fully (check the container for dry time).
- Sand flush until you cannot feel the patch with your fingertips.
Reality check: If you can see the patch before primer, you will probably still see it after paint. Take the extra five minutes to feather the edges.
Step 7: Remove dust
Dust causes gritty paint and weak bonding.
- Vacuum doors, drawer fronts, and face frames.
- Wipe with a barely damp microfiber cloth, or use a tack cloth lightly.
- Let everything dry again before primer.
Prep check: ready for primer?
Use this quick checklist before you open the primer can:
- Cabinets feel clean, not waxy or slick
- No visible grease shine around handles
- Any beading or slick spots have been addressed
- All surfaces are dulled (no glossy patches)
- Dust is removed and seams are dry
- Repairs are smooth to the touch
Mistakes that cause peeling
- Cleaning without rinsing: cleaner residue can act like a barrier.
- Using too much water: swollen MDF edges and raised grain create texture problems later.
- Skipping sanding on shiny finishes: primer can only bond as well as what it is sticking to.
- Painting over silicone caulk: paint often fisheyes, and adhesion is unreliable long-term.
- Not letting doors dry: trapped moisture can mess with primer cure and adhesion.
- Touching cleaned surfaces with bare hands: hand oils transfer fast, especially around knobs.
Quick FAQs
Do I need TSP to clean cabinets?
Not always. Plenty of kitchens clean up beautifully with warm water and dish soap, followed by a rinse. In very greasy kitchens, a stronger degreaser can help. If you use any heavy-duty cleaner, follow label directions carefully and rinse well so you do not leave residue behind.
Can I paint over cabinets that were cleaned with a degreaser?
Yes, as long as you rinsed thoroughly, let everything dry, and scuff sanded. Degrease first, then sand, then remove dust, then prime.
What if my cabinets still feel sticky after cleaning?
That usually means either grease is still present or cleaner residue is left behind. Do another degreasing pass, then rinse with fresh water and clean cloths. If it persists, you may be dealing with old polish or wax, which often needs extra scrubbing plus a good bonding primer.
Should I clean inside the cabinets too?
If you are painting the interiors, yes, clean and prep them the same way. If you are only painting doors and face frames, I still recommend at least a basic wipe-down inside so dust and grime do not migrate onto your freshly prepped surfaces.
A simple weekend timeline
- Friday evening: remove doors and hardware, dry clean, start degreasing
- Saturday morning: finish degreasing and rinsing, let dry, scuff sand
- Saturday afternoon: fill holes, sand patches, remove dust
- Saturday evening or Sunday: prime when everything is fully dry and dust-free
Prep is not the glamorous part, but it is the part that makes your cabinet paint job look professional and stay that way. If you are unsure what to do next, tell me in the comments what your cabinets are made of (oak, maple, MDF, laminate) and what finish is on them now, and I will point you toward the right cleaning strength, sanding grit, and primer type.