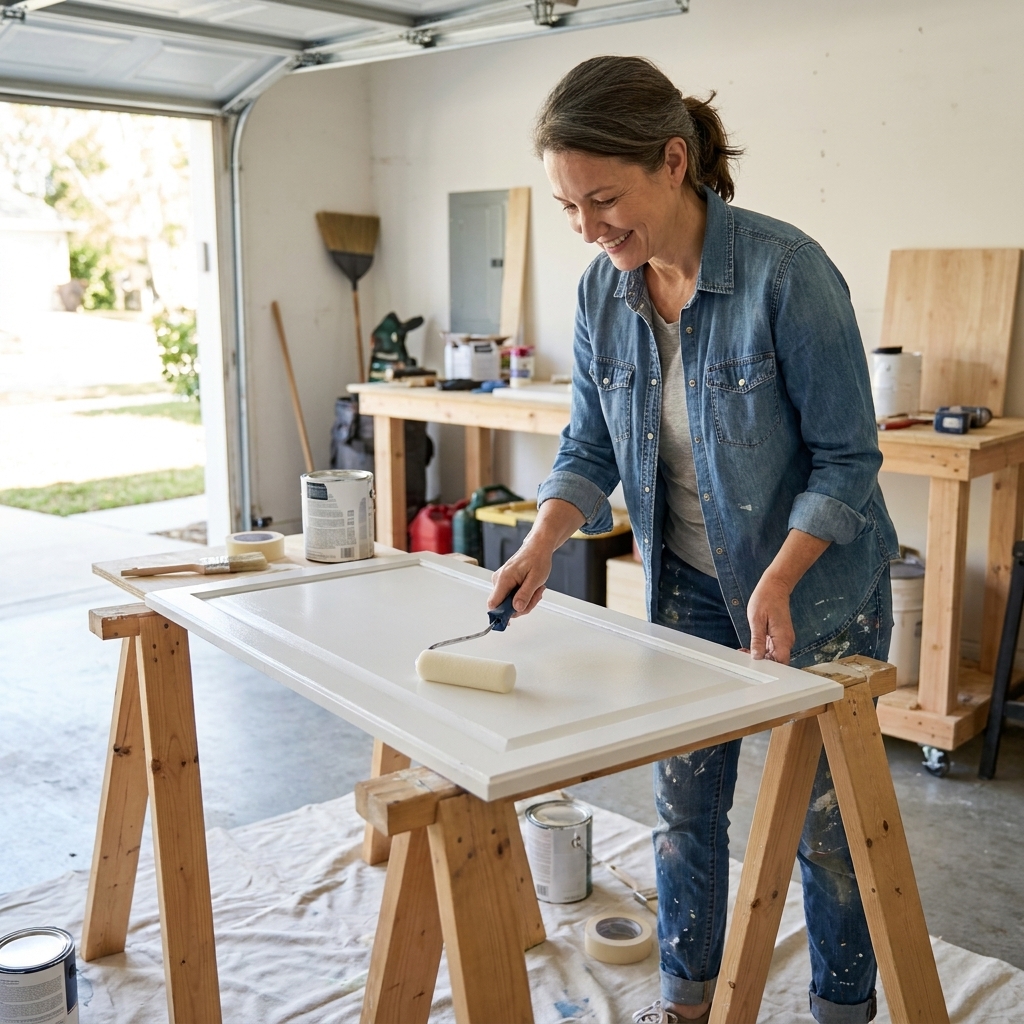
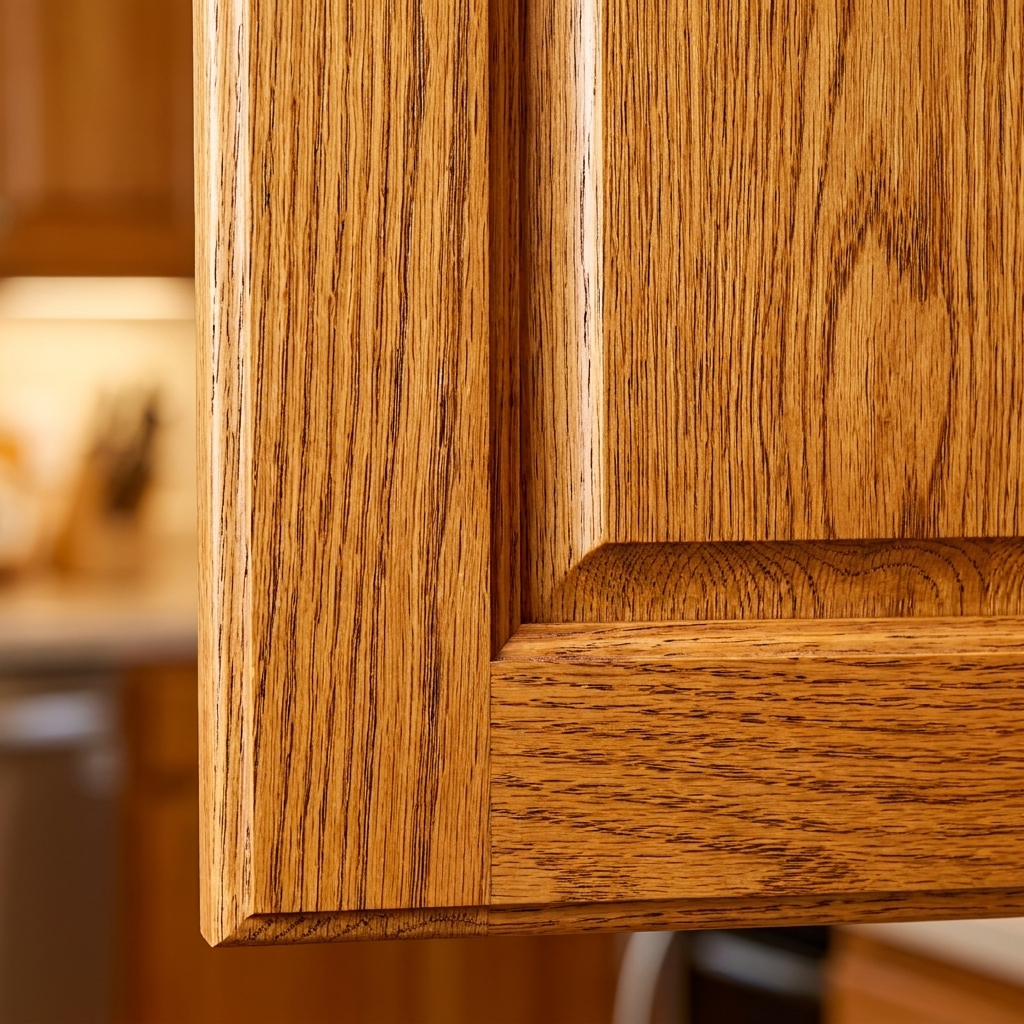
If you are staring at cabinet doors with drips, bubbles, or a corner that is peeling like a bad sunburn, take a breath. Most cabinet painting “disasters” are fixable without stripping everything back to bare wood. The key is knowing why it happened, then using the right repair method so the same issue does not come right back.
I learned this the hard way on my first honey-oak kitchen seven years ago. I assumed paint was paint. Turns out cabinets have their own set of rules. In this guide, I will walk you through quick diagnosis, the best repair steps for each problem, and how to prevent repeats on your next doors and drawers.
Before you fix anything: fast paint triage
These three questions decide whether you can spot-repair or whether you need to redo a full door.
1) Is it surface-only, or is the paint not bonding?
- Surface-only issues (drips, orange peel texture, dust nibs, small bubbles) can usually be sanded smooth and recoated.
- Bonding issues (peeling, flaking, sheets of paint lifting, paint scratching off with a fingernail) require you to remove the failing layers, then fix prep and primer before repainting.
2) Is the paint fully cured?
Dry to the touch is not the same as cured. Many cabinet enamels and trim paints often take 7 to 30 days to fully cure, depending on the product, film thickness, temperature, and humidity. Always check the label or TDS for your specific paint.
- If the finish is still in the “rubbery” stage, sanding can gum up and make a bigger mess. Give it a bit more time if you can.
- If the paint is weeks old and still soft, that points to a product compatibility issue, coats that went on too heavy, or poor curing conditions.
3) What is your cabinet material?
- Solid wood: forgiving. You can sand and feather repairs easily.
- MDF: sand gently and avoid soaking edges with water.
- Thermofoil or laminate: paint can work, but bonding is tricky. You need the right degreasing and a bonding primer, and sometimes a full redo if it is peeling. Also, if the surface is heat-damaged (common near ovens and dishwashers), it may keep failing no matter how well you prep. Painting can be a gamble.
A quick adhesion check
If you suspect adhesion problems, do a simple check in a hidden spot.
- Lightly score a small “#” crosshatch (just through the paint, not deep into the wood), press on a medium-tack tape, burnish firmly, then pull it off sharply at a low angle. (This is a simplified version of a standard crosshatch adhesion test.)
- If paint comes off, your fix needs to address bonding, not just looks.
- If nothing lifts, you are likely dealing with surface defects and can sand and recoat.
Safety notes (quick but important)
- Sanding dust: Wear a dust mask or respirator and vacuum up dust thoroughly.
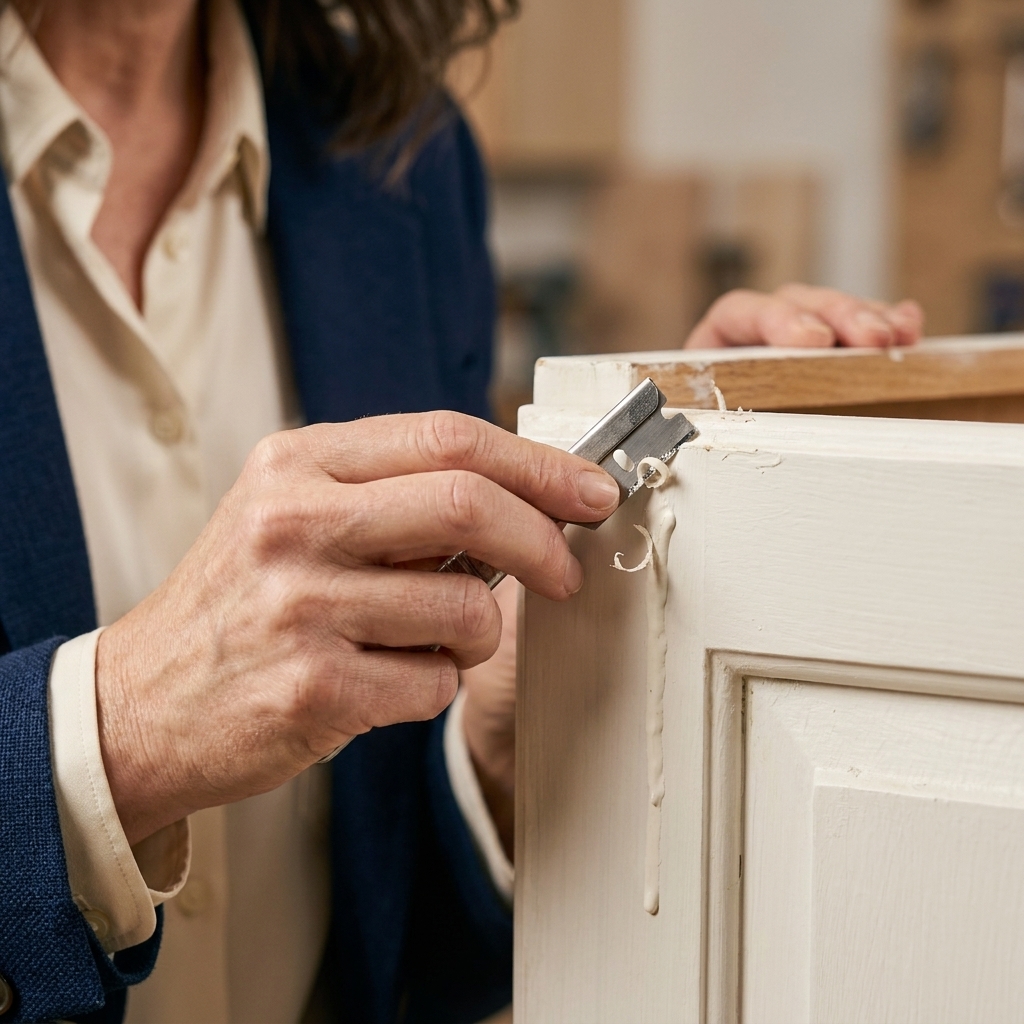
- Razor blades: Use a sharp blade, keep it nearly flat, and cut away from your hand.
- Older paint: If your home or cabinets are older and you suspect old coatings (especially pre-1978), follow lead-safe practices and consider a test before aggressive sanding.
Tools and supplies that make fixes easier
You do not need a full workshop to repair cabinet paint mistakes, but a few basics keep the repair invisible.
- Sanding: 220-grit and 320-grit sandpaper, plus a sanding sponge for profiles
- Dust control: vacuum with brush attachment, plus a slightly damp microfiber cloth
- Filling: lightweight spackle for tiny dings, wood filler for deeper gouges, glazing putty for hairline imperfections
- Cleaning: degreaser (a kitchen-safe one), plus clean water rinse
- Priming: a true bonding primer for slick surfaces, or a stain-blocking primer if tannins are bleeding
- Painting: cabinet enamel or trim enamel, plus a high-density foam roller and a quality angled brush
- Optional but amazing: a razor scraper for drips, and a small detail sander for flat door panels
Note on tack cloths: Some tack cloths can leave residue that causes problems under water-based paints. If you use one, choose a tack cloth rated for water-based finishes, or stick with vacuum + damp microfiber.
Your standard reset routine
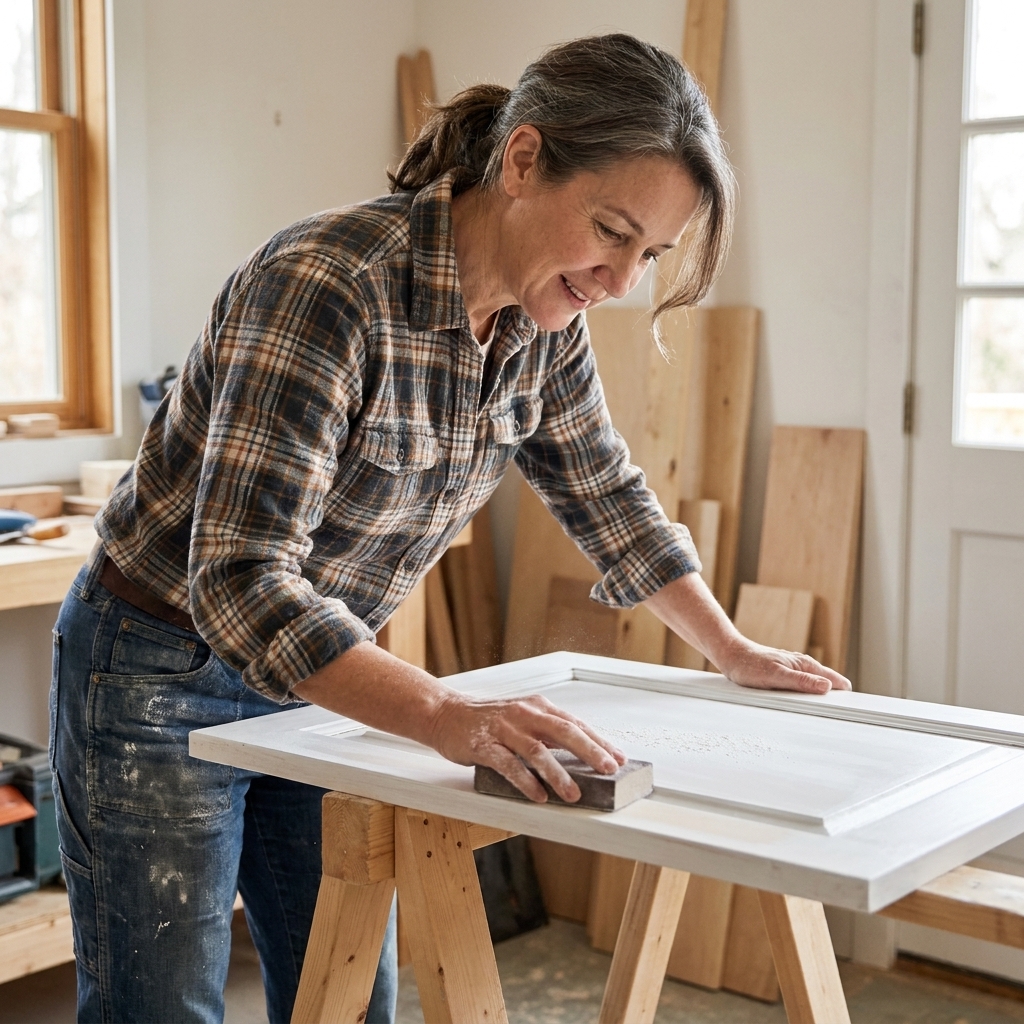
You will see “clean, sand, clean again” repeated throughout this guide for a reason. When in doubt, this is my default reset routine before priming or repainting a repair.
- Degrease. Clean with a kitchen degreaser, especially around pulls and near the stove.
- Rinse. Wipe with clean water so you do not paint over cleaner residue.
- Dry fully. Give it time, especially around edges and profiles.
- Scuff sand. Lightly sand to dull sheen and feather edges.
- Vacuum + damp wipe. Get dust out of corners and profiles.
How to fix paint drips and runs
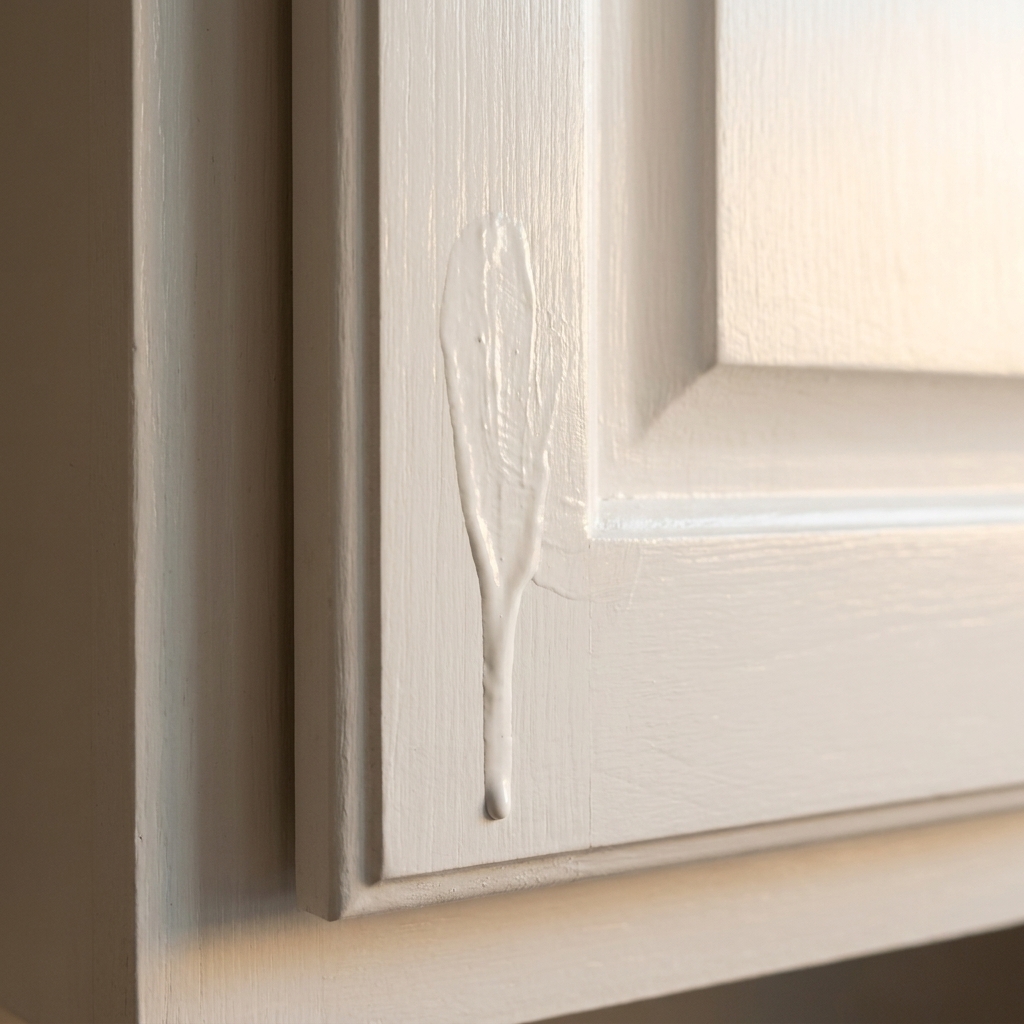
Drips happen when paint is applied too heavily, especially along door edges, profiles, and lower rails. They can also show up when you close or rehang doors too soon and paint slumps as it levels.
What not to do
- Do not keep brushing over a forming drip. It usually makes a bigger ridge.
- Do not try to “melt” it with more wet paint. You will chase it around.
Best fix (once the drip is dry)
- Let it harden. If you can press a fingernail in and leave a dent, wait longer. Overnight is the minimum, longer is better for thick runs.
- Shave the high spot. Very lightly drag a razor scraper or a fresh utility blade across the drip to knock it down. Keep the blade nearly flat so you do not gouge.
- Sand to feather. Sand with 220-grit until the ridge disappears, then switch to 320-grit to soften the repair edge into the surrounding paint.
- Clean the dust. Vacuum, then wipe with a damp microfiber cloth. Make sure no sanding grit is sitting in profiles.
- Spot-prime if needed. If you sand through to primer or bare wood, prime that spot and let it dry.
- Recoat the whole section. For the least obvious repair, repaint the full door face (or at least the full panel) rather than a tiny patch.
How to prevent drips next time
- Load less paint. Two lighter coats beat one heavy coat every time.
- Watch the bottom edge. After rolling, run your brush lightly along lower edges to catch buildup.
- Lay doors flat when possible. Gravity is not your friend on vertical doors.
- Respect dry times. Rehang only after the paint is dry enough not to slump or stick.
How to fix bubbles, blisters, and pockmarks
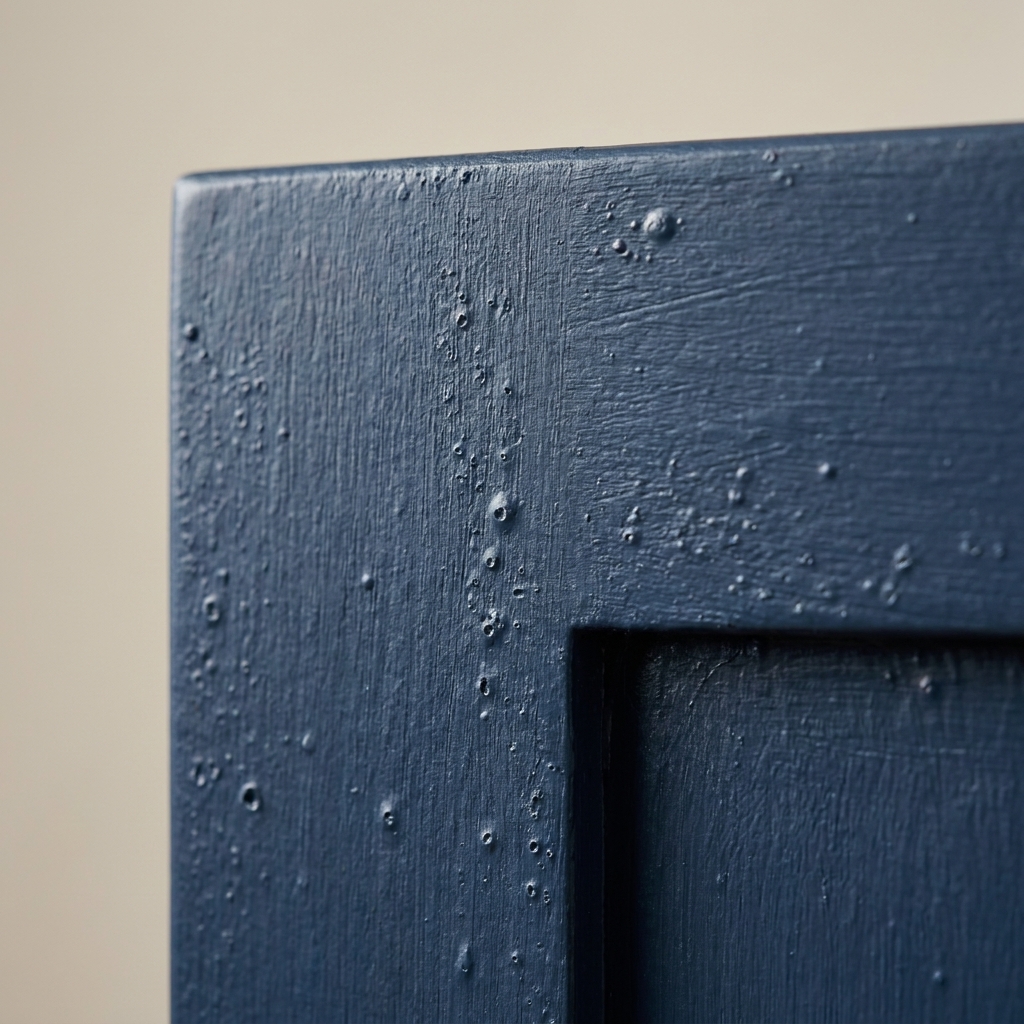
Bubbles can look like tiny raised pimples, larger soft blisters, or a foamy texture. The right fix depends on what caused them.
Common causes
- Painting over grease or cleaner residue (very common near the stove)
- Rolling too fast and whipping air into paint
- Painting in heat or direct sun so the surface skins over before it levels
- Moisture trapped in wood or previous coats
- Recoat too soon so solvents cannot escape
- Incompatible layers like a slick surface with the wrong primer
Fix small surface bubbles (paint is bonded)
- Let the coat dry completely. If you pop bubbles in wet paint, you often create craters.
- Sand smooth. Use 220-grit to flatten the raised texture, then finish with 320-grit.
- Clean thoroughly. Remove all dust. Any leftover dust can cause new bumps.
- Recoat with better technique. Roll slowly with light pressure. “Lay off” lightly in one direction with a brush if you are not spraying.
Fix blisters that reveal a bonding issue
If a blister opens up and you see bare wood, shiny factory finish, or you can lift paint edges with a fingernail, treat it like a peeling problem.
- Cut away loose paint. Use a putty knife or scraper to remove everything not firmly attached.
- Sand the edges. Feather the perimeter so you cannot feel a sharp ridge.
- Reset the surface. Degrease, rinse, dry, and remove dust.
- Prime with a bonding primer. This is the reset button that makes the next coat stick.
- Repaint. Apply thin coats and let them dry on schedule.
Prevent bubbles next time
- Clean like you mean it. Degrease, then rinse. Cleaner residue can be just as problematic as grease.
- Slow down the roller. Rolling fast adds air. Use a smooth foam roller for cabinet-grade finishes.
- Avoid harsh conditions. Aim for moderate temperature and humidity. Most products like something in the neighborhood of 50 to 85°F with reasonable humidity, but follow your label limits.
- Give coats time. Recoat windows are there for a reason.
How to fix peeling and flaking cabinet paint
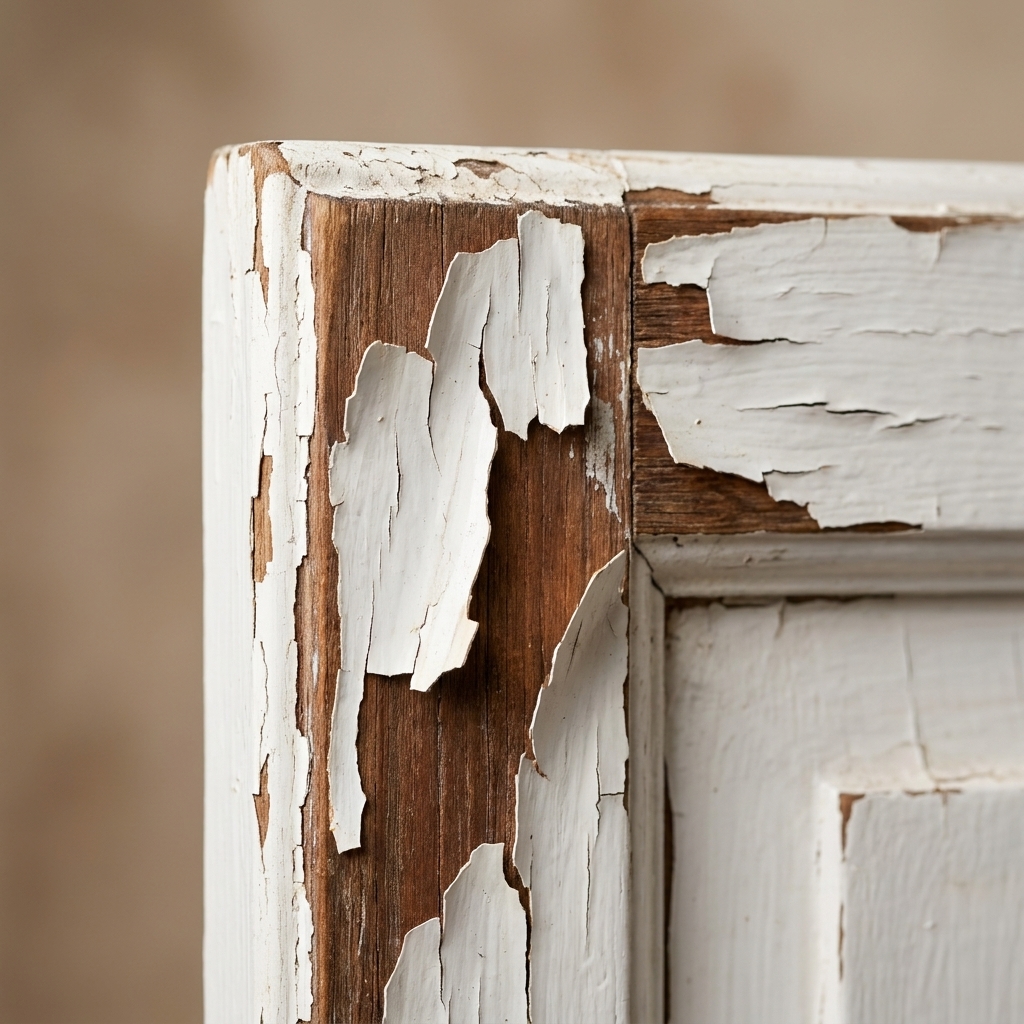
Peeling is the big one. It almost always comes down to prep, primer, or compatibility. The goal is not just to make it look better. The goal is to make the next finish bond.
Why cabinet paint peels
- Grease and cooking residue left on doors and frames
- No primer or the wrong primer for slick finishes
- Painting over glossy surfaces without scuff sanding
- Silicone contamination from some polishes or caulks
- Moisture exposure around sinks and dishwashers
- Latex over oil without the right prep (still common in older kitchens and rentals)
Step-by-step: a durable peeling repair
- Remove hardware and protect the area. Take off knobs and pulls. If you are fixing frames in place, tape countertops and appliances.
- Scrape all loose paint. Keep going until you reach paint that will not lift. If you stop too soon, the new coat will peel with the old.
- Feather the edges. Sand with 150 or 180-grit to level the transition, then 220-grit to smooth. Your finger should not feel a ledge.
- Reset the surface. Degrease, rinse with clean water, and let dry fully. For heavy kitchen grime, I often clean twice.
- Fix the surface. If you have gouges or missing material, fill, let dry, then sand flush. Remove dust.
- Prime the repair area. Use a bonding primer where you hit slick factory finish, laminate, or glossy paint. If you see yellow or brown bleed-through from oak, use a stain-blocking primer.
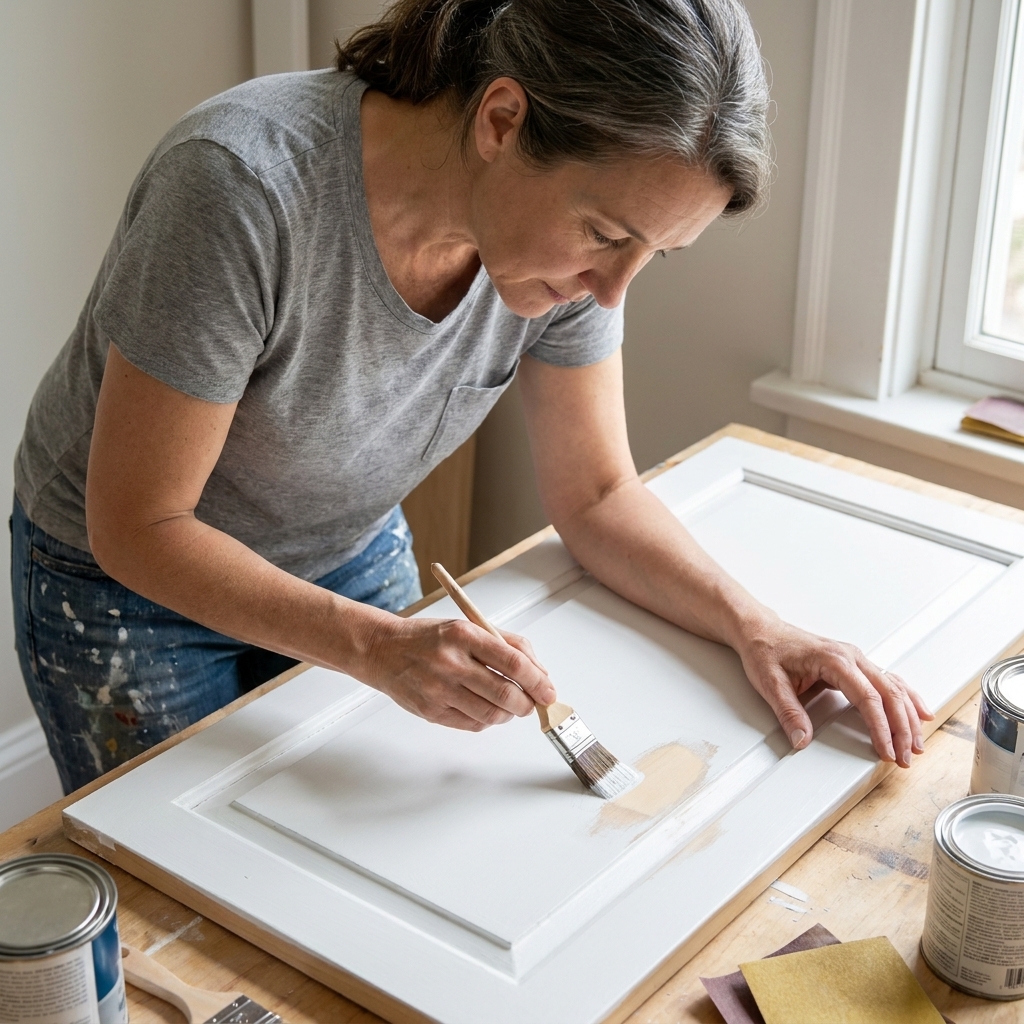
- Repaint thin coats. Apply 2 coats (sometimes 3 for coverage). Keep them thin and even.
- Let it cure before abusing it. Be gentle for the first couple weeks. Avoid harsh cleaners until fully cured.
When to strip a whole door
If peeling is widespread and you can lift paint in multiple areas with tape, spot repairs turn into whack-a-mole. In that case, it is usually faster to sand or strip the entire door back to a stable base, then prime and repaint properly.
Primer choices (simple rules)
Primer confusion causes a lot of cabinet failures. Here is the short version I keep in my head:
- Bonding primer: For slick or hard-to-stick surfaces (glossy paint, factory finishes, laminate, thermofoil that is still intact). This is about adhesion.
- Stain-blocking primer: For wood tannins and mystery stains (oak, knotty wood, older cabinets). This is about stopping bleed-through. Shellac and oil-based stain blockers tend to be the most reliable for tannins, but use what you can safely apply in your space and follow the product directions.
- When in doubt: If you have both problems (slick + staining), you may need a bonding step and a stain-blocking step. Check your primer labels and compatibility notes, especially if you are stacking products.
Other common cabinet paint problems (and quick fixes)
Brush marks and roller texture
- Fix: Let dry, sand lightly with 320-grit, then recoat with a smoother roller or consider spraying for the final coat.
- Prevent: Use paint made for trim and cabinets, avoid overworking, and keep coats thin.
Dust nibs and grit in the finish
- Fix: Once dry, sand with 320-grit until smooth, wipe clean, recoat.
- Prevent: Vacuum the space, damp-mop floors, wipe doors right before painting, and keep pets away during drying.
Fish eyes (tiny craters that will not level)
- Fix: Stop and let it dry. Sand smooth, degrease thoroughly, then prime. Fish eyes often point to contamination like silicone, oil, or polish residue.
- Prevent: Skip furniture polish on cabinets before painting, and be careful with silicone caulk near paint zones.
Yellow or brown stains bleeding through (common with oak)
- Fix: Seal with a stain-blocking primer, then repaint.
- Prevent: Use a stain-blocking primer on oak, knotty wood, or cabinets with unknown history.
My “invisible repair” method
The secret to a repair that disappears is feathering and repainting a logical boundary, not a tiny circle patch.
- Feather wider than you think. Sand the defect plus a few inches around it so the transition is gradual.
- Prime only what needs primer. Keep primer tight to bare wood or the problem area, but feather its edge with a quick scuff once dry.
- Paint a full section. On a shaker door, repaint the whole stile or the full center panel. On a slab door, repaint the entire face for best blending.
- Keep sheen consistent. Even perfect color matches can flash if sheen changes. Use the same paint line and sheen as the rest of the kitchen.
- Box your paint for touch-ups. If you are working from multiple cans, mix them together in a larger container so color is consistent from door to door.
Timing: sanding, recoating, rehanging
- Before sanding a defect: typically 12 to 24 hours minimum, longer for heavy drips or humid conditions. If it gums up, it is not ready.
- Between coats: follow your paint label. Many water-based enamels land around 4 to 6 hours, but cooler temps and thicker coats can extend that.
- Before rehanging doors: when paint is dry enough not to stick to bumpers. I aim for at least 24 to 48 hours.
- Before full cleaning and heavy use: once cured, often 7 to 30 days. Treat your cabinets gently until then.
If your doors are sticking after rehanging, add fresh felt or rubber bumpers and check for tight hinges. Fresh paint plus tight spacing can grab.
Cleaning during cure
Until the paint is cured, think “gentle.” I use mild dish soap and water on a soft cloth, then dry.
- Avoid: abrasive pads, ammonia-heavy cleaners, strong degreasers, and aggressive scrubbing.
- Do: wipe spills quickly, especially around sinks and trash pull-outs.
FAQ
Can I fix drips without repainting the whole door?
Sometimes, yes. If the paint color and sheen are very forgiving and you feather the area perfectly, a spot recoat can blend. For most cabinet enamels with any sheen at all, repainting the full door face (or at least the full panel) looks more professional.
Why is my cabinet paint peeling around the handles?
That area gets the most skin oils and cleaner overspray. If it was not degreased thoroughly, or if primer was skipped, paint often fails there first. For the repair, remove hardware, scrape back to sound paint, clean well, use a bonding primer, then repaint.
Do I have to sand before touching up?
For cabinets, yes in most cases. Even a light scuff sand helps the new paint grip and helps the repair edge disappear. If you truly cannot sand (tight crevices), at least clean thoroughly and use a bonding primer, but sanding is more reliable.
If my cabinets are laminate or thermofoil, can I still fix peeling?
You can, but you must be extra strict about adhesion: degrease, scuff sand carefully, then use a high-quality bonding primer. If the thermofoil itself is delaminating (lifting from the substrate), paint will not solve that. The loose foil needs to be repaired or the door replaced. Also, if the thermofoil is heat-damaged, it may continue to fail, even with great prep.
A quick pep talk before you sand
Every cabinet painter I know, including me, has had a door go sideways. The win is not never making a mistake. The win is knowing how to correct it without panic. Go slow, let coats dry, and remember: smooth, clean, well-primed surfaces forgive almost everything.
If you want a simple rule to keep on a sticky note, here it is: When paint fails, fix the prep. The pretty topcoat is only as strong as what is underneath.