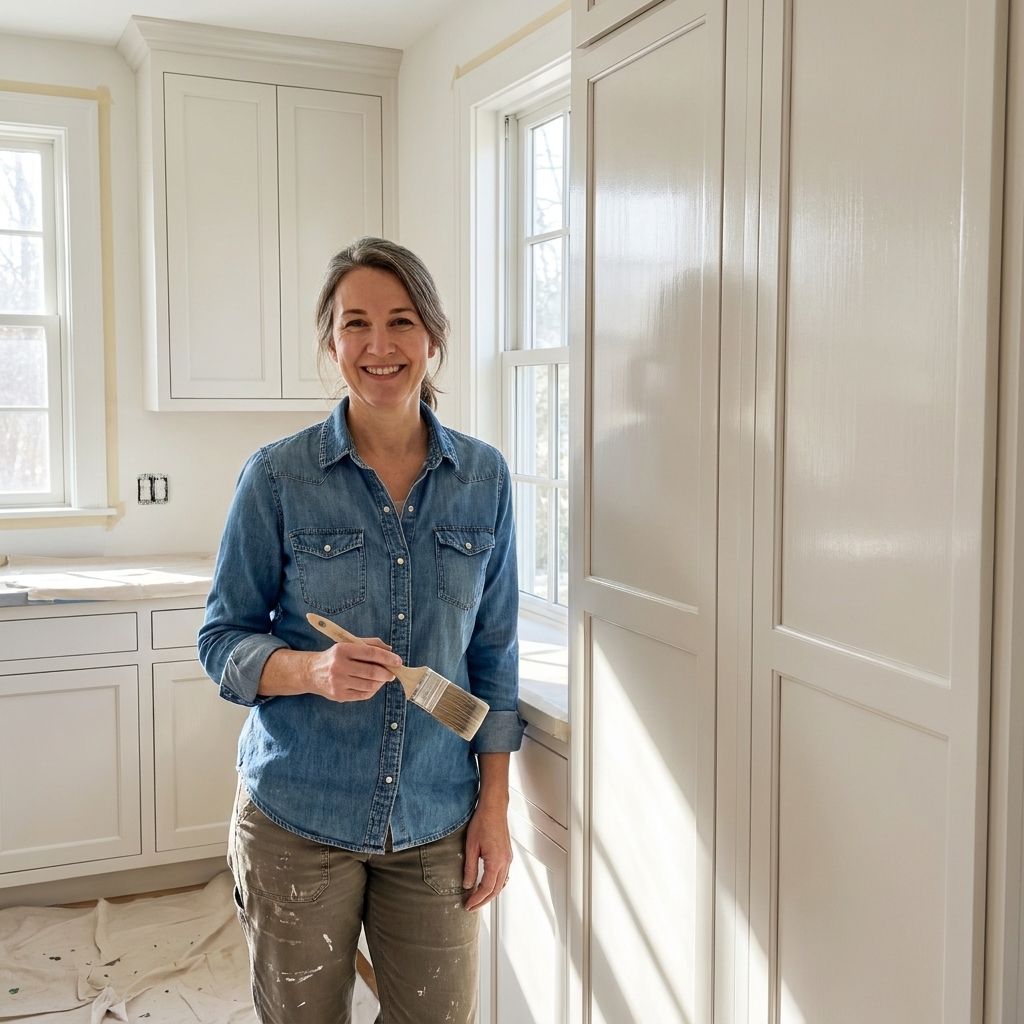
If you have 1990s honey oak cabinets, you already know the problem: you can paint them beautifully and still end up with those prominent grain lines showing through. Sometimes it is charming. But if you are going for a smooth, modern look, you need to hide the heavy oak grain before the first topcoat ever goes on.
I learned this the hard way in my own kitchen. My first paint job looked clean from across the room, but up close I could still see every pore line. The fix is not complicated, but it is specific: you need the right prep, the right filler (when necessary), and a primer that can actually build and level.
Do you really need to fill oak grain?
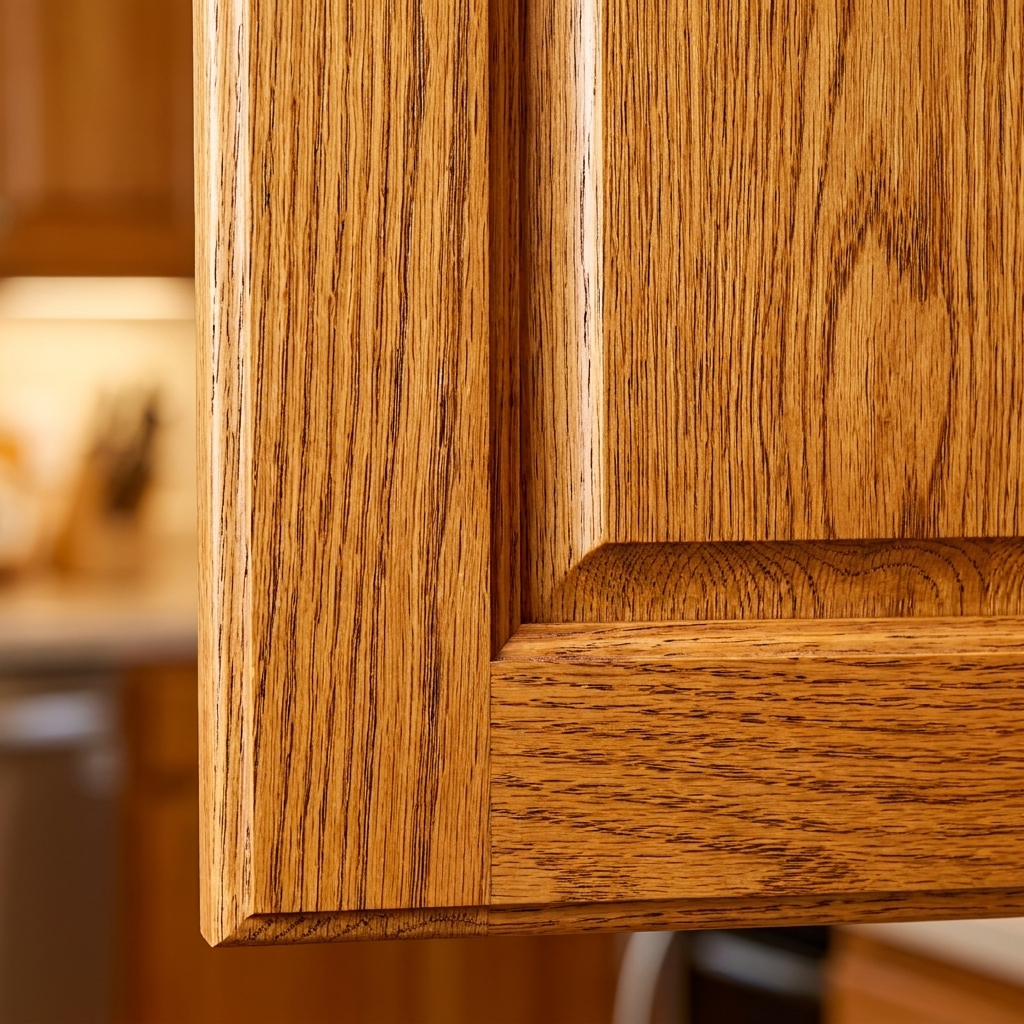
Not always. The “right” amount of grain hiding depends on the look you want and how deep your oak pores are.
- If you like a little texture: You can often skip grain filler and rely on good sanding plus a solid bonding primer. You will still see some grain telegraphing, but it can look intentional and classic.
- If you want a smooth, modern finish: Plan on grain filling at least the door centers and any flat areas. Heavy oak pores will show through most paint systems if you do not fill them.
- If your cabinets are red oak with deep pores: Filler plus a higher-build primer is your best friend.
One quick way to see how pronounced your pores are: wipe a door with a damp rag (or a little mineral spirits). It temporarily darkens the wood so the grain lines stand out, which helps you decide how far you want to take the smoothing.
What works (and what disappoints)
High-build primer alone
High-build primers can help, especially on moderate oak grain, but they usually do not fully flatten deep pores by themselves. They are great as a partner to grain filler, or as a compromise if you can live with a touch of texture.
What “high-build” means: it is a higher-solids, sandable primer that lays down a thicker film you can level smooth after it dries.
Wood grain filler
Grain filler is what gives you that “factory smooth” possibility. It is designed to pack into open pores, dry hard, then sand flat. For heavy oak, this is the step that makes the biggest visual difference.
Extra paint coats
This is the most common mistake. More paint rarely hides grain. Thick coats cure slower, are more prone to drips and ridges, and can wear or chip sooner.
Spackle or drywall mud
I know it is tempting because it sands nicely, but it is not made for cabinetry. In a kitchen, it often fails over time from moisture, impact, and repeated cleaning. If you want a mud-like product, use a filler made for woodwork and cabinetry.
Supplies I recommend
- Cleaner: degreaser or TSP substitute, plus clean water for rinsing
- Sandpaper: 120 grit (initial), 180 grit (smoothing), 220 grit (between coats as needed)
- Vacuum + tack cloth or microfiber cloths
- Grain filler: water-based grain filler for easier cleanup, or oil-based for longer working time
- Putty knife or flexible plastic spreader
- Bonding primer: a true bonding primer for slick finishes and old varnish
- High-build primer: a sandable, higher-solids primer to level after filling
- Caulk: paintable acrylic latex caulk (only for seams, not for grain)
- Paint: cabinet-grade enamel (waterborne alkyd or acrylic enamel both work well when applied correctly)
- Mini rollers and brushes: mini foam roller or a 1/4-inch nap microfiber roller, plus a high-quality angled brush, or a sprayer if you have one
- Safety: dust mask or respirator, eye protection, and good ventilation
Step-by-step
If you want a realistic timeline, plan on a prep day (cleaning, sanding, filling), then a prime and paint day (often spread over a couple of days for dry times). Cabinet finishes look simple, but they reward patience.
1) Remove doors, drawers, and hardware
Label everything. I use painter’s tape on the back of each door and a quick sketch of the kitchen layout. Bag the hinges and screws per door so nothing turns into a puzzle later.
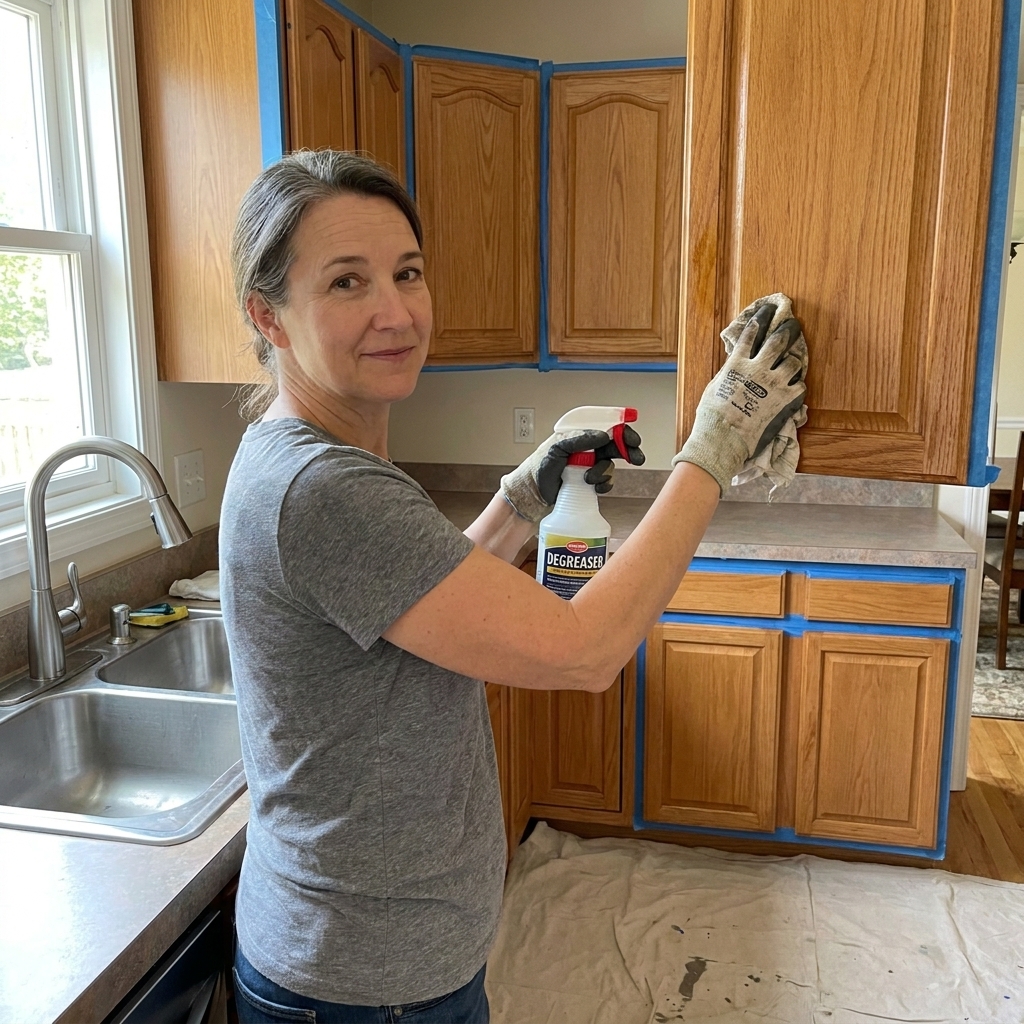
2) Clean like you mean it
Oak cabinets from the 90s usually have a film of cooking grease that you cannot always see until sanding turns it into gunk. Degrease thoroughly, then rinse with clean water and let everything dry.
Tip: If your cleaner says “no rinse,” I still like a light wipe with clean water. Any residue can fight your primer.
3) Scuff sand to remove shine
You do not need to sand down to bare wood everywhere, but you do need to knock the sheen off so filler and primer can grab.
- Start with 120 grit on flat areas if the finish is glossy or beat up.
- Move to 180 grit to smooth.
Vacuum the dust and wipe with a tack cloth or a barely damp microfiber cloth.
Safety note: Even though 1990s cabinets are unlikely to have lead paint, sanding old finishes makes fine dust. Wear a respirator or dust mask, use good ventilation, and keep dust under control.
4) Fill dents and old hardware holes
Use a wood filler that dries hard and sands smooth. Let it cure fully, then sand flush. This step is for dings and holes, not for the overall oak texture.
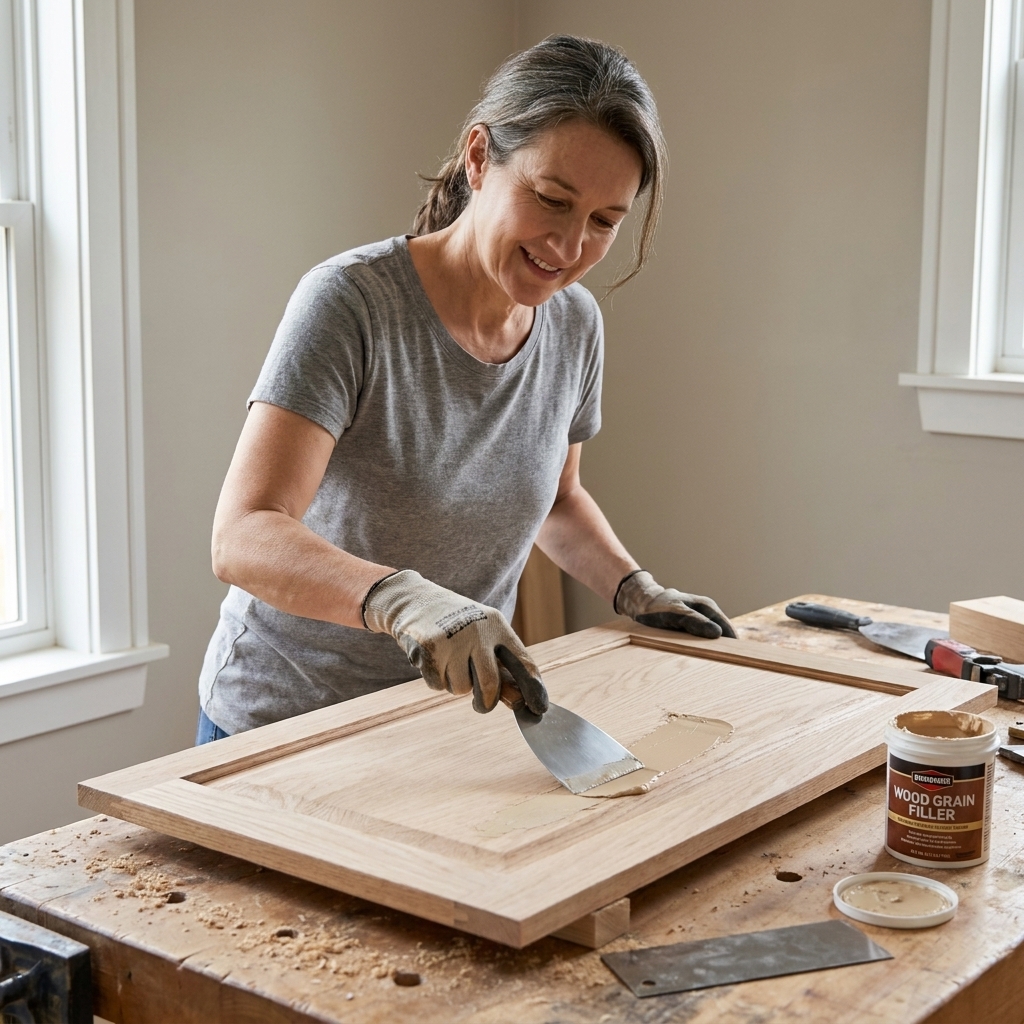
5) Apply grain filler
This is where the magic happens. Work in sections so the filler does not dry on you.
- Stir the filler well. You want a consistent texture.
- Spread it across the grain. Use a putty knife or spreader and push the filler into the pores.
- Scrape off the excess. You are not frosting a cake. You want filler in the pores, not a thick layer sitting on top.
- Let it dry fully. Dry time varies by product, temperature, and humidity. If it feels cool or rubbery, wait.
My rule: thin applications beat one thick, messy one every time.
Water-based vs oil-based filler: water-based filler is faster and easier to clean up, but it can dry quickly and may raise the grain slightly. Oil-based gives you more working time, but it usually takes longer to dry. Either way, follow the label, because some fillers want primer within a certain window.
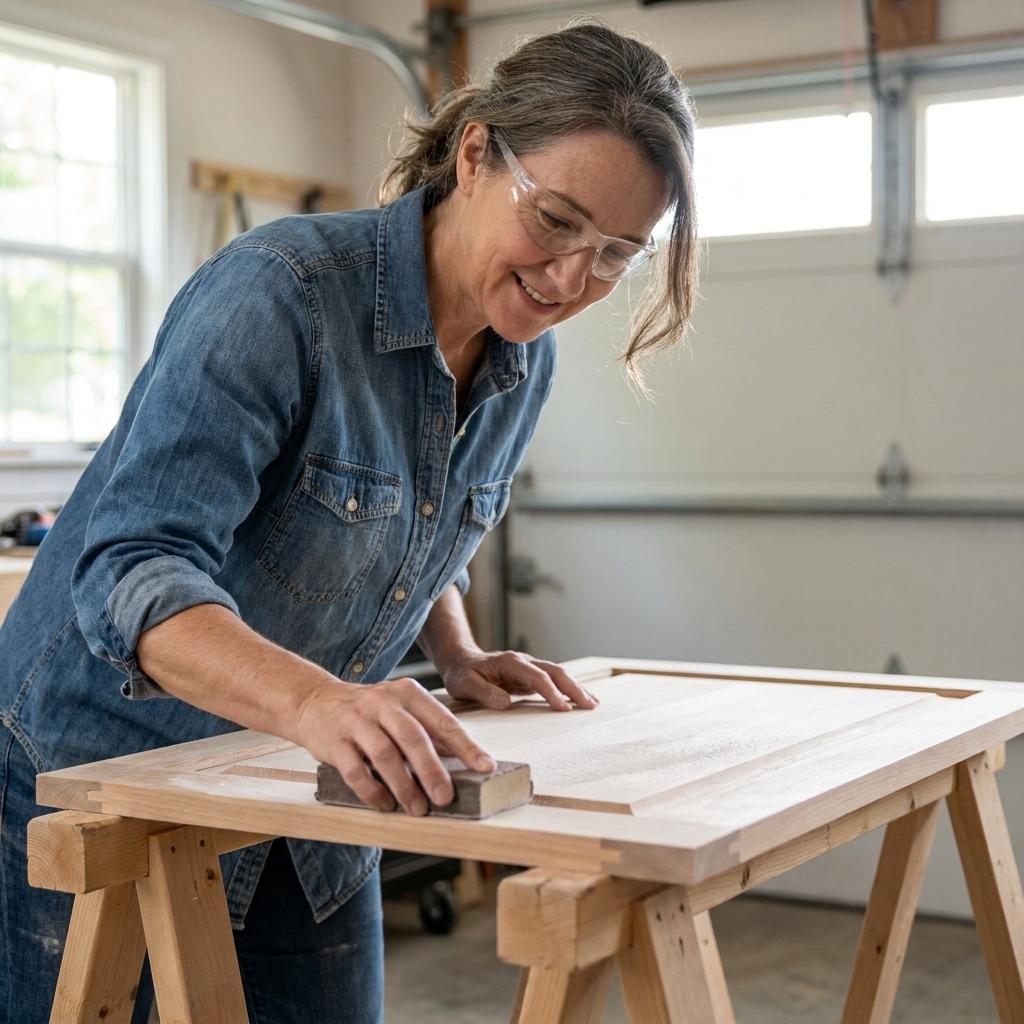
6) Sand the filler flat
Once dry, sand with 180 grit until the surface feels even and you are no longer seeing ridges from your spreader. Wipe clean.
If you still see deep pore lines, do a second skim of grain filler and repeat. Heavy oak often needs two rounds on door centers to look truly smooth after paint.
Primer strategy
For oak cabinets, I like to think of primer in two jobs:
- Bonding: sticks to old varnish and seals in any leftover contaminants
- Building: adds thickness you can sand smooth, helping erase tiny texture
Option A: bond then build
This is my favorite for heavy grain and for older finishes you do not fully trust.
- Apply one coat of bonding primer. Let it dry as directed.
- Lightly sand with 220 grit to knock down dust nibs.
- Apply one to two coats of high-build primer, sanding between coats if it feels rough.
This combo gives you adhesion plus that “smoothable” layer before paint.
Option B: bonding primer only
If your oak grain is not super deep, one to two coats of a quality bonding primer can be enough, especially if you are okay with subtle texture.
Caveat: If the existing finish is peeling, flaking, or contaminated (think silicone overspray, polishes, or mystery waxy buildup), you may need extra prep, more aggressive sanding, or a different primer choice. When in doubt, do a small adhesion test on the back of a door before you commit.
Important: Primer should feel smooth before paint. If it feels gritty or bumpy, your topcoat will not magically level it.
Paint without adding texture
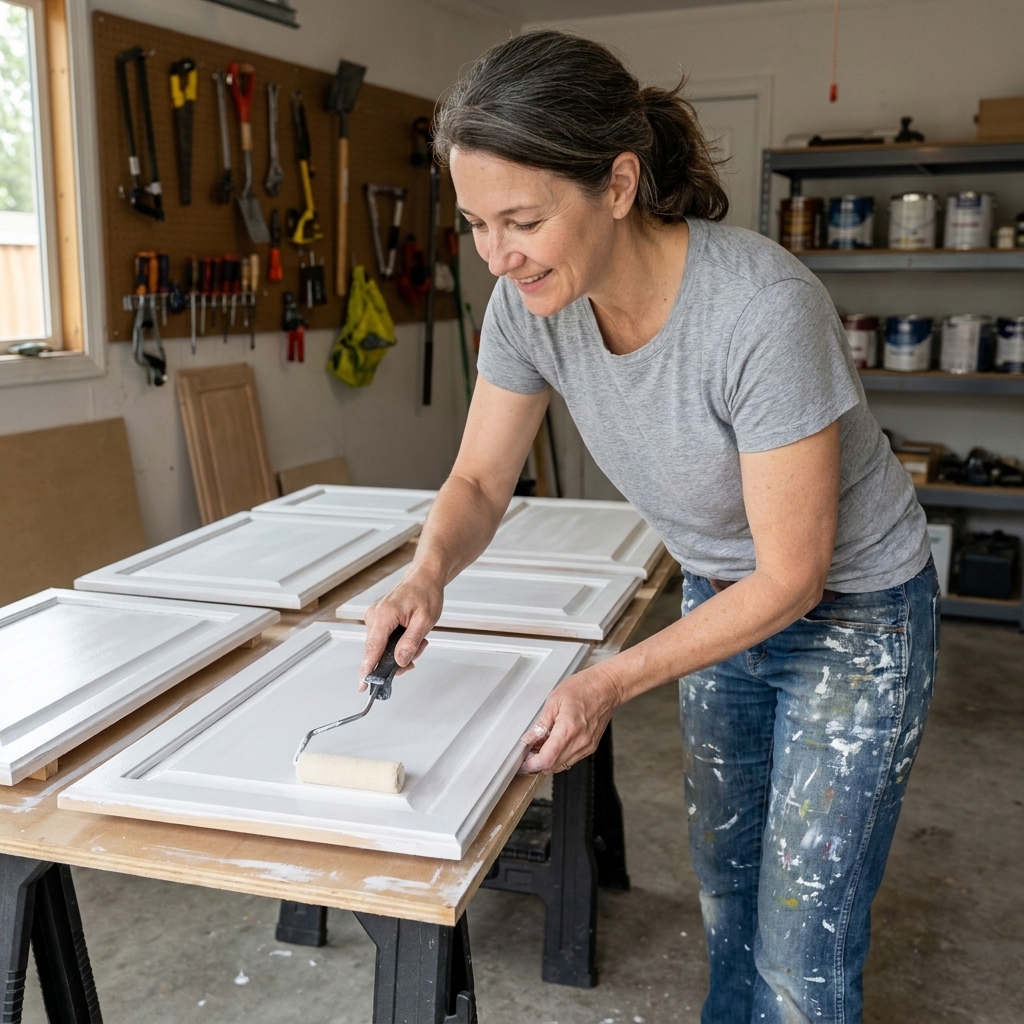
Once your grain is filled and your primer is smooth, your painting technique matters. Thick paint and heavy-handed rolling can bring back orange peel and texture that distracts from all your prep work.
- Use thin, even coats. Two to three lighter coats beat one heavy coat.
- Let coats dry fully. If you rush recoat times, you can get drag marks and soft spots.
- Sand lightly if needed. If you feel dust nibs, a quick 320 grit scuff between coats keeps everything silky.
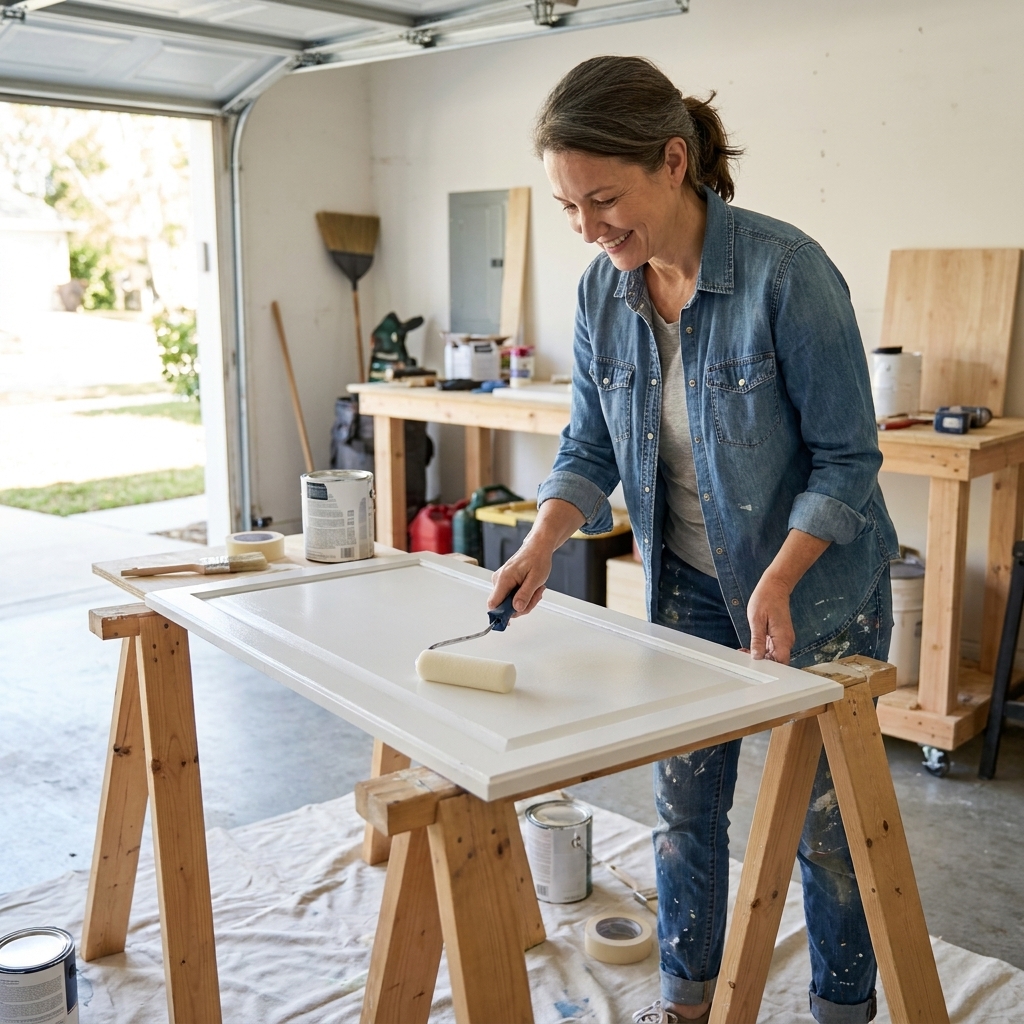
- Paint doors flat when possible. Gravity is not your friend on vertical doors.
Dry vs cure: cabinet enamels can feel dry the same day, but full cure can take days (sometimes longer). Treat the cabinets gently at first, and consider waiting a bit to reinstall hardware if the finish still feels tender.
If you spray: strain your paint, follow the product’s thinning guidance (if any), and use the recommended tip size for your sprayer. Spraying can look the smoothest, but only if your prep is already smooth.
Common mistakes
- Skipping cleaning: grease prevents filler and primer from bonding well.
- Over-applying grain filler: thick filler takes longer to dry and sands unevenly.
- Not sanding the filler flat: if you can see spreader marks now, you will see them later.
- Expecting primer to erase deep pores: most primers are not miracle workers on oak.
- Painting before primer is ready: if you cannot sand it to smooth, you will chase roughness through every coat.
How smooth can oak get?
With grain filler plus a sandable, high-build primer, you can get oak cabinets surprisingly smooth. Will it be identical to brand-new MDF shaker doors? Not always, especially if your doors have lots of cathedral grain or if you choose not to skim every inch. But you can get close enough that people assume you replaced the cabinets, not rescued them.
If you are painting a light color (bright white, soft greige), grain telegraphing shows more. Darker colors hide a bit better, but the texture can still catch the light. When in doubt, do the extra round of filler on a single test door and see if it is worth it for your kitchen.
Quick FAQ
Can I use caulk to fill oak grain?
No. Caulk is great for seams where cabinet frames meet walls, or tiny gaps at trim joints. It shrinks and stays flexible, so it is not a good grain filler and it will look wavy under paint.
Do I need to strip the cabinets first?
Usually no. Most honey oak cabinets can be cleaned, scuff sanded, then primed with a proven bonding primer. Stripping is messy and typically only necessary if the old finish is failing, you cannot remove contamination, or you have an adhesion problem you cannot solve with normal prep.
What grit should I use after grain filler?
Start with 180 grit to level, then finish with 220 if needed. The goal is flat and smooth, not polished bare wood.
How many coats of grain filler will I need?
For heavy red oak style pores, often two coats on the door centers. For lighter oak, one careful application can be enough.
My best tip
Do one door as your “sample board.” Fill the grain, prime, and paint it completely before you commit to all your doors. It is the easiest way to confirm your products, your smoothness level, and your final color, without the pressure of having your whole kitchen torn apart.
Oak is stubborn, but it is also solid wood that is absolutely worth saving. With the right filler and primer plan, those dated honey-oak cabinets can turn into the sleek, modern backdrop you have been picturing.