
If you have ever stood in the paint aisle holding a bottle of “liquid sandpaper” in one hand and sandpaper in the other, you are not alone. Cabinet prep is where paint jobs live or die, and it is also where most of us want the biggest shortcut.
Here is the honest truth from many kitchen makeovers: chemical deglossers (often called liquid sandpaper) and manual sanding do different jobs. Sometimes one is enough. Sometimes you need both. And sometimes neither will save you if the surface is contaminated or the existing coating is failing.
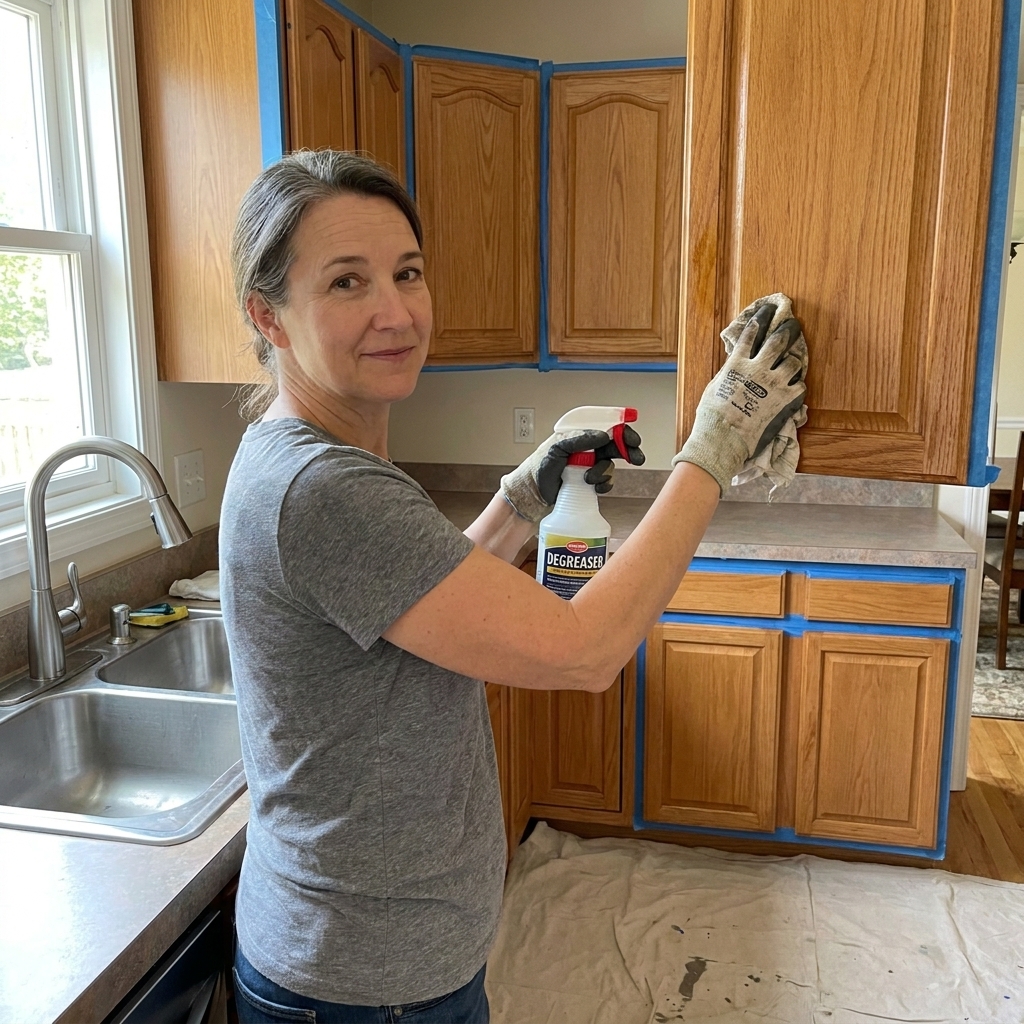
What “liquid sandpaper” really does
Liquid sandpaper is a chemical deglosser. Instead of scratching the surface like sandpaper, it chemically dulls or etches a glossy finish (think varnish, lacquer, polyurethane, or enamel) so primer can grab better.
One important reality check: results vary by product and coating type. Some deglossers act more like cleaner-deglossers. Others etch more aggressively. And some hard, fully cured factory finishes may not “soften” much at all. That is why I always say: follow the label, and spot test.
What it’s good at
- Knocking down shine on a sealed finish, especially in grooves and profiles where sanding is annoying.
- Saving time on detailed doors with lots of bevels, routed panels, and trim.
- Reducing dust compared to full sanding, which matters if you are working in a lived-in home.
What it’s not good at
- Leveling damage like nicks, dents, raised grain, or brush marks.
- Fixing peeling finish or flaking paint. If the existing coating is failing, you still need to remove what is loose and get back to a sound surface.
- Removing gunk. Deglosser is not a degreaser. If your cabinets are oily, you must clean first.
- Skipping wipe-off steps. Some products leave residue or a film. If the label says wipe, rinse, or change rags often, do it. That step can be the difference between great adhesion and a mess.
What manual sanding really does
Manual sanding is simple and powerful: it physically scuffs and smooths the surface. For paint, you are usually not trying to sand to bare wood. You are trying to create consistent tooth and remove anything that might interfere with adhesion.
What it’s good at
- Creating reliable tooth for primer on almost any sound surface.
- Smoothing repairs like wood filler over dents, seams, and old hinge impressions.
- Feathering edges where old paint or finish transitions so you do not see ridges later.
- Dealing with small failures like minor chips or bubbles by sanding back to stable material.
What it’s not good at
- Speed in tight profiles. It takes time to do detailed doors well.
- Dust control unless you vacuum sand or use a sanding sponge carefully and clean thoroughly.
- Saving a widespread adhesion problem. Sanding helps remove and feather loose areas, but if the remaining coating is poorly bonded across the whole kitchen, you may be looking at more serious removal and priming steps.

Liquid sandpaper vs. sanding
| Factor | Liquid sandpaper (deglosser) | Manual sanding |
|---|---|---|
| Best use | Dulling glossy, intact finishes, especially detailed profiles | Scuffing, smoothing, feathering edges, leveling filler and defects |
| Adhesion reliability | Good when used correctly and finish is intact (varies by product and coating) | Excellent on sound surfaces when cleaned and de-dusted |
| Peeling or flaking? | No, you still have to remove loose material | Helps remove and feather loose areas, but you still must get back to a sound, well-bonded surface |
| Dust | Very low dust (but may require wipe-off per label) | Moderate, unless vacuum sanded |
| Smell and ventilation | Often strong, needs airflow and gloves | Minimal, but you still want a mask for dust |
| Skill level | Easy, but timing and wipe steps matter | Easy, but consistency and cleanup matter |
| Cost | Ongoing bottle cost | Low cost sandpaper and sponges |
Choose by cabinet finish
1) Glossy factory finish
If the finish is shiny but solid, you have options.
- Best choice: Light sanding (often 180 to 220 grit) for consistent tooth.
- Good alternative: Deglosser, especially on heavily profiled doors, followed by a quality bonding primer.
- My real-world pick: Deglosser for the grooves plus a quick scuff sand on the flats. It is the sweet spot between speed and reliability.
2) Previously painted cabinets
Paint is only as good as what it is stuck to. If the old paint is solid and well-adhered, you can prep and repaint. If it is peeling, you need to fix that first.
- If paint is sound: Clean well, scuff sand to dull the sheen, then prime where needed.
- If paint is failing: Scrape and sand back to stable paint, feather edges, spot prime, then proceed. If failures are widespread, plan on more aggressive removal or a pro assessment.
- Where deglosser fits: It can help dull a glossy enamel, but it will not reattach lifting paint.
3) Laminate or thermofoil
This is where I get extra cautious. Slick manufactured surfaces can be paintable, but prep and primer choice matter a lot.
- Do: Clean thoroughly, lightly scuff sand (do not gouge), then use a proven bonding primer.
- Watch for: Thermofoil that is lifting at seams, bubbling near heat, or peeling at edges. Those failures usually come back, and paint is rarely a long-term fix.
- Be careful with: Deglossers on thin edges or questionable seams. Always spot test first and follow the product label.
4) Natural wood or worn-through spots
If you have bare wood, sanding is your friend.
- Best choice: Sand to smooth (often 120 then 180), remove dust, then prime. If you have oak with open grain, decide if you are filling grain or embracing texture.
- Deglosser: Not useful on bare wood because there is no glossy coating to degloss.
My prep routines
Option A: Sanding-first
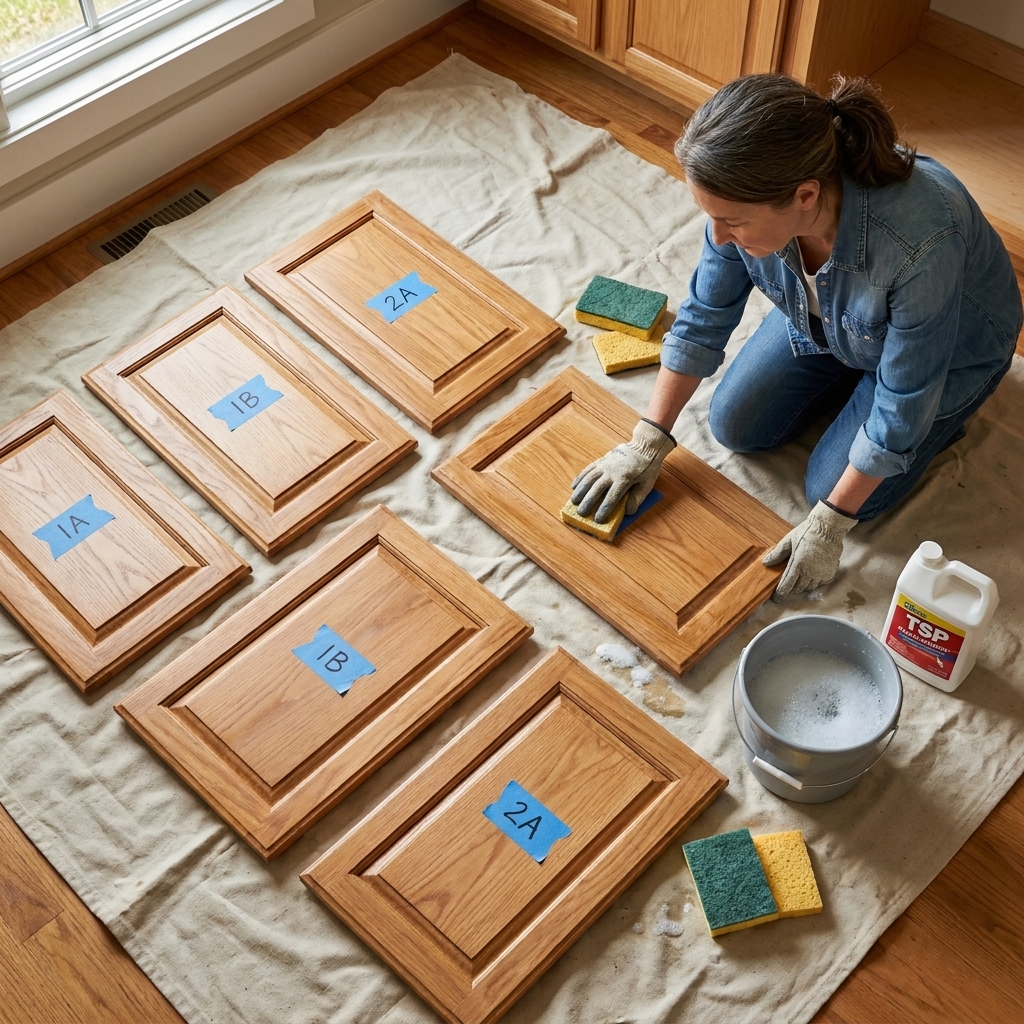
- Remove doors and hardware. Label doors and hinges so reinstall is painless.
- Degrease. Use a cleaner that can cut kitchen oils (TSP substitute, Krud Kutter, or even Dawn and warm water for light grime). Follow the label, and rinse or wipe clean so no cleaner residue remains.
- Let everything dry. Give it time. Trapped moisture can mess with adhesion, especially around seams and edges.
- Scuff sand. For most intact finishes, 180 grit is a great starting point. You are aiming for dull and evenly scratched, not bare wood.
- Vacuum and wipe. Vacuum crevices, then wipe with a slightly damp microfiber cloth. Use a tack cloth only if it is compatible with your paint system and used lightly.
- Fill and spot sand. Fill old hardware holes or dents, let cure, then sand smooth.
- Prime. Use a bonding primer appropriate to your surface and topcoat plan.
Option B: Deglosser-first
- Remove doors and hardware.
- Degrease first. This is non-negotiable. Deglosser is not a cleaner. Rinse or wipe clean as directed.
- Let everything dry. Do not trap moisture under primer.
- Apply deglosser exactly as directed. Usually this means wiping it on with a clean cloth and keeping the surface wet for the stated time. Change rags often.
- Wipe off if the label says to. Some formulas require removing residue before priming.
- Do a quick scuff sand on flat areas. Optional, but it boosts adhesion confidence, especially on slick, glossy flats.
- Let it flash off. In plain terms, let the solvents evaporate and the surface dry within the product’s recoat window.
- Prime. Do not skip primer just because you used deglosser.
Primer and topcoat basics
I keep this simple: prep helps, but primer choice is what makes cabinet paint stick and stay looking good.
- For glossy finished wood or old enamel paint: a true bonding primer is your best friend. Many DIYers have good luck with water-based urethane-acrylic bonding primers for low odor and easy cleanup.
- For tannin-prone woods (oak, cherry) or mystery stains: use a stain-blocking primer. Shellac-based primers block the most, but they smell strong and need serious ventilation.
- For laminate or thermofoil: use a primer specifically known for hard-to-paint surfaces, and let it cure as directed before topcoating.
- For the topcoat: cabinet-grade enamels (waterborne alkyds or acrylic cabinet paints) tend to level better and cure harder than basic wall paint. Whatever you choose, respect cure time. “Dry to the touch” is not the same as “ready for daily abuse.”
Add an adhesion test
If you are unsure about the old finish, do a quick adhesion check before you paint the whole kitchen.
- After prep and primer (once dry), use a utility knife to cut a small crosshatch grid in an inconspicuous spot.
- Press painter’s tape firmly over it, then pull it back sharply.
- If primer lifts easily, stop and reassess. You may need more cleaning, more scuffing, or a different primer.
Where DIY cabinet jobs go wrong
Skipping cleaning
Kitchen cabinets collect invisible grease, especially around knobs and above the stove. If you sand over grease, you are basically polishing it into the surface. If you degloss over grease, you are smearing it around. Either way, paint struggles.
Assuming deglosser replaces primer
Deglosser can help primer bond, but it does not create a tough, uniform base coat. For cabinets, primer is what helps with adhesion, tannin blocking (oak, cherry), and stain sealing.
Not dealing with failing coatings
If old paint is peeling, your new paint will peel right along with it. Scrape what is loose, sand to stable edges, then prime those spots before you paint everything.
Leaving sanding dust behind
Dust left on doors turns into gritty paint texture. Vacuum first, then wipe. And do not forget hinge cups, inside corners, and door profiles.
Safety notes
- Ventilation matters. Many deglossers have strong solvents. Open windows, run a fan, and take breaks.
- Keep away from flames. Many chemical deglossers are flammable. No smoking, no pilot lights, and no sparking tools in the work area.
- Wear gloves and eye protection. Deglossers can irritate skin and eyes.
- Use a dust mask or respirator for sanding. Especially if you are sanding old finishes, primers, or unknown coatings.
- If your home is older (pre-1978): consider lead-safe practices before sanding old paint. When in doubt, use a test kit or consult a pro.
My simple decision guide
- Choose sanding if you have repairs to smooth, peeling areas to feather, or you want the most consistent adhesion across large flat surfaces.
- Choose liquid sandpaper if your cabinets have lots of detail, the finish is glossy but intact, and you want low dust with careful, label-following application.
- Choose both if you want the best of both worlds: deglosser for the profiles and a quick scuff sand on flats and high-touch areas.
FAQ
Do I have to sand cabinets if I use liquid sandpaper?
Not always, but I often recommend at least a light scuff sand on the flat areas for peace of mind. Deglosser is great in grooves, but sanding is hard to beat for consistent tooth on broad surfaces.
What grit should I use to prep cabinets for paint?
For most intact cabinet finishes, 180 grit is a solid starting point. If the surface is already a bit rough or you are just de-shining, 220 grit can be enough. If you are smoothing filler or damage, you might step through 120 then 180, then finish at 180 or 220.
Will liquid sandpaper remove stain?
No. It dulls the clear topcoat. It does not strip stain out of wood. If you are trying to change stained cabinets to a different stain color, that is a separate process.
Can I use deglosser on polyurethane?
Many deglossers are designed to dull hard clear coats like polyurethane, but you need to confirm on the label and do a small test area. When I am working over a slick clear coat, I still like a quick scuff sand on the flats before primer.
What matters more than sanding vs. deglosser?
Cleaning and primer choice. A spotless surface plus the right bonding primer will carry your finish much further than any one prep shortcut.