If you are changing your kitchen hardware layout, moving pulls from center to lower corners, switching from knobs to longer pulls, or just updating to a modern spacing, you will end up with a few “ghost holes.” The good news: those old holes can disappear under paint. The not-so-fun news: the difference between invisible and “I can still see it from across the room” comes down to choosing the right patch method and not skipping dry time.
I have filled more cabinet holes than I can count, starting in my own 1990s honey-oak kitchen. This is the exact approach I use now when I want a clean, factory-looking finish.
Wood filler or dowels?
Here is my rule of thumb. Pick the method based on hole size, door condition, and how flawless you want the final paint finish.
Use wood filler when:
- The hole is a typical knob or pull screw hole, often around 3/16 inch (but check your hardware and screw size).
- You only need to fill a couple holes and want speed.
- The cabinet door is MDF or a thin veneer you do not want to drill larger.
Use wood dowels when:
- The hole is enlarged, chewed up, or stripped.
- You are covering a larger opening (for example, an old handle location that got wallowed out).
- You want the most durable patch and the least chance of shrinkage telegraphing later.
- You are doing a full kitchen and want the cleanest long-term result.
If you are on the fence, dowels are the more carpentry-style solution and tend to vanish better under paint, especially on doors you will handle every day.
Tools and materials I use
- Putty knife (a flexible 1.5 to 2 inch one is perfect)
- Paintable, sandable wood filler or wood dowels (more on sizing below)
- Wood glue (for dowel method)
- Utility knife or flush-cut saw
- Sandpaper: 120, 180, 220 grit
- Sanding block or small orbital sander
- Vacuum and a damp microfiber cloth
- Bonding primer (especially important on oak and slick factory finishes)
- Pencil and measuring tape (for new hole layout)
- Optional: painter’s tape to protect the face while you work
- Optional: a dust mask or respirator for sanding dust
Before you fill
1) Remove hardware and clean
Take off knobs and pulls, then degrease. Kitchen cabinets hold onto cooking oils and hand grime, and filler does not love sticking to that. I use a degreaser, then wipe with clean water and let everything dry.
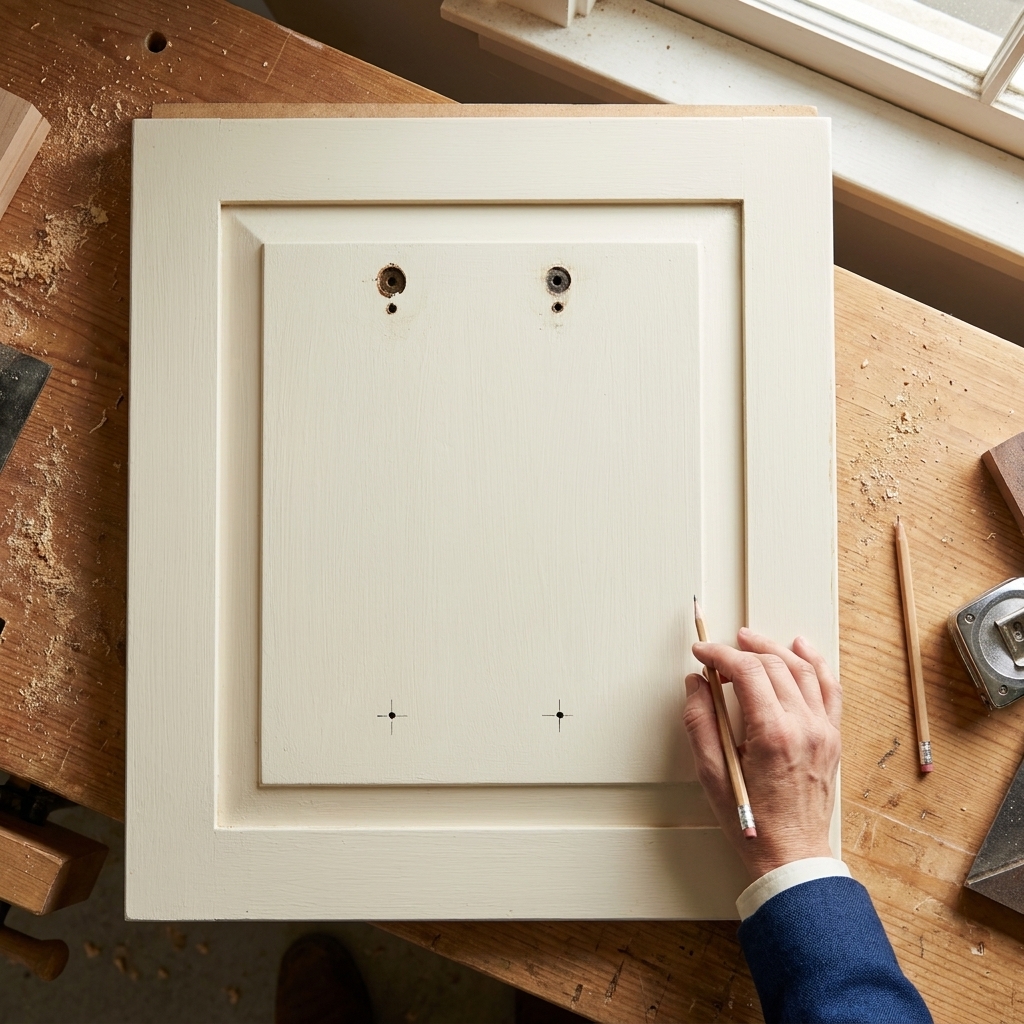
2) Decide new hole placement now
Do your measuring and marking before you patch. If you fill first and measure later, it is easier to accidentally drill too close to an old filled spot.
Tip: If you are moving handles on drawers, use a simple jig or a scrap piece of wood as a template so every drawer lands in the same place.
3) Lightly scuff sand around old holes
You do not need to sand the whole door at this moment, but scuffing around the hole helps the filler feather out smoothly and grip the surface.
4) Quick note on thermofoil and laminate
If your doors are thermofoil, laminate, or very slick factory finished, adhesion is the whole game. Scuff sand thoroughly, clean well, and use a high-adhesion bonding primer. On these surfaces, dowels plus a skim coat of filler is usually more reliable than filler alone.
Method A: Wood filler
This is the quickest approach, and it works beautifully when you do it in thin layers.
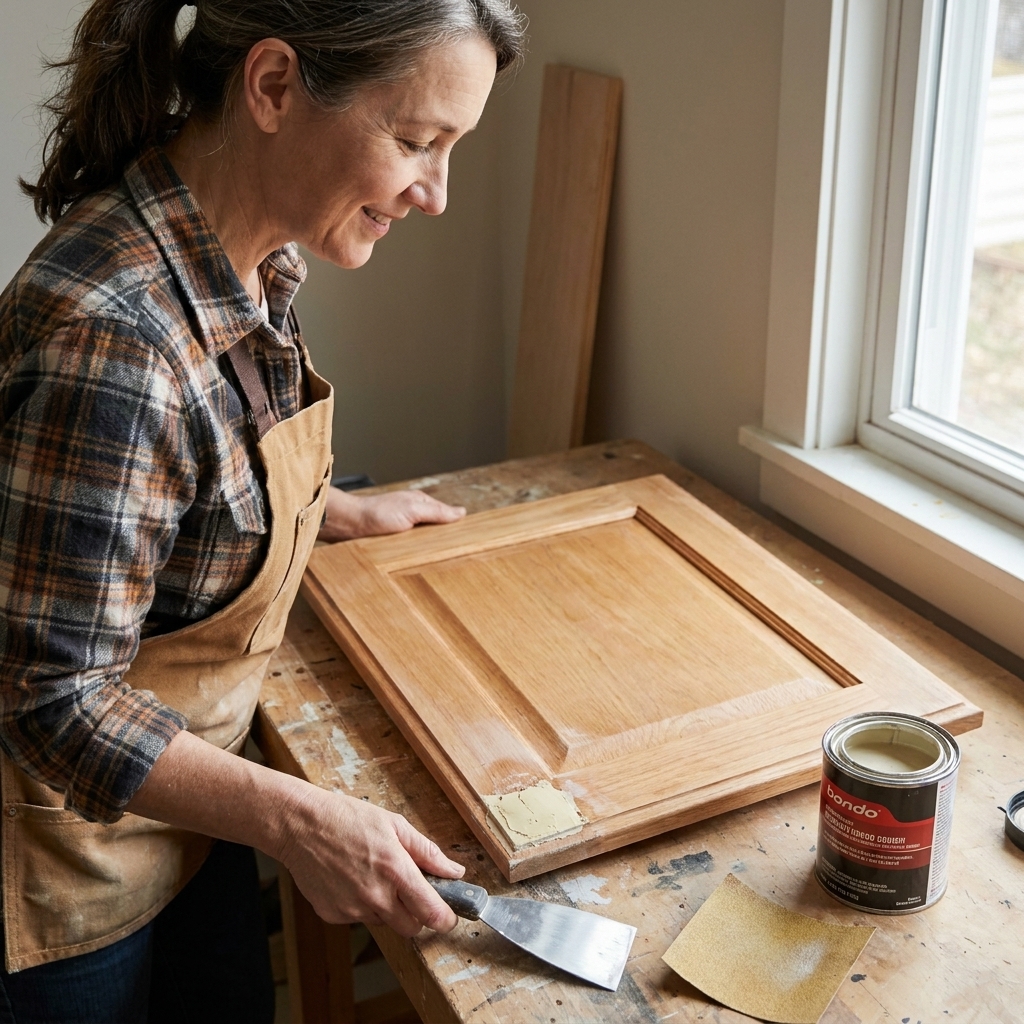
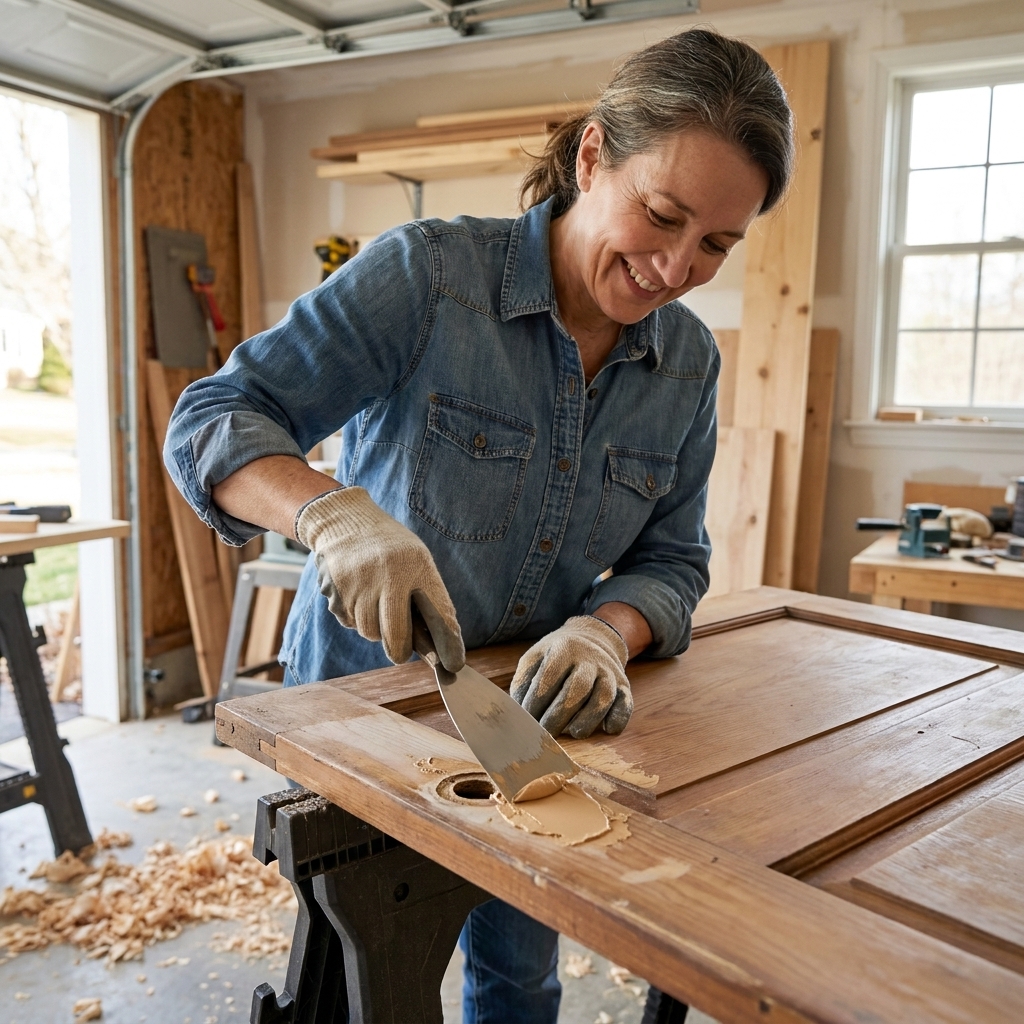
Step 1: Pack the hole
Use your putty knife to push filler into the hole from multiple directions. You want it fully packed with no air pockets.
Step 2: Slightly overfill, then scrape tight
Leave a tiny mound, then scrape the area as smooth as you can with the knife. Most fillers shrink a bit as they dry, and a clean scrape now means less sanding later.
Step 3: Let it dry fully
Dry times vary by product and humidity. If the filler still feels cool or rubbery, it is not ready. Rushing here is one of the biggest reasons a patch telegraphs through paint.
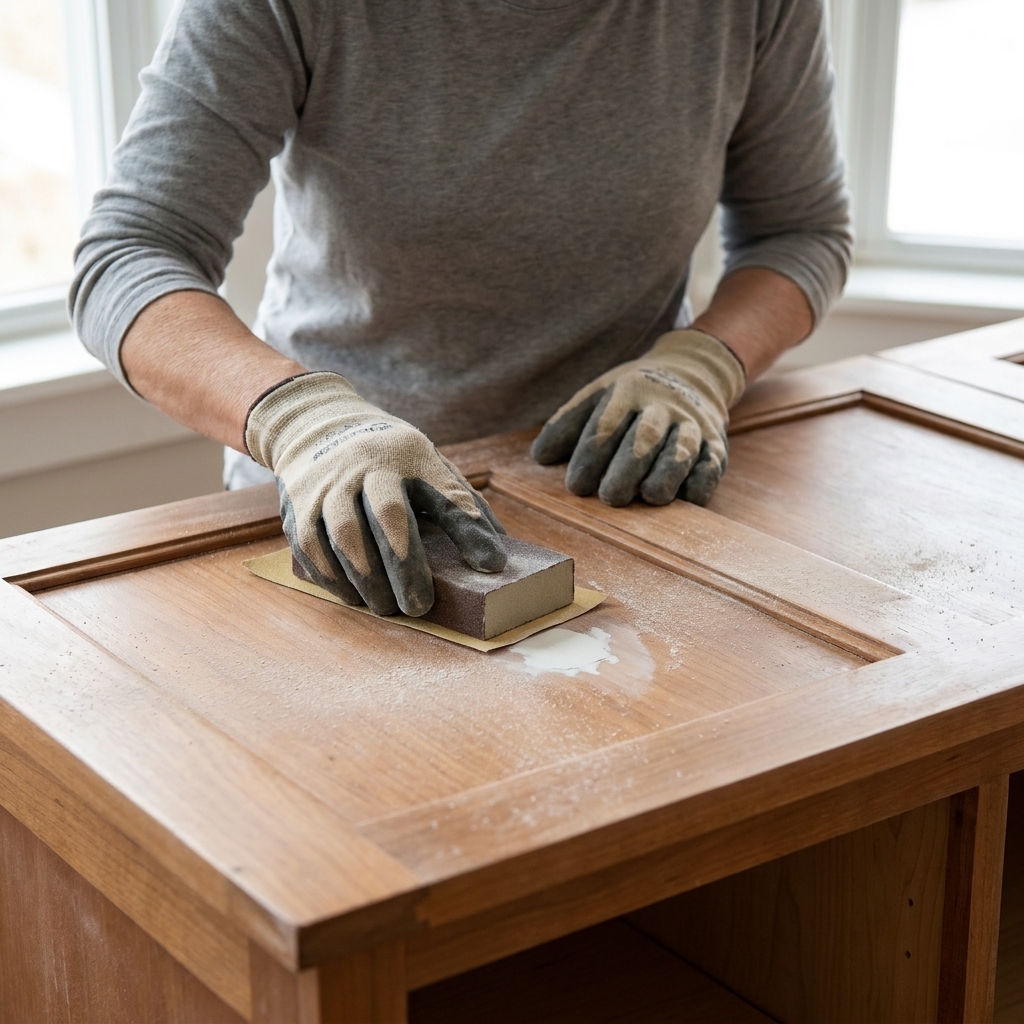
Step 4: Sand flush, then feather
Start with 120 or 180 grit to knock the mound down, then switch to 220 grit to feather the edges so you cannot feel a ridge with your fingertips.
Step 5: Inspect with raking light
Hold a flashlight or work light at a low angle across the door. If you see a dip, do a second skim coat of filler, let it dry, and sand again.
Method B: Wood dowels
Dowels sound intimidating, but this is a very doable weekend-DIY skill, and it gives you a solid wood plug instead of a filler-only patch.
Step 1: Choose the right dowel size
You want a dowel that matches a drill bit size you own, commonly 1/4 inch or 5/16 inch. The idea is to drill the old hole slightly larger so the new dowel fits snug and clean.
Important: If your cabinet door is thin or has a decorative profile near the hole, choose a smaller dowel so you do not blow out an edge.
Step 2: Drill the old hole cleanly
Using the matching drill bit, drill straight through the existing hole to true it up. This removes torn fibers and makes a crisp round opening.
Step 3: Glue and insert the dowel
Add wood glue around the inside of the hole and a light coat on the dowel. Push the dowel in until it is fully seated. Wipe away squeeze-out with a damp cloth right away.
If the fit is not super tight, a strip of painter’s tape across the dowel can hold it flush while the glue cures.
Step 4: Let the glue cure
Give it time. If you cut and sand too soon, the dowel can shift slightly and you will end up chasing a raised ring later.
Step 5: Trim flush
Use a flush-cut saw or carefully slice with a sharp utility knife in small passes. Then sand flush and feather the area smooth.
Step 6: Skim coat if needed
Even with dowels, I often do a very thin skim coat of filler over the plug to erase any tiny seam. Sand with 220 grit after it dries.

Make patches invisible
Feather wider than you think
Do not only sand the size of a dime. Feather out a couple inches around the patch so the surface transitions smoothly. Paint highlights texture differences, especially in natural light.
Prime the patched area
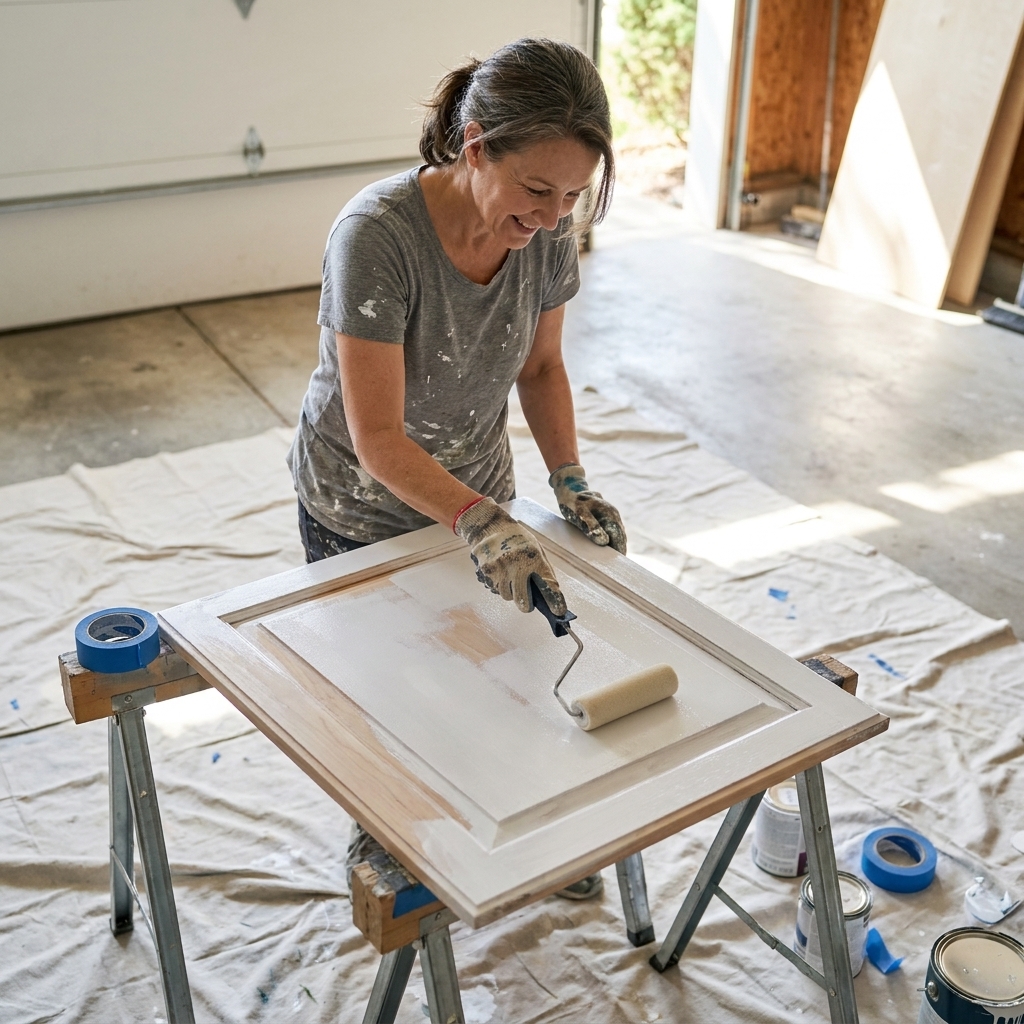
Primer does two jobs here: it seals porous filler and helps your topcoat level evenly. I like to spot-prime patches, then do a full primer coat over the door or frame. On oak or knotty wood, a true bonding primer is worth it to prevent tannins from causing discoloration.
Use raking light between coats
After primer dries, check again with that low-angle light. Primer is honest and will show pinholes and dips you missed. Fix them now, not after your final coat.
Do not create a low spot
If you burn through veneer or sand a shallow crater around the hole, the patch can look more obvious. Let the sandpaper do the work and keep pressure light.
Skip tack cloth if you use water-based paint
Some tack cloths can leave residue that messes with waterborne finishes. A thorough vacuum and a damp microfiber wipe is usually safer.
Frames vs doors
Frames and face frames tend to be a little more noticeable because the light hits them differently, and you are usually looking at them straight-on.
- For frames: I lean toward dowels if the holes are at all messy. Frames get more bumps from dishes, vacuums, and life.
- For doors: Filler works great for clean, small holes, especially if you are doing a smooth painted finish.
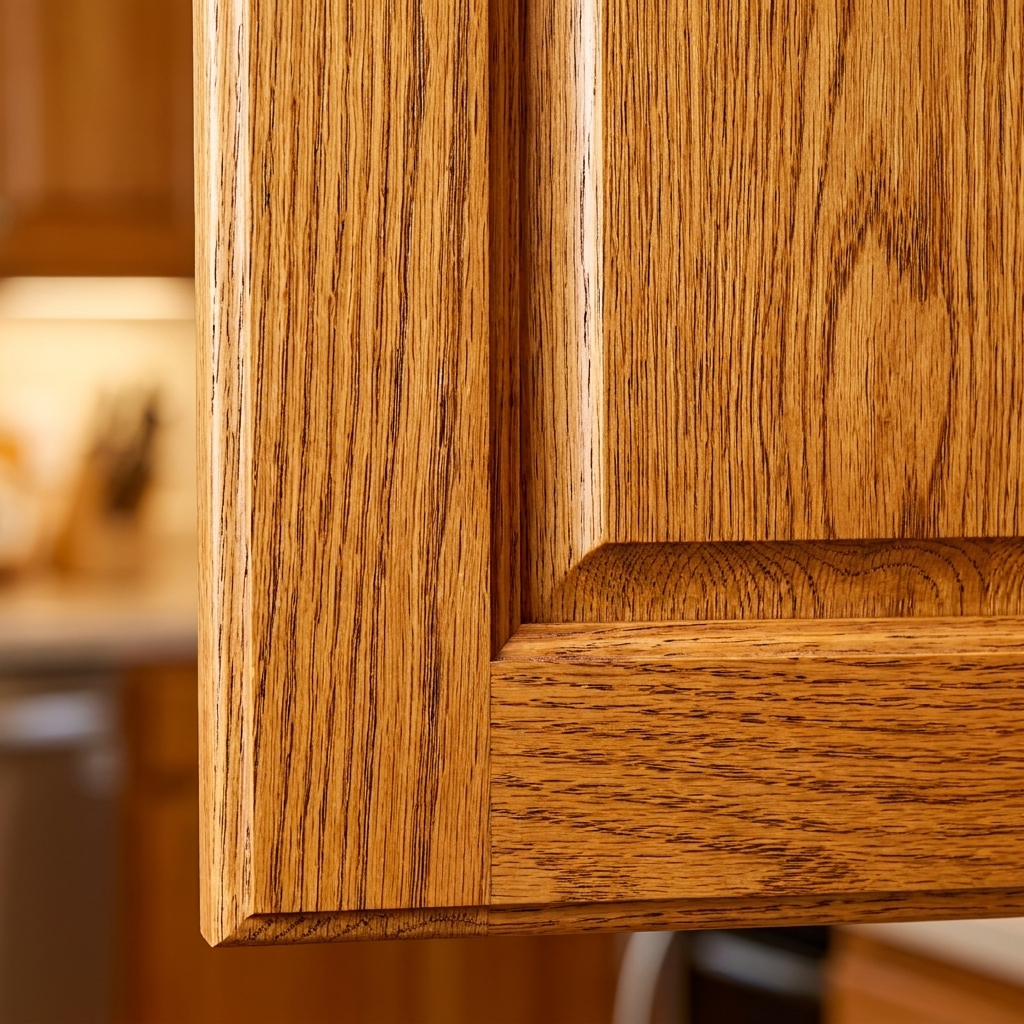
- For oak grain: Remember that oak has texture everywhere. Your patch can be perfect and you will still see the surrounding grain unless you grain-fill before painting. That is normal, not a patch failure.
Common mistakes
Filling deep holes in one thick blob
Thick filler can shrink and crack. Do two thin layers instead.
Skipping dry time
If you sand too early, you can pull filler out of the hole or create a gummy edge that never blends right.
Not sealing filler before paint
Unprimed filler can flash through paint as a dull spot. Primer fixes that.
Drilling new holes too close to the patch
Wood around a patched spot can be slightly weaker until everything is fully cured. If your new pull lands close, choose the dowel method and let it cure overnight before drilling.
Quick FAQ
Will wood filler hold a new screw if I reuse the same spot?
If you need to put a screw back in the exact same place, filler alone is not ideal. Use a dowel plug so you are biting into wood again.
Can I use spackle instead of wood filler?
On cabinets, I do not. Spackle is softer and can chip or crumble with handling, and it does not have the same strength as wood filler for edges and hardware areas.
What if I can still see a faint circle after painting?
That is usually a shallow dip, a raised ridge, or primer was skipped on the patch. Sand the spot lightly, skim with filler if needed, prime, and repaint. It is annoying, but it is fixable.
Fill holes before or after sanding the whole door?
I like to do a light scuff sand first, fill holes, then do my full sand once the patches are cured. That way everything levels together.
My checklist
- Patches feel flush when I close my eyes and run my fingertips over them
- No pinholes or dips under a low-angle light
- Dust is fully removed from sanding
- Patches are primed and dry
- New hole locations are measured twice and marked clearly
Once you hit those five, you are in the sweet spot where your new hardware layout looks intentional, clean, and like it was always meant to be there.