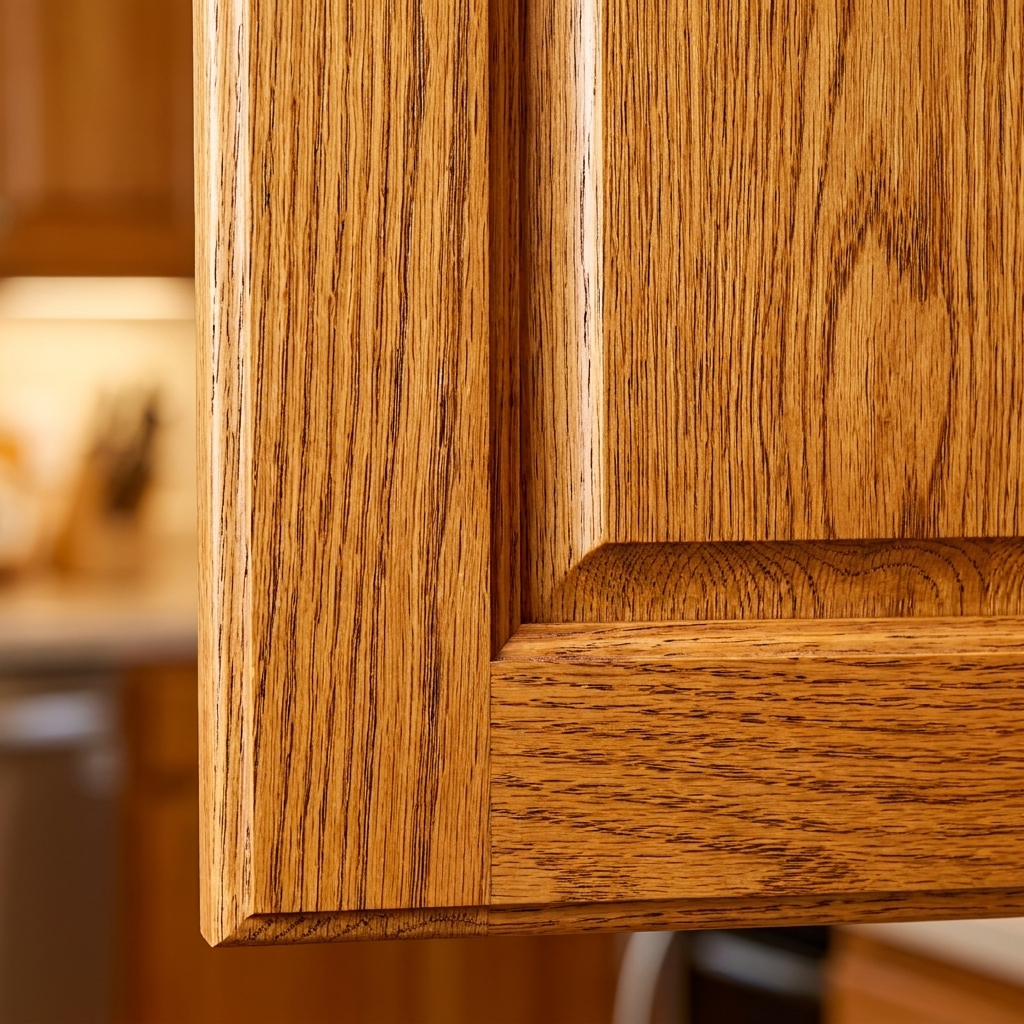
If cabinet paint is the pretty part of the makeover, primer is the part that makes it last. I learned this the hard way in my first kitchen, a very 1990s honey-oak situation that wanted to bleed yellow through everything I put on it. Once I started treating primer like the foundation (not an optional extra), my cabinet finishes stopped chipping, stopped yellowing, and started looking genuinely professional.
In cabinet world, most DIY cabinet primers you will see fall into three buckets: oil-based, water-based (usually acrylic or waterborne bonding primers), and shellac-based. Pros also use specialty options (like catalyzed or 2K primers) for certain shop-level setups, but for most home cabinet makeovers, these three categories cover the real-world decisions you are making in the paint aisle. This guide will help you choose the right one for stain blocking, tannin control, and maximum adhesion, without drowning you in chemistry.
The job of primer
Cabinets are not like drywall. They get touched constantly, wiped with cleaners, slammed shut, and exposed to steam and grease. A good cabinet primer does three main things:
- Adhesion: Helps paint grip slick factory finishes, stained wood, varnish, lacquer, melamine, and other smooth surfaces when they are properly cleaned and scuffed.
- Stain blocking: Locks in old discoloration like cooking grease, water marks, knots, nicotine, and mystery stains around handles.
- Tannin control: Helps prevent wood tannins and extractives (most famously in oak, especially red oak, plus woods like cherry and mahogany) from bleeding into paint and turning it yellow or brown.
Most paint failures I see on cabinets come from one of these being ignored. The right primer is cheaper than repainting doors twice.
Quick picker
If you want the fast answer, start here:
- Choose shellac-based primer if you have oak tannin bleed, heavy stains, knotty wood, smoke or odor issues, or you need the strongest stain seal in a hurry.
- Choose oil-based primer if you need excellent stain blocking and leveling, and you can handle a longer dry time and stronger odor.
- Choose water-based bonding primer if your cabinets are in decent shape and you want low odor, easy cleanup, and strong adhesion on clean, scuffed finishes.
Now let’s break those down like a real-world cabinet project, because the “best” primer depends on what you are painting over.
Water-based primers
Best for
- Previously finished cabinets that you can degloss and scuff sand
- Cabinets with minimal staining
- DIYers who want low odor and soap-and-water cleanup
- Projects where you are painting in an occupied home and want a more comfortable experience
What they do well
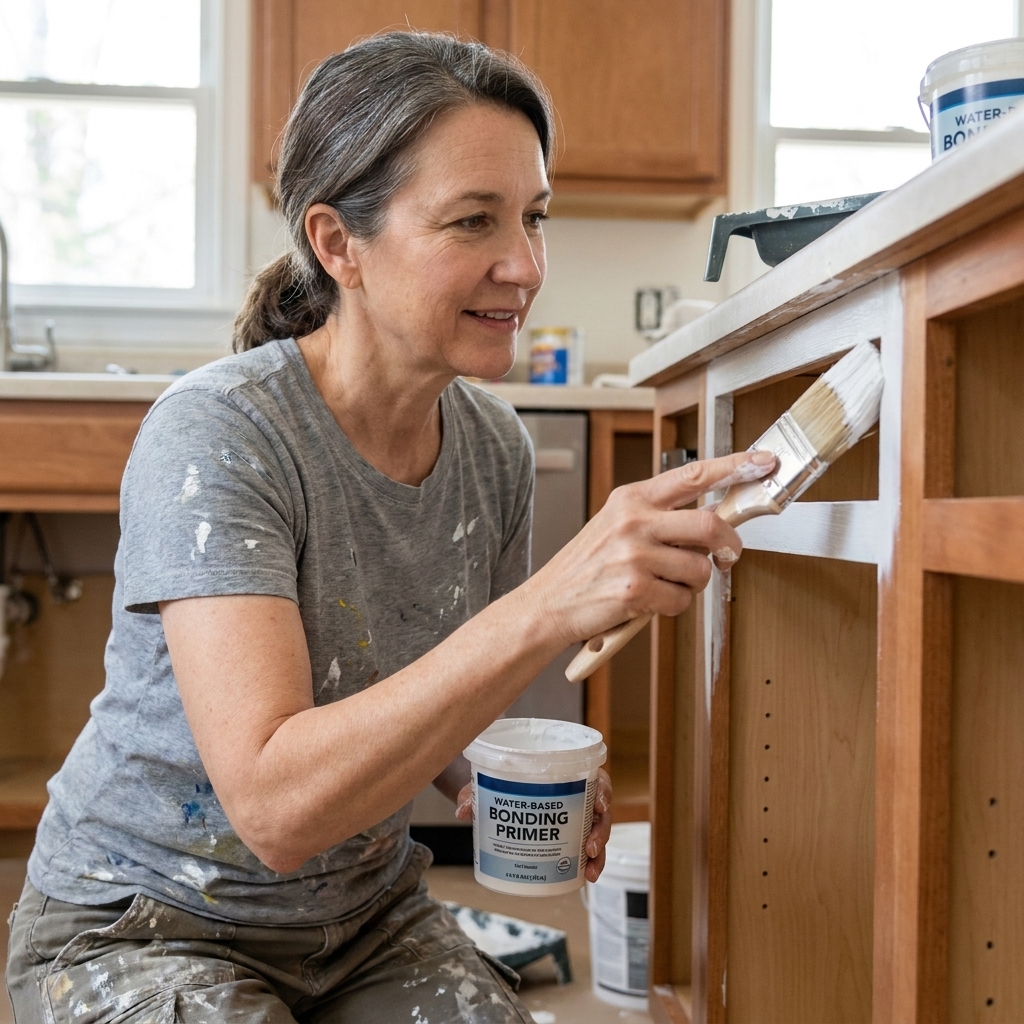
Modern water-based bonding primers have come a long way. The good ones grip surprisingly well if you prep correctly (clean, dull the sheen, remove dust). They also dry faster than oil, which makes same-day progress realistic, especially if you are doing doors in batches.
Where they struggle
Water-based primers are not always the best at sealing tough stains and stopping tannins. On oak, in particular, you can do everything “right” and still get warm yellow or brown bleed creeping through your paint weeks later. That is not you failing. That is chemistry winning.
My real-life rule
If your cabinets are maple, birch, MDF, laminate, or previously painted and in good shape, a quality water-based bonding primer is usually a great choice. If they are oak and you are going light (white, cream, pale greige), I treat a standard water-based primer as a gamble unless it is specifically designed and proven for tannin blocking, and even then I keep shellac on standby.
Oil-based primers
Best for
- Cabinets with moderate stains or old grime that might linger after cleaning
- Wood that needs stronger sealing than many standard water-based primers provide
- Projects where you want a primer that levels nicely for a smoother look
What they do well
Oil-based primers have long been a workhorse for wood cabinets. They generally seal better than basic water-based primers and can lay down with a smoother feel. They also handle small imperfections well and can feel more forgiving when you are brushing.
Trade-offs
- Odor and ventilation: Strong fumes, so plan to ventilate well and think through where you will dry doors.
- Dry time: Often slower, which can stretch your timeline.
- Cleanup: Typically requires mineral spirits or paint thinner.
Where oil fits today
Oil primer still has a place, especially for sealing and smoothing. But if I am battling serious tannin bleed or heavy staining, I reach for shellac first. Oil is solid. Shellac is ruthless.
Shellac-based primers
Best for
- Oak cabinets and other tannin-heavy woods
- Knotty wood or visible knots that tend to bleed
- Smoke, nicotine, and odor sealing
- Water stains and stubborn discoloration
- When you want a hard-sealing base and typically fast recoat times
Why shellac is the stain-blocking champ
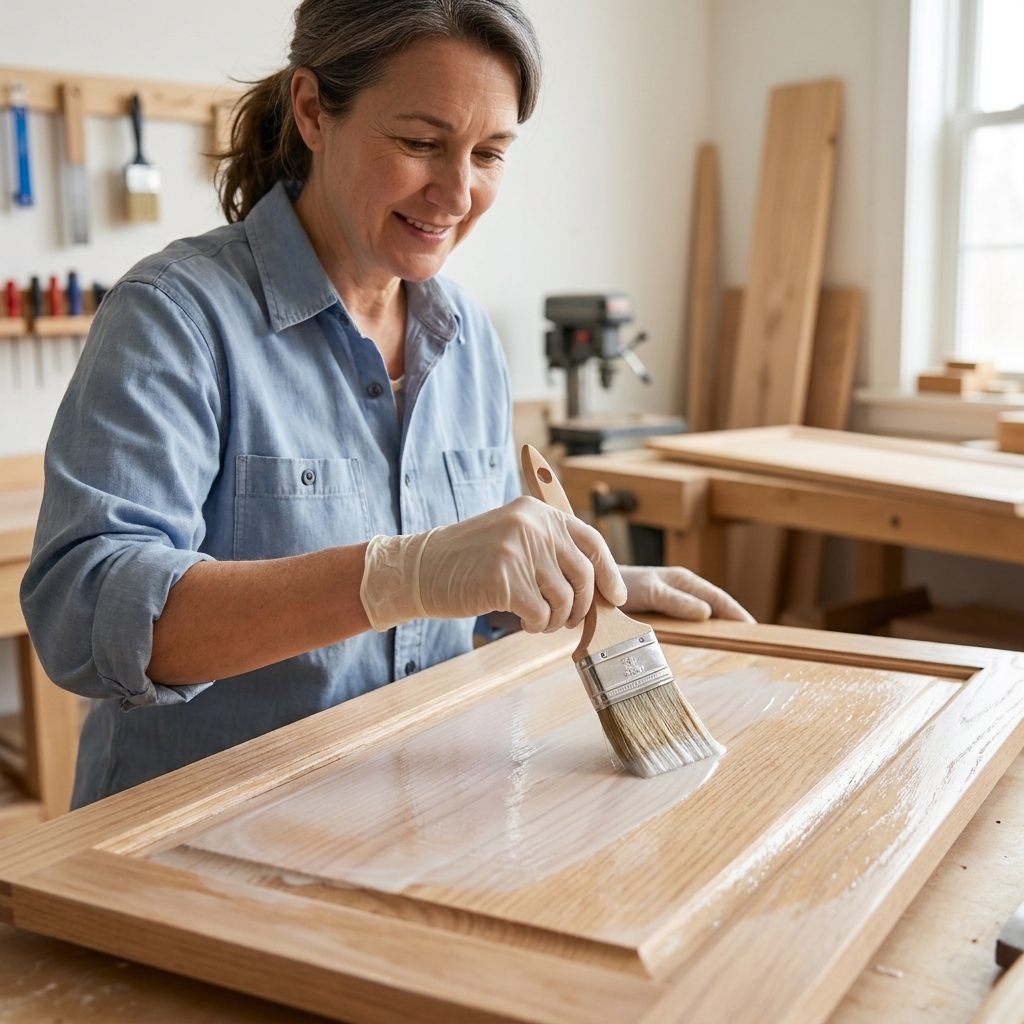
Shellac-based primer typically dries fast and seals aggressively. When people tell me “my cabinets keep turning yellow,” this is the category that most consistently fixes it, especially on oak. It creates a barrier that tannins have a much harder time pushing through.
What to know first
- Odor: The fumes are strong. Ventilation is non-negotiable.
- Cleanup: Typically denatured alcohol (check the label, and clean up while the product is still wet if possible).
- Application feel: It can flash quickly, so work in small sections, keep a wet edge, and do not roll or brush back over areas that are already starting to tack.
My shellac insurance policy
On oak, I would rather prime once with shellac than prime twice with something weaker and still wonder if bleed-through will show up after you reinstall hardware. If you are painting cabinets a light color, shellac can save you weeks of frustration.
Adhesion basics
Primer choice matters, but prep is the secret handshake. Even the strongest primer can fail if it is trying to stick to kitchen grease or glossy varnish.
My adhesion checklist
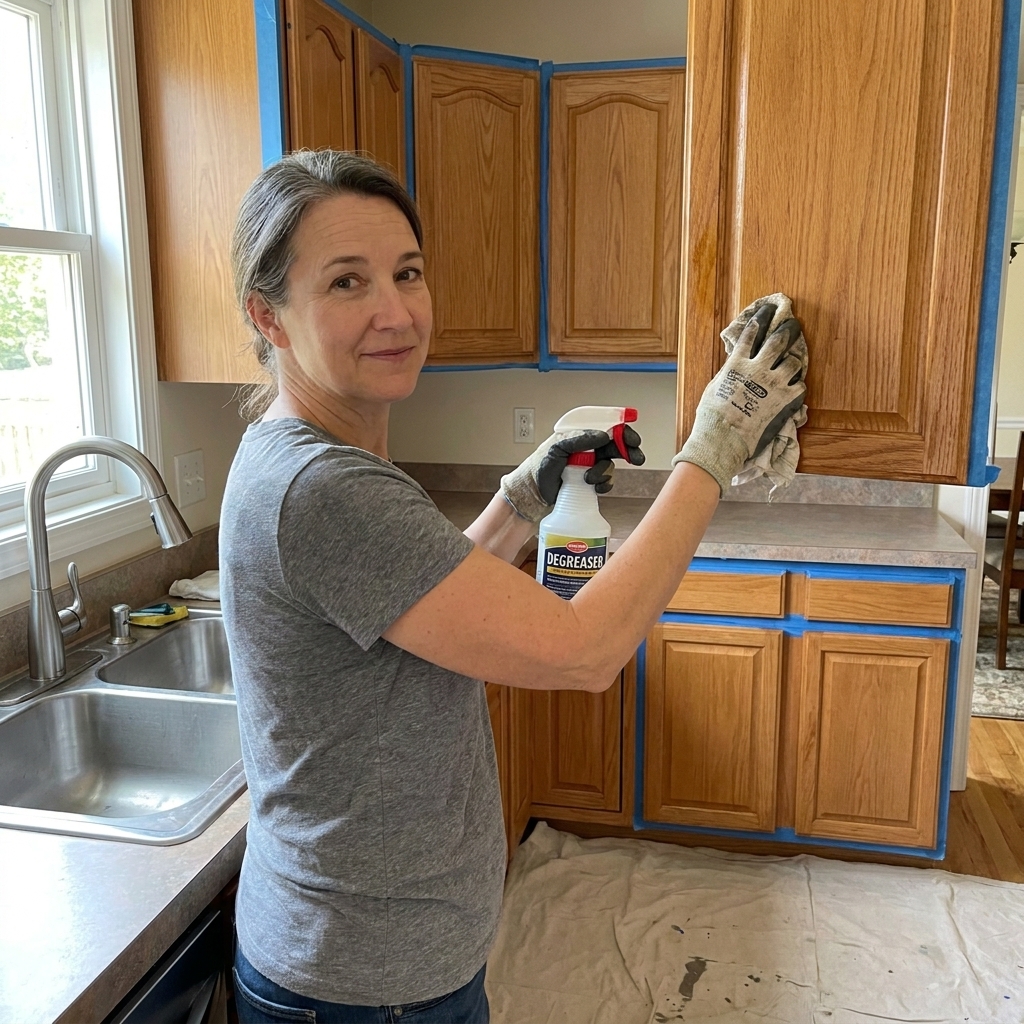
- Degrease first: Use a good degreaser and rinse or wipe per directions. Pay extra attention around knobs and pulls.
- Scuff sand: You are not trying to remove all finish. You are dulling the sheen so the primer has bite. For most cabinets, 180 to 220 grit is a good range.
- Dust removal: Vacuum, then wipe with a damp microfiber or a tack cloth designed for painting. Avoid woodworking tack cloths that leave waxy residue unless they are labeled paint-safe.
- Prime edges and details: Door profiles and sharp edges are where paint likes to fail first.
If you only have energy for one “extra” step, make it the degrease. Cabinets hold onto invisible cooking film like you would not believe.
Stains and tannins
Signs you need stronger stain blocking
- Yellow or brown discoloration creeping through white or light paint
- Dark rings around old hardware locations
- Persistent shadows on cabinet frames near the stove
- Knots showing through primer like little tea stains
Test before you commit
I like a simple test patch on the inside of a door or a back corner of a cabinet frame:
- Clean and scuff sand a small area.
- Prime with the product you think you want to use.
- Let it dry fully, then wait 24 to 48 hours.
- Look for yellowing, brown spots, or any stain telegraphing through.
If you see bleed-through in your test, upgrade your primer now, not after you have painted 24 doors.
Primer and paint
Most cabinet paints play nicely over all three primer types, but I still follow two rules:
- Stay within the same system when possible: If you are using a waterborne cabinet enamel, a high-quality bonding primer (or shellac when needed) is a reliable base.
- Respect recoat times: “Dry to the touch” is not the same as ready for paint. Rushing can cause wrinkling, poor bonding, or soft finishes that dent easily.
If you are unsure, check the primer label for approved topcoats and recoat windows. It is boring, but it prevents heartbreak.
Dry vs cure
Dry means you can lightly touch it. Cure means it has hardened enough to take real wear. Oil-based products, in particular, can feel dry long before they are truly tough. Even after you finish painting, handle doors gently and avoid reinstalling bumpers or tightening hardware like you are assembling a deck. In most kitchens, I plan on babying fresh cabinet paint for at least a few days, and treating it like it is still curing for about two to four weeks depending on the product.
Laminate and thermofoil
These surfaces are where adhesion matters most. You are usually painting something smooth, factory-finished, and not very porous.
- Clean thoroughly: Any residue will sabotage bonding.
- Scuff sand carefully: You want a uniform dull finish without gouging.
- Use a true bonding primer: Look for one specifically labeled for glossy surfaces, laminate, or slick factory finishes.
- Know the limits: Many cabinet and door manufacturers do not recommend painting thermofoil. If your thermofoil is already peeling, paint is rarely a long-term fix, because primer cannot stabilize a failing skin that is lifting. Even with excellent prep, paint failures are common on thermofoil because the surface can flex and release over time.
Also worth noting: shellac is amazing at sealing stains, but it is not a magic adhesion fix for plastic-like surfaces. Prep and the right bonding primer still do the heavy lifting.
How many coats?
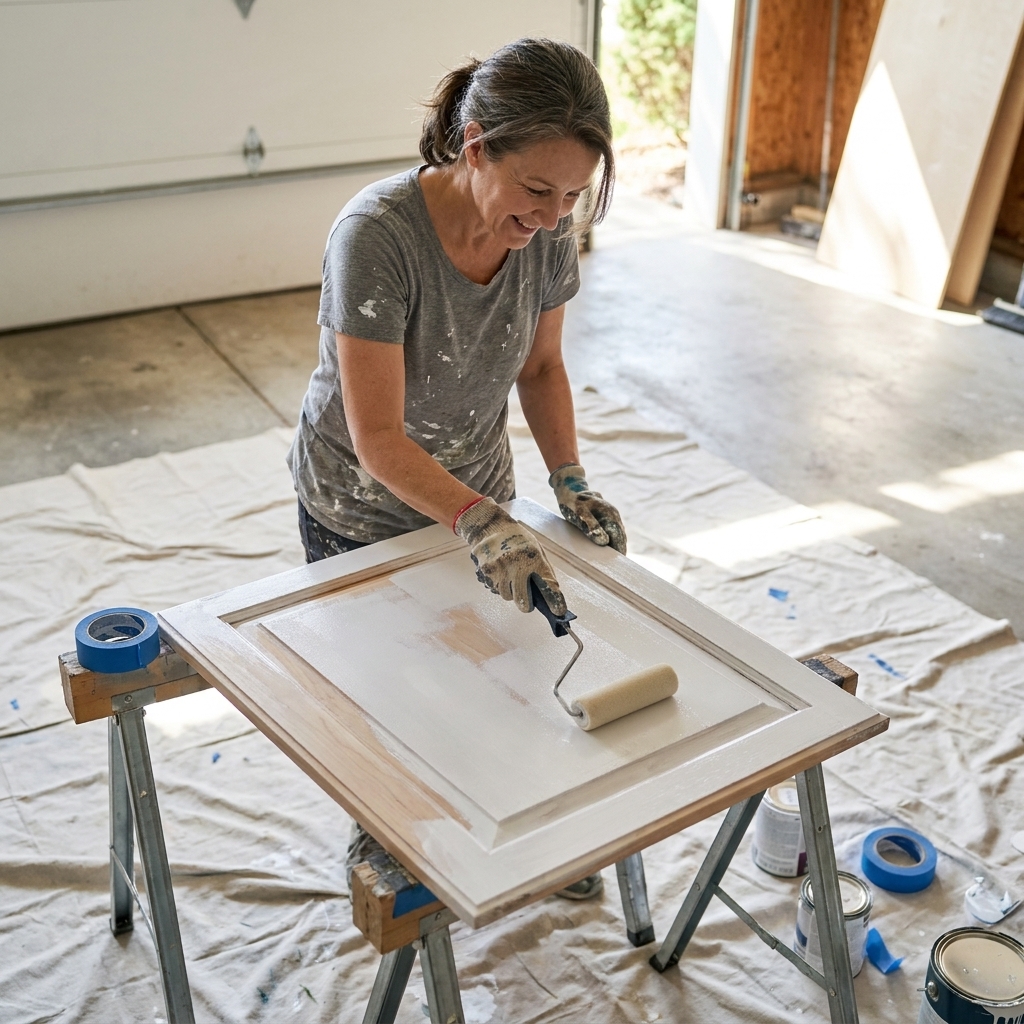
On many cabinet projects, one solid coat of primer is often enough, applied evenly, with a second coat only where you need it. But it is normal to need two full coats when your project is high-contrast or stain-prone.
Plan on two coats if
- You are covering a very dark stain with a light paint
- You have oak that is prone to bleeding and your first coat looks patchy
- You did a lot of filling and spot-primed repairs
- You can still see uneven sheen or raw areas after the first coat dries
- You are working with porous wood and the first coat soaks in unevenly
It is normal for primer to look imperfect. Primer is not a beauty coat. It is a performance coat.
Smoother results
Brush, roller, or sprayer?
- Brush: Great for corners and profiles. Use a high-quality angled brush and do not overwork fast-drying primers.
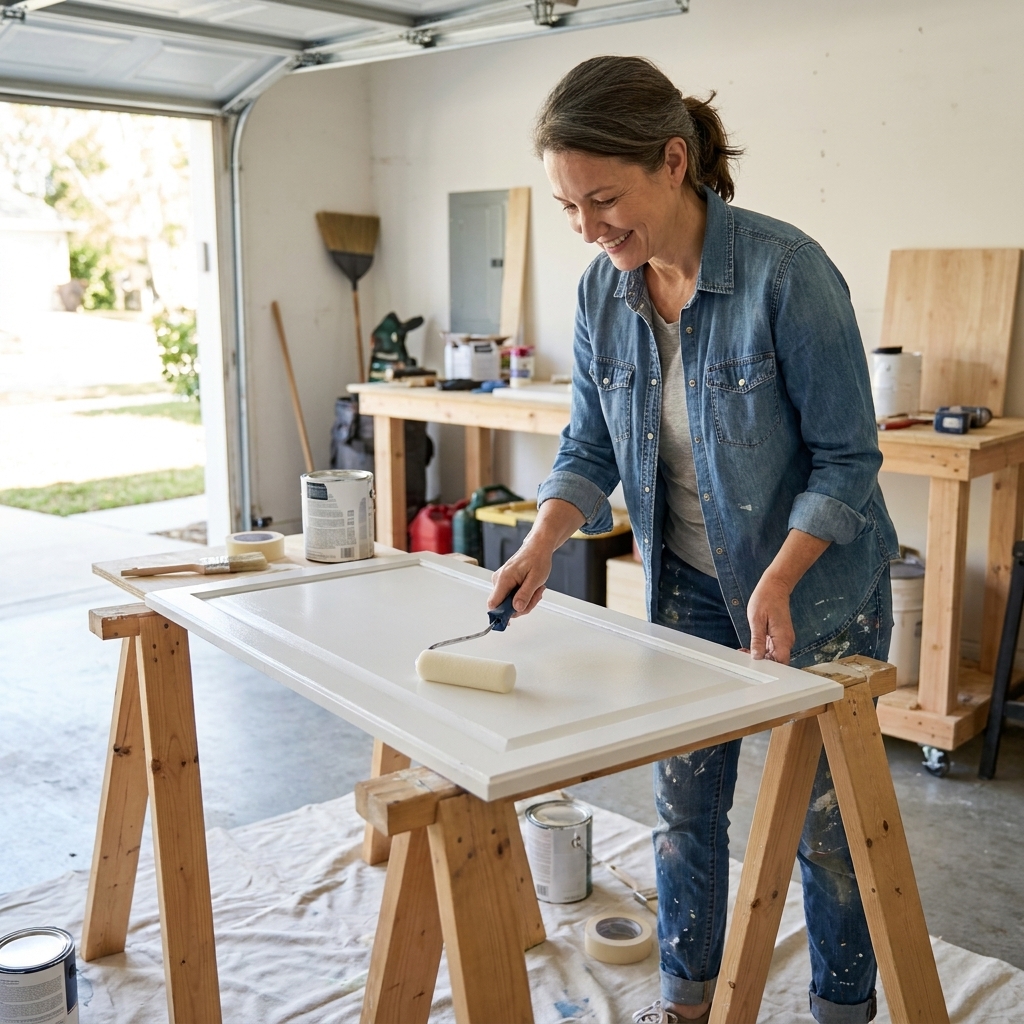
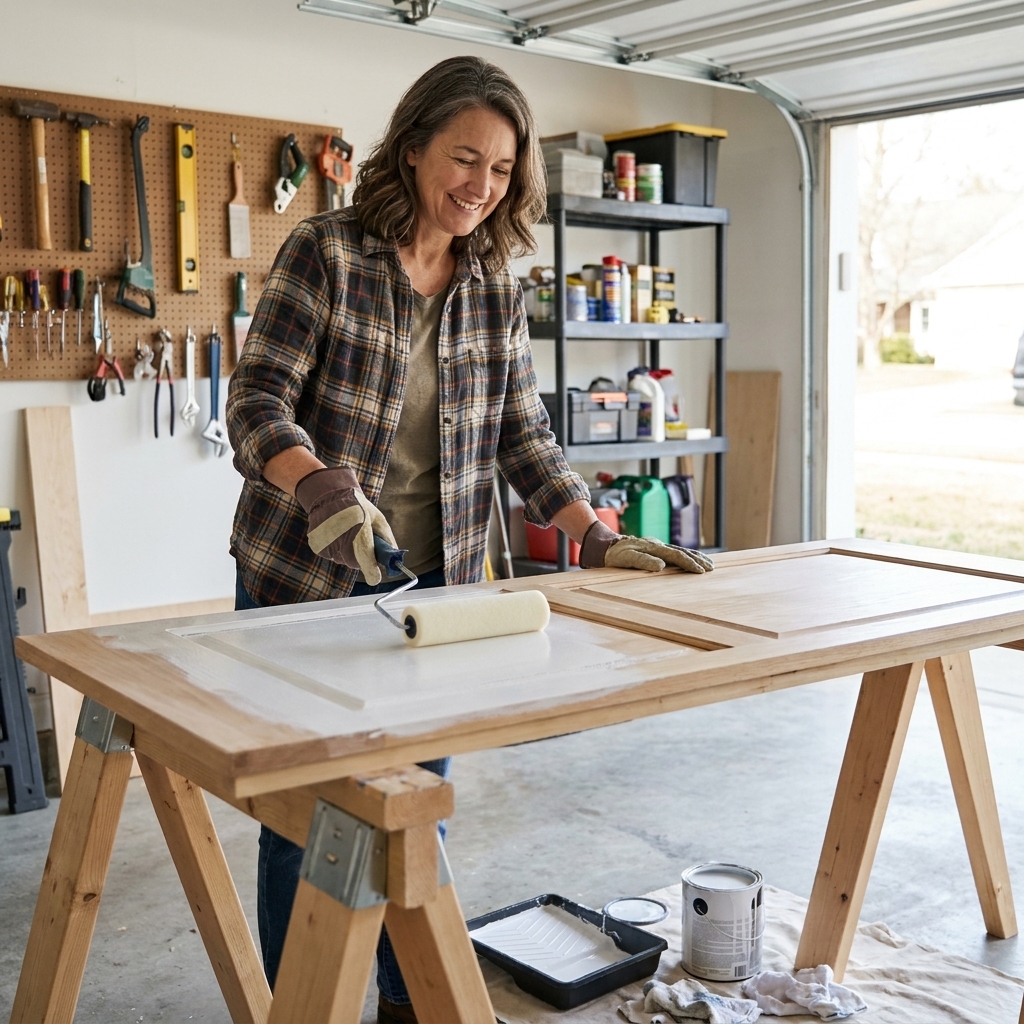
- Foam roller: My budget favorite for flat areas. Use light pressure and reload often to avoid texture.
- Sprayer: Best for the smoothest finish, especially on door fronts, but requires masking, practice, and a good setup.
My no-regrets workflow
- Prime cabinet boxes first (less moving parts).
- Prime doors and drawer fronts laid flat.
- Light sand after primer dries if it feels rough, then remove dust.
- Move on to your cabinet paint in thin, even coats.
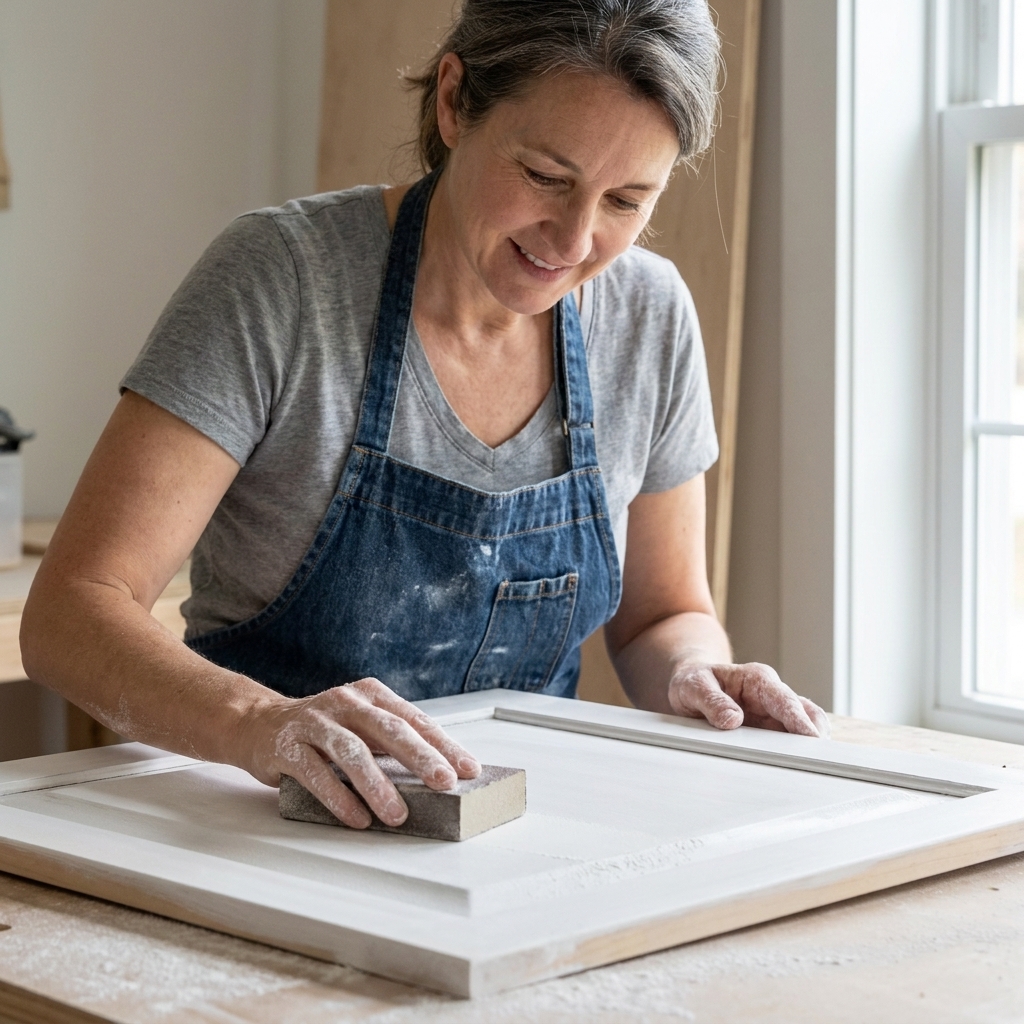
Sanding tip: After primer dries, I usually sand with 220 to 320 grit to knock down dust nibs and help the finish coat lay smoother.
Temperature and humidity
Dry and recoat times are not just about the clock. Heat can make shellac flash so fast it feels like it is drying behind your brush. High humidity can slow water-based primers and paints, making them stay tacky longer. If your product is not acting the way the label promises, look at the room conditions before you panic.
Safety basics
I am not dramatic about safety, but cabinet priming is one place where it matters.
- Ventilation: Especially with oil and shellac primers, open windows, use fans, and keep fumes moving out of the space.
- Respirator: For solvent-based primers, use a properly fitted respirator with cartridges rated for organic vapors, not just a dust mask.
- Gloves and eye protection: Solvents are hard on skin and splashes happen.
- Rag safety: Oily rags can be a fire risk. Follow your product’s disposal instructions, and do not leave used rags wadded up in a pile.
Common mistakes
- Skipping degreasing: Primer cannot stick to cooking oil. Clean first, always.
- Priming glossy finishes without scuffing: Shine is the enemy of adhesion.
- Using the wrong primer for oak: If bleed-through is your issue, upgrade to shellac and save yourself the redo.
- Overworking shellac primer: Work quickly and leave it alone once it starts to tack.
- Rushing the timeline: Let primer dry and harden enough to sand lightly and accept paint without gumming up.
FAQ
Can I skip primer if I use a paint-and-primer-in-one?
On walls, sometimes. On cabinets, I do not recommend it. Cabinets need adhesion and sealing, and primer is the product designed for that job. A “paint-and-primer-in-one” is still mostly paint.
What primer is best for oak cabinets to prevent yellowing?
Shellac-based primer is the most reliable option I have used for stopping oak tannins from bleeding into light paint colors.
Is water-based primer strong enough for kitchen cabinets?
Yes, if it is a quality bonding primer and you prep properly. It is a great choice for many kitchens, especially cabinets that are not stain-heavy and are not tannin-prone woods.
Will oil-based primer stop tannin bleed?
Sometimes it helps, but it is not the most consistent solution for stubborn tannins, especially on oak. If tannins are your main problem, shellac is usually the safer bet.
Do I need to sand primer before painting cabinets?
I usually do a light sand after primer dries, especially if the surface feels gritty or you raised the grain. It helps your topcoat lay smoother.
My bottom line
If you are staring at a stack of cabinet doors and wondering which can to buy, here is my cheat sheet:
- Choose shellac when you need stain and tannin blocking you can trust.
- Choose oil when you want strong sealing and good leveling and you can tolerate the fumes and dry time.
- Choose water-based bonding primer when you want an easier, lower-odor project and your cabinets are not fighting you with stains.
Pick the primer that matches your cabinet reality, not the one that sounds easiest in the aisle. Your future self, the one not repainting peeling doors, will be grateful.