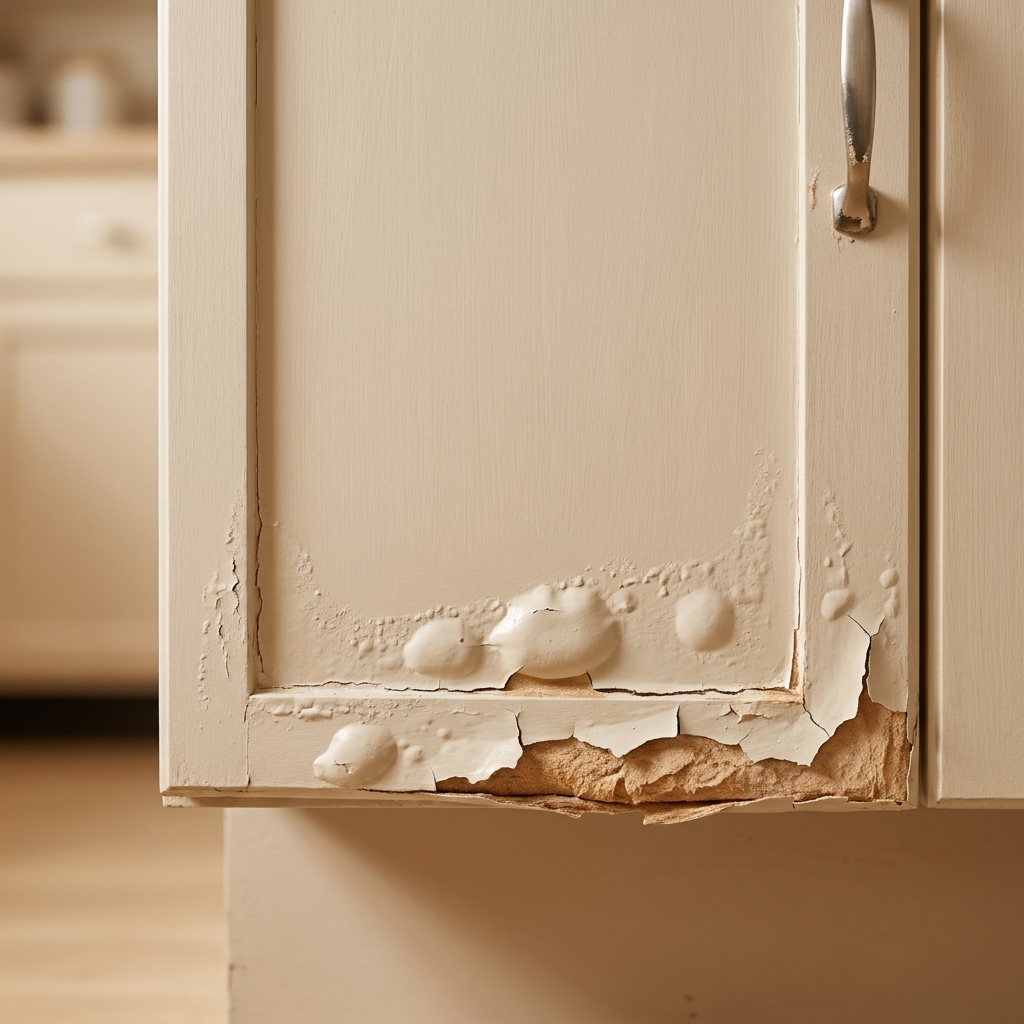
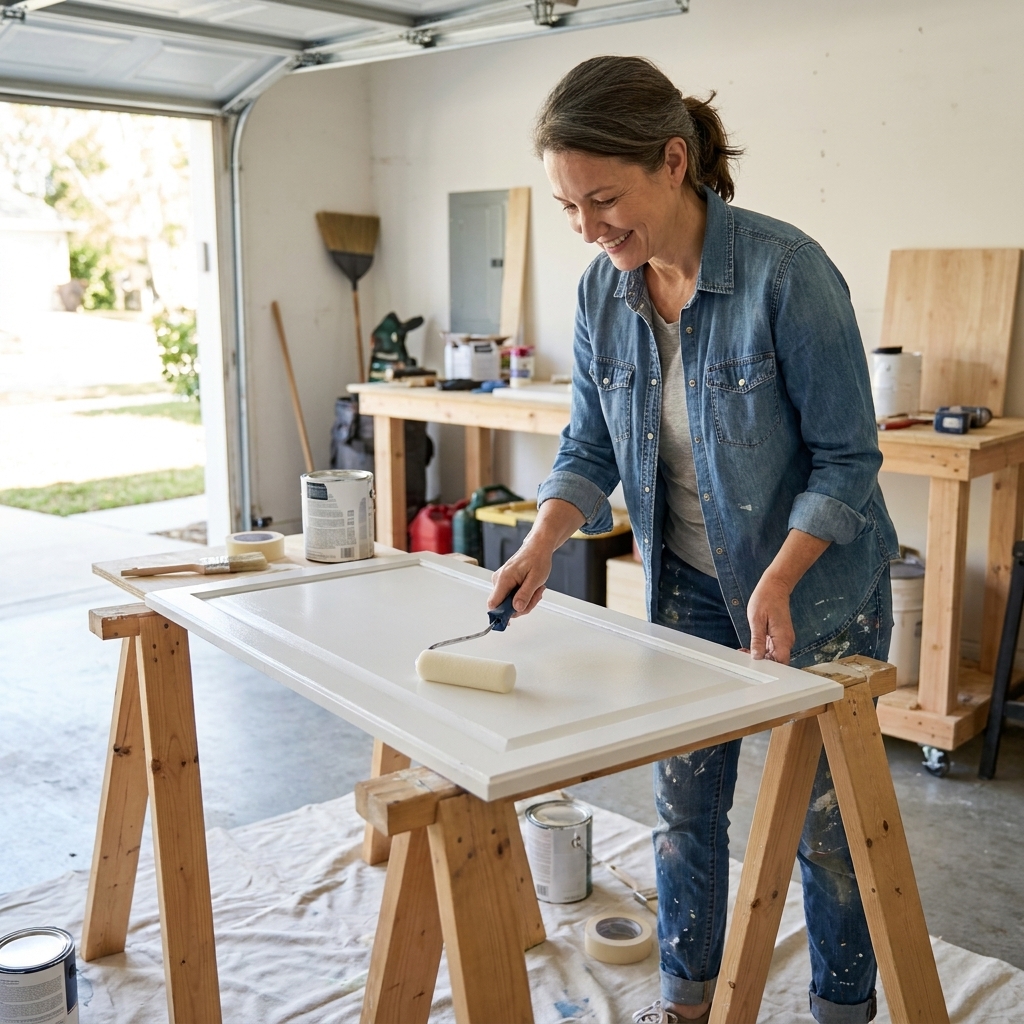
Thermofoil cabinets love to break hearts. They look smooth and modern until the day that plastic skin starts bubbling at the edges, lifting around the sink, or peeling off in crunchy sheets near the oven. The good news is you do not have to replace everything. If the cabinet boxes are solid and the doors are still flat and not swollen from water damage, you can strip the failing thermofoil and paint the MDF core underneath for a clean, updated look.
This tutorial walks you through how to peel thermofoil safely, how to handle the glue that is left behind, and how to prep raw MDF so it is sealed against moisture before you paint.
Before you start: what thermofoil is and why it fails
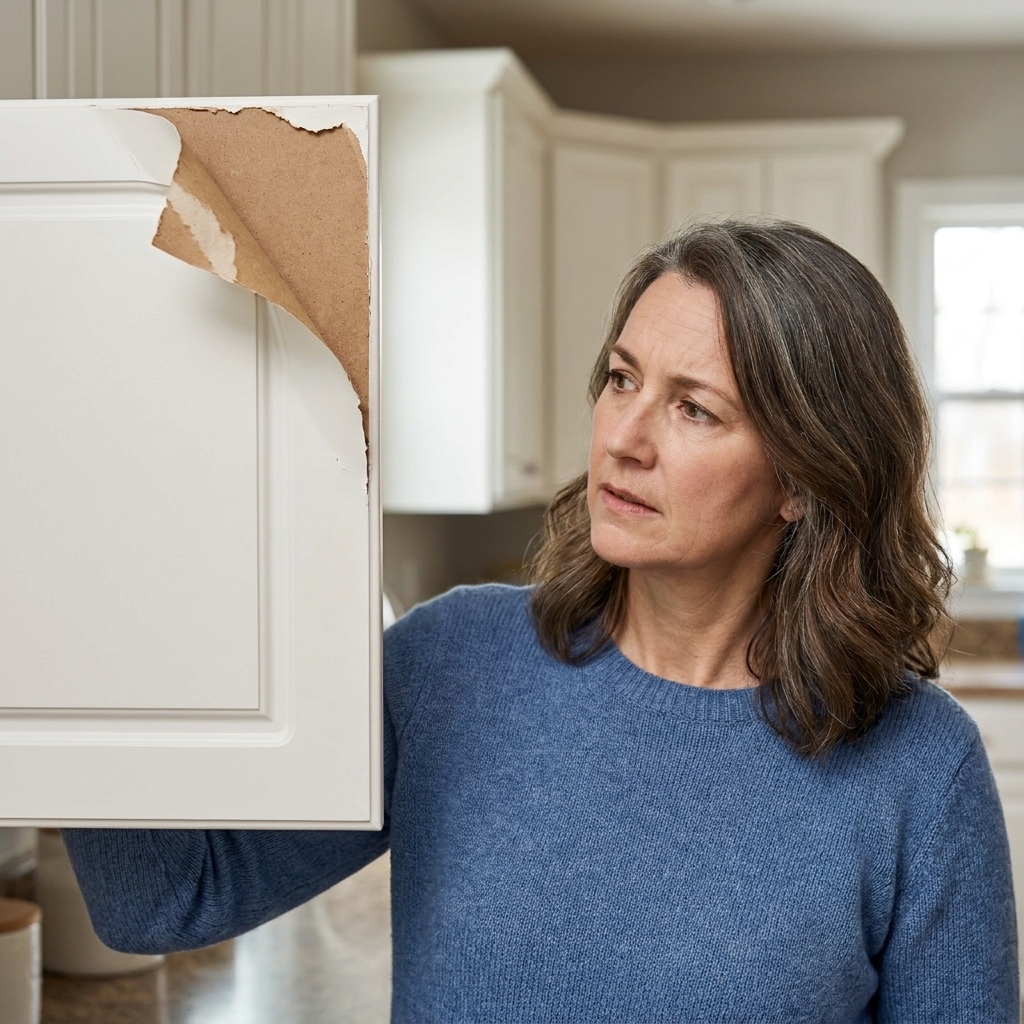
Thermofoil is a thin PVC vinyl layer that is heat-formed and bonded to an MDF door or drawer front. It fails most often where heat and moisture are highest.
- Heat: above the oven, near a toaster, by a coffee maker, or next to a range hood that vents poorly.
- Moisture: around the sink, dishwasher, and trash pull-out.
- Age and cleaning: harsh degreasers and years of wiping can weaken edges and seams.
If you are seeing bubbling or peeling, painting over it rarely holds up because the plastic keeps moving and the adhesive underneath has already let go. Removing the laminate is the long-lasting fix.
Can you paint thermofoil without stripping it?
Sometimes. If the thermofoil is perfectly intact, well-adhered everywhere, and only looks dated, you can scuff sand and use a high-adhesion primer made for slick surfaces. But if you can lift an edge with a fingernail, see bubbles, or notice seams opening, do yourself a favor and strip it. Paint is only as strong as what it sticks to, and failing thermofoil is not a stable base.
If you are on the fence, test your full primer and paint system on one door first. Let it dry, then give it a real-world test: press a strip of painter’s tape down, burnish it, and pull it back. If anything lifts, you need a different approach.
Tools and supplies
For peeling and cleanup
- Heat gun (preferred) or hair dryer (slower)
- Plastic putty knife or plastic scraper
- Utility knife (for scoring seams)
- Work gloves and safety glasses
- Painter’s tape and a marker (label doors and hinges)
- Shop vacuum
- Denatured alcohol or acetone (for adhesive residue, used carefully)
- Rags you can discard
For repairing and sealing MDF
- Sandpaper: 120, 180, and 220 grit
- Sanding block or orbital sander (gentle pressure)
- Two-part epoxy or epoxy wood filler (best for damaged edges)
- Water-based wood filler (for tiny dings only, not raw edges)
- High-quality primer designed for MDF and cabinets (see primer section below)
- Paintable acrylic caulk (optional for hairline seams)
For painting
- Cabinet-grade enamel paint (waterborne alkyd or acrylic enamel)
- High-density foam roller or microfiber mini roller (or sprayer)
- Quality brush for edges and profiles
Safety notes
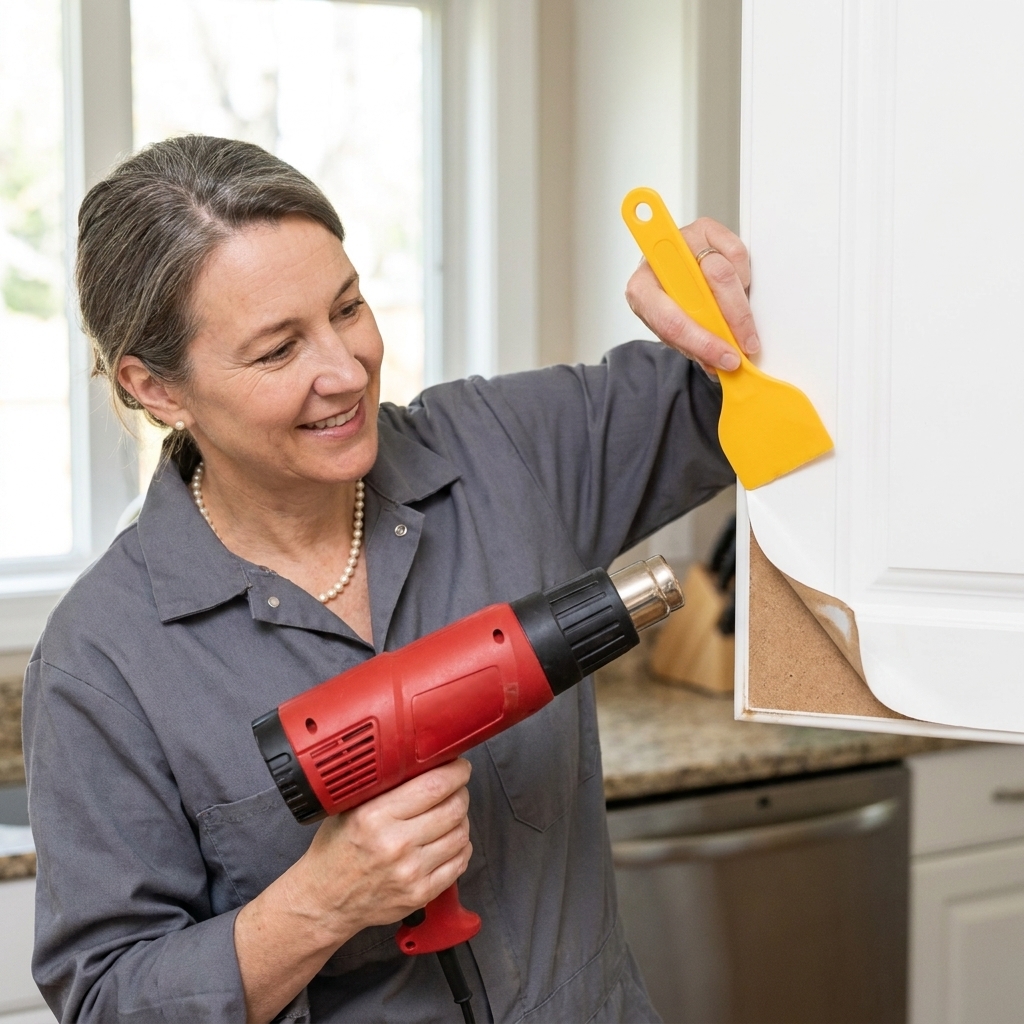
- Ventilation matters. Heating vinyl can smell strong and may irritate your lungs. Work with windows open and a fan pulling air out if you can.
- Keep the heat moving. You want to soften adhesive, not scorch MDF or overheat PVC. If the vinyl starts smoking, stop immediately, back off the heat, and air the space out.
- Use plastic scrapers. Metal putty knives can gouge MDF fast, and gouges show through paint.
- Solvents are optional, not required. If you use acetone or denatured alcohol, test first and use small amounts. Results vary by adhesive and manufacturer, and MDF swells when it gets too wet.
Step-by-step: strip the peeling thermofoil
1) Remove doors and drawers
Take everything off. Label each door, drawer front, and hinge location so reassembly is painless. I stick a piece of painter’s tape inside the hinge cup and write something like “U2” (upper row, second cabinet). Bag your screws.
2) Score seams and start at a loose corner
If thermofoil is only peeling in one area, use a utility knife to score around a seam or edge to keep the peel controlled. Start where it is already loose and lift with your fingernail or the corner of a plastic scraper.
3) Apply heat in small sections
Warm a 6 to 10 inch area with a heat gun on a low to medium setting. Hold it several inches away and keep it moving. When the laminate feels more flexible, peel slowly while continuing to warm the area just ahead of where you are pulling.
- Sweet spot: The thermofoil pulls off in a steady sheet and the MDF underneath stays smooth.
- Too hot: The vinyl stretches like taffy, turns shiny-wet, or the MDF looks toasted. Back off immediately.
- Too cold: It tears into strips. Add a little more heat and slow down.
4) Expect separate pieces
Some doors are one wrapped piece, and some have separate edge wrap, a separate backer, or a second piece on the back side depending on the style. If the edges are stubborn, heat and peel them last. Do not panic if it comes off in pieces. Just keep going, and resist the urge to pry aggressively.
5) Let the door cool, then inspect
Once the plastic is off, you will usually see one of three things:
- Clean MDF with a slightly fuzzy texture.
- Glue haze that feels tacky or rubbery.
- Torn MDF fibers where the foil pulled chips up with it.

How to remove leftover adhesive
This is the step that makes or breaks the final finish. MDF is basically compressed fibers. It is smooth when it is sealed, and it swells when it is soaked. The goal is to remove shine and high spots, not to scrub it wet.
Option A: scrape and sand (my first choice)
- Dry scrape first with a plastic scraper to knock off any thick glue ridges.
- Sand with 120 grit using light pressure to level the surface. Vacuum often.
- Finish with 180 grit to smooth out fuzz before priming.
Option B: spot-treat stubborn glue (use sparingly)
If the adhesive is gummy and clogging sandpaper, dampen a rag with a small amount of denatured alcohol or acetone and wipe only the sticky areas. Immediately follow with a dry rag. Let it flash off completely, then sand lightly. Adhesives vary, so always test on the back of a door first. If the solvent makes the glue smear or spread, stop and switch back to scraping and sanding.
- Do not pour solvent directly on the door.
- Do not use water-based adhesive removers on raw MDF.
- Do not soak corners or edges.
Option C: prime over thin residue
If you have a thin, flat glue shadow that is not tacky and sands smooth, you can often prime over it. Primer is not a miracle, but it can bridge small discoloration once everything is level and dust-free.
Repair and seal MDF
Once thermofoil is gone, MDF needs two things: repairs for damaged spots and sealing for moisture resistance. MDF swells when it gets wet, and kitchens are hard on raw edges.
When not to paint
If a door is badly swollen, crumbly, delaminated, or the routed profile is falling apart, replacement is usually the smarter fix. Paint cannot stabilize MDF that has already turned soft.
Fix chipped corners and swollen spots
- For chipped edges and corners: Use a two-part epoxy or epoxy wood filler. It bonds hard and resists moisture better than lightweight fillers.
- For fuzzy, raised fibers: Sand gently with 180 grit. If the fibers keep lifting, seal first with primer, then sand again after it dries.
- For swollen MDF: Sand it flat if it is minor. If it is soft or crumbly, cut back to solid material and rebuild the profile with epoxy filler.
Fix stripped screw holes
If hinge screws have stripped out in MDF, fill the hole with epoxy wood filler (or wood glue and a few toothpicks in a pinch), let it cure fully, then re-drill a small pilot hole before reinstalling the screw. This prevents the hinge from loosening and chewing up the MDF again.
Rebuild a clean edge
Thermofoil doors often have a softly rounded edge from the wrap. After stripping, edges can look slightly ragged. I like to do a skim of epoxy filler along the perimeter, let it cure, then sand with a sanding block so the edge reads clean once painted.
Sand for primer
After repairs:
- Sand repaired areas flush with 180 grit.
- Lightly sand the full face with 180 to remove dust nibs and even the texture.
- Finish with 220 only if the surface feels rough. Do not over-sand and polish it glass-smooth. Primer likes a little tooth.

Pick a primer that seals MDF
You want a primer that does three jobs: sticks, seals, and sands smooth.
Primer types that work
- Shellac-based primer: Excellent sealer for MDF and great insurance against any leftover adhesive or stains. It dries fast and sands beautifully. Use strong ventilation and follow label safety directions.
- Oil-based primer: Also seals MDF well and blocks stains, but it dries slower and cleanup is messier.
- High-bond water-based primer: Works if it is specifically rated for cabinets and you apply enough coats to fully seal the MDF. On raw MDF, I still prefer shellac or oil for the first coat when possible.
How many primer coats?
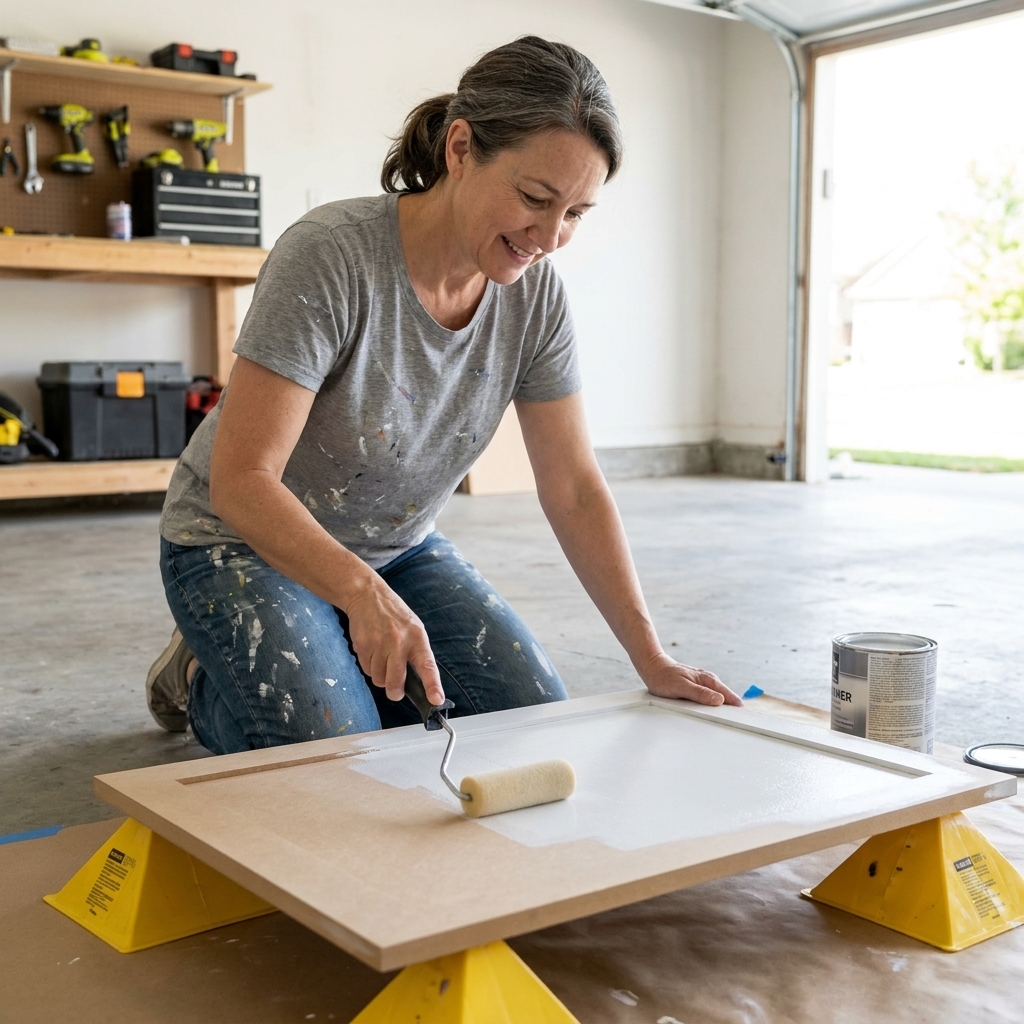
On stripped thermofoil doors, plan on two coats of primer minimum. MDF should look evenly sealed with no dull, thirsty patches before you move on to paint.
Seal all edges and the back
Do not just prime the front. Prime the door backs and every exposed edge, especially the bottom edges near the sink or dishwasher. That is where moisture likes to wick in and cause swelling.
Primer tips for a smooth finish
- Roll or spray a thin, even coat. Avoid flooding profiles and edges.
- Let it dry fully.
- Sand lightly with 220 after the first coat to knock down fuzz and dust nibs.
- Vacuum, then wipe with a clean lint-free cloth lightly dampened with water (or the cleaner recommended for your primer). If you use a tack cloth, choose one that is compatible with water-based finishes and does not leave residue.
Paint for moisture resistance and wear
Once MDF is sealed, you can paint just like any other cabinet door, with one extra rule: do not rush cure time.
Paint choices that hold up
- Waterborne alkyd enamel for a tougher, smoother finish that levels nicely.
- Acrylic enamel cabinet paint for lower odor and easier cleanup.
Application basics
- Paint doors flat if possible to reduce drips.
- Apply two coats, sanding very lightly between coats if you feel texture.
- Let doors cure in a low-dust space. Dry to the touch is not the same as cured.
Extra protection in wet zones
If your peeling started near the sink or dishwasher, sealing your edges and backs well is the biggest upgrade you can make. You can also consider a clear topcoat only if your paint system allows it. Many modern enamels do not require a topcoat, and some clears can reduce adhesion if applied too soon. Follow the paint manufacturer’s guidance.
Common mistakes
- Leaving loose thermofoil behind: If it lifts now, it will lift later. Strip it fully in the problem areas, ideally the entire door face.
- Overheating: Scorched MDF telegraphs through paint and can create weak spots. Use gentle heat and patience.
- Soaking MDF with cleaner or remover: Moisture causes swelling. Use minimal liquid and dry immediately.
- Skipping a sealing primer: Bare MDF drinks paint and stays fuzzy. Seal first, then sand smooth.
- Not fixing edges: Ragged edges stand out once painted. Take the time to rebuild them with epoxy filler.
- Skipping a test door: When adhesive residue is involved, products and results vary. Testing one door can save your whole project.
FAQs
Will the MDF fall apart once the thermofoil is removed?
Not if the door was in decent shape to begin with and you seal it properly. MDF is stable when it is dry and sealed. The risk is water exposure or leaving it unprimed for too long in a humid kitchen.
Do I need to remove thermofoil from cabinet boxes too?
If your boxes are thermofoil and it is peeling, yes, the same prep rules apply. That said, many kitchens have thermofoil doors on melamine or laminate boxes. If the boxes are laminate and still tight, you can prep and paint them without stripping anything.
What if the thermofoil is only peeling at the edges?
You can sometimes peel just the failing edge wrap and sand the transition, then rebuild the edge with epoxy filler and prime. For the cleanest, most uniform paint job, stripping the whole door face is usually worth it.
Can I use a citrus adhesive remover?
I avoid them on raw MDF. They can stay oily, and MDF does not love lingering moisture. If you must use a remover, use it very sparingly, keep it off edges, and plan to sand thoroughly and seal with a strong primer.
How long should primer and paint cure before rehanging?
Follow your product label for dry, recoat, handle, and full-cure times. As a practical guideline for cabinets, plan on 7 to 14 days before normal use, and longer for full hardness depending on the product, humidity, and temperature. If doors feel even slightly tacky when stacked or closed, they are not ready.
Quick checklist
- Remove doors, label everything.
- Heat and peel thermofoil slowly.
- Scrape and sand adhesive flat.
- Repair chips, edges, and stripped holes with epoxy filler.
- Sand, vacuum, and remove dust carefully.
- Prime twice to seal MDF, sanding between coats.
- Prime door backs and all edges.
- Paint two coats, then let it cure before rehanging.
If you take your time on the stripping and sealing steps, painted MDF doors can look surprisingly high-end. It is absolutely a weekend project with a little patience, and it can buy you years before you ever need to think about a full remodel.