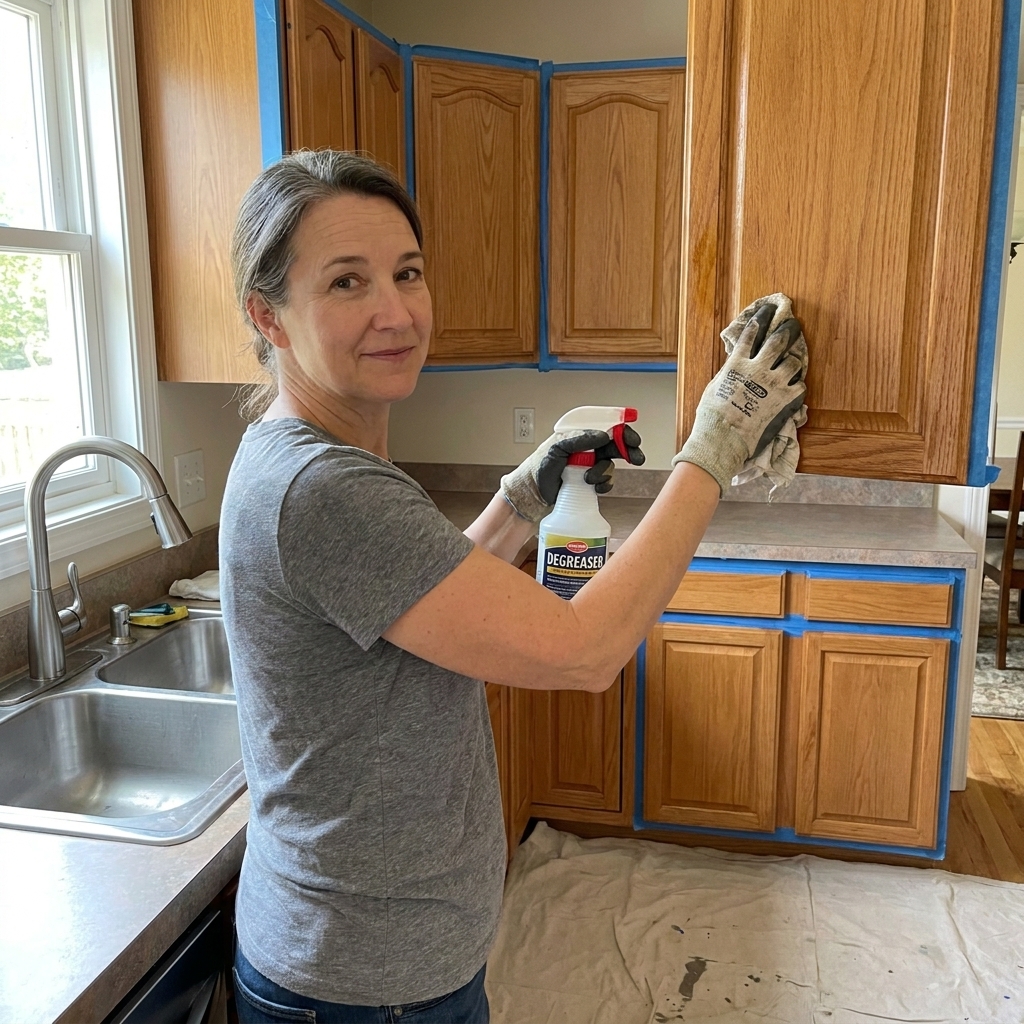
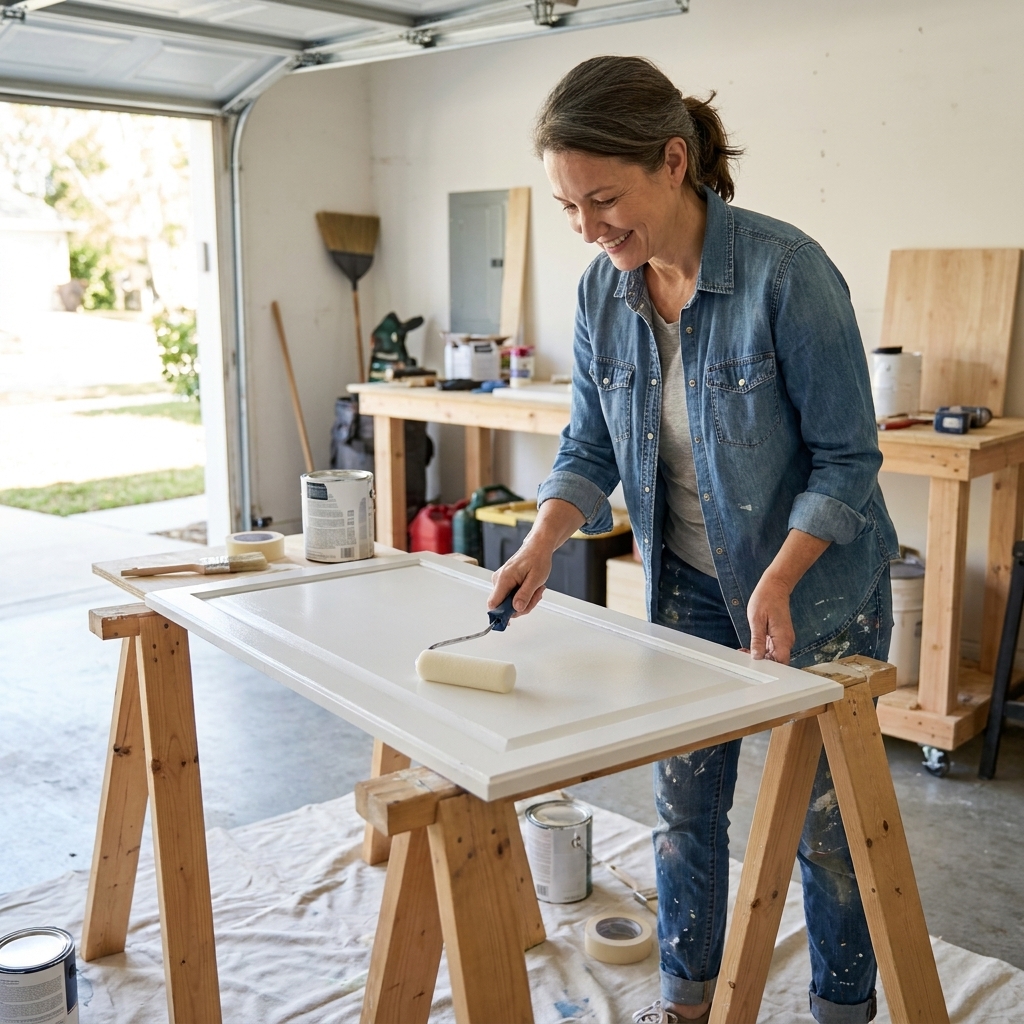
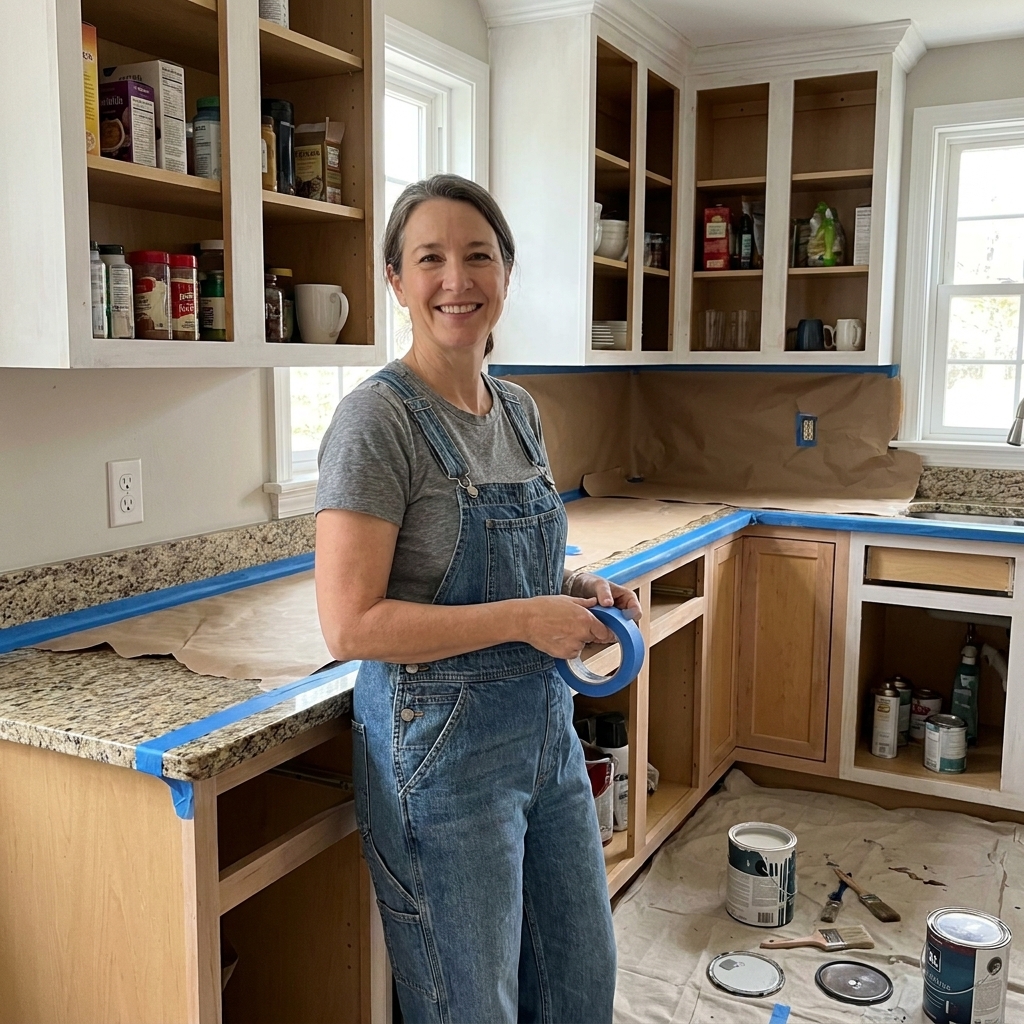
If you only do one “type-A” thing before painting cabinets, make it this: label everything like you are going to forget it all in two weeks. Because you will. And that is not a character flaw, it is just what happens when your kitchen turns into a sanding zone and every hinge suddenly looks identical.
The good news is you do not need a fancy app or a complicated system. You need a simple cabinet map, a consistent numbering method, and a way to keep each door married to its own hinges and screws.
Why labeling matters
Even “identical” cabinet doors are rarely identical once they have lived in a kitchen for years. Wood moves, doors settle, hinge settings get dialed in, face frames have tiny variations, and installers often fine-tune each door a little differently.
When you put a door back on the wrong opening, you can end up with:
- Uneven reveals and crooked gaps
- Doors rubbing on the frame or each other
- Mystery squeaks and binding
- A full afternoon of hinge adjustments that could have been avoided
Labeling is the boring step that saves your sanity later.
What you need
- Blue painter’s tape (the 1-inch width is perfect)
- A fine tip permanent marker
- Quart size and gallon size zip-top bags
- A small screwdriver or nut driver for hinge screws
- Notebook paper or graph paper (or printer paper)
- Your phone for quick reference photos
Optional but helpful: a sharpie-style paint pen for writing on the inside of cabinet boxes, and a small parts organizer if you love compartments.
The reliable system
This is the system I use in my own kitchen and when I help friends. It is simple enough to keep up with, but specific enough that everything returns to its exact original spot.
Step 1: Divide into zones
Pick a direction and stick with it. I usually go left to right around the room, starting from an obvious reference point like the doorway or the far-left upper cabinet.
- Zone A: Left wall
- Zone B: Sink wall
- Zone C: Stove wall
- Zone D: Island or peninsula
If you have a galley kitchen, do “Wall A” and “Wall B.” The goal is to avoid one long string of numbers that gets confusing fast.
Step 2: Number each opening
In each zone, number the cabinet openings, not the doors. Start at 1 and move left to right (or whatever direction you chose) without skipping around, even if you have a corner cabinet.
For uppers and lowers, I like to treat them separately:
- A-U1, A-U2, A-U3 for upper openings in Zone A
- A-L1, A-L2, A-L3 for lower openings in Zone A
Write these on your paper map as you go. You will use these codes everywhere.
Step 3: Add L, R, or S
Now label the door based on where it sits on the opening:
- L = left door
- R = right door
- S = single door
So a double-door lower cabinet might be:
- A-L2-L
- A-L2-R
A single upper could be:
- B-U4-S
Step 4: Label drawer fronts
Drawer fronts shift too, especially if they have been bumped for years. Label them with the same opening code plus a drawer number, top to bottom:
- C-L3-D1 (top drawer)
- C-L3-D2
- C-L3-D3
If you have two drawer stacks in one wide opening, add a side letter before the drawer number: C-L3-L-D1 and C-L3-R-D1.
Labeling without damage
You want labels that survive sanding dust and paint overspray, but you also want zero residue and no chance of ink telegraphing through later. Permanent marker can sometimes show up under certain primers or thin paint coats, so keep ink off anything that will be painted.
My method
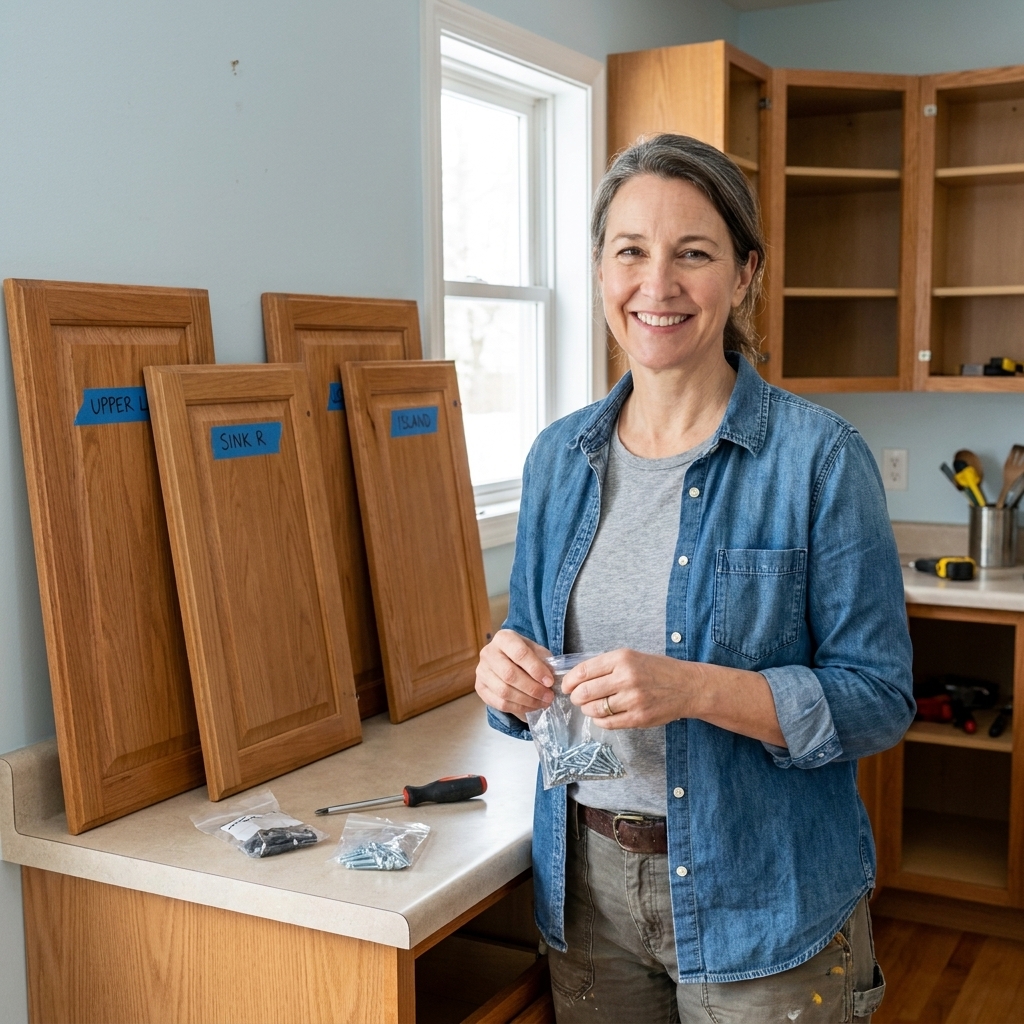
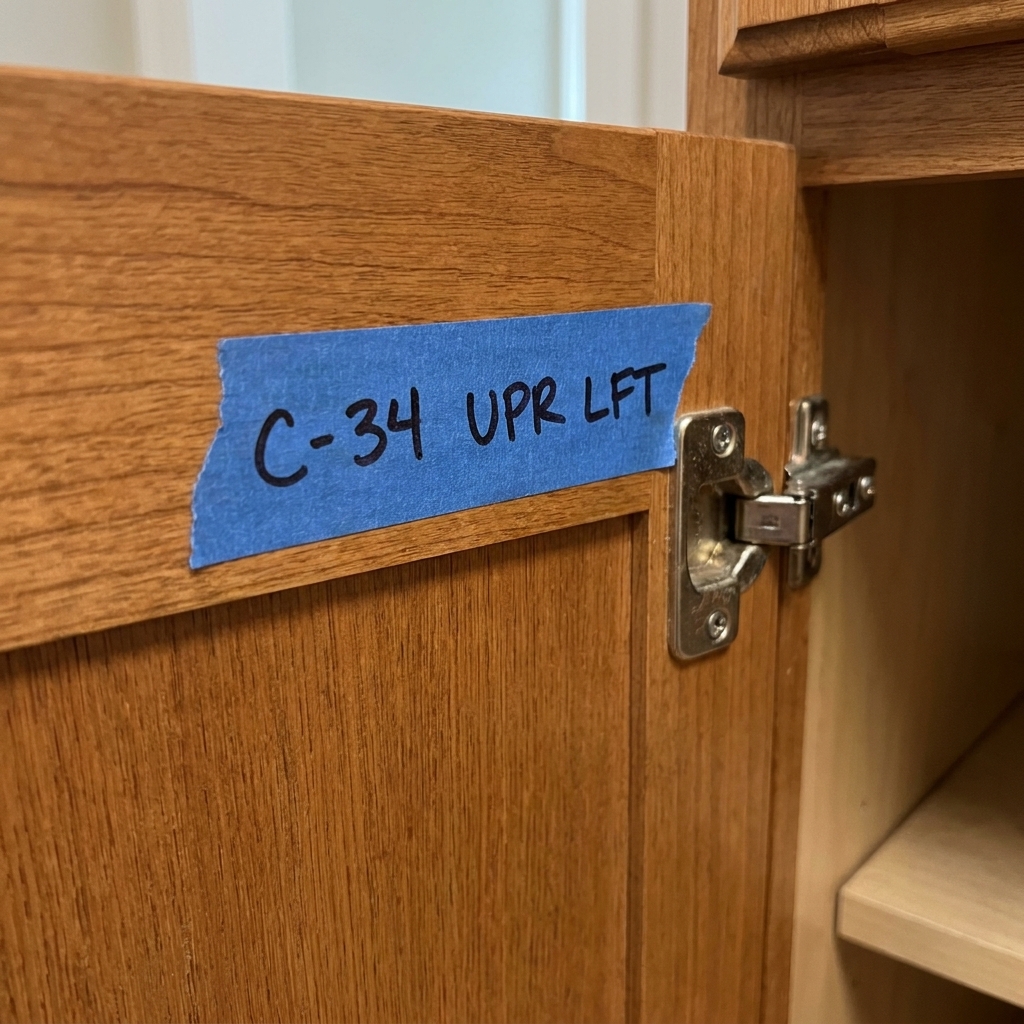
- Put a strip of blue painter’s tape on the back of the door, near the hinge side, where it will not be sanded heavily.
- Write the code clearly in permanent marker (example: A-L2-L).
- Add an arrow if it makes you feel better (arrow pointing “up”), especially for doors with subtle grain or detail.
Tip: If your door backs are raw wood or dusty, press the tape down firmly so it does not fall off mid-project.
Skip the front
Even temporary tape or marker on the face can cause adhesion problems or show-through later, especially with some primers and paint systems. Keep all labels on the back or inside edges.
Hinges and plates
Hinges are the biggest reassembly time-suck if they get mixed up. The goal is to keep each door with its exact hinge set, and if you remove mounting plates, keep those paired too.
Option A (best): bag per door
As you remove a door, put everything for that door into a zip-top bag:
- All hinges for that door
- All screws from those hinges
- Mounting plates (if your hinges have separate plates)
- Any bumpers, clips, or soft-close pieces that came off
Mark the bag with the same code as the door: A-L2-L. For extra insurance, drop a small paper slip with the code inside the bag too (marker can rub off when bags get dusty).
Option B (fast): tape hinges to the door
If you are not removing hinges from the door, you can tape each hinge flat against the back of the door with painter’s tape. Still label the door, and still take a quick photo before you start.
About adjustment screws
Leave hinge adjustment screws alone when you can. Some hinges will still lose their exact settings if you remove the cabinet-side plate, which is another reason to keep hinge and plate pairs together. The less you mix parts, the less you will be chasing perfect gaps later.
Your cabinet map
This is the secret sauce. Your labels are great, but your map is the master reference that helps you stay consistent when you are tired.
How to make it
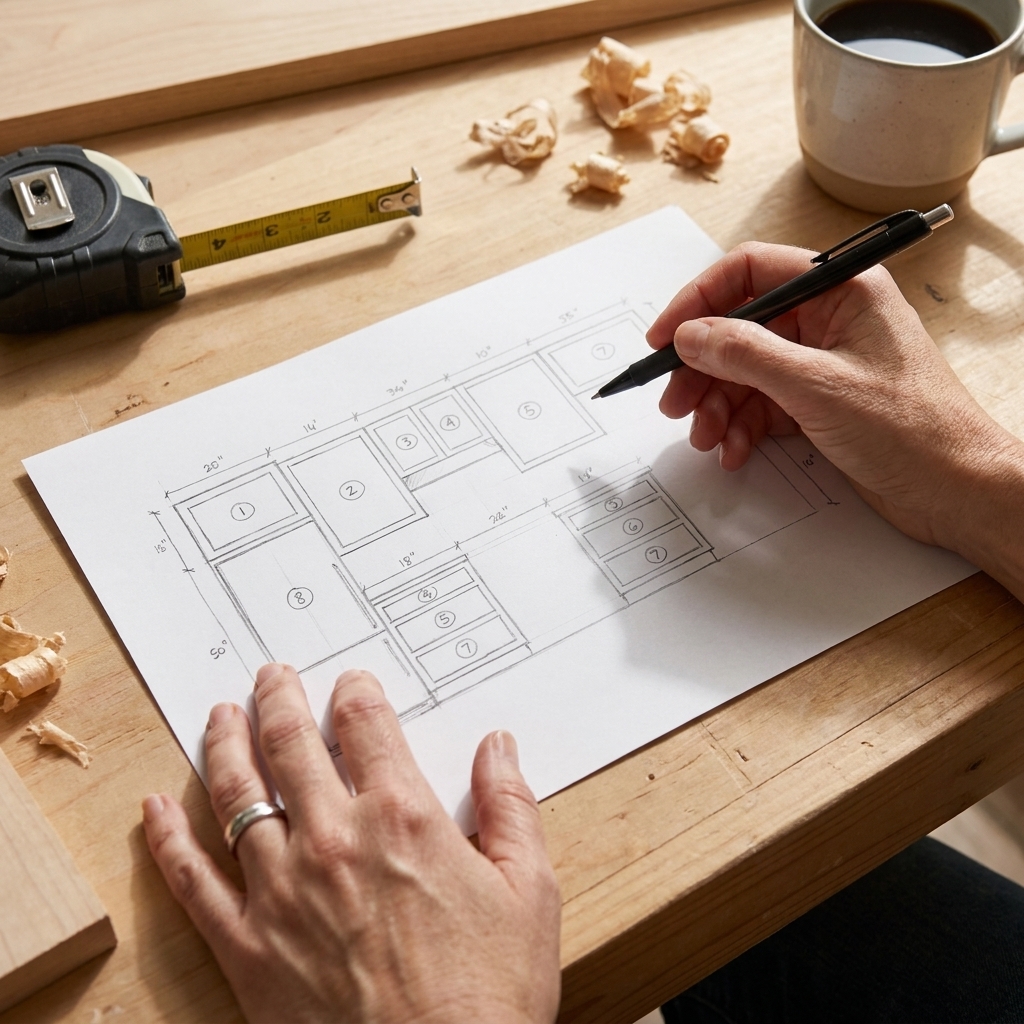
- Draw a simple outline of each wall of cabinets on paper. Rough boxes are welcome here.
- Mark uppers and lowers.
- Assign your opening codes (A-U1, A-U2, A-L1, etc.).
- Write quick notes that matter later, like “lazy susan,” “trash pull-out,” “spice pull-out,” “false front,” or “filler strip on left.”
I also like to snap one photo of each wall, then snap a photo of the paper map. If my paper gets paint on it, I still have the info.
Knobs, pulls, and odd parts
Hardware is where labeling systems go to die, especially when you think “I will totally remember which screws go where.” You will not. Here is the tidy way.
If you are reusing hardware
- Bag hardware by door or drawer code.
- Mark each bag with that code.
- If you have a long bank of drawers with identical pulls, you can group them, but keep the screws with the pull they came with if lengths vary.
If you are changing hardware
- Keep the old screws until the project is done. They are handy for test-fitting and hole filling.
- Mark any doors that need hole filling (for example, a little “F” on the tape) so you do not miss them during prep.
- Bag specialty pieces like backplates, decorative washers, soft-close adapters, and pull-out clips separately and label them “extras,” plus a cabinet code if they are location-specific.
Do not forget panels and false fronts
If you are removing toe-kick skins, end panels, appliance panels, or sink false fronts, label them too. They tend to look interchangeable until they are not, especially once you start filling holes and sanding edges.
Backup labels inside boxes
If you have room, add a tiny matching label inside the cabinet box near the hinge area.
- Put a small piece of painter’s tape inside the cabinet, near where the hinge mounts.
- Write the opening code only (example: A-L2).
This way, even if a door label falls off, you still know what belongs there.
Teardown order
Here is the exact sequence that keeps you from creating a pile of mystery doors:
- Choose your first zone and first opening.
- Add the opening code to your paper map.
- Stick tape on the back of the door and write the code.
- Remove the door.
- Immediately bag the hinges, plates, and screws, and mark the bag to match.
- Set the door in a safe spot (I like to stand them up like books, with cardboard between).
- Repeat, one opening at a time.
If you keep that rhythm, you will never be staring at 18 doors thinking “Wait… where did you come from?”
Storage while you paint
Good labeling is only half the battle. The other half is not warping your doors or losing bags of screws.
Door storage
- Stand doors on edge, not stacked flat, to avoid sticking and pressure marks.
- Use spacers between doors like cardboard, thin scrap wood, or paint pyramids.
- Support them securely so they cannot tip, and keep them away from heat registers, direct sun, and damp garages where they can bow.
- Keep them in a low-traffic room where pets and kids are not tempted.
Hardware storage
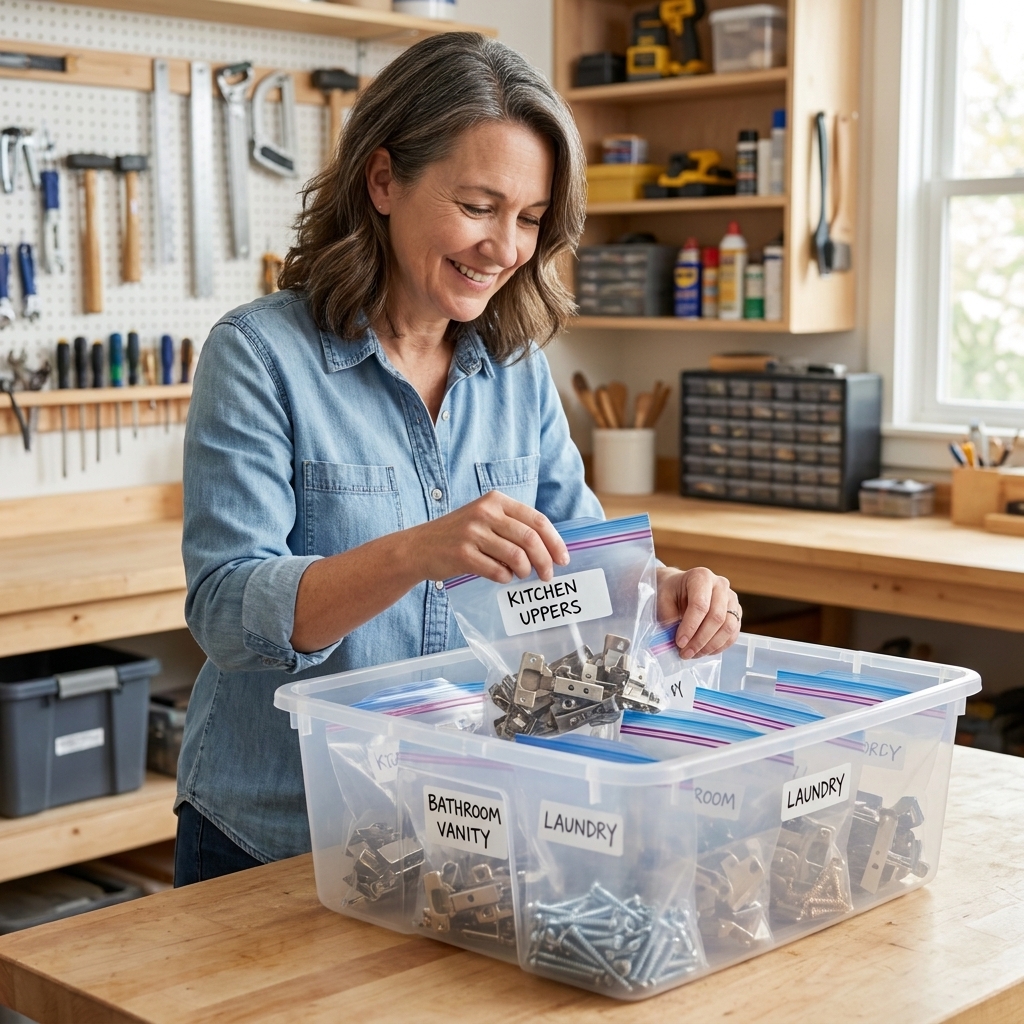
- Put all the labeled bags from one zone into a larger gallon bag labeled “Zone A.”
- Drop those zone bags into a bin or box with a lid.
- Keep that bin out of your painting area so it does not get dusty and chaotic.
Troubleshooting
My tape fell off
This is why I like the inside-the-box backup label. If you do not have that, match the door by size and hinge placement, then re-label immediately and update your map.
I forgot to label two doors
Look for clues:
- Hinge imprint marks on the door back
- Slight differences in hinge and plate settings
- Rub marks on the cabinet frame
- Door warp or grain pattern that matches a neighbor door
Test-hang them before painting if possible. Once you are confident, label them and keep going.
The hinges are already in a pile
You can recover. Hang one door at a time and assign a hinge set that gets it closest. When it fits nicely, bag that hinge set with that door code. It is slower, but it works.
Quick FAQ
Should I remove hinges from the cabinet or the door?
Either approach is usually fine. I often remove hinges from the door because it is easier to clean and paint the door edges, and it keeps the cabinet boxes cleaner while I prep. The key is consistency and keeping hinge and plate pairs together.
Do I really need to label drawer fronts?
If you want perfect alignment when you reinstall, yes. Drawer fronts are often adjusted to sit evenly, and swapping them can create uneven gaps.
What if I am installing all new hinges?
You can skip hinge labeling, but still label doors and drawer fronts. Keep your cabinet map too. It is still useful for organizing your workflow and reinstall order.
Can I write directly on the wood?
I do not recommend it. Marker can show through primer or paint in weird ways, depending on the products and coat thickness. Painter’s tape is safer and removes cleanly.
The bottom line
When your doors and hardware are labeled and mapped, cabinet painting goes from “chaotic project” to “repeatable process.” You will move faster, make fewer mistakes, and actually enjoy the reinstall stage.
Grab the painter’s tape, start with one zone, and trust the system. Future-you, holding a perfectly aligned door in one hand and the exact right hinge screws in the other, will be very grateful.