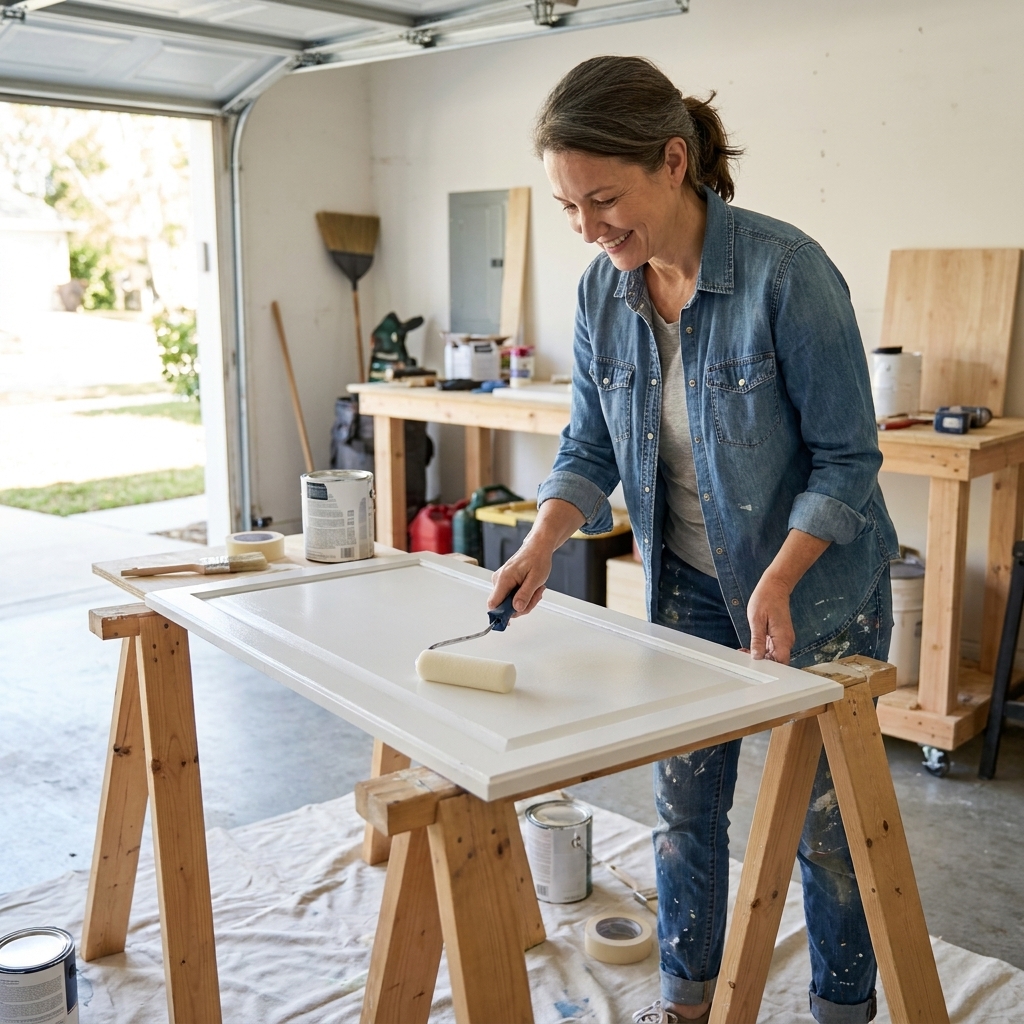
If cabinet painting is the “pretty part,” masking is the unglamorous best friend that makes the whole project look professional. I learned this the hard way in my first honey-oak kitchen makeover, when I thought a few random strips of tape would do the job. Spoiler: it did not. Paint has a way of finding the one tiny gap you missed.
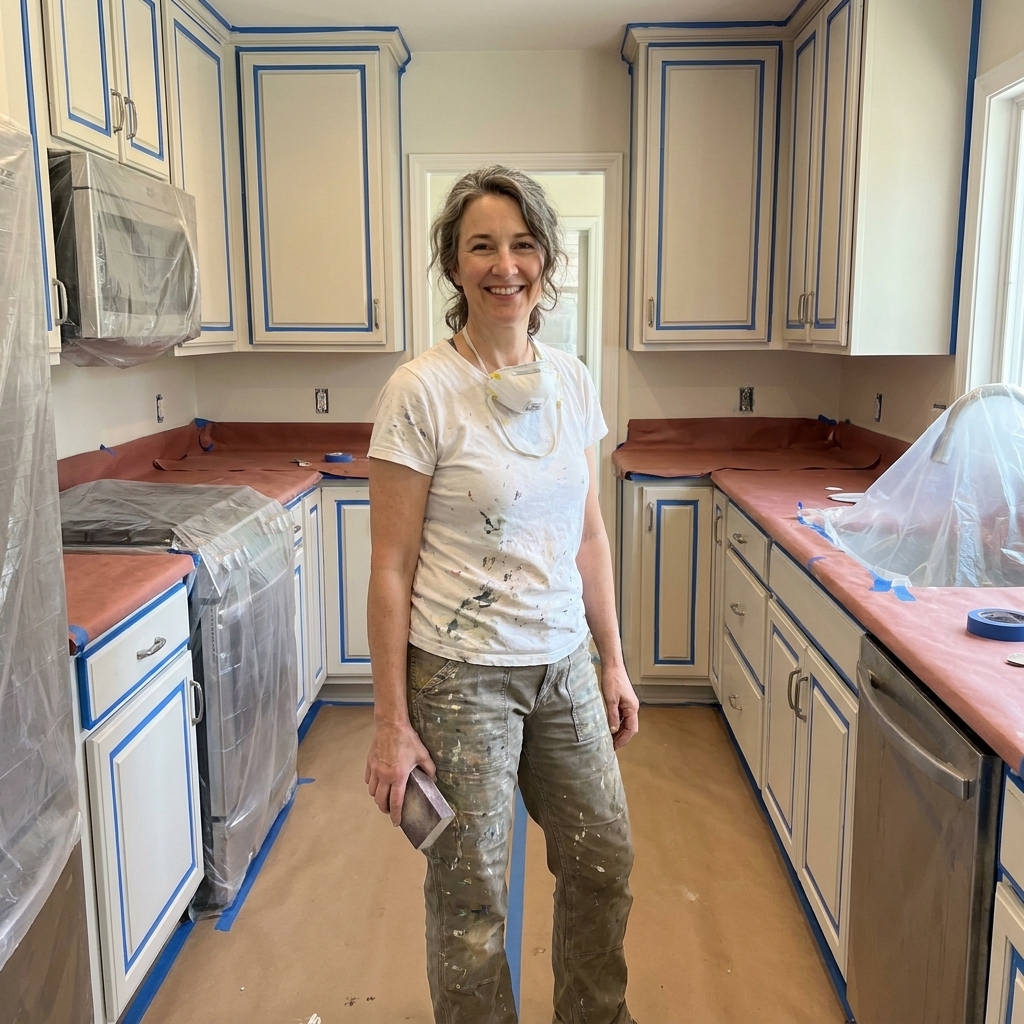
This guide walks you through how I mask a real, lived-in kitchen before priming and painting cabinets. The goal is simple: protect everything you are not painting and get crisp lines where you do want paint.
Quick note on method: If you are brushing and rolling, your masking can be solid but straightforward. If you are spraying, plan on “next-level” masking and sealing because mist travels and settles everywhere.
What to buy (and what to skip)
You do not need a cart full of fancy tools, but the right supplies make masking faster and cleaner.
Painter’s tape
- General choice: Quality painter’s tape in 1.41 in (36 mm) or 1.88 in (48 mm) widths for long runs.
- Delicate surfaces: “Delicate surface” painter’s tape for freshly painted walls, fragile wallpaper, or very glossy or unknown finishes. Check the label for the recommended removal window.
- Trick for texture: A roll of 1 in tape is handy on bumpy drywall where wider tape wants to wrinkle.
Masking paper and plastic
- Masking paper (or builder’s paper): Best for countertops, backsplash, and cabinet frames because it lays flat and does not cling.
- Plastic sheeting: Great for wrapping appliances, hanging a quick dust barrier, or covering large areas. Keep it tight so it does not flap into wet paint.
- Pre-taped masking film: A time-saver for long edges like countertops. You stick the tape line, then unfold the film.
Floor protection
- Ram board or heavy-duty floor paper: My first pick for kitchens. It stays put and handles foot traffic.
- Canvas drop cloths: Good as a secondary layer, especially where you stand and paint. (They can slide on slick floors if they are the only layer.)
- Skip thin plastic on floors: It is slippery and tears easily.
Small but mighty helpers
- Painter’s tool or 5-in-1: For tucking tape and paper into edges.
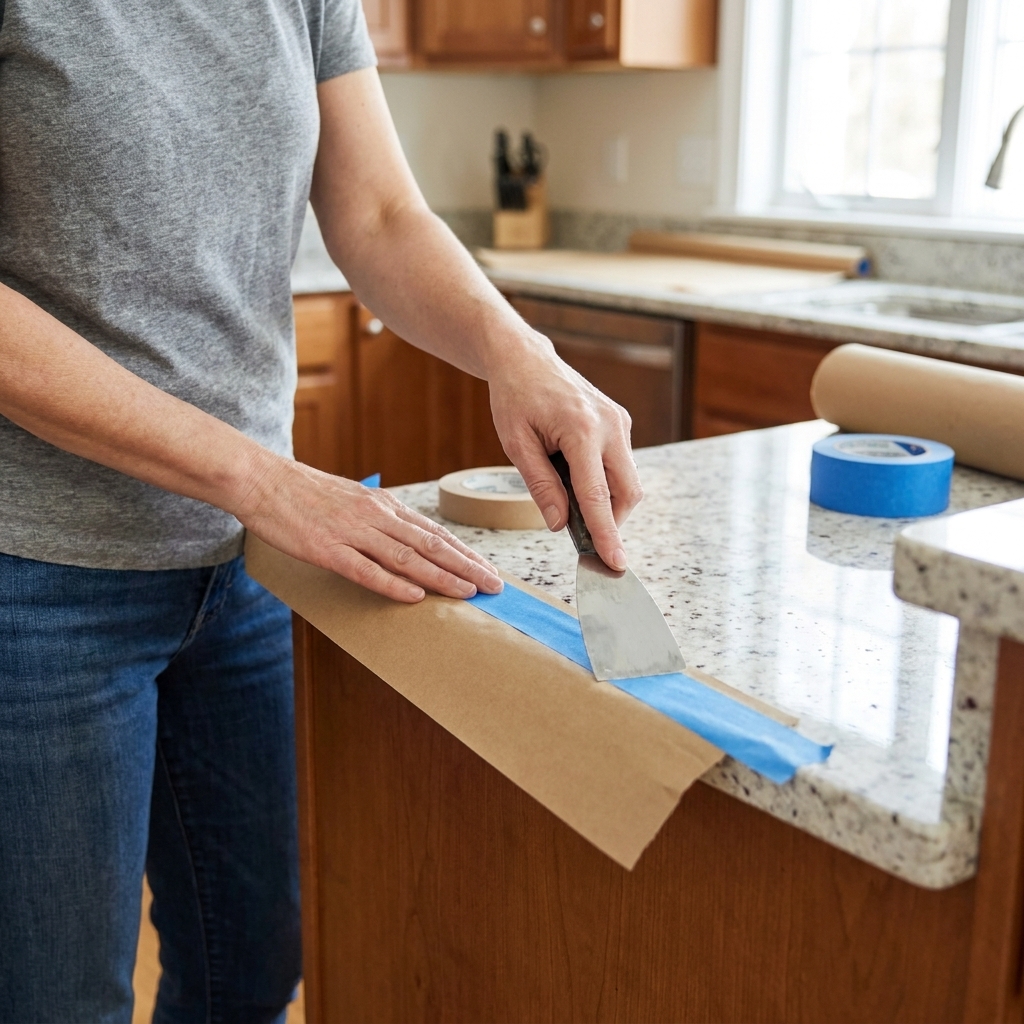
- Plastic putty knife or old gift card: For burnishing tape (pressing the edge down firmly) without damaging surfaces.
- Utility knife with fresh blades: For clean cuts, especially around hinges and trim.
- Blue shop towels and a mild cleaner: For a final wipe along the tape line on glossy surfaces. If you use denatured alcohol, spot-test first since it can dull some finishes and certain plastics.
Before you tape: prep that matters
Painter’s tape is not magic. It sticks best to clean, dry, dust-free surfaces. If your kitchen has any grease at all (and it will), do this first.
1) Remove what you can
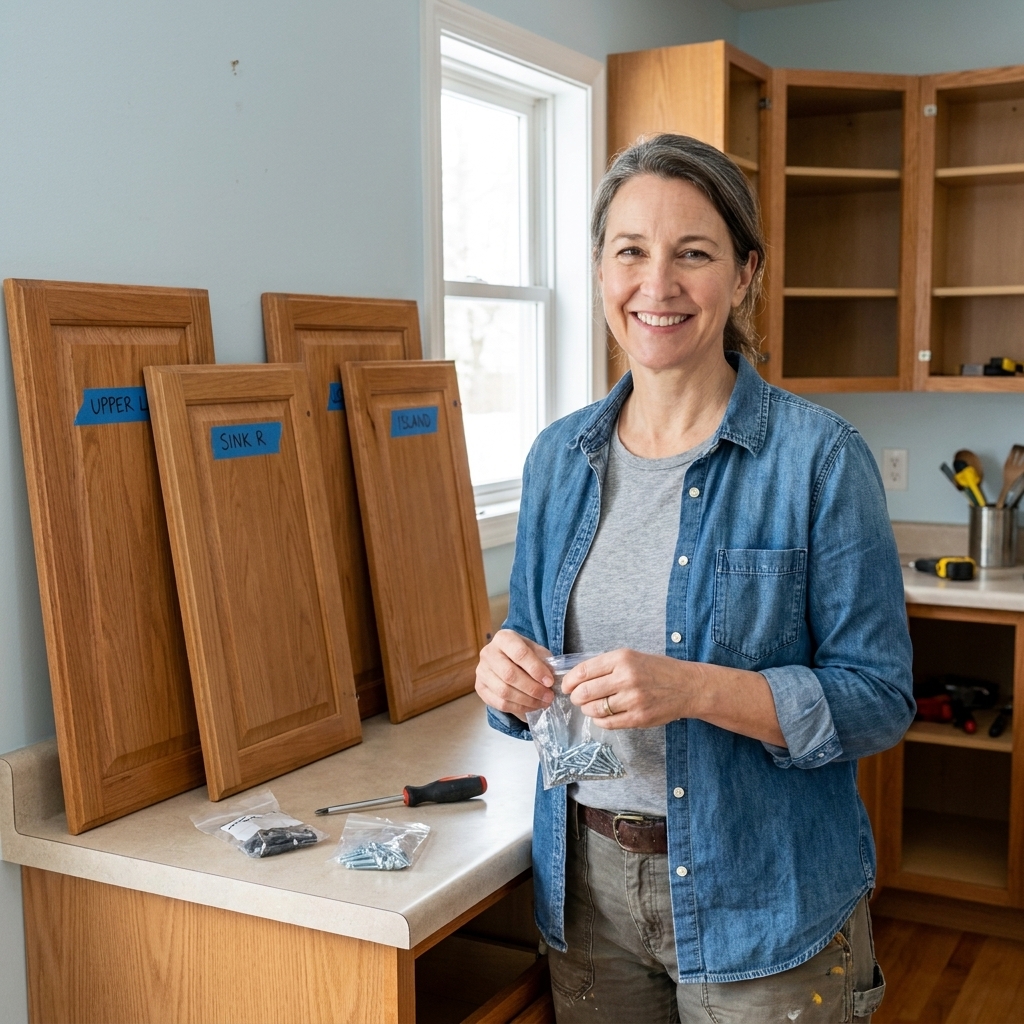
- Take down cabinet doors and drawer fronts.
- Remove hardware, hinges, and bumpers.
- Pull out the fridge if you can (even 6 to 12 inches helps) so you can cover it well and reach side panels.
2) Clean and de-grease
Wash backsplash, counters near the cooktop, and the cabinet frames with a degreaser. Rinse if your cleaner requires it, then let everything dry completely.
3) Vacuum dust, then wipe
After sanding, vacuum the floor and cabinet frames. Dust is one of the most common reasons tape lifts or paint creeps underneath, right up there with grease and damp surfaces.
4) Repair obvious gaps first
If there is a big caulk gap between cabinet and wall, tape will bridge it and you will get a wavy paint line. Touch up cracked caulk (and let it cure) before you do your final tape lines.
Where your paint line should go
This is the decision that makes your finished cabinets look intentional.
Countertops and cabinet bases
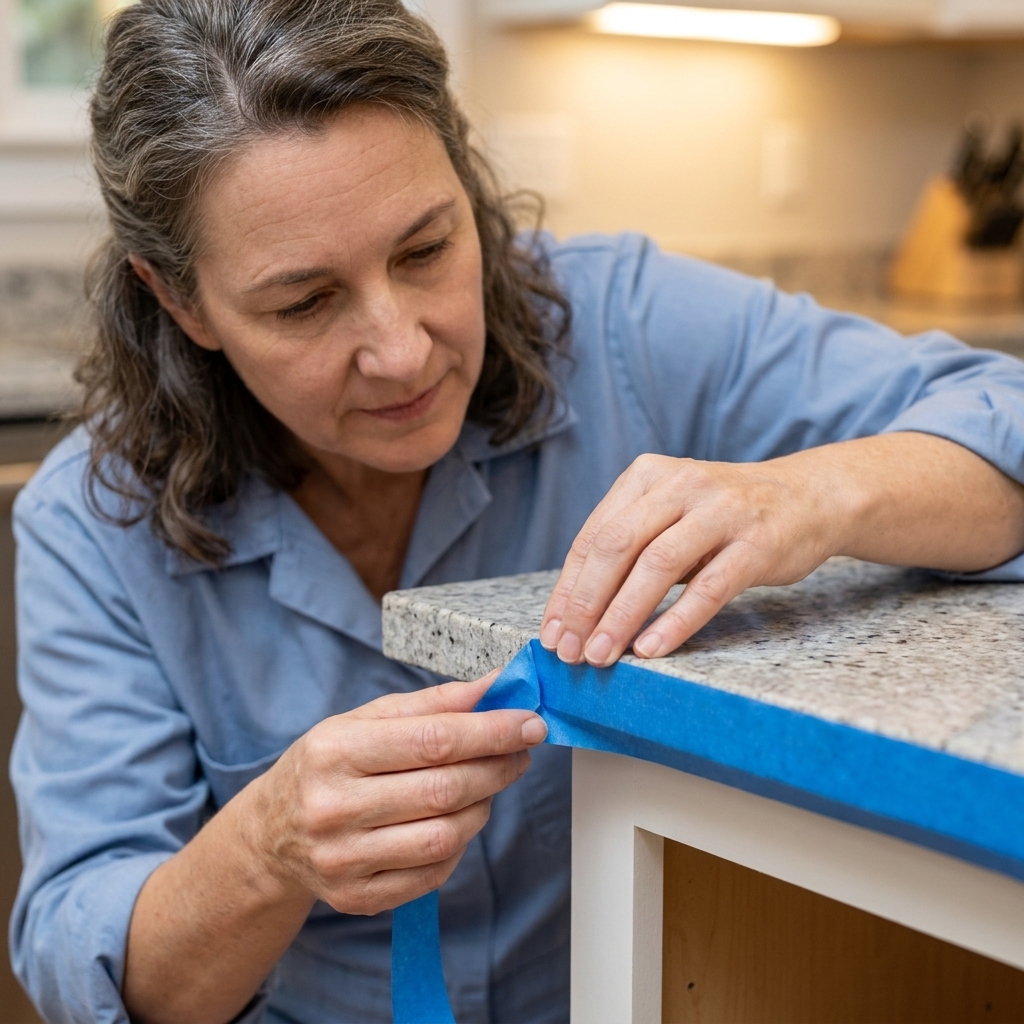
If you are painting base cabinet frames, I usually tape on the countertop, not on the cabinet. That way, your paint line is tucked just below the counter lip and looks crisp.
Countertop caution: Some stone surfaces and specialty finishes do not love aggressive tape left on for long stretches. When in doubt, use a delicate tape, follow the removal window, and test a small area first.
Walls next to cabinet boxes
If your wall paint is staying the same, tape on the wall right where the cabinet meets the drywall. If the wall will be repainted later, you can be a little less precious, but clean lines still make life easier.
Inside edges
If you are not painting the cabinet interior, tape just inside the face frame opening so overspray or roller flick does not pepper the shelves.
The core method: tape, burnish, then mask
Here is my repeatable order of operations for most kitchens.
Step 1: Lay tape in long, calm runs
- Work in 12 to 18 inch sections.
- Keep light tension on the tape, but do not stretch it like a rubber band.
- Overlap tape ends by about 1 inch so paint cannot sneak between seams.
- Press down as you go, then come back to burnish.
Step 2: Burnish the edge that matters
Burnishing just means pressing the tape edge down firmly. Use a putty knife, an old card, or your fingernail wrapped in a towel and run it along the tape edge where paint will meet it. This is where crisp lines come from.
Step 3: Add masking paper or film
Once the tape line is placed, attach masking paper or film to cover the rest of the surface. I like to “shingle” paper pieces slightly (overlap them downward) so drips do not run behind seams.
Step 4: Seal the tape edge (optional, but worth it)
If you are taping against textured drywall or you have had bleed-through in the past, this trick can save your sanity:
- After tape is applied and burnished, brush a very thin coat of the existing wall color or your primer along the tape edge.
- Let it dry.
- Then paint as normal. Any tiny seepage is the same color as the surface underneath, so your final line stays sharp.
Some people use clear water-based poly for this. I consider that an advanced move. It can leave a ridge and may not play nicely with every paint system, so if you go that route, test first.
Masking countertops and backsplashes
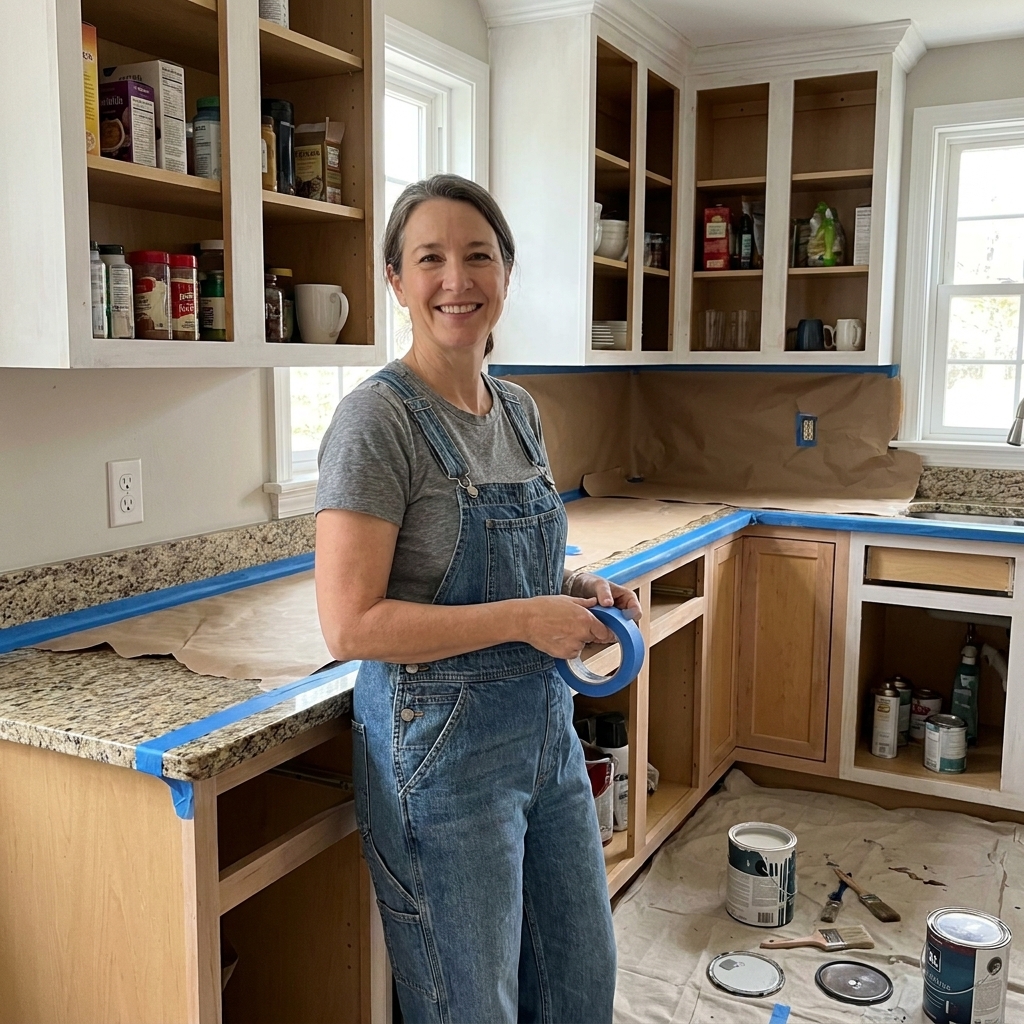
Countertops are where splatters show up instantly, especially with white paint. Protect them fully. Not “mostly.” Fully.
For laminate, quartz, granite, and solid surface
- Tape the counter edge where it meets the cabinet frames.
- Run masking paper across the whole counter and tape down seams.
- Double-check around the sink cutout and faucet base, since these are splash zones.
For tile backsplashes
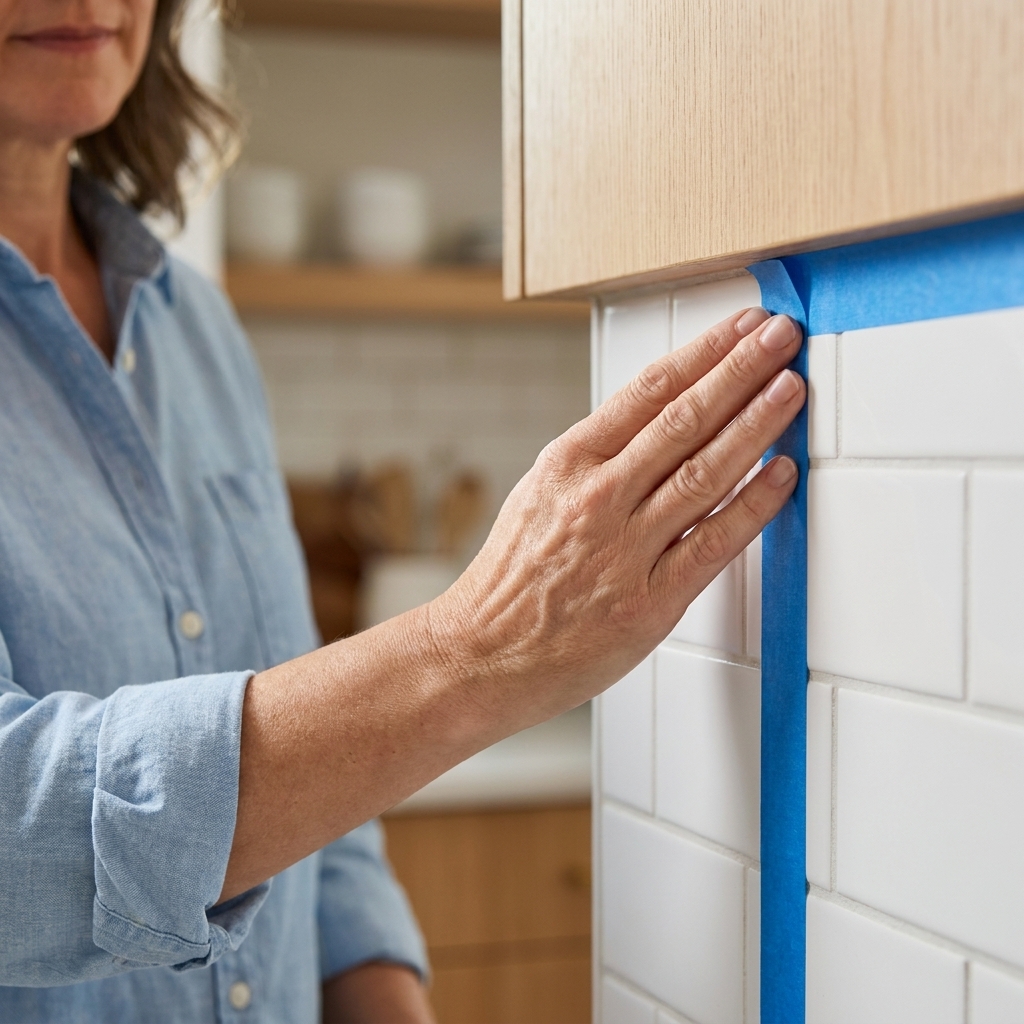
Tile is uneven, so tape can lift in grout lines. Two options:
- Option A: Tape along the grout line closest to the cabinet edge and burnish firmly, then add a thin seal coat (wall color or primer) along the tape edge.
- Option B: Use masking film to protect most of the area, then be extra controlled with your brush near the edge.
Protecting floors
Cabinet painting turns you into a marathon walker. You will be sanding, priming, painting, drying, and repeating. Floor protection needs to handle traffic.
My layering method
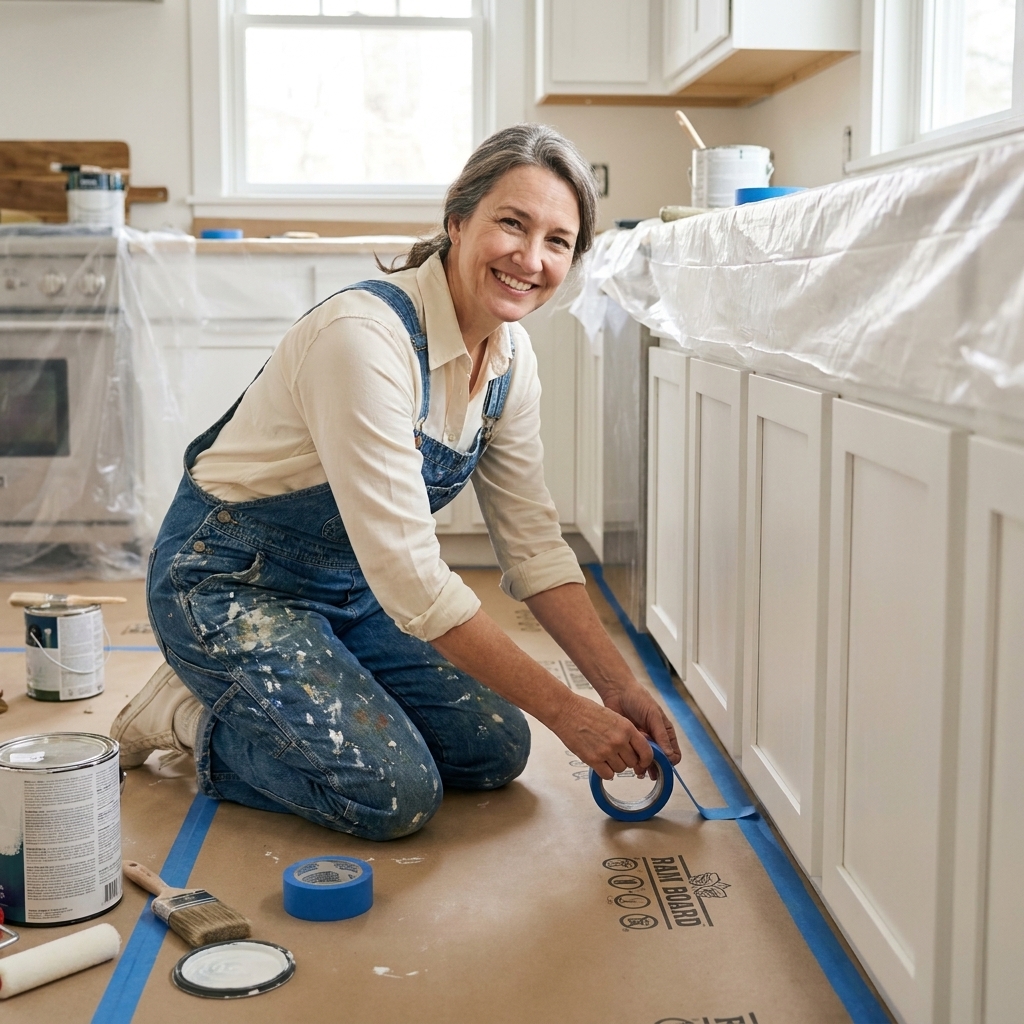
- Lay ram board or heavy floor paper from the cabinet toe kicks out into the room.
- Tape seams with floor-safe tape (avoid super aggressive tape on hardwood).
- Add a canvas drop cloth where you will stand most (sink run, stove run).
Toe kicks and baseboards
If you are painting toe kicks, tape the floor tight to the toe kick edge. If you are not painting toe kicks, tape the toe kick itself and cover it with paper, because it will catch more drips than you think.
Trip hazards (quick safety check)
Keep your walk paths clear. Press down any curled ram board edges and tape transitions flat, especially near doorways. It is easy to trip when you are carrying doors or a loaded paint tray.
Masking appliances, vents, and fixtures
Appliances are magnets for overspray and roller flecks. Mask them like you mean it.
Refrigerator and dishwasher
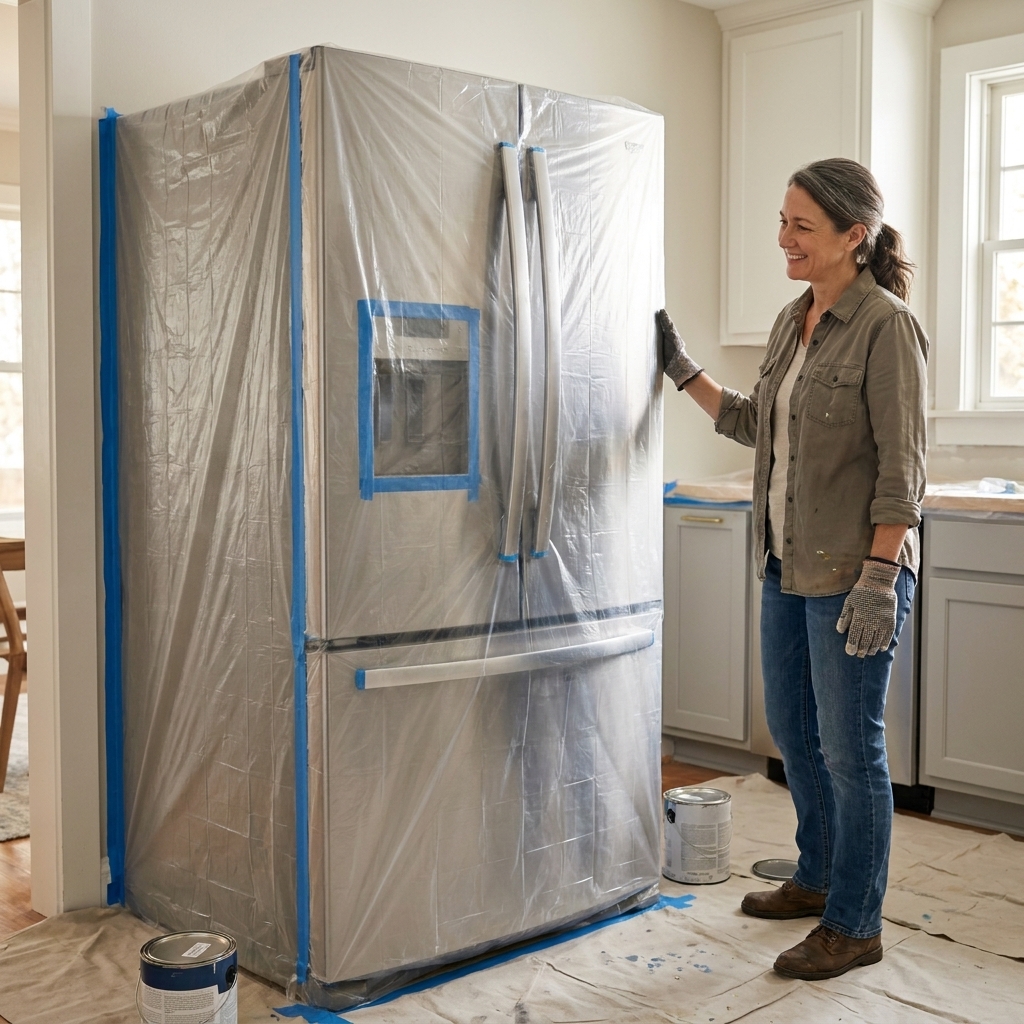
- Cover the whole face with plastic sheeting and tape along edges.
- If the dishwasher is under the counter and you are painting nearby frames, tape the top edge and control panel area carefully.
Range and hood
- Cover the range top and front panel.
- Mask the hood underside if you will be brushing near it, especially if it is stainless steel.
Outlets and switches
If you are painting cabinet frames near outlets, remove cover plates. It is faster than trying to tape around them, and the finish looks cleaner. Turn off power if you are uncomfortable working around outlets, and keep liquids away.
Vents and air returns
If you are spraying, consider masking nearby vents and returns so they are not pulling paint mist through the house. Keep airflow and ventilation in mind, too. If you are using solventy products or spraying indoors, follow the product safety directions and wear the right protection.
Masking cabinet openings and interiors
If you are painting cabinet frames but not the interiors, masking the openings saves you a ton of touch-ups later.
Quick method for openings
- Run tape along the inside perimeter of the face frame, set back about 1/8 inch from the front edge.
- Attach masking paper across the opening like a curtain.
- Use a few extra tape tabs in the center so the paper does not balloon out when you brush or spray nearby.
For spraying
If you are using a sprayer, upgrade your masking. Use pre-taped film and fully seal cabinet openings, adjacent rooms, and HVAC returns. Sprayer mist travels farther than you think.
Clean lines: removing tape
Tape removal is where a lot of projects go sideways. The goal is to remove it before paint turns into a brittle skin that tears.
When to pull
- Best: Pull tape when the paint is dry to the touch, but not fully cured.
- Timing depends on paint type, humidity, and the tape you used. When in doubt, follow the tape label and paint directions, and do a small test pull in an inconspicuous spot.
- If you have multiple coats, you can replace tape between coats in high-precision areas, but most of the time I leave it and pull after the final coat.
How to pull
- Pull slowly at a 45-degree angle back over itself.
- If paint starts lifting, stop and score the edge lightly with a sharp utility knife, then continue.
- Dispose of tape as you go so you do not brush against it and transfer wet paint.
If the tape leaves residue
On hard surfaces, a little warm soapy water usually works. For stubborn residue, try a small amount of rubbing alcohol on a cloth. Spot-test first, especially on painted walls and finished surfaces.
Common masking mistakes
“My tape won’t stick.”
- Cause: Grease, dust, or moisture.
- Fix: Clean again, let it dry, and switch to fresh tape. Old tape from the basement is often the culprit.
“Paint bled under the tape.”
- Cause: Tape not burnished, textured wall, or too much wet paint pushed into the edge.
- Fix: Burnish better, use the seal-the-edge trick (wall color or primer), and brush away from the tape edge instead of into it.
“The tape pulled my wall paint.”
- Cause: Aggressive tape, walls not cured, or tape left on too long.
- Fix: Use delicate surface tape, reduce dwell time, and pull at a low angle. Touch up the wall after cabinet paint cures.
“My line is wavy.”
- Cause: Tape bridged gaps or followed an uneven surface.
- Fix: Caulk big gaps first, then retape. Sometimes the “straight” line is actually the cabinet edge, not the wall.
My weekend masking checklist
- Doors and drawers off, hardware bagged and labeled
- Degrease counters, backsplash, and cabinet frames
- Vacuum sanding dust, then wipe down
- Floors covered with ram board, seams taped
- Countertops fully papered, sink and faucet protected
- Appliances wrapped and sealed
- Cabinet openings masked if interiors are staying put
- Tape edges burnished, optional seal coat applied
- Walk the kitchen once slowly and look for gaps
- Check that walk paths are clear and nothing is slipping or curling up
FAQ
Is painter’s tape enough to protect countertops?
Tape alone protects the edge, but it does not stop splatters. For cabinet painting, cover the entire countertop with masking paper or film attached to a solid tape line.
Do I need plastic or paper?
Use paper for flat surfaces you want to stay flat (counters, backsplash, face frames). Use plastic to wrap irregular shapes (appliances, light fixtures) and to create temporary barriers.
What tape gives the cleanest lines?
A quality painter’s tape plus proper burnishing is what makes lines crisp. If you are taping against textured walls, sealing the tape edge with the underlying color or primer is the real game-changer.
How long can painter’s tape stay on?
Check the label on your specific tape, but for best results I plan to remove it within a day or two. The longer it sits, the higher the chance it bonds too strongly or tears cured paint, especially on delicate finishes.
Should I tape cabinet hinges instead of removing them?
You can, but removing hinges is usually faster than taping around them, and it looks cleaner. If you must leave hinges on, cover them tightly with tape and score edges before removal.
One last tip
If you only do one thing from this whole guide, do this: take 10 minutes to walk the kitchen at eye level and knee level and look for unprotected edges. Paint drips love the underside of countertops, the toe kick area, and the side of the fridge. Catching those spots before you prime is the difference between “I painted my cabinets!” and “Why is there paint everywhere?”