Two-tone cabinets are one of my favorite budget kitchen upgrades because you get that custom, designer look without touching your countertops. The trick is not the colors. It is the order you paint in, and how you mask so the transition line stays razor crisp.
This guide walks you through a simple, repeatable process for painting your uppers and lowers different colors, plus the little details that keep the whole thing looking intentional instead of patchy.
Plan your two-tone split
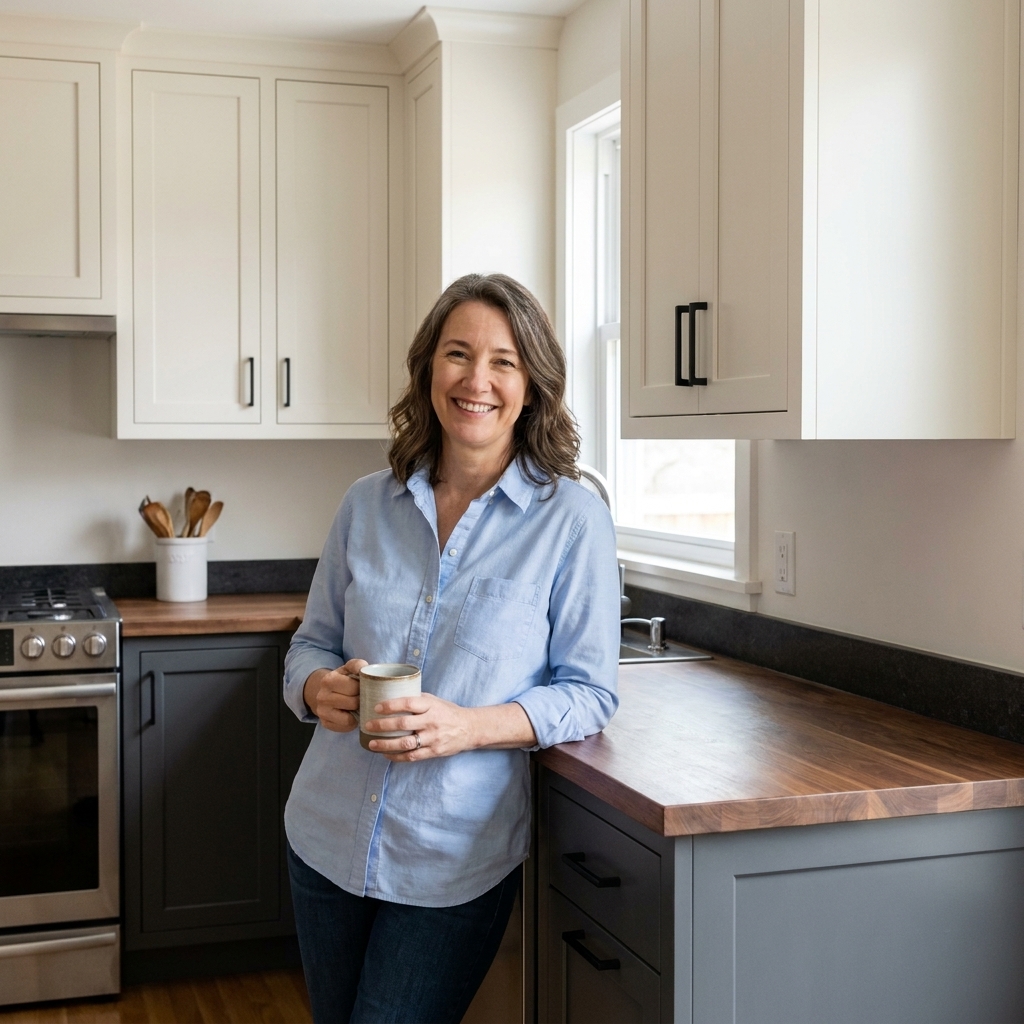
Before you touch sandpaper, decide exactly where the color break will be. Most two-tone kitchens fall into one of these layouts:
- Classic: light uppers, dark lowers (brightens the room and hides scuffs below).
- Reverse: dark uppers, light lowers (bold, but can feel heavy in low-light kitchens).
- Island moment: perimeter cabinets one color, island another (often the easiest “two-tone” for beginners).
- Hutch wall: a bank of pantry cabinets one color, the rest another (great if you want contrast without painting everything).
Choose colors that look related
You do not need them to match, but they should “belong” together. My easiest shortcut: pick one neutral for one zone (warm white, greige, soft gray) and one deeper color with the same undertone (warm with warm, cool with cool).
Pick the right sheen
For cabinets, I stick with satin or semi-gloss. Satin hides imperfections a little better. Semi-gloss wipes clean easiest. Use the same sheen for both colors so the finish looks cohesive.
Tools and materials
- Degreaser or strong cleaner (TSP substitute or a good kitchen degreaser)
- Sanding supplies (sanding sponge plus 120 and 220 grit sandpaper)
- Vacuum and tack cloth or damp microfiber cloth
- Bonding primer suited for cabinets
- Cabinet-grade paint (enamel or trim paint meant for doors and cabinetry)
- High-quality angled brush (2 to 2.5 inch) and a small foam roller
- Painter’s tape (a quality tape designed for crisp lines)
- FrogTape or delicate surface tape for tricky transitions
- Brown builder’s paper or plastic sheeting
- Caulk (paintable) for tiny seams where cabinetry meets walls
- Wood filler (for dents or old hardware holes)
- Screwdriver or drill, plus a marker and baggies for hardware
- Optional but helpful: a paint sprayer for doors
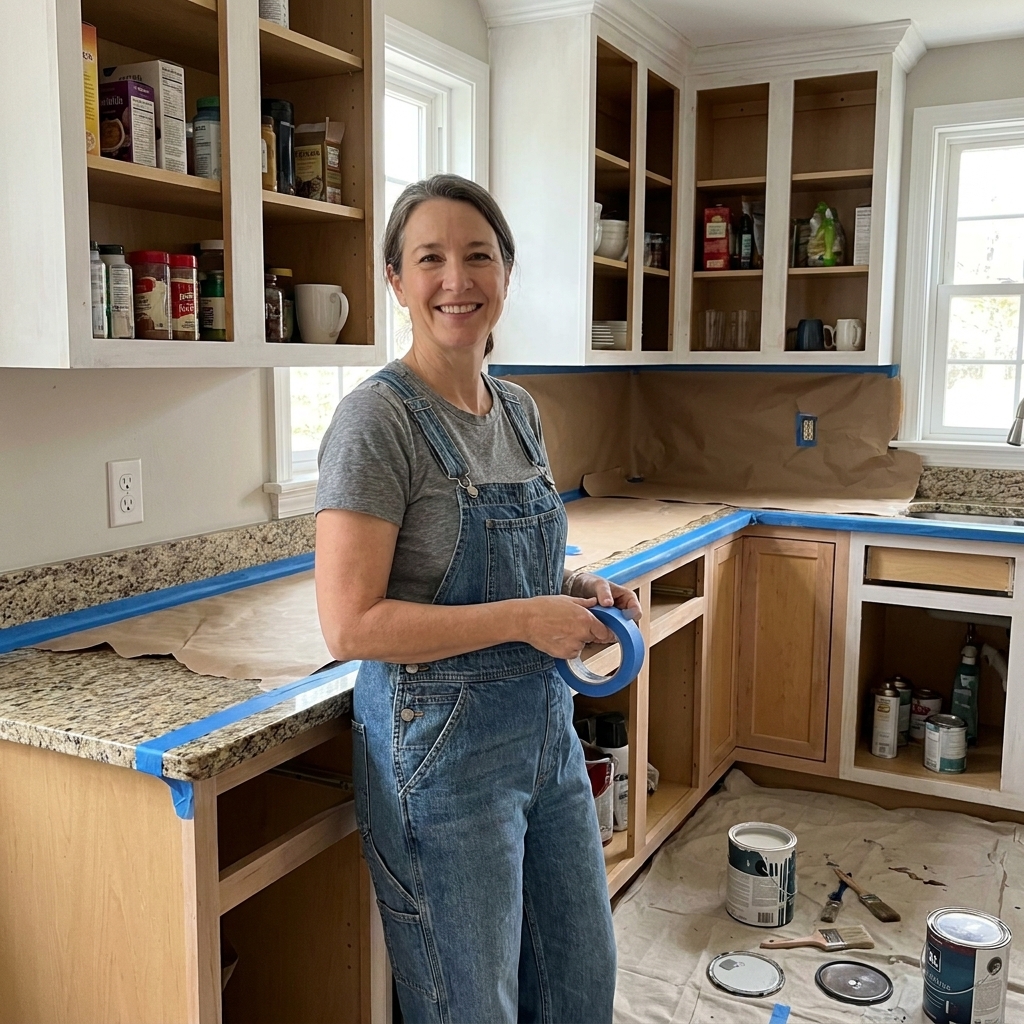
My two-tone must-have: builder’s paper. It masks faster than plastic and gives you a clean, straight edge along counters and floors.
Quick safety note
Ventilate well. Wear gloves and eye protection when using degreasers, and if you are spraying, use a properly rated respirator (not a dust mask) and follow your product’s ventilation guidance.
Step 1: Set up your workflow
Two-tone projects feel chaotic if you are stepping over doors for three days. A little setup saves your sanity.
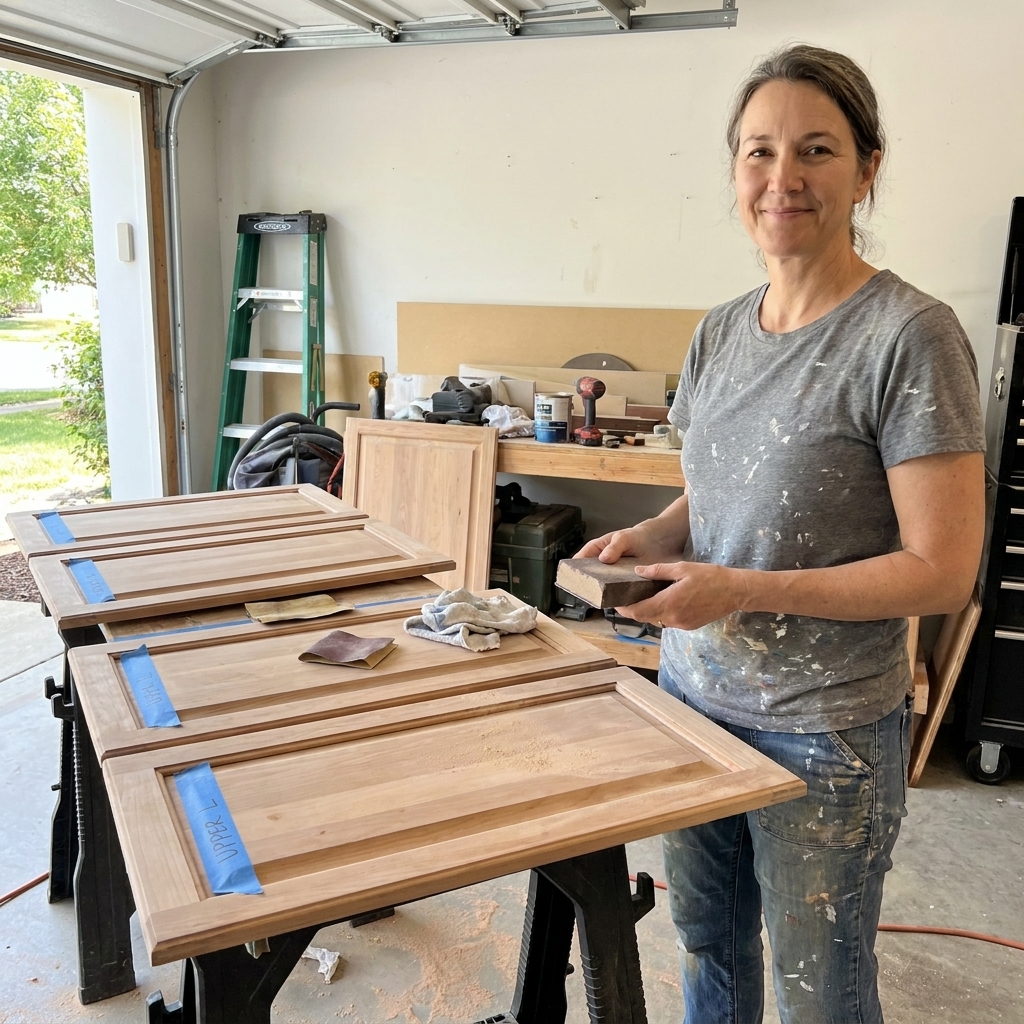
- Remove doors and drawer fronts. Number each one with a piece of tape on the hinge side, and label the matching cabinet box.
- Bag hardware. Put hinges and screws for each door in a labeled baggie.
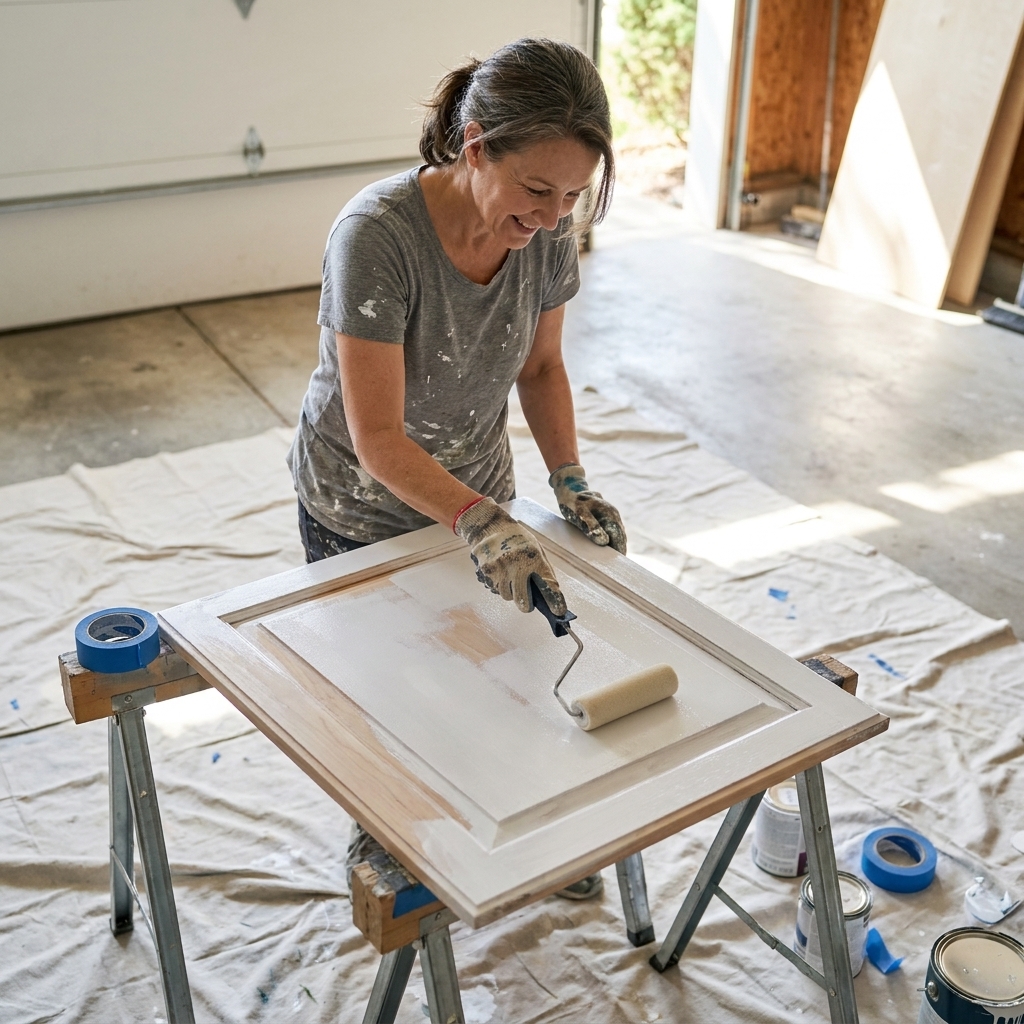
- Create a drying zone. A garage, basement, or spare room works. Set up sawhorses with 2x4s, or use a door painting rack if you have one.
- Take photos. Quick hinge and drawer photos help during reinstall.
Step 2: Clean like you mean it
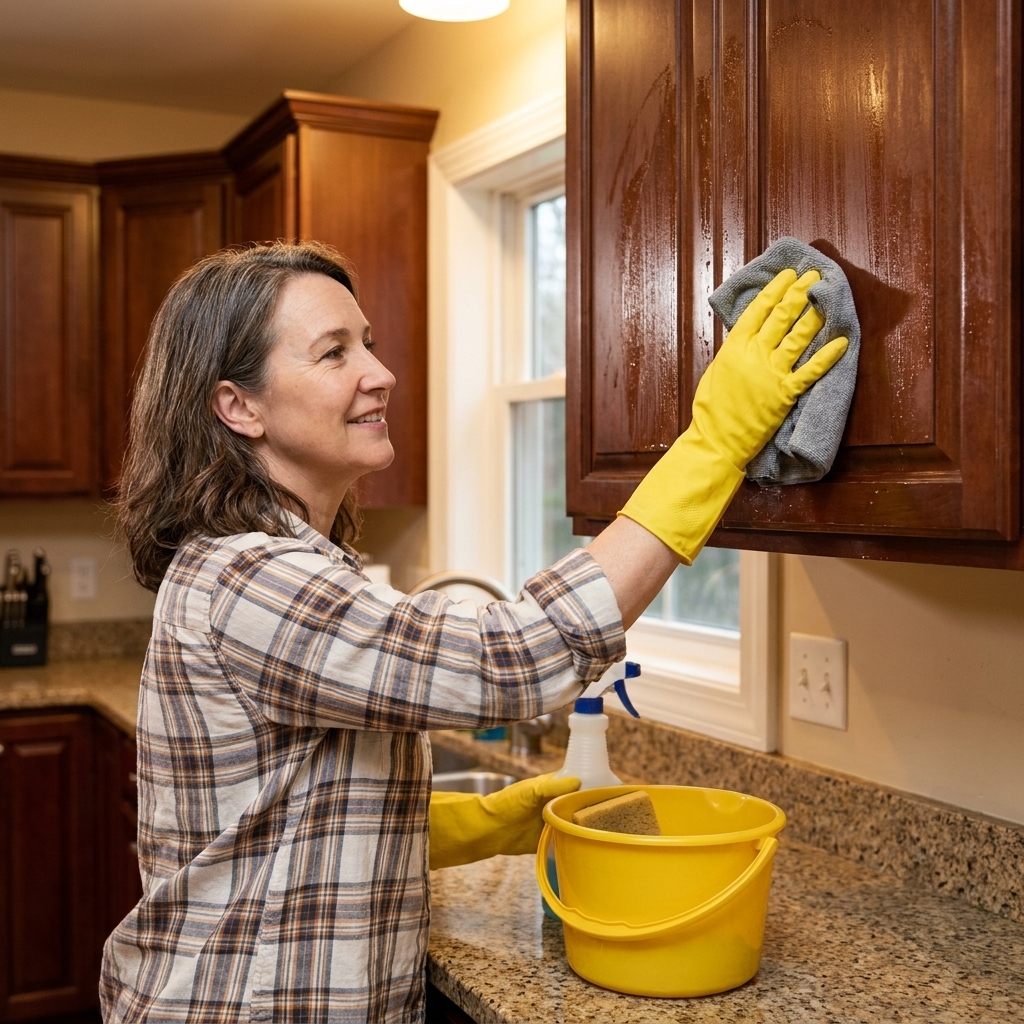
If you remember one thing from me, let it be this: many cabinet paint failures start with grease. Kitchens build up invisible oils, especially around pulls and the stove.
- Spray or wipe on degreaser.
- Scrub around knobs, pulls, and door edges.
- Rinse with clean water if your cleaner requires it.
- Let everything dry fully.
Tip: Change your rinse water often. Dirty rinse water just spreads grime around.
Step 3: Fill, caulk, and sand
Fill dents and old hardware holes
If you are changing hardware size or style, fill the old holes now. Let filler dry completely, then sand smooth.
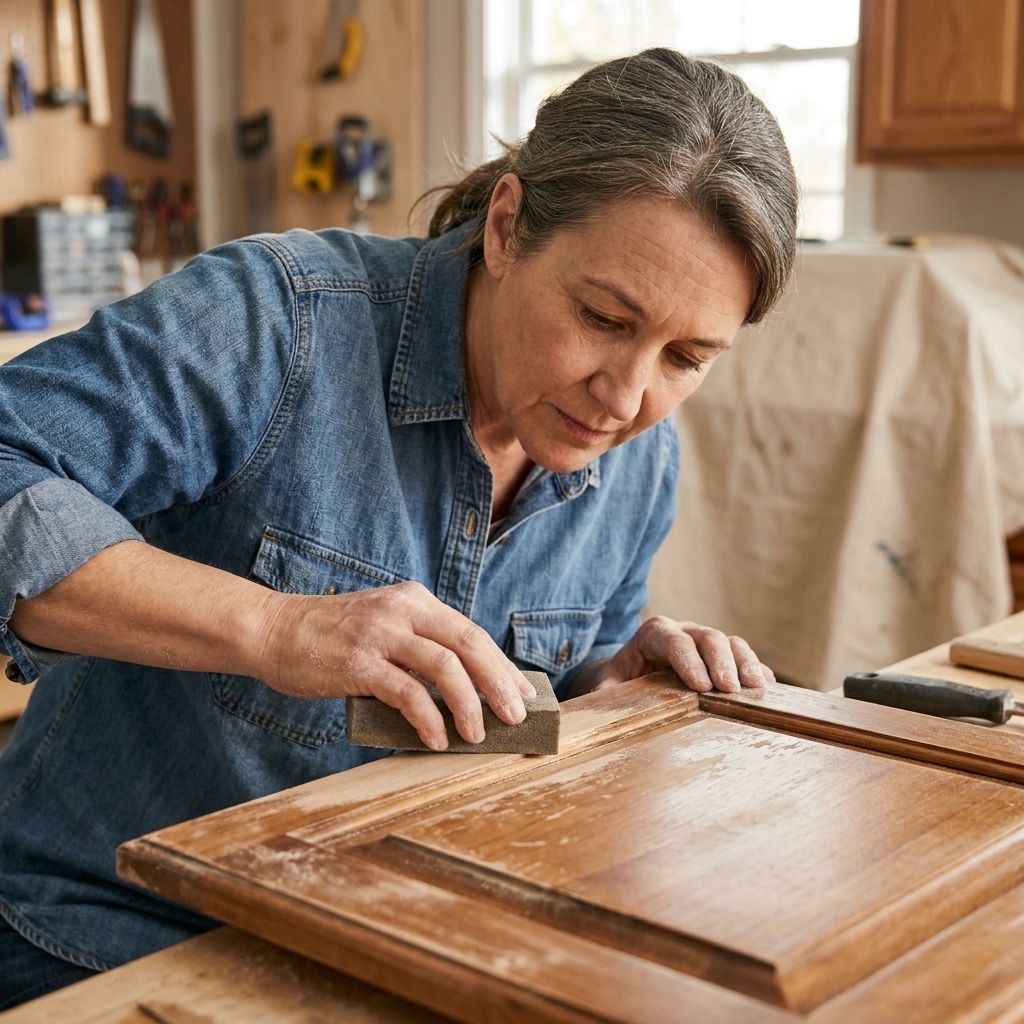
Lightly sand everything
You are not trying to remove the old finish. You are creating tooth for primer and paint.
- Use 120 grit for glossy or heavy finishes.
- Follow with 220 grit to smooth.
Vacuum dust, then wipe with a tack cloth or a damp microfiber cloth.
Step 4: Prime for adhesion
Primer is what turns “looks good today” into “still looks good next year.” For two-tone cabinets, primer does double duty: it helps paint stick and it evens out porosity so your finish coats look uniform. It also helps block common issues like tannin bleed on certain woods.
- Prime cabinet boxes first (uppers and lowers).
- Prime doors and drawer fronts in your drying zone.
- Let primer dry, then lightly sand with 220 to knock down texture.
- Remove dust again.
Primer pick made simple: A waterborne bonding primer is great for slick, previously painted surfaces. If you are dealing with tannins (common with oak) or stubborn staining, a shellac-based or stain-blocking primer can be worth it. Always check label compatibility with your topcoat.
If your cabinets are oak: spend extra time on grain. You can embrace grain, or you can reduce it with grain filler and extra sanding between coats. Two-tone looks especially sharp when the finish is smooth, but it is totally optional.
If your cabinets are laminate or thermofoil: you need a specialty bonding primer and meticulous prep, and even then results vary. If the surface is peeling or heat-damaged, replacement is often the better long-term fix.
Step 5: Pick the painting order
Here is the simplest rule that prevents headaches:
Paint the lighter color first, then the darker color.
This order is more forgiving if you get even a tiny bit of tape bleed later. Touching up a light line is usually easier than trying to “erase” a dark one from a light area. Coverage varies by product and color, so plan for the number of coats your paint needs either way.
Typical order for uppers and lowers
- Paint all surfaces that will be the lighter color (often the uppers).
- Let it harden enough to tape safely.
- Mask and protect the finished area.
- Paint the darker color (often the lowers).
Dry vs cured (quick definition): Dry means you can touch it lightly without it smearing. Cured means it has hardened enough to handle, tape, and clean without denting easily. Cabinet paints often take 7 to 30 days to fully cure.
How long to wait before taping? Follow your paint label first. As a general rule, I like to wait at least 24 hours before taping cabinet paint, longer if it still feels at all soft or rubbery.
Step 6: Paint the first color
Cabinet boxes
- Cut in edges and corners with an angled brush.
- Roll flat areas with a foam roller for a smoother finish.
- Keep a wet edge and do not overwork paint that is starting to tack up.
- Let dry, then apply a second coat if needed.
Doors and drawer fronts
For the smoothest results, paint doors flat whenever possible. If you are brushing and rolling, use thin coats. If you are spraying, follow the sprayer’s recommended distance and overlap passes consistently.
My finish tip: After the first coat dries, do a very light 320 grit sand, then wipe clean. It makes the second coat look noticeably more “factory.”
Step 7: Mask for a crisp line
This is where two-tone cabinet jobs win or lose. You want tape that seals cleanly, plus protection so overspray or roller mist does not speckle the finished color.
Common transition lines
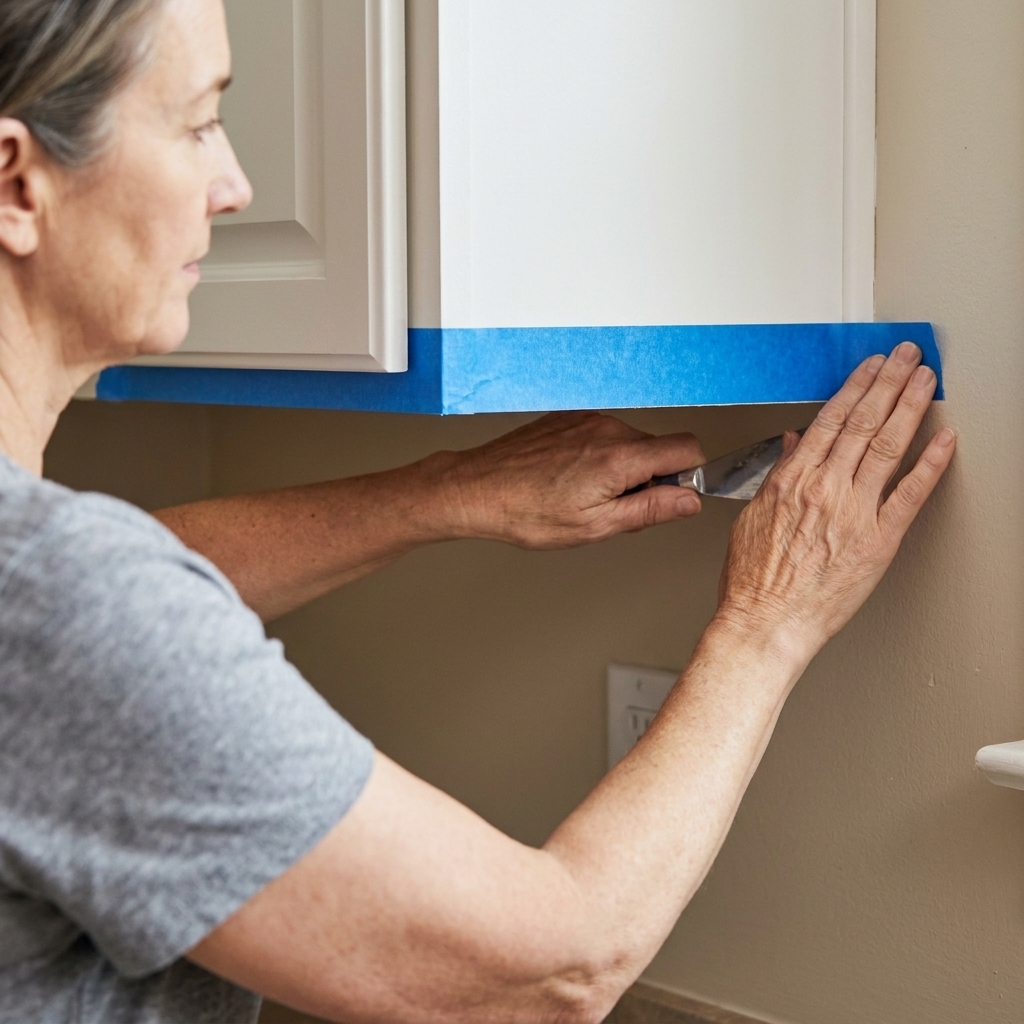
- Along the underside edge of the uppers (the line above the backsplash)
- Along the countertop line where base cabinets meet counters
- At a tall pantry cabinet edge when only part of the kitchen changes color
My clean-line masking method
- Let the first color harden. Dry to the touch is not enough.
- Apply painter’s tape carefully. Use short sections so you can keep it straight. Press it down firmly.
- Seal the tape edge. Lightly brush a thin coat of the first color along the tape edge, right where you want the line. If anything bleeds, it will be the same color and it will seal the tape.
- After that dries, paint the second color.
Do not skip sealing the tape edge if you want a truly crisp line. It is especially helpful on textured walls, oak grain, or slightly imperfect cabinet edges.
Step 8: Protect the first color
Once your first color is taped off, protect it from drips and roller splatter.
- Use builder’s paper taped to the underside of uppers when painting lowers.
- Cover countertops with paper or rosin paper, then add a drop cloth on the floor.
- If spraying, hang plastic sheeting and create a contained zone.
Quick reality check: Even careful rolling creates a fine mist. Mask more than you think you need to.
Step 9: Paint the second color
Same rules as before: thin coats, consistent roller pressure, and do not fiddle with paint that is setting up.
- Cut in first.
- Roll flat surfaces.
- Apply a second coat after the recommended recoat time.
If your second color is very dark: plan for an extra coat. Deep colors often need one more pass to look rich and even.
Step 10: Remove tape cleanly
Tape removal is its own skill, and it makes a huge difference.
- Remove tape when the final coat is set but still a little “green” so it cuts cleanly. Timing depends on the paint, humidity, and airflow. Check your label for dry times and test a hidden spot.
- Pull tape back on itself at a 45-degree angle, slowly.
- If paint feels like it is bridging, use a sharp utility knife to lightly score along the tape edge as you pull.
If you wait days to remove tape: you risk tearing the paint line. If you remove it too soon, you can smear. Aim for that middle zone where paint has set, but is not rock-hard.
Step 11: Reinstall and protect
Cabinet paint continues to cure for days or even weeks. Be gentle at first.
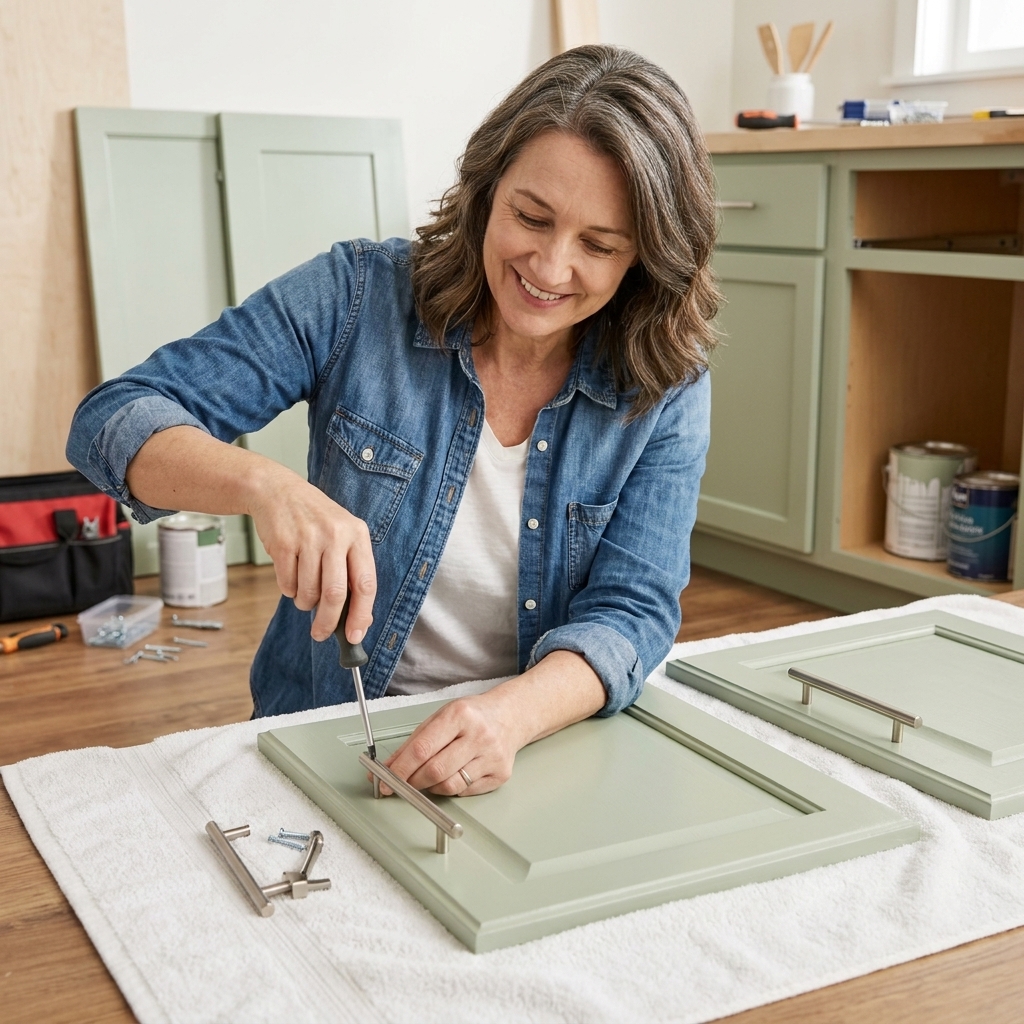
- Reinstall doors when your paint is hard enough to handle without denting. For many cabinet paints, that is often 24 to 72+ hours, but follow your product’s cure guidance.
- Add felt bumpers to doors and drawers if you do not already have them.
- Tighten hardware gently. Over-tightening can crack fresh paint around screw holes.
- Avoid harsh cleaners for the first couple of weeks. Use mild soap and water only.
Troubleshooting
My tape line bled
- Lightly sand the ridge once fully dry (320 grit).
- Touch up with a small artist brush.
- Next time, seal tape with the first color before painting the second.
The line looks jagged against the wall
This usually happens when the wall texture is heavy. You can run a very small bead of paintable caulk where cabinets meet the wall, smooth it, let it dry, then paint. It helps you create a cleaner edge.
The dark lowers look streaky
- Add another coat.
- Switch to a better roller cover, and keep pressure consistent.
- Make sure you are not painting over dust.
I can see a ridge where colors meet
A tiny ridge is normal with tape. Once cured, you can gently knock it down with a very light sand and do a careful touch-up. The best prevention is thinner coats and removing tape at the right time.
Design tips
- Repeat your darker color in one more place, like bar stools, a runner, or a light fixture finish.
- Unify hardware. Using the same pulls everywhere keeps two-tone from feeling busy.
- Mind the backsplash. If your uppers are light and lowers are dark, a backsplash that bridges both tones helps everything flow.
- Consider the toe-kick. Painting the toe-kick the same color as the lowers looks more built-in.
Quick FAQ
Do I need to paint the cabinet interiors?
No. I usually leave interiors alone unless they are damaged, stained, or you are removing shelves and want a full refresh. Painting interiors adds a lot of time and increases the chance of sticking.
Can I do two-tone without removing doors?
You can, but you will fight drips and you will never get as smooth of a finish. If you want the crispest result, remove doors and drawer fronts.
Should uppers always be lighter?
Not always, but it is the most forgiving and it keeps the room feeling open. If your kitchen is small or lacks natural light, light uppers are your friend.
Do I need a topcoat?
Usually no if you are using a cabinet-grade enamel designed for trim and doors. Some clear coats can yellow over light colors, and some can cause adhesion issues if the paint underneath is not fully cured. That said, there are non-yellowing waterborne clears and paint systems designed to be topcoated. If you want to add a clear coat, make sure it is compatible with your paint, and ideally stick within the same manufacturer system.
Two-tone checklist
- Pick a split and confirm undertones
- Remove and label doors and drawers
- Clean thoroughly and let dry
- Fill, sand, and remove dust
- Prime, sand lightly, remove dust
- Paint lighter color first
- Let it harden, then tape and seal tape edge with the first color
- Paint darker color
- Remove tape at the right time
- Let cure, reinstall hardware, add bumpers
If you go slow on prep and you treat masking like its own step, two-tone cabinets are totally doable in a weekend or two. The payoff is huge, and every time you walk into the kitchen it feels like you changed the whole room without paying remodel prices.