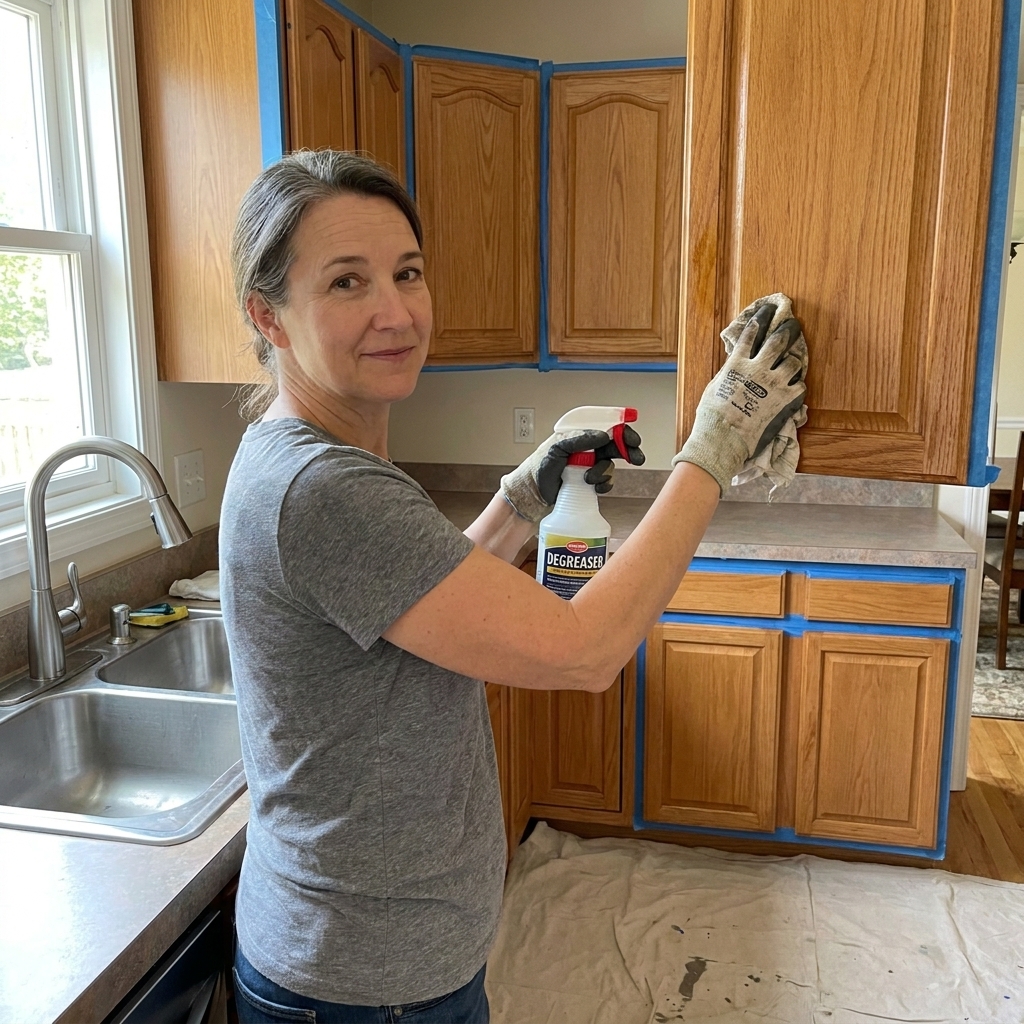
If you have ever painted cabinets and ended up with fisheyes, peeling near the stove, or paint that scratches off a week later, there is a good chance the problem was not your paint. It was what was still on the cabinet when you painted.
Kitchen cabinets collect an impressive mix of cooking oils, hand oils, dusty grime, and cleaner residue. The goal of prep cleaning is simple: cut through grease so your primer can grab the surface, then rinse well so you do not leave a film behind.
Three families of cleaners come up over and over for cabinet prep: TSP, TSP substitutes, and citrus degreasers. They are not interchangeable. Here is how they really compare, and which one I reach for depending on what I am dealing with.
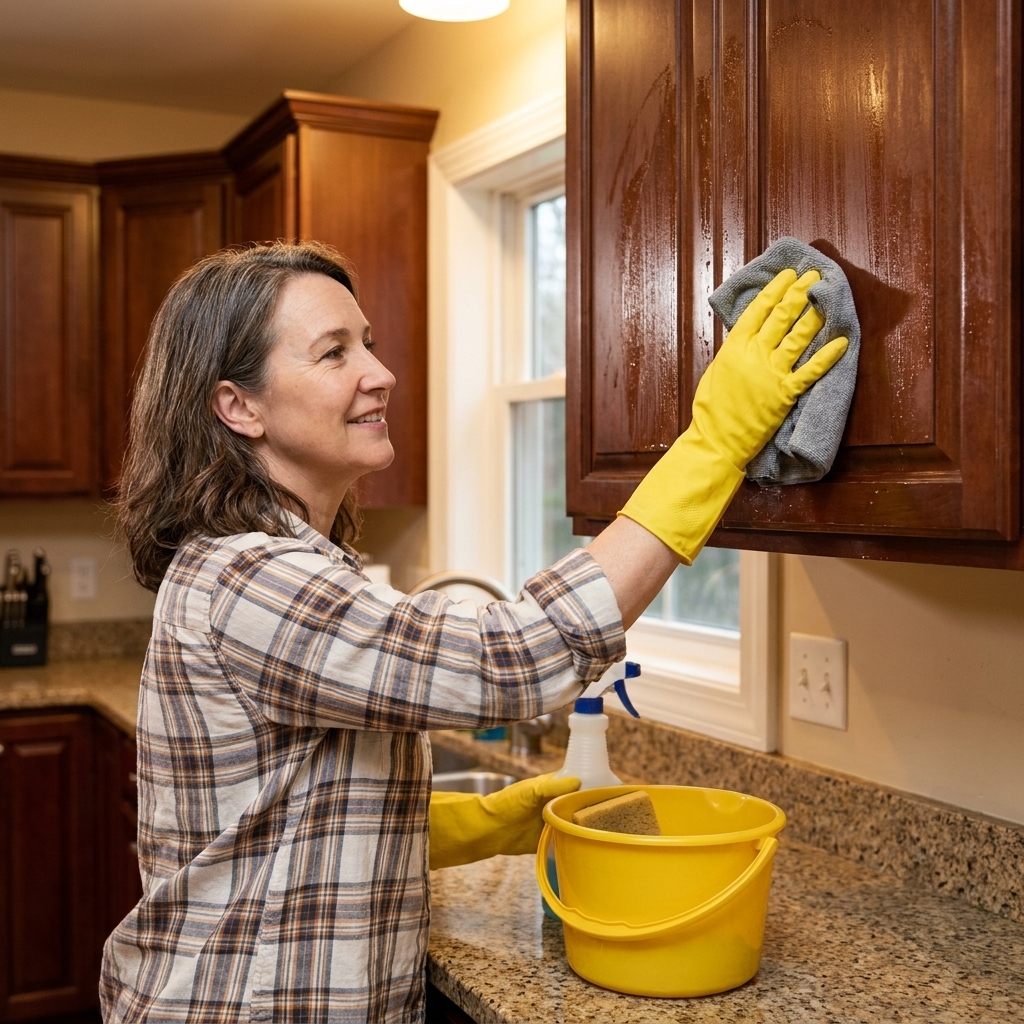
Quick pick: which one should you use?
- Choose real TSP when cabinets have heavy, years-long grease buildup (especially near a range hood), and you can rinse thoroughly and manage the safety precautions.
- Choose a TSP substitute when you want a safer, simpler option that still cleans well for most kitchens, especially for routine cabinet painting projects.
- Choose a citrus degreaser when the problem is sticky oil and grime and you want strong degreasing power, but you are willing to be extra careful about removing residue before priming.
If you are unsure, my most common recommendation for DIY cabinet painting is a TSP substitute followed by a very thorough rinse. Then spot-treat truly gross areas with a targeted degreaser if needed.
What matters for paint adhesion
When you are cleaning for paint, you are not cleaning for sparkle. You are cleaning for bonding. These are the big things that make or break adhesion:
- Grease removal: Oils act like a release agent under primer.
- Residue control: Some cleaners work great but leave behind a film that can interfere with primer if not rinsed away completely.
- Rinse-ability: On cabinet boxes especially, you need a cleaner that you can remove without flooding seams or swelling MDF edges.
- Safety and surfaces: Strong alkalines can dull certain finishes and can be hard on skin and lungs. Some degreasers can soften old finishes if left too long.
Cleaning is only one step, but it is the step that determines whether your sanding and priming actually count.
Know your cabinet surface
Before you pick a cleaner and start scrubbing, take 60 seconds to figure out what you are cleaning. It changes how much water and dwell time you can safely use.
- Painted MDF and exposed MDF edges: Use minimal water, keep cloths damp not dripping, and dry fast. MDF swells if it gets wet.
- Thermofoil and laminate: Avoid soaking seams and corners. If water gets under an edge, it can cause lifting over time. Work in small sections and towel-dry as you go.
- Veneer edges and older doors: Be gentle around seams. Too much water, too much scrubbing, or letting cleaner sit can loosen veneer.
- Factory-finished wood (common on newer cabinets): Assume the finish is tough and slick. Clean thoroughly, then scuff sand, and plan on a bonding primer.
Real TSP: the heavy-duty option
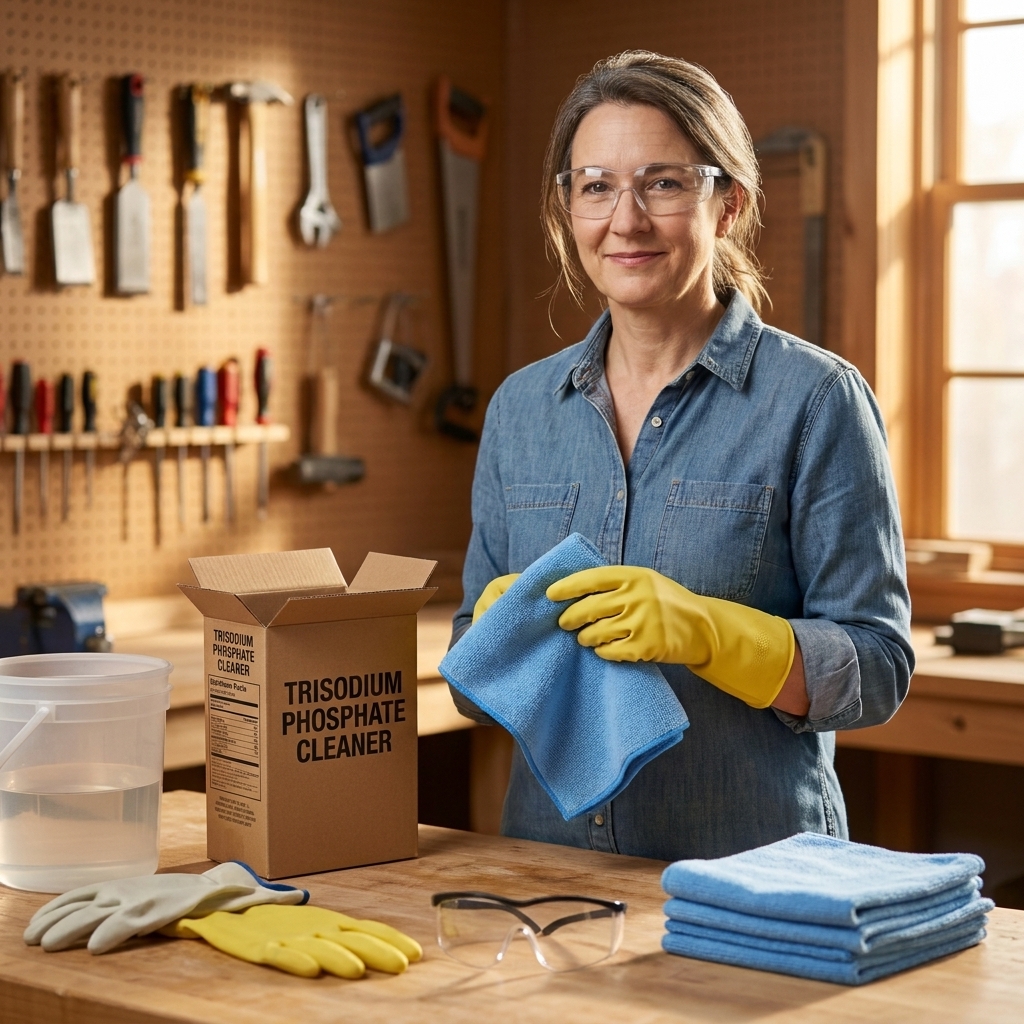
TSP is trisodium phosphate, a strong alkaline powder you mix with water. In DIY circles, it has a reputation for being the ultimate grease cutter, and it truly can be, especially on neglected cabinets.
What TSP does well
- Excellent degreasing on baked-on kitchen grime, especially around the stove and above the microwave.
- De-glossing help: it may slightly dull some shiny surfaces, which can help prep (but do not rely on it instead of sanding). If you are not sure how your finish will react, test a small area first.
- Cost-effective: a box goes a long way.
Where TSP can bite you
- It must be rinsed extremely well. Leftover TSP residue can interfere with primer and paint adhesion. If you can still feel a slick or chalky film when dry, you are not done rinsing.
- It is harsh. It can irritate skin and eyes and you do not want to breathe the dust. Gloves and eye protection are not optional.
- Environmental restrictions exist in some areas. True phosphate-based TSP is regulated in some states, provinces, and municipalities due to waterways concerns, so availability varies.
- Not ideal for delicate situations. If you have veneer edges lifting, water-sensitive MDF, or you cannot rinse well, TSP can create more problems than it solves.
How I use TSP on cabinets
I reserve it for the cabinets that feel like a fryer wall. I mix a small batch, work in manageable sections, and rinse thoroughly.
- Vacuum and dust first. You do not want to smear dust-mud into corners.
- Wash with TSP solution using a Scotch-Brite style pad or rag, keeping it damp not dripping.
- Rinse twice with clean water and fresh cloths. I like one rinse bucket for the first pass and a second bucket of clean water for the final pass.
- Dry immediately with a towel, then air-dry with good airflow.
TSP substitutes: the cabinet-painting sweet spot
TSP substitute products are typically phosphate-free cleaners designed to mimic TSP’s grease-cutting power with fewer environmental concerns and, often, a slightly gentler feel. Many are built around alkaline builders like sodium carbonate or sodium metasilicate, plus surfactants that help lift grime.
Why I like TSP substitutes for cabinet prep
- Strong cleaning for everyday kitchen grease without being quite as aggressive as real TSP.
- Easier to find in many big box stores than true phosphate TSP.
- Usually easier to rinse than some heavy degreasers that can leave a stubborn film.
Limitations to know
- Not all substitutes perform the same. Some are barely stronger than a general cleaner. Read the label and choose one marketed for heavy-duty degreasing or paint prep.
- Still requires rinsing. “No-rinse” language on some cleaners can be misleading for paint prep. For cabinets, I still rinse with clean water.
- May not touch the worst buildup alone. If you can scrape grease with your fingernail, you might need a targeted degreaser step first.
How I use a TSP substitute
This is my default process when I am teaching friends to paint cabinets, because it hits the best balance of effective and manageable.
- Remove doors and label them. Cleaning is easier when you can lay doors flat.
- Wash with the substitute solution and a non-scratch pad.
- Rinse thoroughly with clean water, changing water often.
- Dry completely, then proceed to sanding or scuff sanding.

Citrus degreasers: great at grease, risky on residue
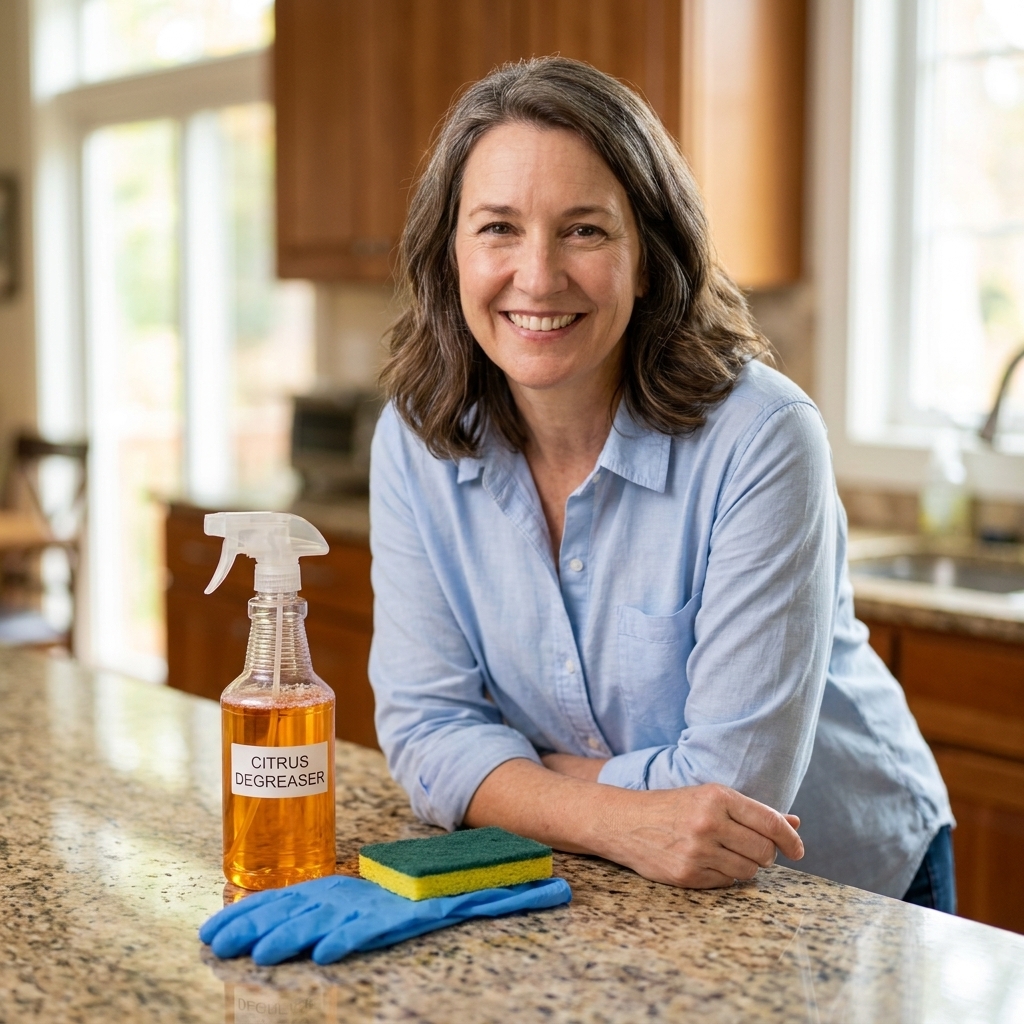
Citrus degreasers are cleaners that use citrus-derived solvents (often d-limonene) and or strong surfactants to break down oils. They can be incredibly satisfying on sticky grime, but for cabinet painting, the big watch-out is what they can leave behind.
Where citrus degreasers shine
- They melt sticky grease fast. If cabinet doors near the cooktop feel tacky, citrus products can cut through it quickly.
- They are handy for spot treatment. Think knobs, pulls, and the finger zone around hardware.
- They can reduce scrubbing time on textured wood grain and routed door profiles.
Common pitfalls before paint
- Residue is the big one. Many citrus degreasers contain surfactants and leave-behind ingredients that can leave a film if not rinsed thoroughly. A clean surface should feel squeaky, not slick.
- Some formulas are too "conditioning". If a product is meant for daily kitchen cleaning, it may include ingredients that make surfaces look nice, which is the opposite of what you want before primer.
- Can soften old finishes if left too long. Especially on older varnishes, work in small sections and do not let it sit forever. Test first if you are unsure.
How I use citrus degreaser the safe way
I treat citrus degreasers like a first-pass grease cutter, not the final step.
- Spot clean the worst areas with citrus degreaser and a scrub pad.
- Follow with a wash using a TSP substitute or a strong dish soap solution to help lift any remaining degreaser film.
- Rinse with clean water until the surface no longer feels slippery.
- Dry completely.
Head-to-head comparison
| Cleaner type | Grease cutting power | Residue risk | Rinsing needed | Best use case |
|---|---|---|---|---|
| Real TSP | High | Medium (chalky film if not rinsed) | High | Heavy grease, neglected kitchens, stove-area cabinets |
| TSP substitute | Medium to high | Low to medium | Medium to high | Most cabinet painting projects, whole-kitchen wipe-down |
| Citrus degreaser | High on sticky oils | Medium to high (film risk) | High | Spot treatment, finger grime, doors near cooktop |
My cabinet cleaning routine
If you want the simplest routine that avoids most adhesion issues, this is it.
Supplies
- Cleaner of choice (TSP, substitute, or citrus degreaser)
- Two buckets (wash and rinse)
- Microfiber cloths (a lot of them)
- Non-scratch scrub pads
- Nitrile or rubber gloves
- Eye protection
- Old towels for drying
Steps
- Remove hardware and set it aside. If you are keeping the hinges on the boxes, at least remove knobs and pulls.
- Dry dust first with a vacuum and brush attachment or a dry microfiber cloth.
- Wash from top to bottom, focusing on the stove zone, the trash pull-out area, and the spots around knobs.
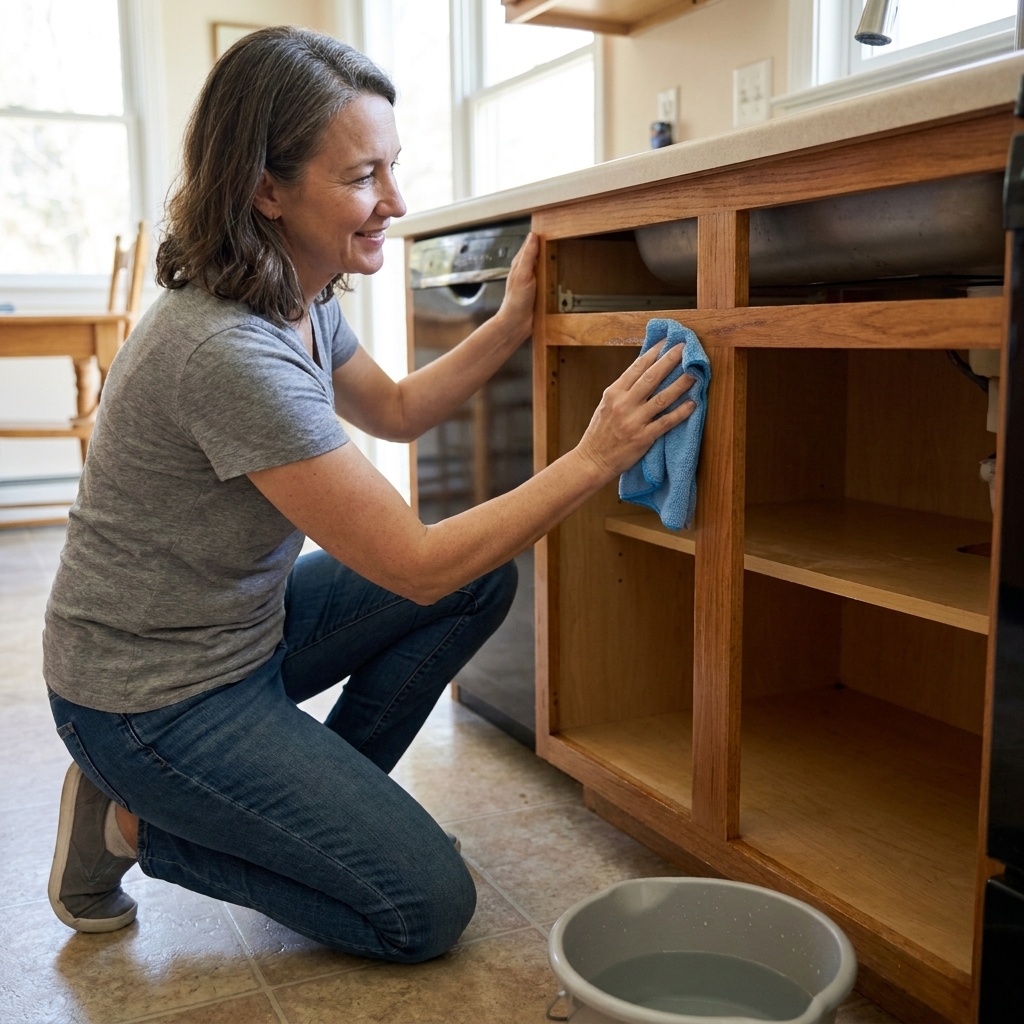
- Rinse with clean water. Change your rinse water often. Dirty rinse water just redistributes grease.
- Dry immediately, especially around seams, toe kicks, and any MDF edges.
- Do the water-break test once dry: dampen a clean sponge and wipe a small area. If water sheets evenly, you are closer to clean. If it beads up in droplets, something is still repelling water, which is often oils, but can also be silicone, wax, polish, or cleaner residue.
- Then sand or scuff sand as your paint system requires, vacuum, and do a final dust wipe. My go-to is a clean microfiber lightly dampened with water, then let it dry completely before primer. If you prefer a ready-made option, use a manufacturer-approved paint prep wipe that is specifically labeled paint-safe and residue-free.
Primer still matters
Even perfect cleaning does not turn a slick factory finish into a paint-ready surface by itself. After cleaning and scuff sanding, use a primer designed to bond, especially on factory finishes. Shellac-based, oil-based, and high-adhesion waterborne primers can all work well when paired with the right topcoat. The key is this: no primer bonds well over grease or cleaner film.
Safety notes I actually follow
Cabinet cleaning sounds harmless until you are leaning into a sink base for 30 minutes with a strong cleaner on your skin. A few practical safety habits make the whole job more comfortable.
- Ventilation: Open windows, run the hood fan, and use a box fan if you have one.
- Gloves and eye protection: Especially with real TSP and any strong degreaser.
- Never mix cleaners: Do not combine products, especially anything with ammonia, bleach, or unknown ingredients. Rinse between products instead.
- Protect floors and counters: Lay down towels or rosin paper. Some cleaners can dull certain stone finishes if left sitting.
- Dispose responsibly: Do not dump dirty TSP solution or rinse water into storm drains. Follow your local disposal rules, and when in doubt, use a utility sink tied into sanitary sewer, not a curb drain.
FAQ
Do I have to use TSP before painting cabinets?
No. You have to remove grease and grime. A good TSP substitute can be plenty for most kitchens. I save real TSP for truly heavy buildup or cabinets that have been ignored for years.
Can I use dish soap instead?
Dish soap can help, especially as a follow-up rinse step, but on older cabinets with cooking oil buildup, it often takes a lot of scrubbing and can still leave problem areas around the stove. If you go the dish soap route, use hot water, change it often, and rinse very well.
Will citrus degreaser ruin my paint job?
Not if you remove it completely. The failure mode I see is: citrus degreaser cleans great, but a thin film remains, then primer fisheyes or scratches off. If you use citrus, treat it like step one and rinse thoroughly.
Should I clean before or after sanding?
Clean first. Sanding greasy surfaces can grind oils into the finish and load up your sandpaper fast. After sanding, vacuum and wipe off dust with a lightly damp cloth, then let it dry.
What about deglossers or liquid sandpaper?
They are a separate category from these cleaners. Deglossers can help soften or dull a finish, but they are not a magic replacement for degreasing. If your cabinets are oily, degrease first, then decide if you still need a deglosser based on your primer system.
The bottom line
If your cabinets are only moderately dirty, a TSP substitute is usually the easiest, safest choice that still gives you great paint adhesion. If you are staring down years of stove-side sludge and you can rinse thoroughly, real TSP is the powerhouse. If your main issue is sticky oil and fingerprints, a citrus degreaser can be fantastic, just do not let residue be the reason your paint fails.
When in doubt, remember this: clean, rinse, dry. Paint sticks to what is left behind, so make sure what is left behind is nothing.