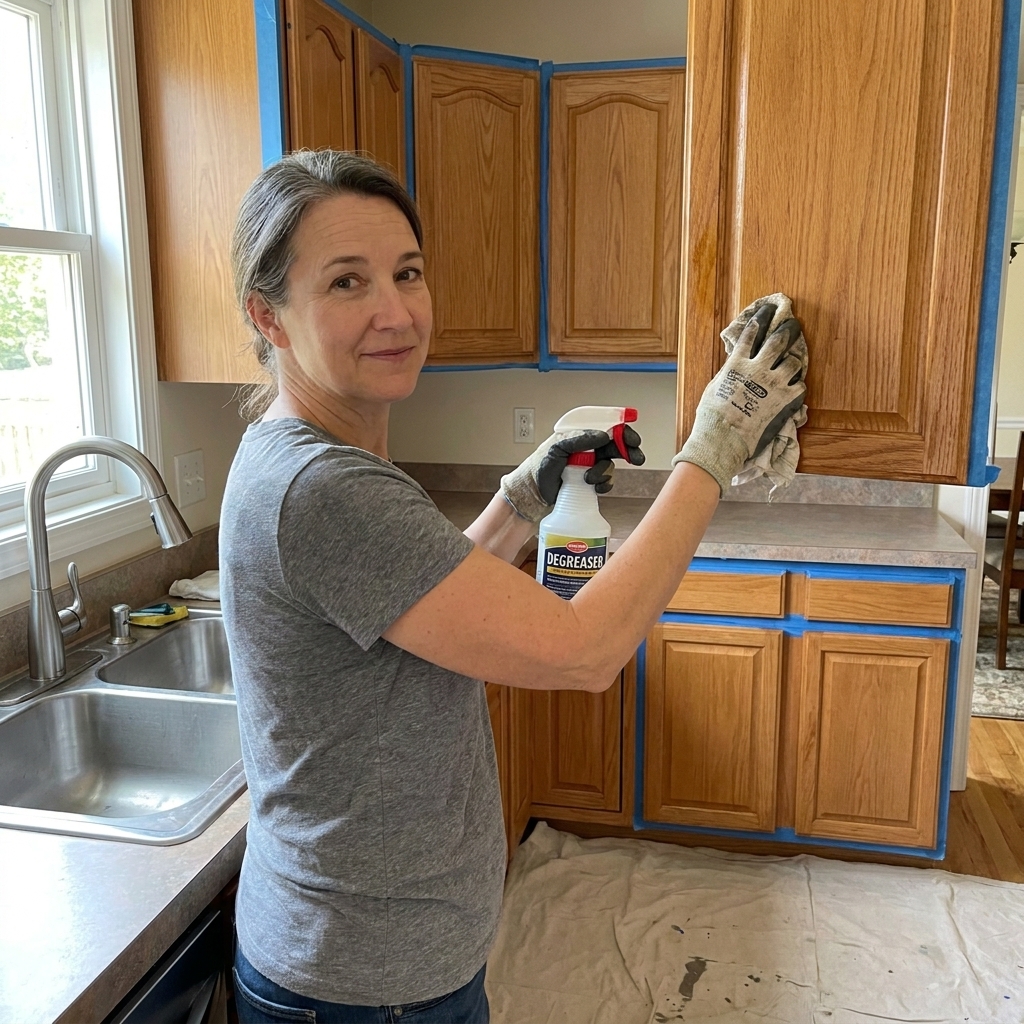
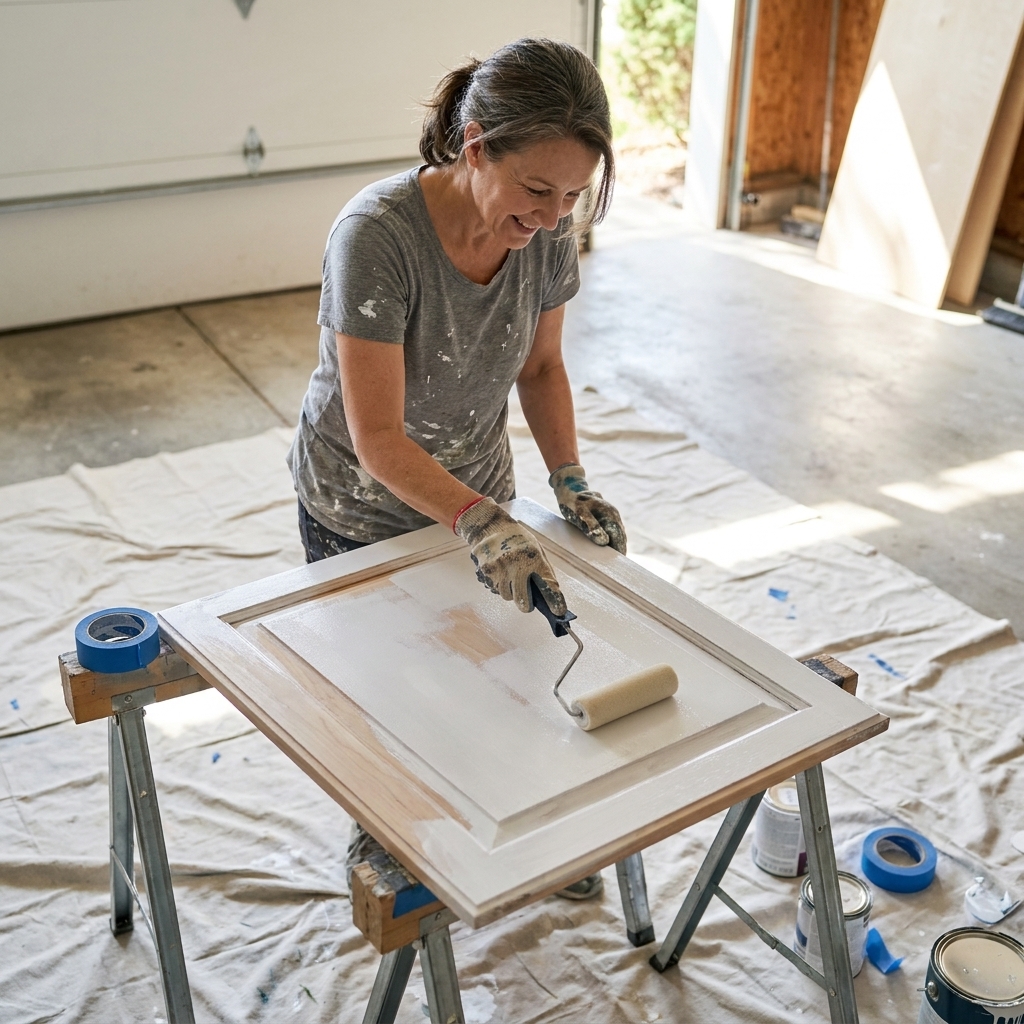
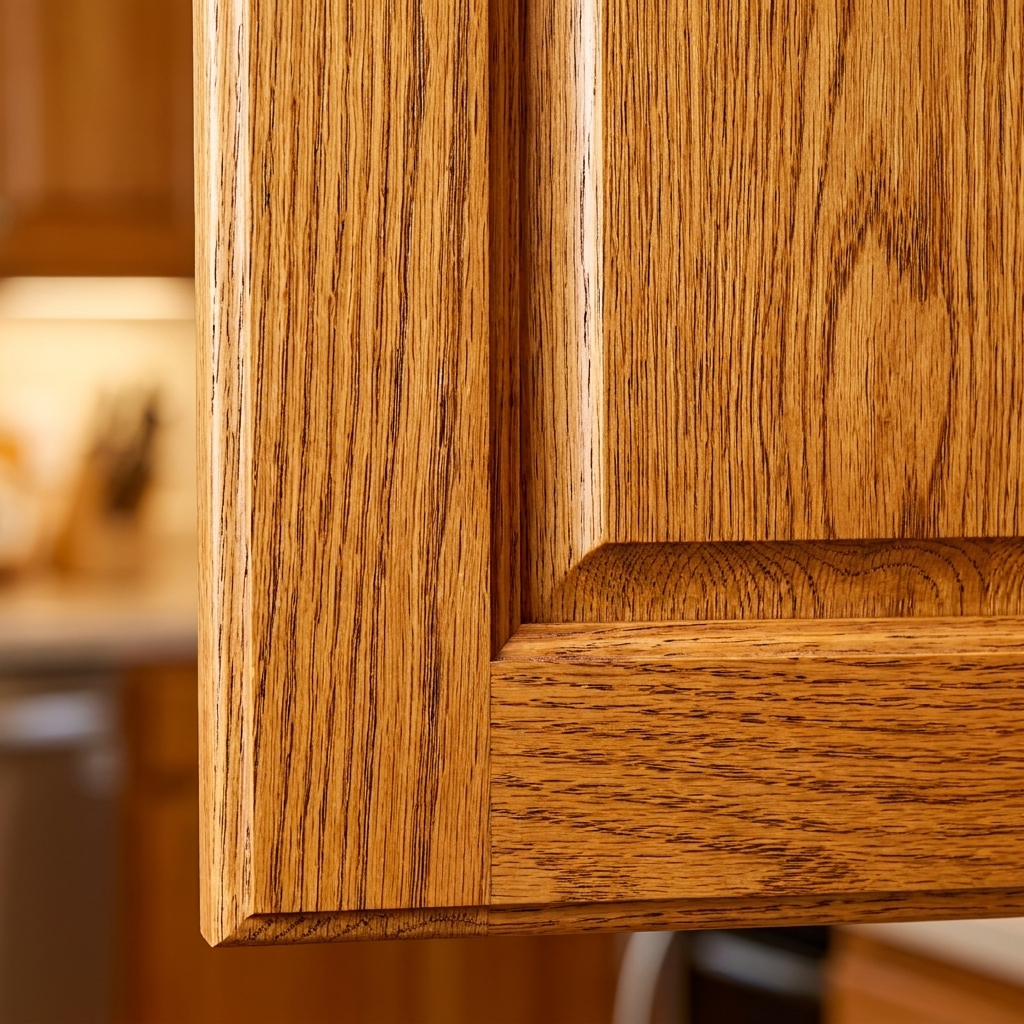
If cabinet painting has a secret weapon, it is not an expensive sprayer or a fancy brush. It is using the right sandpaper grit at the right moment. Too coarse and you carve scratches that can telegraph through paint. Too fine and you can reduce mechanical tooth on some slick surfaces, which may make adhesion less forgiving if cleaning or priming is not dialed in.
This guide walks you through exactly what I use on real kitchens, including my own former honey-oak cabinets, to get a smooth finish and solid adhesion without sanding for days.
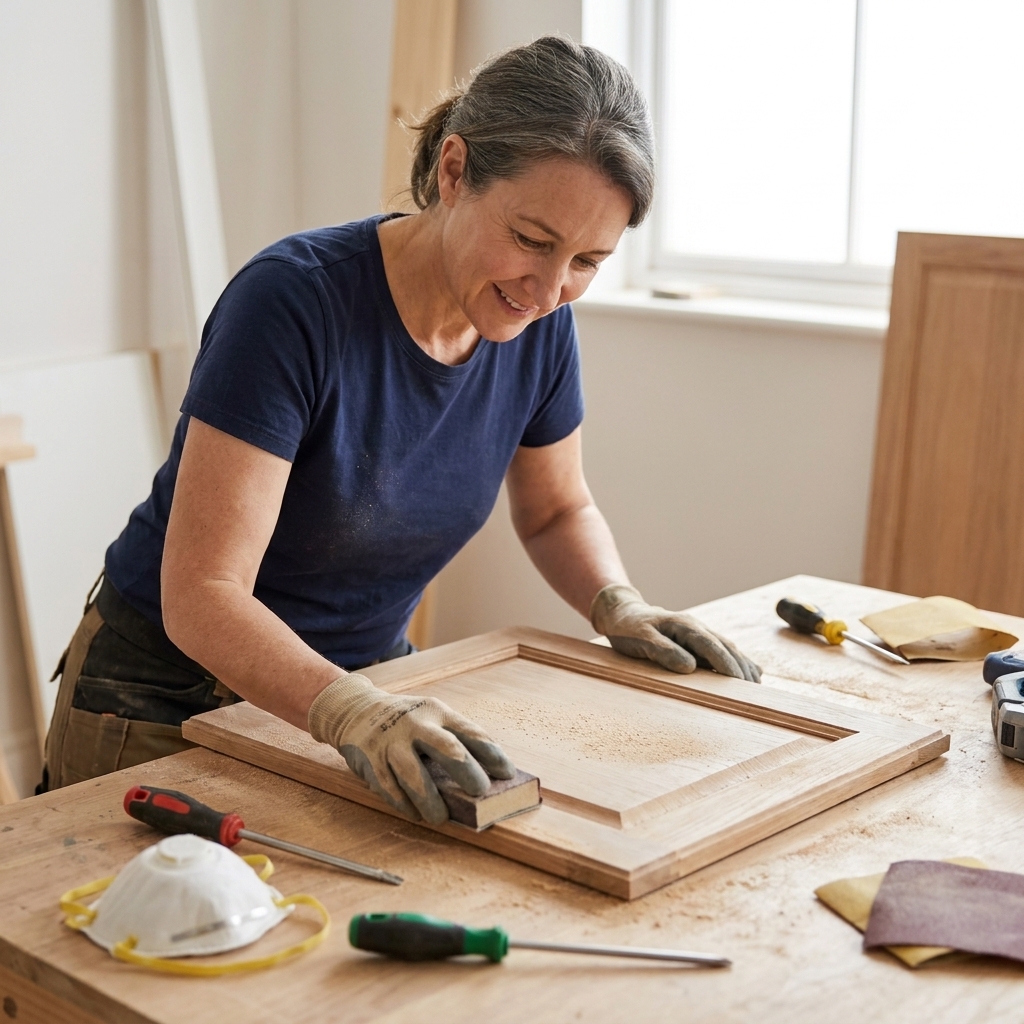
Cabinet sanding in one minute
If you only remember one thing, remember this: for most repaint jobs on sound finishes, you are not trying to remove every bit of the old finish. You are trying to clean, dull, and smooth the surface so primer bonds and the final paint looks even.
Exceptions: if the existing finish is peeling, flaking, soft, waxy, contaminated with oils, or otherwise failing, you may need to sand more aggressively (or strip) until you are back to something solid.
- Most cabinet paint prep: 120 to 150 to scuff, then 180 to refine.
- Between coats of primer or paint: 220 (sometimes 320 for ultra-smooth enamels).
- Raw wood or heavy damage: start 80 to 100 only where needed, then step up.
How grit numbers work
Sandpaper grit numbers are tied to abrasive particle size standards (not literally “particles per square inch”). The practical takeaway is the same: lower number = bigger particles = faster cut. Higher number = finer scratch.
- 60 to 80 grit: aggressive removal (thick finish, deep damage)
- 100 to 120 grit: flattening and shaping (old finish, edges, patches)
- 150 to 180 grit: general cabinet prep (ideal “sweet spot” range)
- 220 grit: between coats and final smoothing
- 320 to 400 grit: extra-fine finishing and denibbing (when you want that furniture-smooth feel)
The goal is to choose the least aggressive grit that still solves your problem, then “erase” its scratches with the next grit up.
The grit-by-grit guide
60 to 80 grit: only for major problems
I pull out 60 or 80 grit for cabinets when I have one of these situations:
- Thick, failing finish that is peeling or flaking
- Heavy drips or ridges from an old paint job
- Deep dents, gouges, or swollen areas that need leveling
- Raw wood milling marks that are very pronounced
How to use it safely: spot-sand only. Keep it off wide, flat door panels unless you truly need it. On profiles and edges, it is easy to round details over with coarse grit.
Next step: move up to 100 or 120 right away, then 150 or 180 to remove the coarse scratches.
100 grit: fast scuffing (still risky)
100 grit is a good middle ground when cabinets have a tough factory finish and you need to knock down shine quickly. I also like it for flattening repaired spots where wood filler sits proud.
- Use for: smoothing rough patches, removing stubborn brush marks, leveling small repairs
- Avoid for: “final prep” right before primer on smooth cabinet faces unless you follow with 150 to 180
120 grit: my “reset button”
If I am sanding an older kitchen with mystery layers of grime and sheen, 120 grit is often my starting point for the whole project. It scuffs efficiently without leaving the deep tracks that 80 or 100 can.
Best uses:
- Overall scuff sanding when the finish is glossy and hard
- Light leveling after cleaning and degreasing
- Refining after spot-sanding with 80 or 100
Follow with: 150 or 180 for a smoother base.
150 grit: the prep sweet spot
If you are painting cabinets that are in decent shape, 150 grit is usually the star of the show. It scuffs and smooths without chewing up the surface. On oak, it helps reduce fuzzing and keeps the grain from getting overly torn up.
- Use for: scuff sanding cabinet boxes and doors before primer, smoothing after deglossing, blending patched areas
- Works great with: a sanding sponge for profiles and a sanding block for flats
180 grit: smoother finish, still plenty of bite
180 grit is my favorite “refining” grit. If your cabinets are already fairly smooth and you just want a clean, uniform scratch pattern, 180 is a great place to land before primer.
- Use for: final pass before primer, especially on flat doors and face frames
- Also great for: sanding wood filler once it is close to level
With good cleaning and a quality primer (especially a bonding primer), 180 is typically toothy enough for repainting sound finishes.
220 grit: between coats and final feel
220 grit is the grit I use the most during the painting process.
- Between primer coats: 220 to knock down dust nibs and roller texture
- Before paint: 220 after primer gives you a smoother topcoat
- Between paint coats: 220 very lightly, just to remove nibs and bumps
Important: When you sand between coats, you are not trying to remove the coat. You are just smoothing it. A light hand is everything.
320 to 400 grit: the “luxury” range
If you want that silky cabinet feel, 320 can be fantastic after the first paint coat (once fully dry) before your final coat. I use 320 most often with smoother cabinet enamels where every tiny bump shows.
- Use for: denibbing and ultra-light smoothing between paint coats
- Avoid for: raw prep before primer on slick surfaces. It can reduce mechanical tooth, even if your primer is excellent.
Which grits to use (step-by-step)
1) After cleaning, before primer
Once your cabinets are degreased and dry, pick a starting grit based on what you are dealing with:
- Good condition, already fairly dull: 150 or 180
- Glossy factory finish, decent shape: start 120, then finish 150 or 180
- Rough, drippy, or damaged areas: spot-sand 80 to 100, then 120, then 150 or 180
For most kitchens, my prep looks like this: 120 on the shiny spots, then a full pass of 150 on everything.
Quick note on veneer and thermofoil: be gentle. Thin veneer can sand through fast, and thermofoil edges can lift if you get aggressive. I avoid heavy orbital sanding on both and stick to a light hand with a sponge or block.
2) Sanding wood filler and patches
Hardware hole filling and dent repairs are where people accidentally create low spots. The trick is to sand in stages and use a block on flat areas.
- Initial shaping: 120 or 150
- Refine and feather edges: 180
- Final touch before primer: 180 (or 220 if the surrounding surface is already very smooth)
If your filler is gummy or rolling up, it is not cured yet. Let it dry longer before you sand.
3) After the first coat of primer
Primer raises tiny fibers and shows you every little ridge you missed. This is your chance to perfect the surface.
- Knock down texture and nibs: 220
- Spot fix rough primer areas: 180 first, then 220
Wipe the dust off thoroughly after sanding. Dust left behind is one of the biggest reasons a finish feels gritty.
4) Between paint coats
Once your first paint coat is dry (and I mean dry, not just “feels dry”), do a light sand.
- Most cabinet paints: 220
- For extra-smooth enamel finishes: 320 with a very light touch
Then vacuum and wipe with a lightly damp microfiber, or use the paint manufacturer’s recommended cleaner. I avoid traditional oily tack cloths with water-based coatings because they can leave residue.
5) After the final coat (optional)
If you get a couple dust nibs in your final coat, you can carefully knock them down after the paint cures.
- Use: 400, extremely lightly, only on the nibs
- Know this: sanding a cured final coat can change sheen or leave “witness” dull spots, especially on darker colors or higher sheens
If the cabinets need to look perfect, I usually plan my “luxury smoothing” between coats (320), not after the last coat. After-final sanding is best treated as a tiny fix, not a full step.
Tools matter too
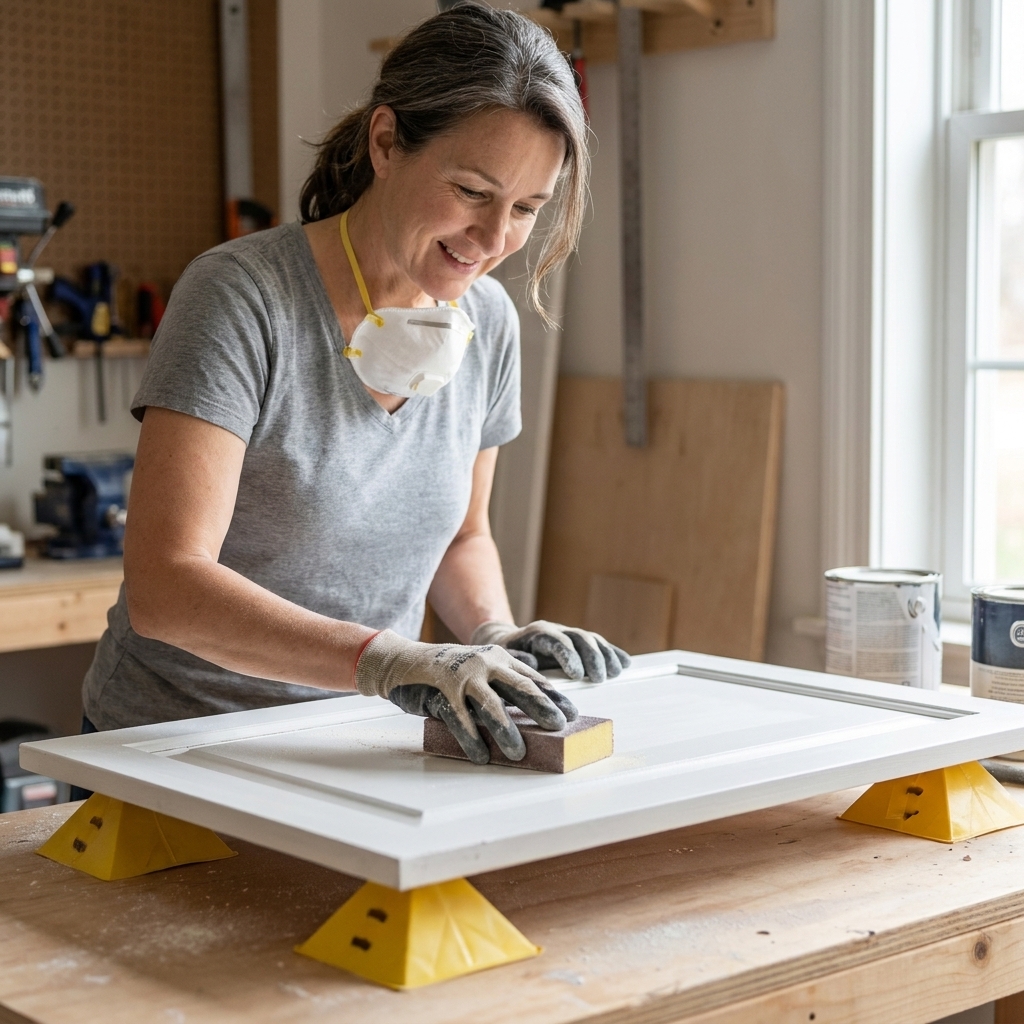
Sanding sponge
My go-to for cabinet doors with profiles, beveled edges, and face frames. Sponges flex and follow curves, which helps you avoid cutting harsh grooves.
Sanding block
Best for flat door faces and drawer fronts. A block keeps pressure even so you do not create dips.
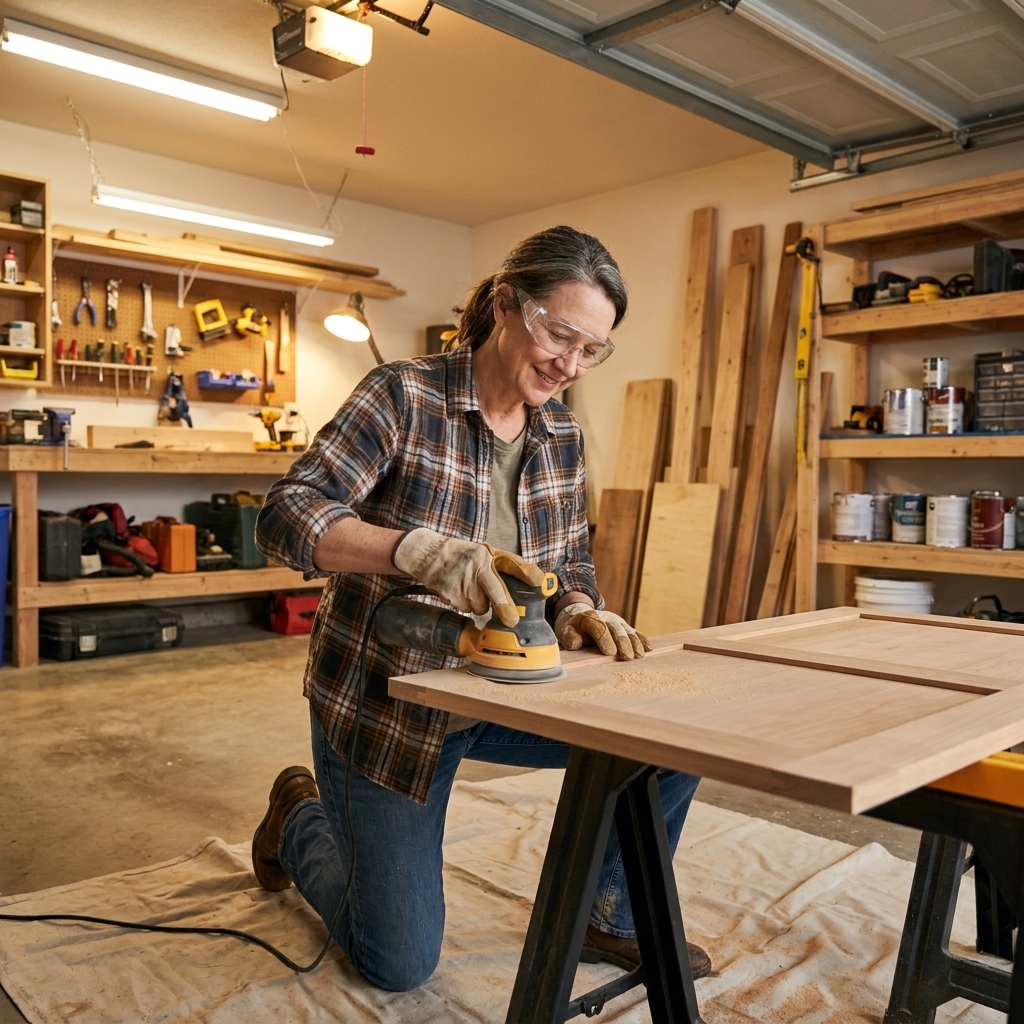
Random orbital sander
Great for large flat panels, but you need restraint. I use it mainly for:
- Flat slab doors
- Large, flat drawer fronts
- Tabletops and side panels, not delicate trim
Tip: do not press down. Let the sander do the work, and keep it moving to avoid swirl marks. On veneer, be extra cautious or skip the orbital entirely.
My go-to grit progressions
Scenario A: cabinets in decent shape
- 150 (overall scuff)
- Prime
- 220 (between primer coats or before paint)
- Paint
- 220 (between paint coats)
Scenario B: glossy factory finish
- 120 (quick scuff to kill shine)
- 150 or 180 (refine scratches)
- Prime
- 220 (smooth primer)
- Paint
Scenario C: honey-oak with pronounced grain (painting)
- 150 (overall scuff, careful on veneer)
- Fill grain if desired, then 180
- Prime (bonding primer or stain-blocking primer if tannins bleed)
- 220 (smooth primer)
- Paint, then 220 between coats
Scenario D: staining (not paint)
Stain highlights scratches, so sanding sequence matters even more. A typical progression is:
- 120
- 150
- 180 (sometimes stop here depending on stain type)
If you sand too fine, stain can absorb unevenly and look blotchy. Always test on the back of a door first.
Safety and dust control
- Wear a real mask: a respirator or at least a well-fitting dust mask, plus eye protection. Cabinet dust gets everywhere.
- Vacuum like you mean it: I like a shop vacuum with a fine dust bag or HEPA filter, especially before priming.
- Older homes: if your home or cabinets are from before 1978, assume lead paint is possible until proven otherwise. Use lead-safe practices and test if you are unsure.
- Dry sanding only: I dry-sand cabinets. Wet sanding is uncommon for cabinet prep and can swell MDF or raise wood grain.
Avoid these common mistakes
- Jumping grits too far. Going from 80 straight to 220 leaves deep scratches behind. Step up gradually.
- Over-sanding edges and profiles. Edges lose crispness fast, especially on older cabinets or veneer.
- Sanding too fine before primer. 320 before primer can reduce mechanical tooth on some slick surfaces. Primer choice and cleaning matter just as much as grit.
- Skipping dust removal. Dust turns into texture. Vacuum, then wipe.
- Pressing hard. Pressure creates swirls and uneven spots. Light, even strokes win.
Quick grit cheat sheet
| Task | Best grit | Notes |
|---|---|---|
| Heavy drips, deep damage (spot areas) | 60 to 80 | Follow with 100 or 120, then 150 or 180 |
| Strip shine fast on hard glossy finish | 120 | Refine with 150 or 180 |
| General cabinet prep before primer | 150 to 180 | My most common range for kitchen cabinets |
| Sanding wood filler smooth | 150 to 180 | Block on flats, sponge on profiles |
| Between primer coats | 220 | Lightly, just to smooth |
| Between paint coats | 220 (or 320) | Use 320 only when you want extra-smooth and your paint is fully dry |
| Final nib removal after cure (optional) | 400 | Spot-only, very light touch, sheen can change |
FAQ
Do I have to sand cabinets before painting?
In most cases, yes, at least a light scuff sand. Even when you use a bonding primer, sanding helps remove sheen, smooths grime you missed, and gives you a more professional finish. If you truly cannot sand (for example, delicate thermofoil that can be damaged), a chemical deglosser plus the right bonding primer can work, but follow the product directions closely and keep expectations realistic.
Is 220 grit too fine for cabinet prep?
For raw prep before primer, 220 can be too fine on slick, glossy finishes if you are relying heavily on mechanical tooth. Many modern bonding primers can still adhere well, but I prefer 150 or 180 before primer, then 220 after primer and between coats.
What grit should I use to remove brush marks?
For dried brush marks in primer or paint, start with 180 to level the ridge, then switch to 220 to smooth the scratch pattern. If the brush marks are minor texture, 220 alone is often enough.
What grit is best for detailed cabinet doors?
For routed or detailed doors, I like 150 grit on a sanding sponge for prep, then 220 on a sponge between coats. Sponges conform to curves without gouging.
Can I use a deglosser instead of sanding?
A deglosser can help, and it is a legitimate option when sanding is impractical. That said, I still prefer at least a light sand whenever possible. Deglossers do not flatten filler, remove nibs, or smooth old texture, so I treat them as a helper step, not a full replacement.
My sanding shopping list
- Sandpaper or sponges in: 120, 150, 180, 220 (add 320 if you want extra smooth)
- A sanding block for flat faces
- A detail sanding sponge for profiles
- A shop vacuum and microfiber cloths for dust cleanup
- A respirator or dust mask and eye protection
If you build your sanding plan around those core grits, you will avoid the two biggest heartbreaks in cabinet painting: visible scratches and paint that does not want to stick.