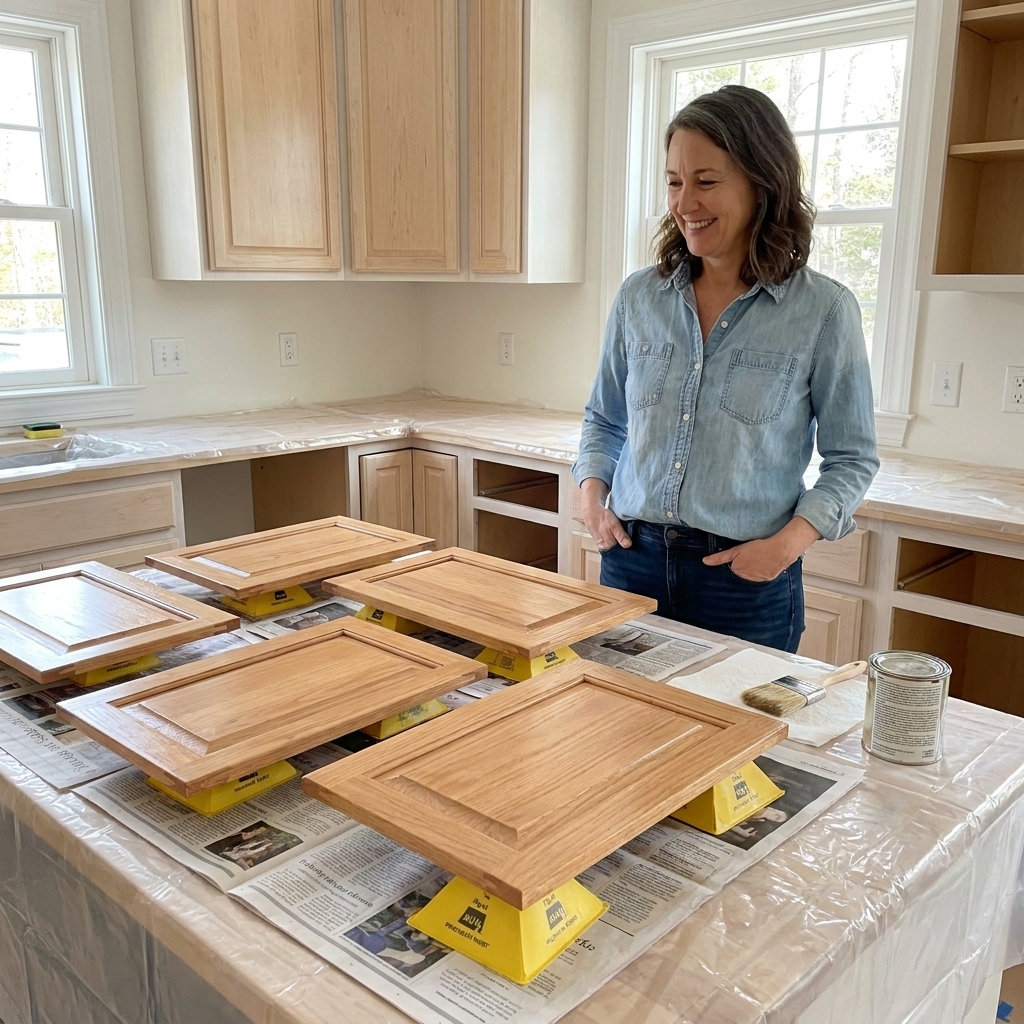
Paint can make old cabinets look brand new, but it is the clear coat that decides how long that “just-finished” look lasts in a real, messy kitchen. Between cooking grease, wet hands, steam from the dishwasher, and the constant grab-and-go at drawers, cabinet paint needs a protective layer that is tough, washable, and stays clear instead of slowly shifting your crisp white toward cream.
I have tested a lot of topcoats over the years on my own cabinets and on friends’ kitchens, and here is the honest breakdown: what holds up best, what is most forgiving for DIY application, and what I would skip if you care about color staying true.
Do you need a clear coat on painted cabinets?
Sometimes yes, sometimes no. It depends on the paint type, the sheen you chose, and how hard your kitchen is on surfaces.
You can often skip a clear coat if:
- You used a cabinet-grade enamel (waterborne alkyd or acrylic enamel) designed for high-traffic surfaces and you are happy with its sheen.
- You applied 2 to 3 solid coats and allowed a full cure time before heavy use.
- Your cabinets are not directly next to a range that throws a lot of grease or a sink that gets constant splashes.
A clear coat is worth it if:
- You painted with a matte or flat finish and want better washability and stain resistance.
- Your kitchen is hard on cabinets (kids, pets, heavy cooking, rental property).
- You want extra insurance against scuffs on darker colors.
- You are finishing a specialty paint (like some chalk-style paints) that is not meant to be the final wear layer.
My rule of thumb: if you chose a true cabinet enamel in satin or semi-gloss, you may not need a topcoat. If you chose a softer paint, went very matte, or want maximum wipeability, topcoat it.
Compatibility matters
This is where most cabinet topcoat regrets come from. Some clears are amazing, but the timing or the pairing is wrong.
- Cabinet enamels: Many modern cabinet enamels are designed to be the wear layer. If you topcoat too soon, you can trap solvents or soften the film and end up with tackiness or imprinting. If the manufacturer does not recommend a clear, I usually skip it and focus on cure time.
- Chalk-style paints: These often need a protective topcoat to be kitchen-worthy. A water-based poly or polycrylic is typically easier to live with than wax in a kitchen.
- Lacquer systems: If your paint is lacquer (common in pro spray shops), stay in that system unless you know exactly what you are doing. Mixing products across systems is where adhesion issues show up.
If you are unsure, do a test on the back of a door: paint, wait the same amount of time you plan to wait on the fronts, then apply your clear. Let it sit several days and try to scratch it with a fingernail. It is a small step that can save a whole kitchen.
What makes a great cabinet clear coat?
Cabinet clear coats are not all the same. For kitchens, I look for these traits:
- Non-yellowing: especially important over white, cream, pale gray, and pastels.
- Hardness after curing: cabinets get tapped by rings, pots, and fingernails.
- Water and chemical resistance: hand soap, dish soap, vinegar splatter, and occasional cleaner overspray happen.
- Self-leveling: helps hide brush and roller marks.
- Recoat window flexibility: you want enough open time to work, but not so slow that dust becomes part of your finish.
Best clear coats for painted cabinets
1) Water-based polyurethane (best overall)
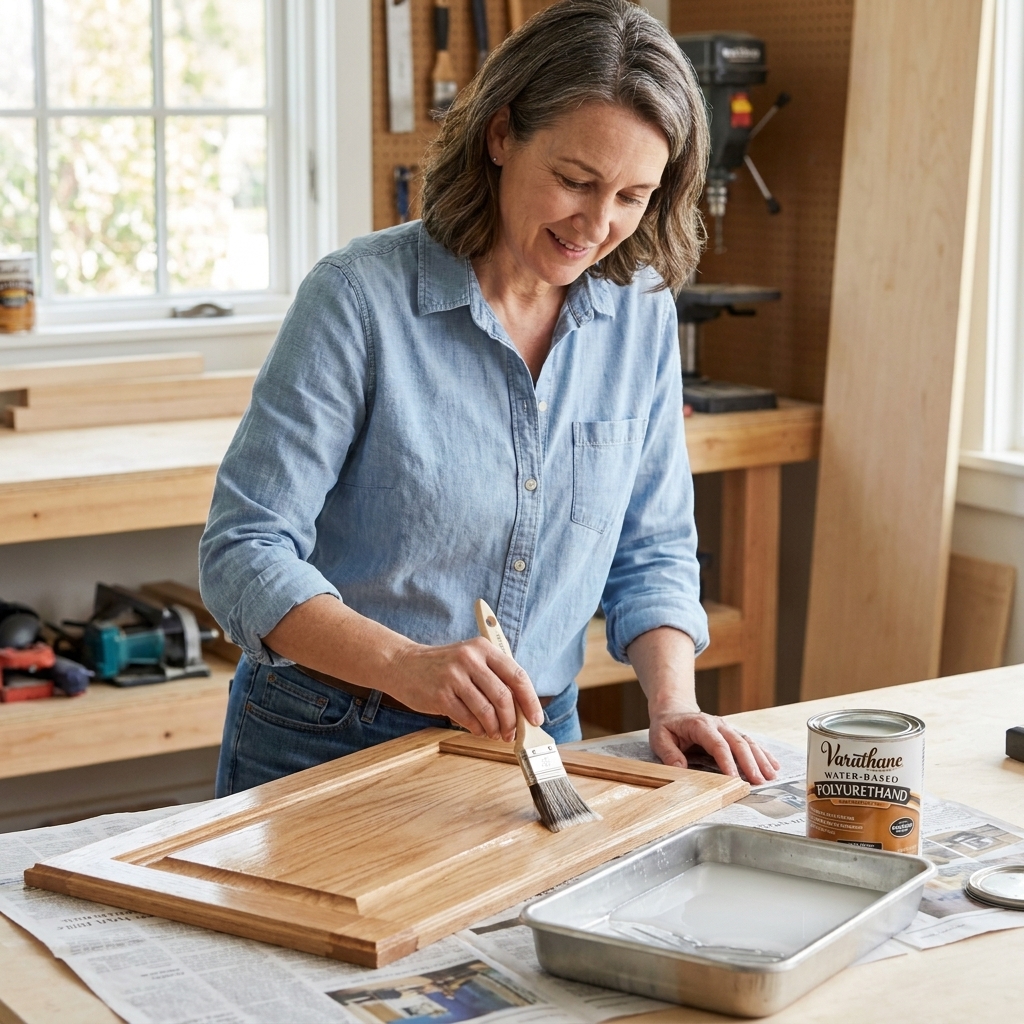
If you want the most durable common DIY option that stays clear, a quality water-based polyurethane is usually the sweet spot. It has excellent abrasion resistance, good chemical resistance, and it typically stays much clearer than oil-based polyurethane. Depending on the brand and how heavy you apply it, some water-based polys can look slightly cooler or a touch warmer, so thin coats and a test patch matter.
Best for: busy kitchens, light colors, high-touch doors and drawers, families who wipe cabinets often.
Watch outs: water-based poly can show lap marks if you overwork it. Keep a wet edge and use thin coats.
2) Polycrylic (best for easy DIY clarity)
Polycrylic is a water-based protective finish that is popular because it goes on very clear and is beginner-friendly. It is not always as hard as the toughest water-based polys, but it is a strong option for many kitchens when applied correctly.
Best for: white cabinets, pastel colors, lower- to medium-traffic kitchens, DIYers who want a clear finish with less drama.
Watch outs: it can feel “grabby” if you brush too much as it starts to tack up. Apply it and leave it alone.
3) Conversion varnish or 2K clear (best performance)
If you want a truly professional-grade clear coat, waterborne conversion varnish and many 2K clears are hard to beat for chemical and moisture resistance. “2K” usually means a catalyzed finish (often a catalyzed polyurethane), and it can be waterborne or solvent-based depending on the product.
Best for: maximum durability, pro-level results, kitchens that see heavy grease and cleaning, serious DIYers with spraying experience.
Watch outs: these products can require careful measuring, have limited pot life, and are often best sprayed. Some are not DIY-friendly indoors without strong ventilation and proper PPE. Always read the label and the SDS, and do not use a product that is not rated for your application or environment.
4) Oil-based polyurethane (tough, but it ambers)
Oil-based polyurethane is classic tough, but it will amber or yellow over time. How much depends on the brand, UV exposure, and film thickness. That warmth can look beautiful on stained wood. On painted cabinets, it can slowly shift the color, especially on whites and light colors.
Best for: darker painted cabinets where ambering will not matter as much, or situations where you prioritize toughness over color accuracy.
Watch outs: yellowing, stronger odor, longer dry times, and more dust-catching time.
5) Wax (usually not my pick)
Wax can look pretty on decorative pieces, but it is not my favorite for kitchen cabinets. Heat, moisture, grease, and frequent cleaning can wear it down quickly. It also tends to need reapplication and careful cleaner choices.
Best for: very low-use spaces like a dry bar that rarely gets touched, or a vintage look where patina is part of the goal.
Watch outs: soft protection, maintenance, and cleaning limitations.
My go-to picks
- For white and light colors: choose a water-based polyurethane or a polycrylic labeled “crystal clear” or “non-yellowing.”
- For dark colors: water-based poly is still great, and oil-based poly can be an option if you are okay with warmth over time.
- For the toughest, pro finish: consider a conversion varnish or a 2K clear if you have the ventilation, PPE, and application method to do it safely.
If your paint is already a cabinet enamel in satin or semi-gloss, you may get better results by skipping a topcoat and focusing on proper cure time. A mismatched clear coat or a too-soon topcoat can cause adhesion problems, wrinkling, or texture that makes cabinets look less professional.
Sheen: matte, satin, or semi-gloss?
For kitchens, I lean satin most of the time. It hides minor imperfections better than semi-gloss but cleans well and does not look chalky.
- Matte: pretty, modern look, but shows fingerprints and grease faster. If you want matte paint, consider a matte clear that is rated for cabinetry.
- Satin: my favorite balance for most DIY cabinet jobs.
- Semi-gloss: very wipeable and classic, but it can highlight roller texture and patching if your prep was not perfect.
Tip from my own kitchen: if your doors are smooth and your prep is meticulous, semi-gloss can look amazing. If you have visible wood grain, old dents, or patched areas, satin is more forgiving.
How to apply clear coat cleanly
Clear coats show everything, so the application matters as much as the product.
Step 1: Let your paint set up
Follow your paint label. For many cabinet paints, a good real-world window is 24 to 72 hours before topcoating, and sometimes longer for harder-curing paints like some waterborne alkyd enamels. If the paint still feels even slightly rubbery, wait. A clear coat over soft paint can trap solvents and create problems.
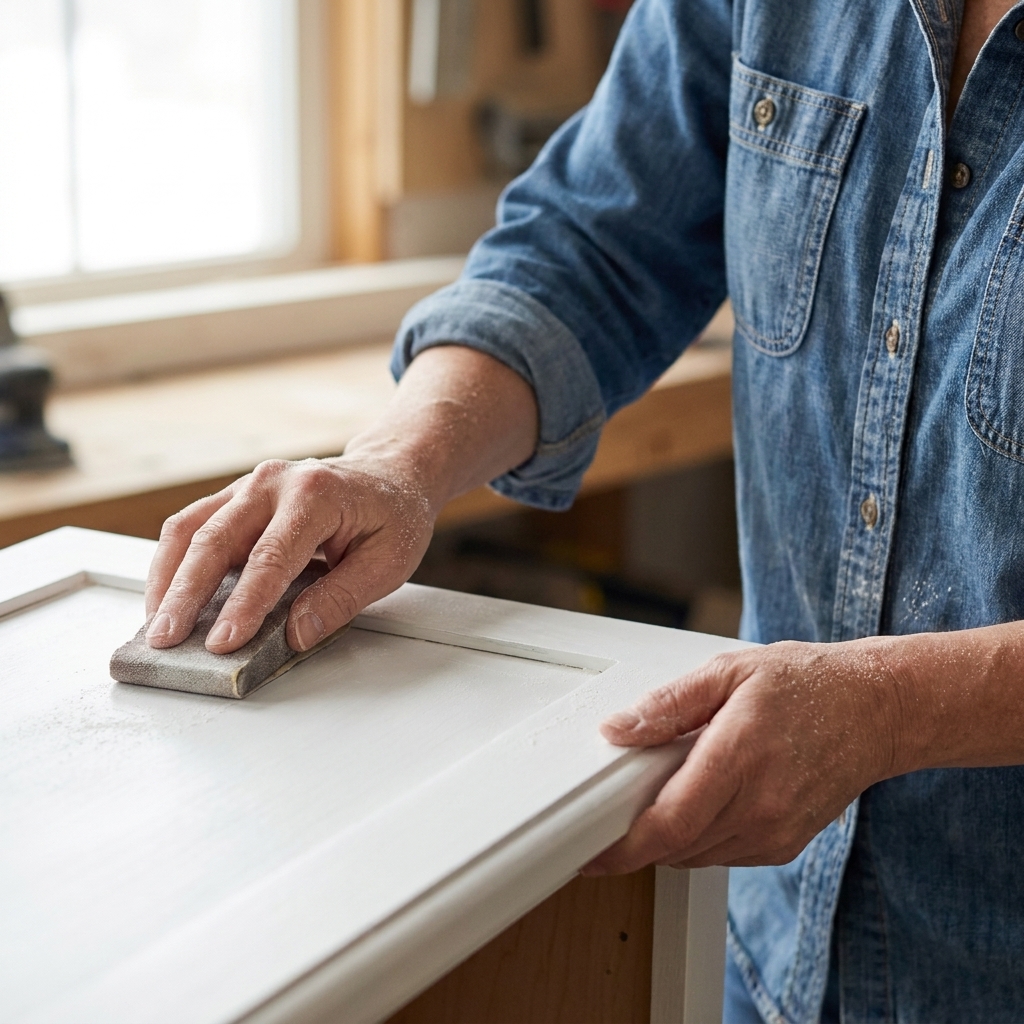
Step 2: Lightly scuff sand
Use a fine sanding sponge or paper, typically 320 to 400 grit, to knock down dust nibs and help the clear coat grip. You are not trying to remove paint. You are just dulling the sheen slightly.
Vacuum thoroughly and wipe with a lint-free cloth. If you use a tack cloth, use it lightly so you do not leave residue.
Step 3: Use the right tool
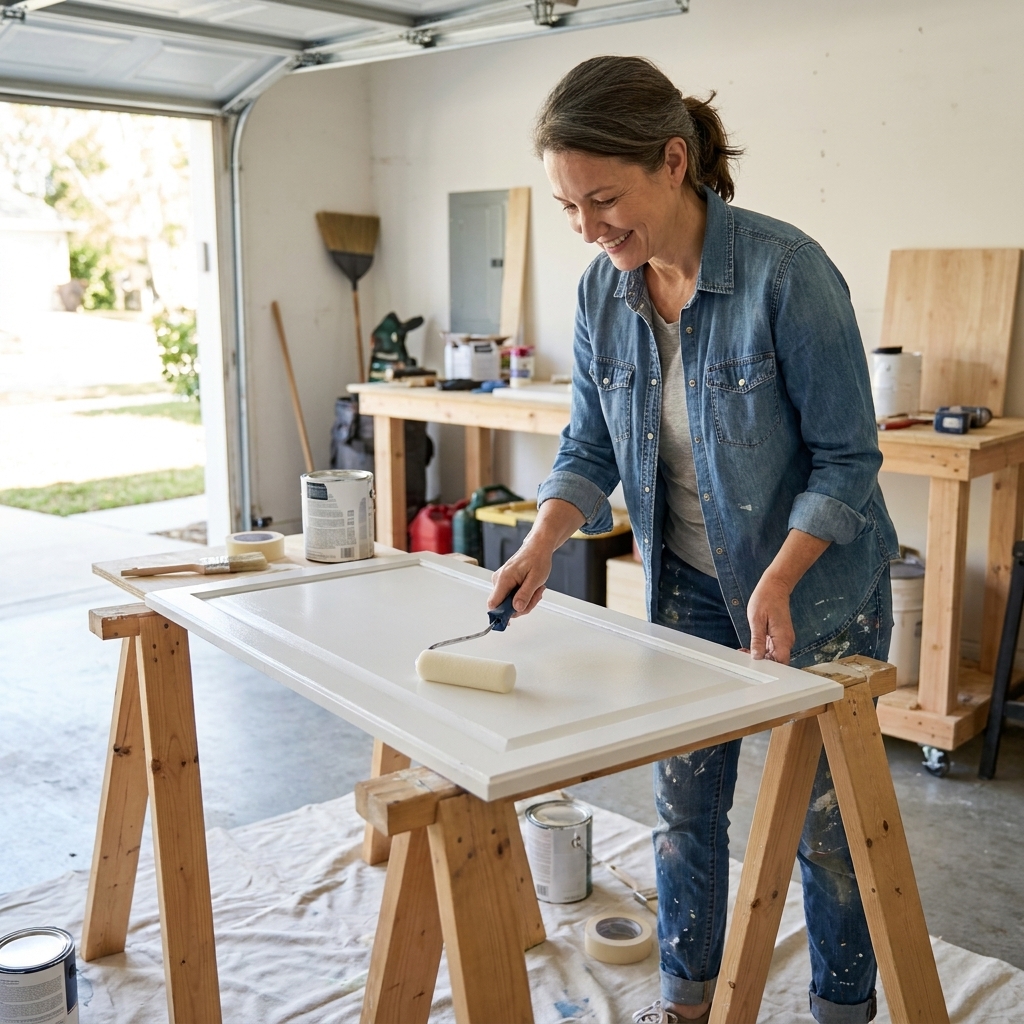
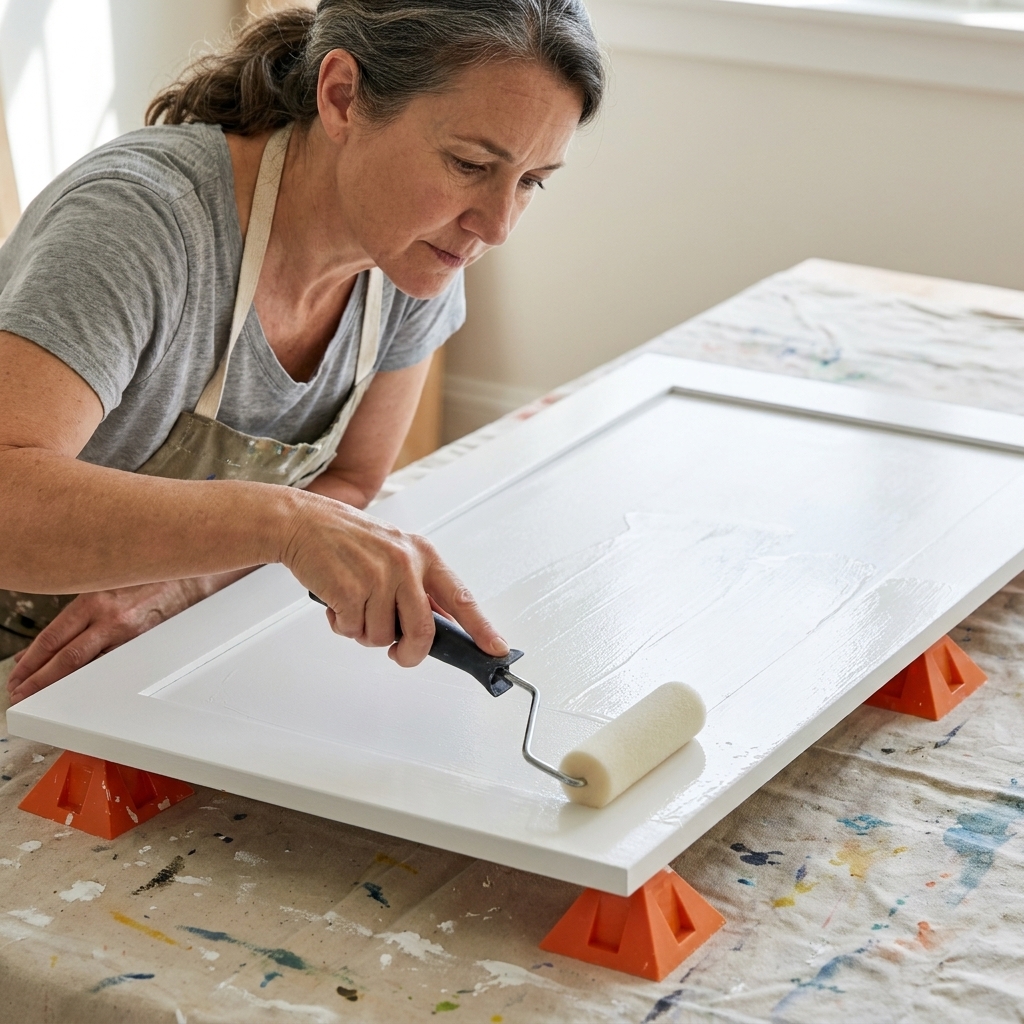
- Best DIY combo: a high-quality synthetic brush for edges and profiles plus a high-density foam roller for flat areas.
- Spraying: gives the smoothest finish if you have the setup and practice.
Step 4: Apply thin coats and keep a wet edge
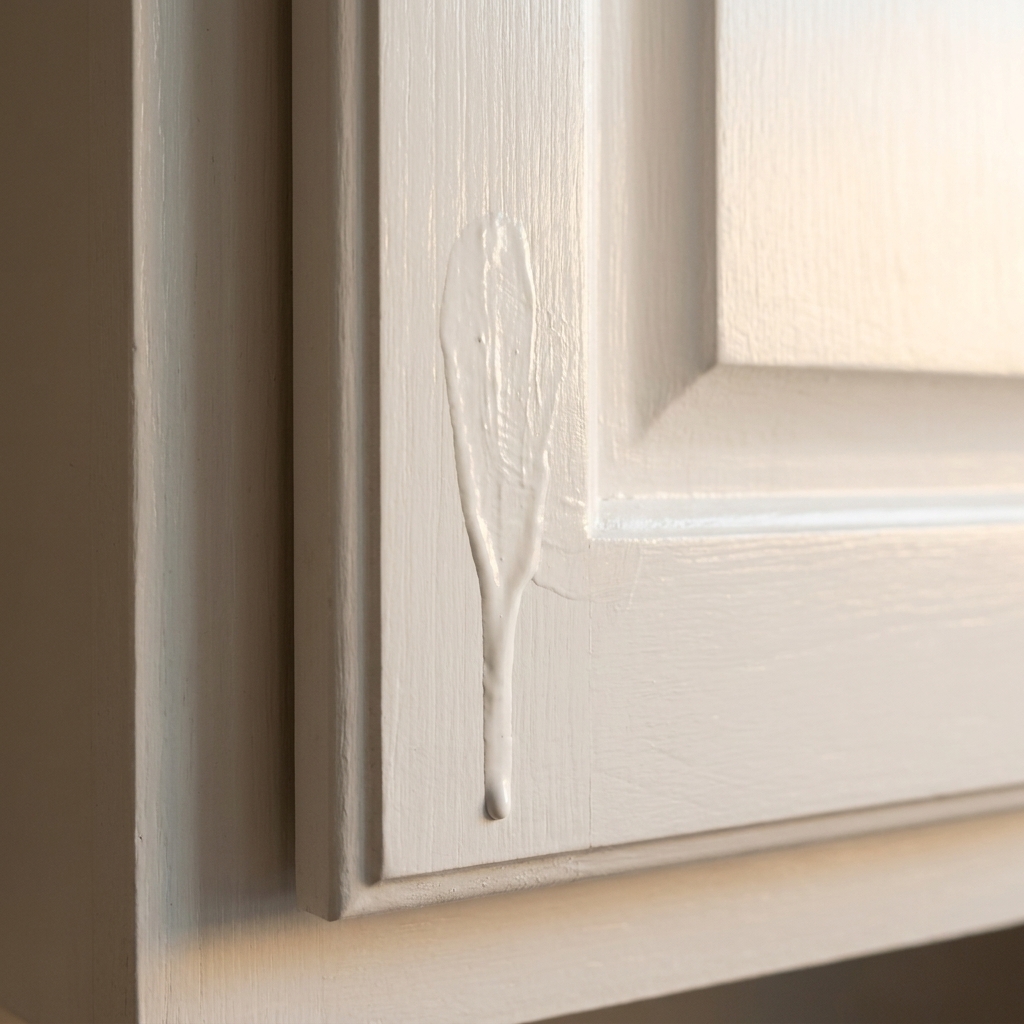
Dip lightly, apply in smooth passes, and do not keep going back to “fix” spots once the finish starts to tack up. Most streaking happens when the clear is half-drying and you keep brushing.
Step 5: Sand between coats
After each coat dries, do a very light sand with 400 grit, then remove dust. This step is the difference between “DIY okay” and “wow, those look factory.”
Step 6: Respect cure time
Dry is not cured. Most clear coats get significantly harder over 7 to 30+ days, depending on the product and conditions. Be gentle early on: avoid harsh cleaners, do not hang damp towels over doors, and add felt bumpers to prevent sticking.
Common problems
Yellowing
Most often caused by oil-based polyurethane. If you are topcoating white or very light paint, stick to water-based products marketed as non-yellowing or crystal clear.
Cloudy or milky finish
This can happen if humidity is high, coats are too thick, or moisture gets trapped. Apply thinner coats and avoid topcoating on very humid days if you can.
Peeling or poor adhesion
Usually one of these:
- The paint was not fully cured.
- The surface was not scuff sanded.
- The clear coat is not compatible with the paint system.
If you are unsure, test your exact paint and topcoat on the back of a door first.
Brush marks and lap lines
Use a quality brush, work in manageable sections, and do not overwork the product. A foam roller on flats helps a lot.
Dust nibs
They happen to everyone. The fix is simple: sand lightly between coats and keep pets out of the room while it dries.
Topcoat checklist
- Is the clear coat water-based and labeled non-yellowing?
- Is it rated for high-traffic surfaces (often a good sign for toughness)? Floor ratings can be a helpful clue, but they are not a guarantee, so also check that the manufacturer allows it for cabinetry or trim.
- Am I matching the sheen I actually want long term?
- Can I apply it well with my tools (brush and roller vs sprayer)?
- Have I tested it on the back of a door for clarity and compatibility?
FAQ
What is the most durable clear coat for painted kitchen cabinets?
For most DIYers, a high-quality water-based polyurethane is the best mix of durability, washability, and non-yellowing performance. For maximum performance, conversion varnish or 2K clears are stronger but more demanding to apply and require stricter safety practices.
Will polycrylic yellow over white cabinets?
Polycrylic is generally chosen because it dries clear and stays clear. That said, any finish can shift slightly depending on UV exposure, film thickness, and the product formula. Use thin coats and pick a product labeled crystal clear.
Can I put polyurethane over cabinet paint?
Usually yes, as long as the paint is fully dry, you scuff sand lightly, and the products are compatible. When in doubt, test on the back of a door and let it cure for several days before committing to the whole kitchen.
How many coats do cabinets need?
Most cabinet projects do well with 2 to 3 thin coats. Always follow the label for dry and recoat times. Sand lightly between coats for the smoothest feel.
What should I clean topcoated cabinets with?
Once fully cured, stick with gentle soap and water or a mild cleaner. Avoid harsh abrasives and strong solvents, especially in the first few weeks.
Bottom line
If you want painted cabinets that stay easy to wipe down and resist daily kitchen wear, a water-based, non-yellowing polyurethane is my top pick for most homes. If you want the clearest look with a very DIY-friendly application, polycrylic is a solid runner-up. And if you are chasing the toughest possible finish and you are comfortable with stricter products and safety requirements, stepping into pro conversion varnish or 2K clears can be worth it.
Whichever route you choose, thin coats, light sanding between coats, and patience during cure time are what make cabinets look great for years, not just for the first week.