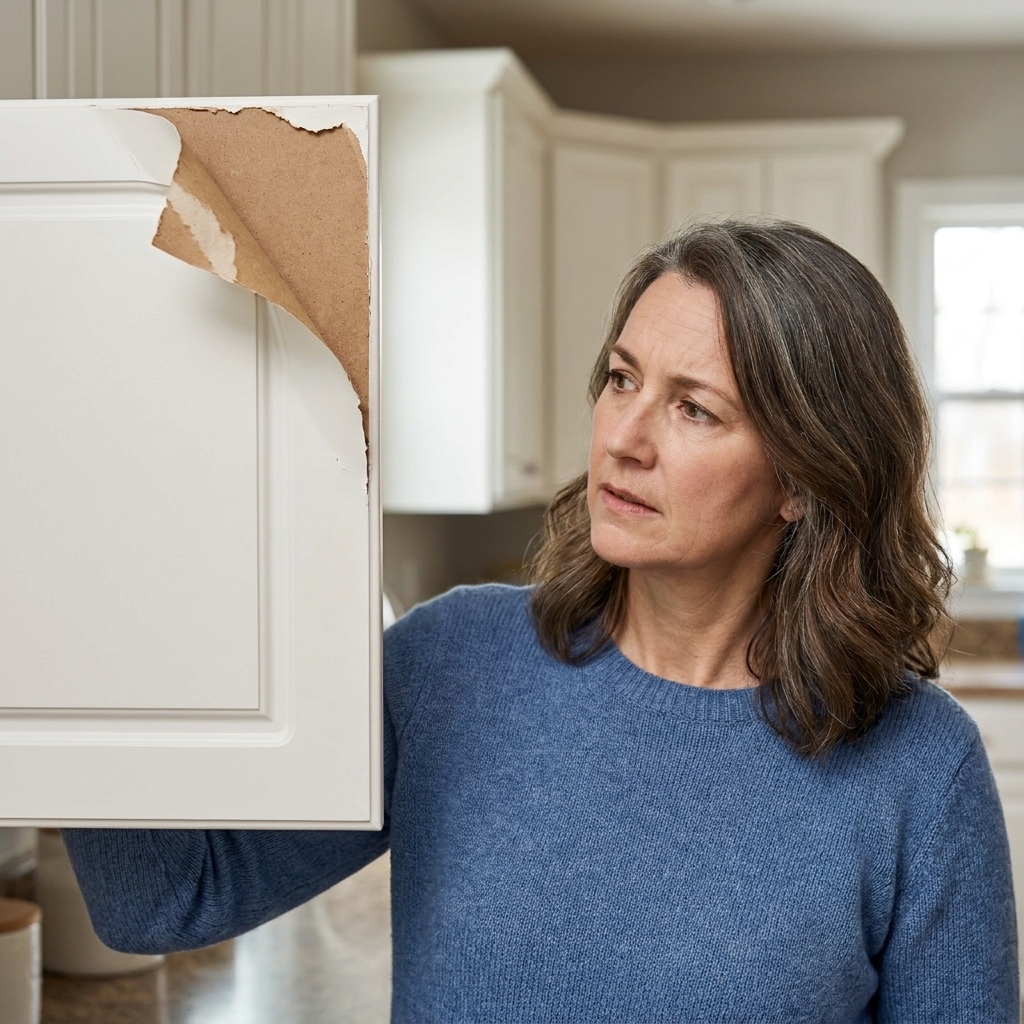
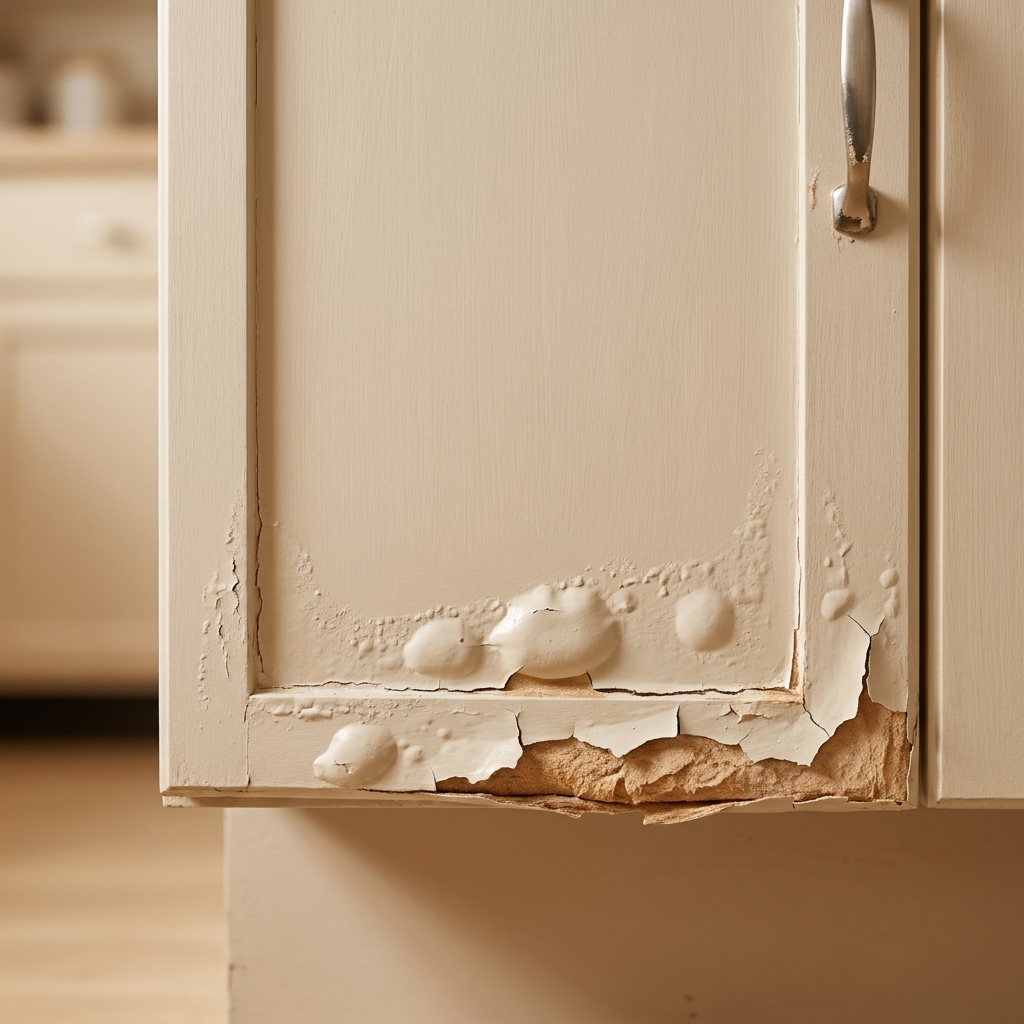
If your MDF cabinet door is puffing up around the sink or dishwasher, you are not alone. MDF (medium-density fiberboard) is smooth and paint-friendly when it is sealed, but it hates water. Once moisture gets in, the fibers swell like a sponge, the “skin” bubbles, and edges turn soft and crumbly.
The good news: you can often repair minor to moderate water damage well enough for a durable paint job, as long as you dry it thoroughly and rebuild the damaged fibers before you prime. Below is the exact process I use when I am rescuing tired kitchens on a budget.
First: decide if it is repairable
Some MDF damage is cosmetic and some is structural. This quick check saves you hours.
Repair it if:
- The swelling is limited to an edge, corner, or a small area near a seam.
- The door is still mostly flat and closes normally.
- The MDF is soft on the surface but not breaking apart in large chunks.
- The hinge screws still bite, or you can reinforce the hinge area.
Replace it if:
- The door is bowed or twisted and will not sit flat.
- The MDF is swollen across a large panel area (especially the center) and feels “mushy.”
- The bottom rail has expanded so much the profile is lost.
- Mold keeps returning because the leak is ongoing.
If you are on the fence, remove the door and do the drying step below. After 48 to 72 hours, the condition usually makes the decision for you.
Tools and materials I actually use
- Fans and a dehumidifier (or a space heater used safely)
- Disposable gloves and a dust mask or respirator for sanding
- Utility knife or sharp scraper
- Sandpaper: 80, 120, 180, 220 grit
- Sanding block or small palm sander
- Wood hardener (the thin, soak-in type)
- Two-part epoxy wood filler or a quality solvent-based filler
- Putty knife (a flexible 2 to 3 inch one is perfect)
- Painter’s tape (for clean edges during filler work)
- Primer suited for cabinets (details below)
A quick note on filler choice: For MDF that got wet, I prefer a two-part epoxy wood filler for rebuilding edges and corners because it cures hard, sands cleanly, and does not re-soften with a little moisture. Lightweight spackle is great for nail holes, but it is not my pick for a sink base door that lives in a splash zone.
Step 1: Fix the water source before you fix the door
This sounds obvious, but it is where most DIY repairs fail. If the sink drain drips, the dishwasher steam vent blows straight at the door, or the cabinet toe kick gets mopped with a wet rag every day, MDF will swell again.
- Check the sink supply lines and drain for slow drips.
- Look for wet cabinet floor corners or staining on the door back.
- Run the dishwasher and watch for steam escaping near the door edge.
- Address the caulk line at the sink and countertop if water is wicking down.
Step 2: Dry the MDF completely (do not rush this)
MDF holds moisture deep inside. If you seal it while it is still damp, you trap the problem and the repair will bubble later.
How to dry it:
- Remove the door and hardware. Label hinges if you are keeping them in the same positions.
- Stand the door in a warm, dry room with airflow on both sides. I like two chairs with spacers so air can circulate.
- Aim a fan across it and run a dehumidifier if you have one.
- Wait 48 to 72 hours for most mild damage. Longer if the door feels cool or damp to the touch.
What not to do: Do not try to “bake” MDF in direct sun or blast it with high heat up close. Too much heat can warp the door or cause the face to delaminate.

Step 3: Cut back to solid material
Once MDF swells, the raised fibers are weak. You want to remove anything that is fluffy, bubbling, or crumbly until you reach firm material.
- Use a utility knife or sharp scraper to shave off loose “fuzz” and lifted face material.
- If the edge is rounded from swelling, lightly knock it down with 80 grit on a sanding block.
- Vacuum dust and wipe with a dry cloth. (Avoid wet wiping at this stage.)
Tip: I use painter’s tape along crisp edges or profiles I want to protect. It also helps keep filler work neat.
Step 4: Harden the damaged MDF fibers
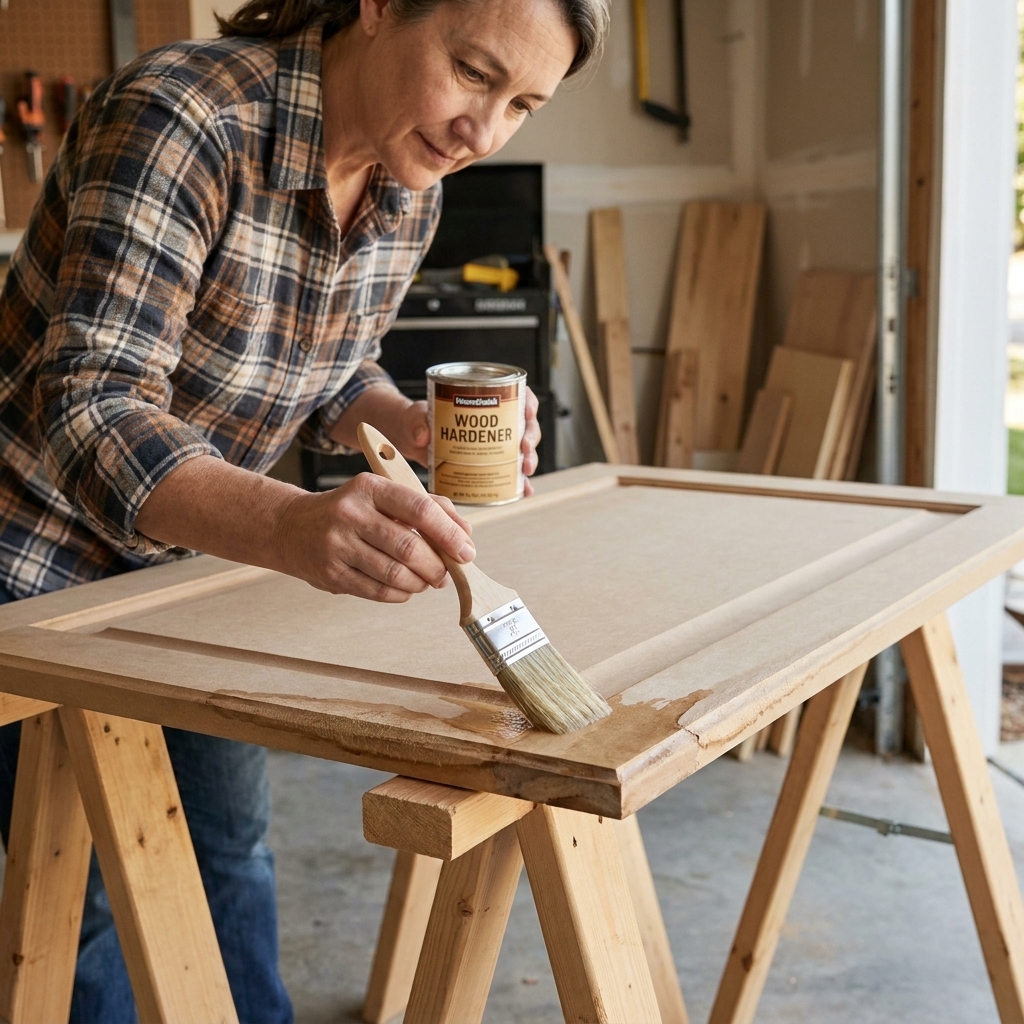
This is the step that makes MDF repairs last. A penetrating wood hardener soaks into soft fibers and cures them into a sandable surface.
How to apply wood hardener:
- Work in a ventilated area and wear gloves.
- Brush on a generous coat over the softened area and slightly beyond it.
- Let it soak in. Apply a second coat if the MDF drinks it quickly.
- Allow it to cure fully per the label. Most need several hours, and I often leave it overnight.
You will know it is ready when the surface feels hard and no longer tacky.
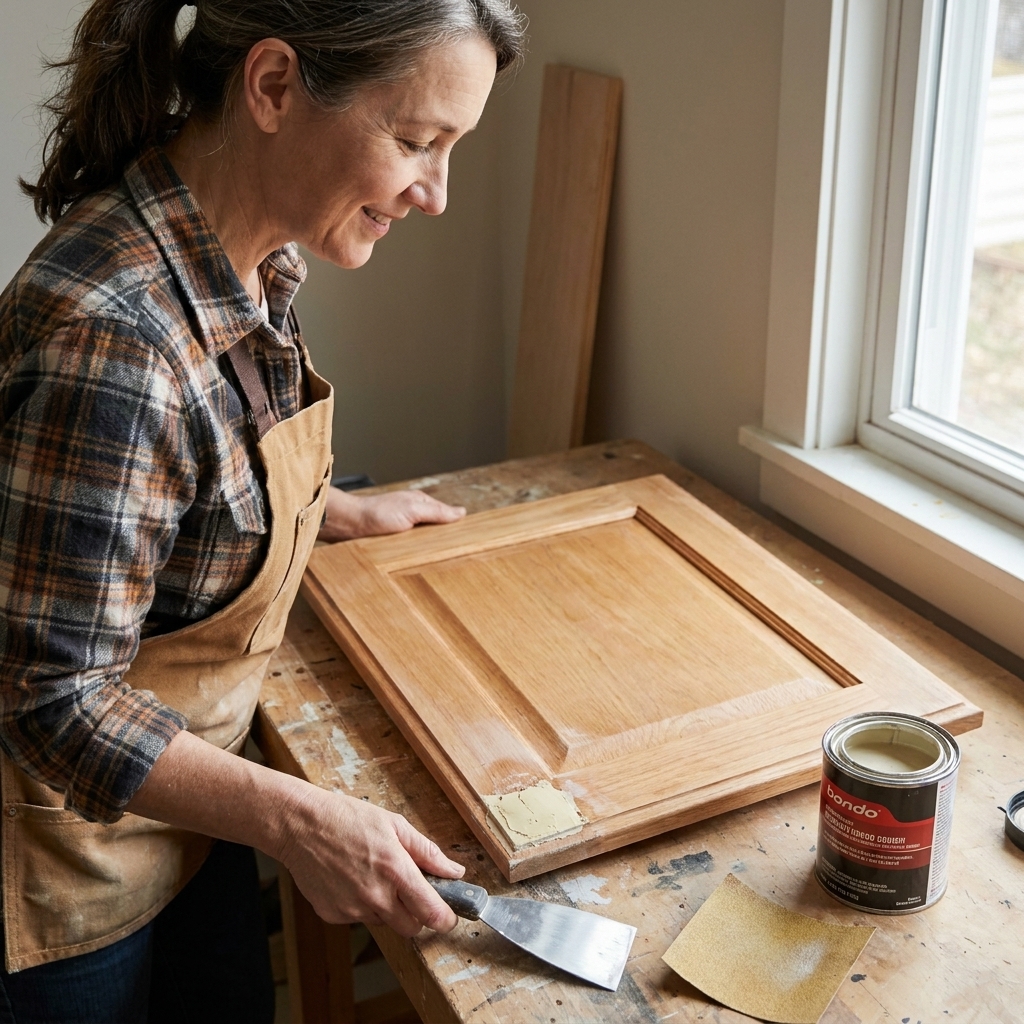
Step 5: Rebuild edges, corners, and missing spots
After hardening, you will usually have low spots where the MDF used to be. This is where filler comes in.
Best approach for swollen bottom edges
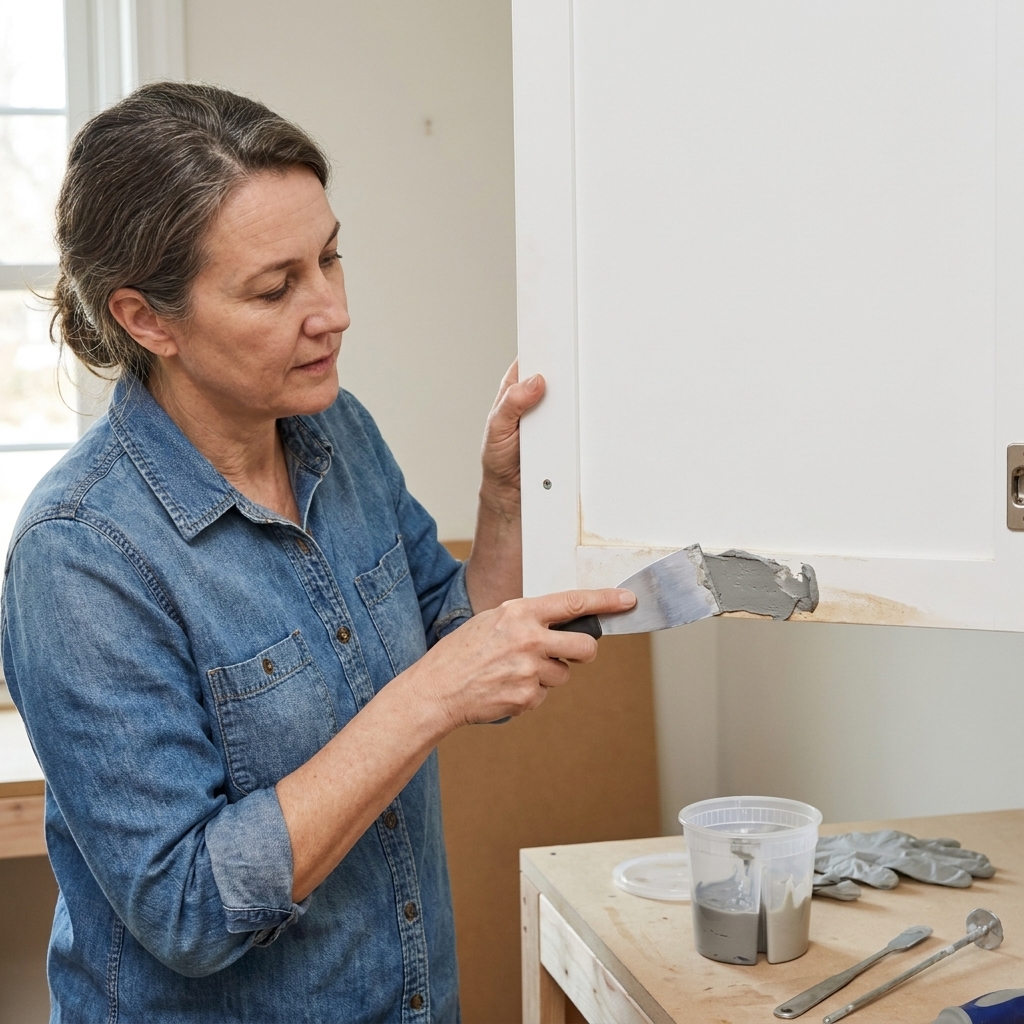
- Mix and apply epoxy filler (or your chosen filler) with a putty knife.
- Overfill slightly. It is easier to sand back than to chase low spots.
- Shape while it is still workable if you can. For crisp corners, I like to pull the putty knife along the edge in one confident pass.
- Let it cure completely before sanding.
If hinge screws stripped out in swollen MDF
This is very common on sink base doors. Two options that work well:
- Epoxy + redrill: Fill the stripped hole with epoxy filler, let cure, then predrill and reinstall the screw.
- Move the hinge slightly: If there is room, shift the hinge up or down and drill new pilot holes into solid material.
Step 6: Sand smooth and flat
Good sanding is what makes a repaired MDF door look like nothing ever happened.
- Start with 120 grit to level the filler and knock down ridges.
- Switch to 180 grit to refine and blend into the surrounding door.
- Finish with 220 grit for a paint-ready surface.
Use a sanding block on edges to keep them straight. Fingers alone tend to round corners.
Vacuum thoroughly, then wipe with a tack cloth or a slightly damp microfiber cloth. If you use water, make it barely damp and let the door dry again before priming.
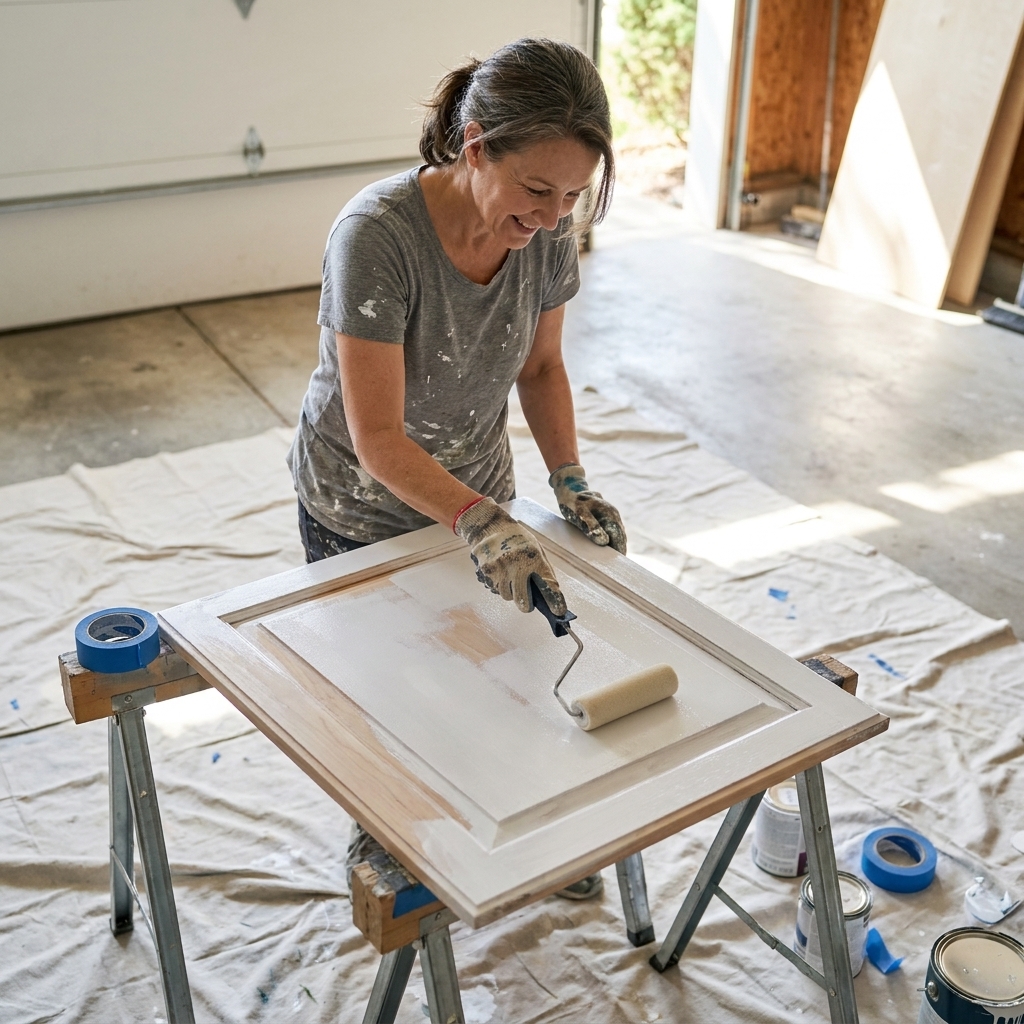
Step 7: Prime like you mean it
On repaired MDF, primer is not optional. It is the seal that keeps humidity and splashes from reactivating the fibers.
Primer options that work well for MDF repairs
- Shellac-based primer: Excellent sealing and adhesion. Great for sink areas and stubborn spots. Strong odor, so ventilate.
- Solvent-based bonding primer: Also a strong choice for sealing repairs and gripping slick cabinet finishes.
- High-quality water-based bonding primer: Works if the MDF is fully hardened and sealed, but I still lean shellac or solvent near sinks and dishwashers for extra insurance.
How to prime repaired spots
- Spot-prime the repair first, especially if you used wood hardener and epoxy.
- After it dries, lightly sand with 220 grit to remove texture.
- Then prime the entire door for consistent sheen and durability.
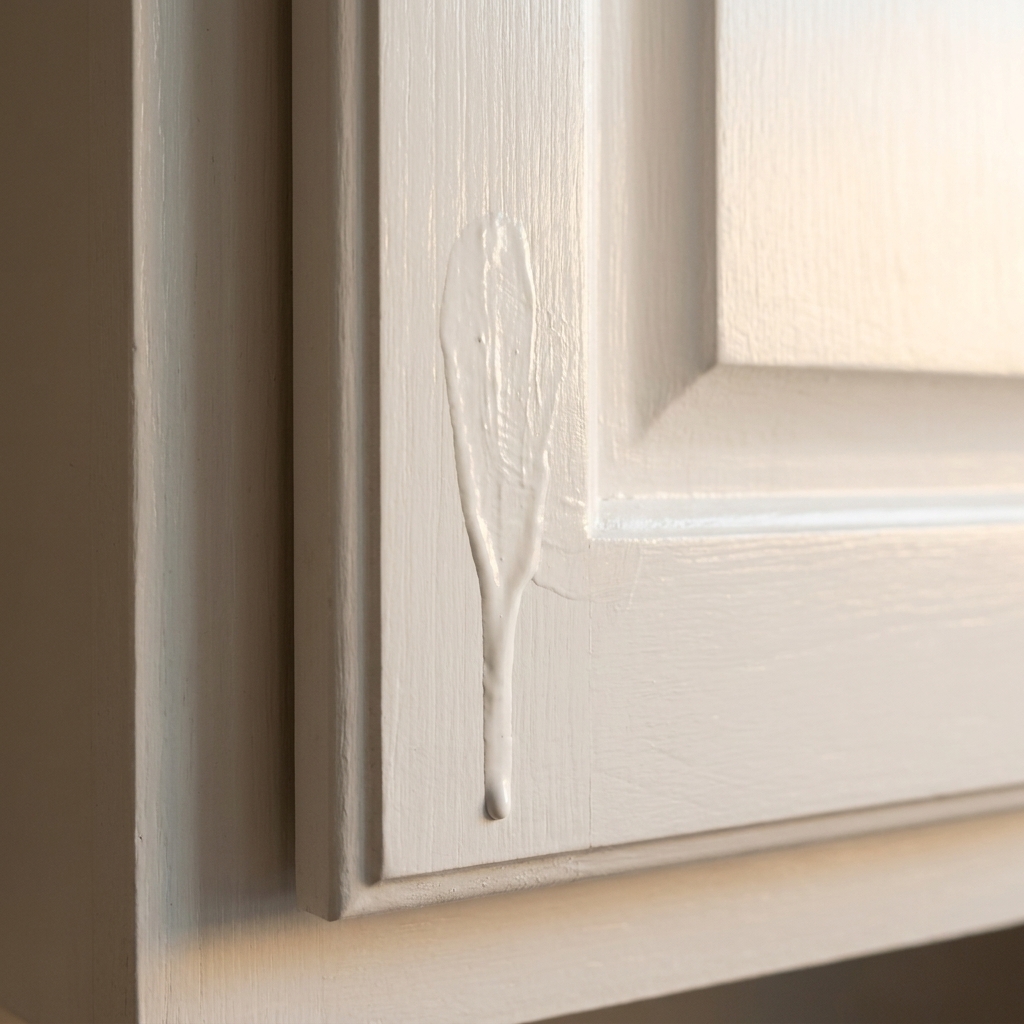
If the repair “telegraphs” after priming (you can see a slight ripple or edge), skim a thin layer of filler, sand, and prime again. That extra cycle is what makes the final paint look professional.

Extra protection for sink and dishwasher zones
If your MDF doors failed once, give them a little help so you are not repairing them again in a year.
- Seal the bottom edge: After priming and painting, make sure the bottom edge and the bottom corners are fully coated. I do not skip edges, ever.
- Add a clear, paintable bead of caulk where water regularly sneaks in, like around a sink base face frame. Keep it neat and minimal.
- Consider a drip rail or splash guard inside the sink cabinet if plumbing leaks have been an issue.
- Adjust habits: Do not store wet sponges against the inside of the doors and avoid hanging dripping towels on a sink base door.
Troubleshooting: common MDF repair problems
The swollen area keeps fuzzing up when I sand
You likely did not remove enough weak material, or the fibers were not hardened. Sand back to firm MDF, apply wood hardener again, let cure, then refill and sand.
My filler keeps cracking along the edge
This usually happens with lightweight fillers in high-movement or high-moisture spots. Switch to a two-part epoxy filler, and make sure the surface is clean and hardened before applying.
The repair looks smooth until I paint, then I can see it
That is a leveling issue. Spot-prime, sand, and skim again if needed. Paint highlights everything, especially on darker colors and in raking light.
The MDF face is bubbling or peeling
If the laminated face layer is delaminating, carefully cut it back to where it is firmly bonded. Harden what is underneath, then rebuild with filler. If the delamination is wide, replacement is often the better use of your time.
Quick FAQ
Can swollen MDF go back to normal after drying?
It can shrink a little, but it will not truly return to its original density. Drying is still essential, but most repairs need hardener and filler to rebuild the damaged area.
Can I use wood glue to harden MDF?
Wood glue is too thick to soak in well, and it can leave a rubbery layer that sands poorly. A penetrating wood hardener is made for this exact job.
Is Bondo okay on MDF cabinet doors?
Yes, an automotive-style two-part filler can work well for rebuilding edges and corners because it cures hard and sands smooth. The key is proper drying, removing weak fibers, and sealing with a strong primer.
How long should I wait before painting after priming?
Follow your primer label, but I generally wait until the primer is fully dry, then sand lightly, remove dust, and paint. In humid kitchens, giving it extra time pays off.
My best advice after seven years of cabinet rescues
When MDF gets wet, the repair is not about hiding a blemish. It is about stabilizing the fibers and sealing them so your cabinet paint has a solid foundation. If you take your time with drying, hardening, and priming, you can absolutely save doors that look like they are headed for the trash pile.