If you have cabinets with a few battle scars, you are in good company. Most kitchens I work on have a mix of tiny scratches, corner chips, old hardware holes, and at least one mystery dent that appeared out of nowhere. The good news is you do not need perfect cabinets to get a gorgeous painted finish. You just need the right patching compound for the type of damage.
In cabinet land, the big three are wood filler, wood putty, and Bondo (a two-part polyester body filler). They each behave differently. The simplest way to remember it is this: wood filler hardens so you can sand and shape it, while wood putty stays a bit flexible for touch-ups.
Choosing the wrong one is what causes the classic DIY headaches: repairs that shrink, crack, stay rubbery, or show through paint like a neon sign.
The quick rule
If you want the shortest answer before we get into details, here is the rule I use:
- Painting cabinets? Use wood filler for shallow defects, and Bondo for deep chips, broken corners, and anything that needs strength.
- Staining or clear coating? Use a stainable wood filler for small repairs, and wood putty for tiny surface nicks you will not sand much. Expect repairs to be somewhat visible with stain no matter what.
- Need to fill old hardware holes? Bondo is my favorite for the cleanest, most durable result, especially on doors and drawers that get handled a lot.
Wood filler
Wood filler is a sandable paste (usually water-based or solvent-based) designed to harden and be shaped. For cabinet refinishing, it is the workhorse product for small to medium issues.
When to use it
- Scratches that sanding will not remove without changing the profile or flattening a detail.
- Small dents that do not go all the way through veneer.
- Minor chips along door edges.
- Open grain or seams in certain cabinet styles (used sparingly).
- Small nail holes and pinholes.
Pros
- Sands easily and feathers nicely into surrounding wood.
- Paint-friendly once fully cured.
- Easy cleanup for many water-based formulas.
- Good for skim repairs where you need a thin, smooth finish.
Cons
- Can shrink as it dries, especially in deep fills.
- Can crack if applied too thick in one pass.
- Not as strong as Bondo for rebuilding corners and edges.
- Not all “stainable” fillers stain well, and stain repairs can still look like a patch.
My wood filler tips
- Do two thin layers instead of one thick one for anything deeper than about 1/8 inch.
- Overfill slightly, let it dry fully, then sand flush.
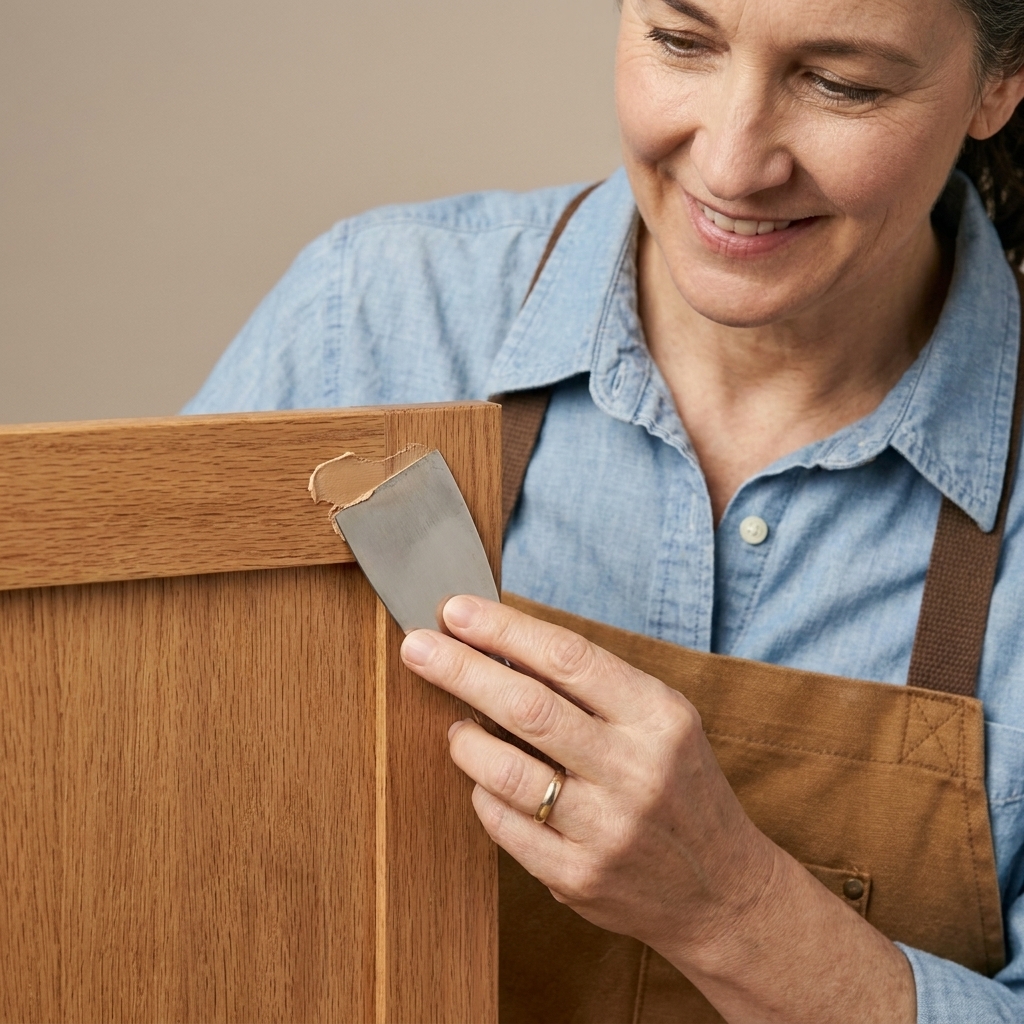
- Use a flexible putty knife and press it into the defect from multiple directions to avoid air pockets.
- Prime after sanding. Bare filler can flash or look dull under paint if you skip primer.
Wood putty
Wood putty is different from wood filler, even though the names get used interchangeably. Traditional wood putty is typically oil-based and stays slightly flexible. It is meant for finished wood and stain-grade touch-ups, not major shaping and sanding.
One important nuance: some modern products sold as “putty” are labeled paintable or even sandable. That can be true depending on the formula, but traditional oil or waxy putties are the ones that tend to fight primer and paint.
When to use it
- Small nicks in stained or clear-coated cabinets where you are not stripping or sanding much.
- Tiny gaps where some flexibility helps (think seasonal movement).
- Cosmetic touch-ups after a cabinet is already finished.
Pros
- Stays workable longer, which is nice for slow, careful touch-ups.
- Flexible, so it is less likely to crack on moving joints.
- Great for non-sanding repairs on already-finished wood.
Cons for paint prep
- Paintability varies. Some putties are fine under paint, others can cause adhesion issues.
- Often not ideal to sand to a crisp feather edge, especially with traditional oil or waxy putties.
- Can stay soft for a long time in thicker applications.
My honest take
If you are repainting cabinets, I rarely reach for wood putty. Most painted cabinet projects involve sanding and priming anyway, and that is where traditional putty can fight you. For paint-grade work, wood filler and Bondo are simply more predictable.
Bondo
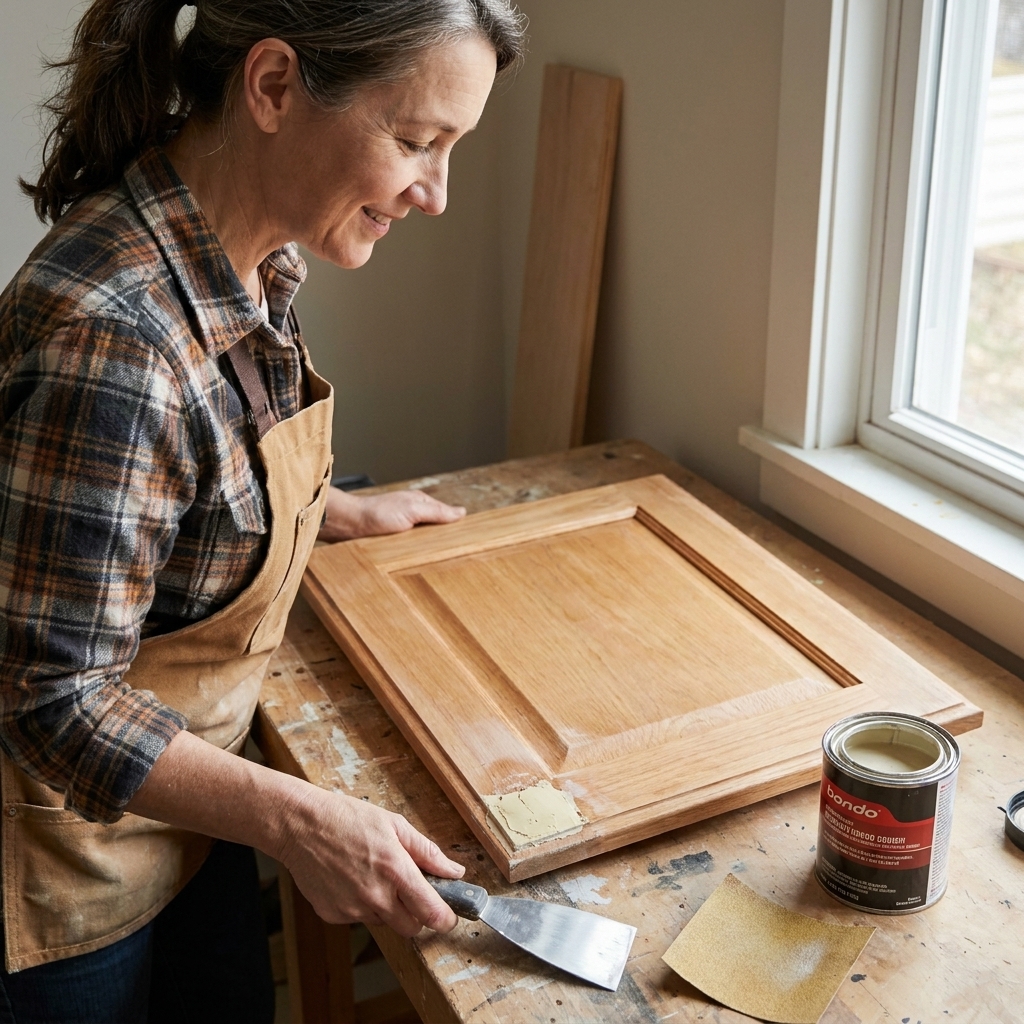
Bondo (a two-part polyester body filler) has a bit of a reputation for being “too intense” for cabinets. I felt that way too until I tried it on a drawer front with old handle holes that kept telegraphing through my paint. Once you get comfortable with the mixing step, it is a game-changer.
Bondo cures fast and becomes very hard, which is exactly why it shines on cabinet doors and drawer fronts that take daily abuse. It also has far less shrinkage than many water-based fillers. Like any rigid patch, it still depends on good prep and stable surfaces. Movement at joints can crack almost anything if it is bridged the wrong way.
When to use it
- Deep gouges and missing chunks.
- Broken corners you need to rebuild.
- Old hardware holes (especially when changing pull placement).
- Edge damage on doors and drawer fronts.
- Repairs that must stay crisp on profiles and flat faces.
Pros
- Very strong with minimal shrinkage compared with many fillers.
- Sands beautifully once cured (it feathers well).
- Takes primer and paint well when scuffed and cleaned.
- Excellent for hole fills that you want to disappear under paint, especially when you prime correctly.
Cons
- Short working time. You typically have just a few minutes, and less when it is warm.
- Smell and ventilation. Work in a well-ventilated area.
- Mixing matters. Wrong ratios can leave it gummy or brittle.
- Not stain-friendly. This is paint-grade territory.
My Bondo workflow
- Prep the surface. Scuff sand the area (I like 120 to 150 grit) and remove dust. If there is grease, clean first and let dry.
- Mix small batches. Start small, walnut sized to golf-ball sized depending on the size of the repair and the temperature. Add hardener per the label, then mix until the color is uniform with no streaks.
- Press it in firmly. Use a putty knife to push Bondo into holes and gouges, then overfill slightly.
- Shape it early if you can. After a few minutes, it gets “cheesy” and can be trimmed lightly with the edge of your knife.
- Sand smooth. Start with 120 grit, then 180, then 220 to blend. Use a sanding block for flat areas.
- Prime. This step makes the repair disappear and locks everything down for paint.
Which one to use
1) Hairline scratches
Best choice: wood filler or, for ultra-tiny scratches, sometimes just primer plus sanding.
My tip: Before you fill anything, run your fingernail across the scratch. If your nail barely catches, you might be able to sand, prime, and paint without filler. If your nail catches clearly, fill it.
2) Shallow dents
Best choice: wood filler.
Bonus trick: If the dent is in solid wood (not veneer), you can sometimes steam it up with a damp cloth and a warm iron to raise the fibers. Let it dry completely, then sand lightly. Skip this on veneered doors, near glue joints, or on surfaces you are not planning to refinish, since heat and moisture can affect finishes and adhesives.
3) Deep dents, gouges, and chips
Best choice: Bondo.
Deep defects are where wood filler often shrinks back and needs multiple rounds. Bondo is often faster in the long run and stays put when the surface is properly prepped.
4) Broken corners and chewed-up edges
Best choice: Bondo.
For corners, I like to build in two passes: a base layer to fill the void, then a skim layer to perfect the shape after the first cure and rough sand.
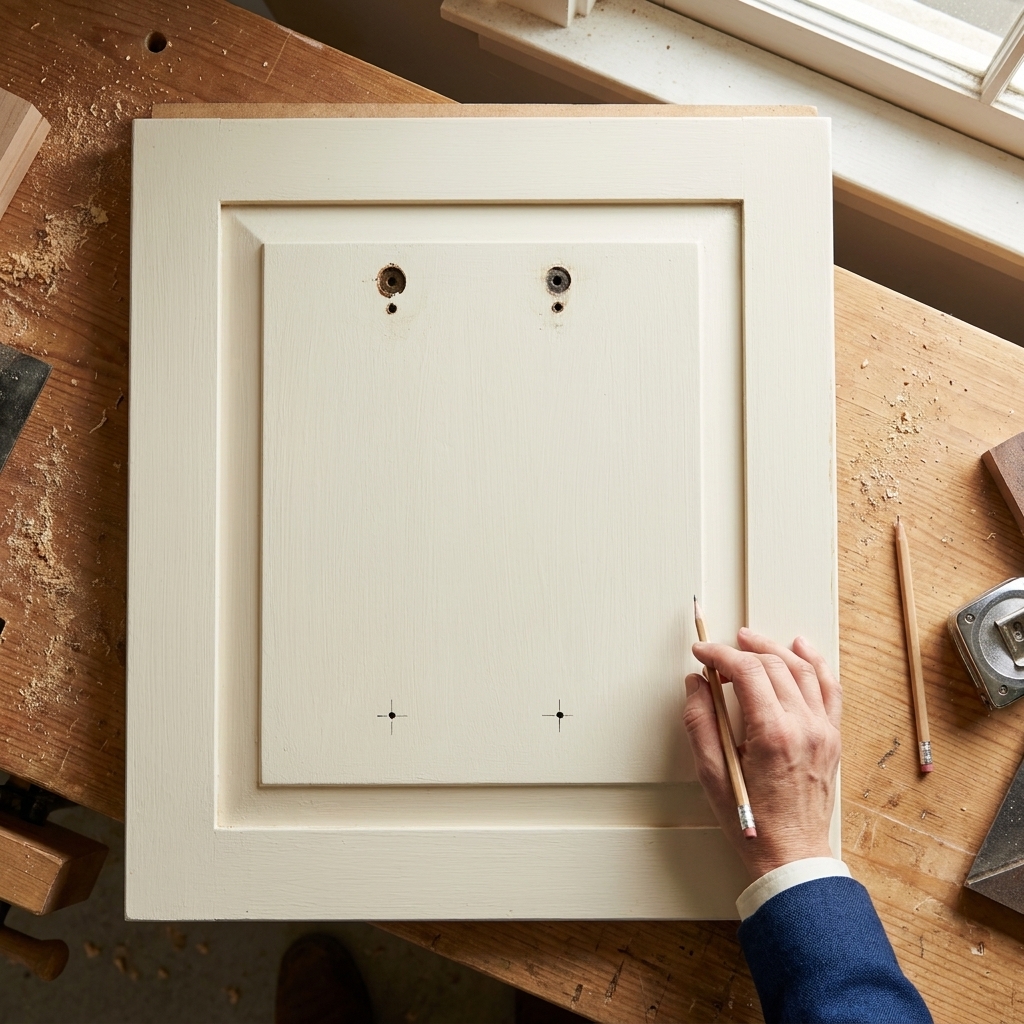
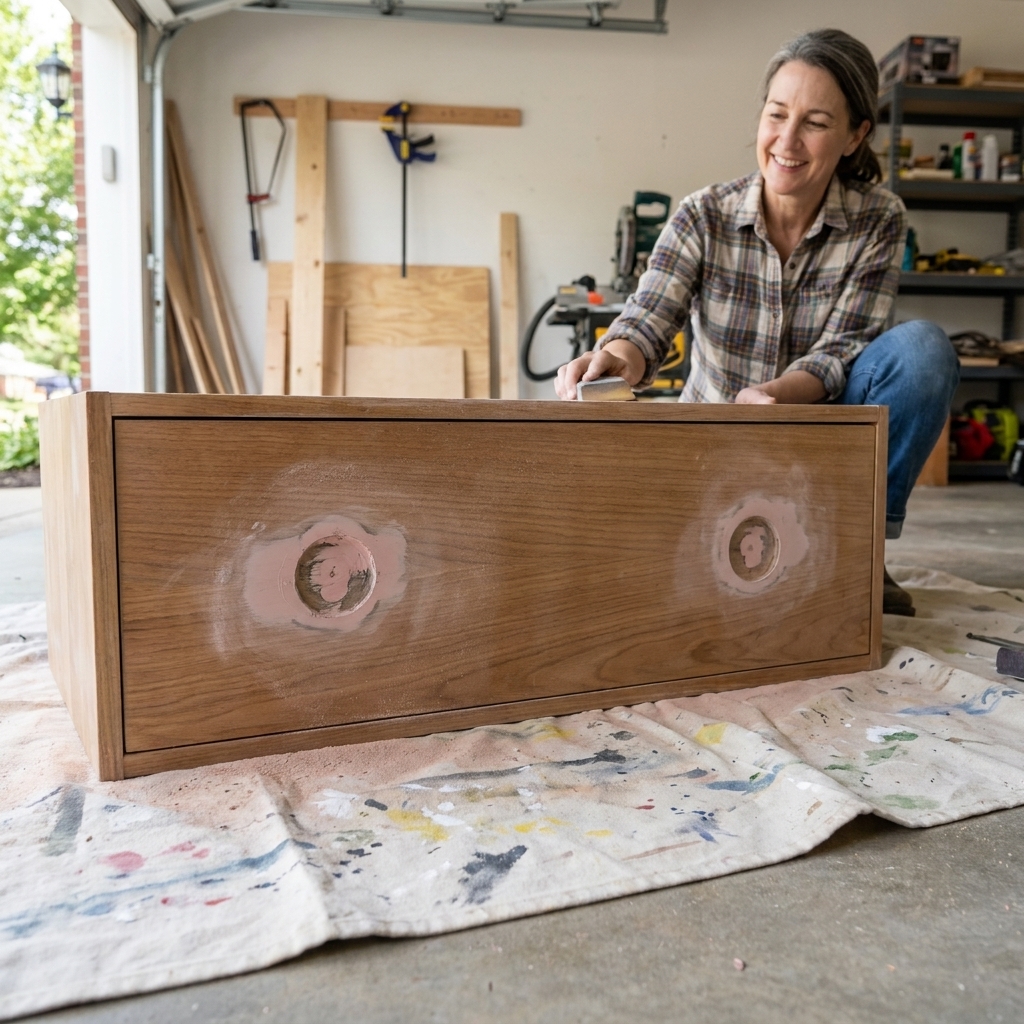
5) Old hardware holes
Best choice: Bondo for the most invisible, durable fill. Wood filler can work on low-traffic areas but may sink slightly and show a faint halo under paint over time.
Pro move: Slightly countersink the hole edges with sandpaper or a drill bit by hand. That tiny bevel gives the patch more grip and helps prevent a popped-out plug later.
6) Gaps at trim and seams
Best choice: it depends on whether it is a moving joint.
- Between cabinet and wall or face frame and panel seam? Use paintable caulk after priming (not wood filler, not Bondo).
- Small divots in the wood itself? Use wood filler.
Material matters
Solid wood
You can use wood filler or Bondo confidently. Solid wood sands well, which makes blending repairs easier.
Wood veneer
Be careful with aggressive sanding. Veneer is thin, and it is easy to sand through at edges and around knobs. For veneer:
- Use the least amount of filler needed.
- Sand with a light touch and a sanding block.
- For deep damage that has crushed veneer, Bondo can still work, but keep the sanding controlled.
MDF doors
MDF is paint-friendly but hates water and swollen edges. For MDF:
- Bondo is excellent for repairing swollen corners and chips once the loose material is removed.
- High-adhesion primers often perform better on damaged MDF edges, especially shellac-based or solvent-based primers. Some quality waterborne bonding primers can work too, especially if you seal the edges well and respect dry times.
Laminate or thermofoil
If your cabinet doors are slick laminate or thermofoil, repairs are trickier because adhesion is the whole battle. You can sometimes patch a chip with Bondo, but the success of the paint job will depend on thorough scuff sanding, careful cleaning, and a true bonding primer.
If your thermofoil is peeling, it is often a heat or adhesive failure. In that case, replacement or re-lamination is usually the durable fix, and no filler will solve the underlying problem.
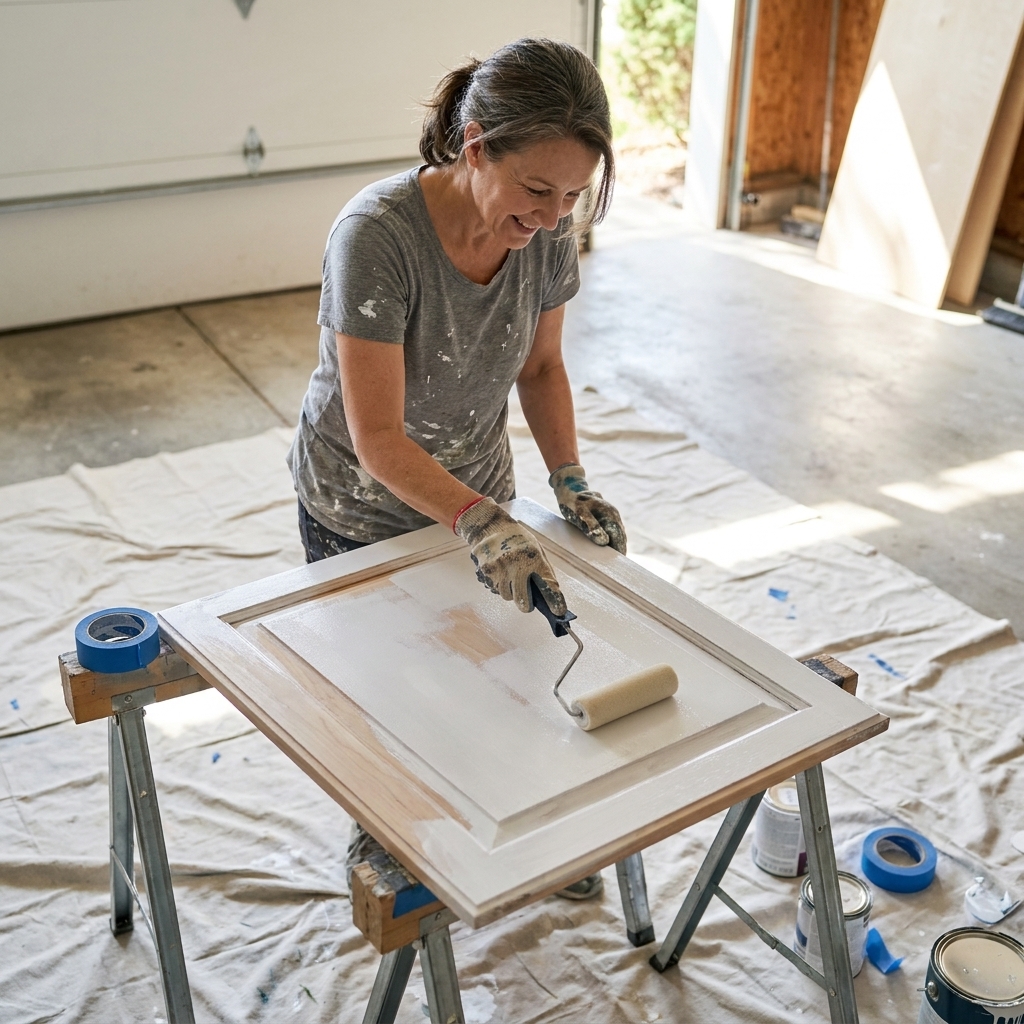
Paint-ready repair steps
This is the exact order I follow for long-lasting repairs.
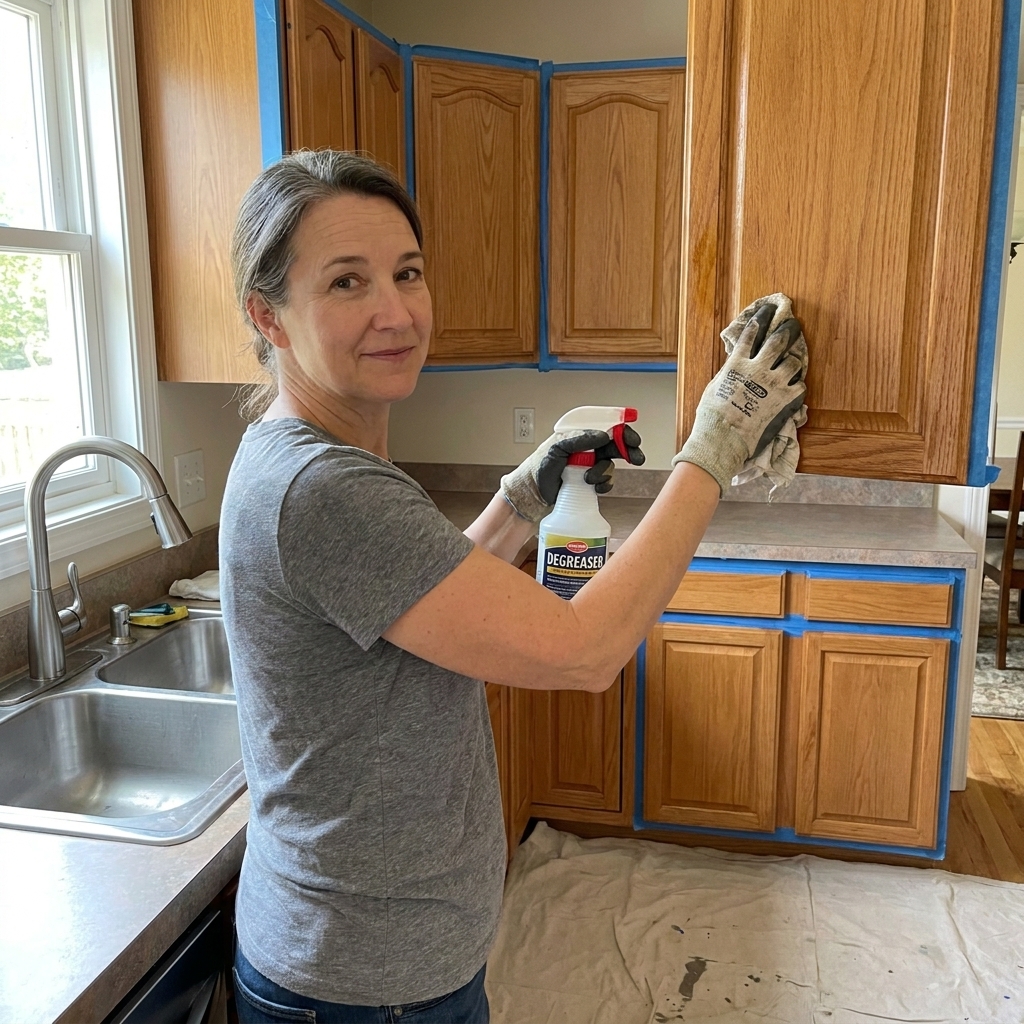
- Degrease first. Cabinets collect oils, especially around pulls and near the stove. Clean, rinse (if your cleaner requires it), and let dry.
- Scuff sand. You are not trying to remove everything. You are giving primer and repairs something to bite into.
- Choose your compound. Wood filler for shallow, Bondo for deep or structural, putty for small finished-wood touch-ups.
- Apply and overfill slightly. Thin, tight coats beat thick blobs every time.
- Let it cure fully. Dry to the touch is not the same as cured. Cure time varies by product, thickness, temperature, and humidity, so check the manufacturer directions.
- Sand flush. Use a sanding block on flat areas so you do not create a dip.
- Spot prime the repair. This reveals imperfections instantly. If you can still see a low spot, fill again and re-prime.
- Final sand. A light sand with 220 grit makes everything feel seamless before full priming and painting.

Common mistakes
Using spackle
Wall spackle is made for drywall. It is too soft for doors and drawers and can crumble or dent later. Stick with wood filler or Bondo for cabinet surfaces.
Filling before cleaning
Grease is sneaky. If the area is oily, your patch can fail or your primer can fisheye. Clean first.
Skipping spot priming
Spot priming is like turning on a flashlight. It shows pinholes, ridges, and low spots while you can still fix them easily.
Sanding with fingers
Fingers create waves. A sanding block keeps the surface flat, especially on door faces.
Trying to stain a big repair
Even “stainable” fillers can look different than surrounding wood. If you are staining, keep repairs small and set expectations that patches may still show.
Safety
Cabinet repair is not complicated, but it can be dusty and smelly. When you are sanding filler or Bondo, wear a well-fitting dust mask or respirator, protect your eyes, and control dust. When you are mixing and applying Bondo, use gloves and good ventilation, and follow the label for safe handling and cure times.
FAQ
Can I paint over wood putty?
Sometimes, but it depends on the formula. Traditional oil or waxy putties can cause adhesion problems under paint. For painted cabinets, wood filler or Bondo plus a good bonding primer is usually more reliable.
Is Bondo okay for wood cabinets?
Yes. It bonds well to scuffed wood, sands smoothly, and holds up to daily use. It is especially good for rebuilding edges and filling old handle holes before painting.
Do I need primer over repairs?
I strongly recommend it. Primer helps seal porous filler, improves adhesion, and makes the repair blend so the sheen looks even after paint. On glossy factory finishes, laminate, or thermofoil, a true bonding primer matters even more.
What grit sandpaper should I use?
I usually start at 120 to level a repair, then move to 180, and finish at 220 to feather the edges before primer and paint.
My filled spot keeps sinking. What am I doing wrong?
You are probably filling too deep in one pass, or using a filler that shrinks as it dries. Build depth in layers, or switch to Bondo for deeper defects.
Bottom line
If you are painting cabinets and you want repairs that disappear, here is the combo that covers almost everything:
- Wood filler for small scratches, minor dents, and skim repairs.
- Bondo for deep damage, edges, corners, and hardware holes.
- Wood putty for small touch-ups on already-finished stained wood when you are not doing a full sand and repaint.
When in doubt, ask yourself one question: Do I need strength and a crisp shape, or do I just need a smooth surface? Strength and shape points to Bondo. Smooth surface points to wood filler.