If you have ever stepped back from a freshly painted cabinet door and thought, “Why can I still see every brush line,” you are not alone. Cabinets are one of the worst-case scenarios for brush marks: big flat areas, strong lighting, and lots of close-up viewing.
The good news is you do not need a pro spray booth to get a smoother finish. A paint conditioner can give your paint a little more working time so it can level out before it sets up. Used the right way, Floetrol and other conditioners can seriously reduce brush strokes and roller stipple on kitchen cabinets.
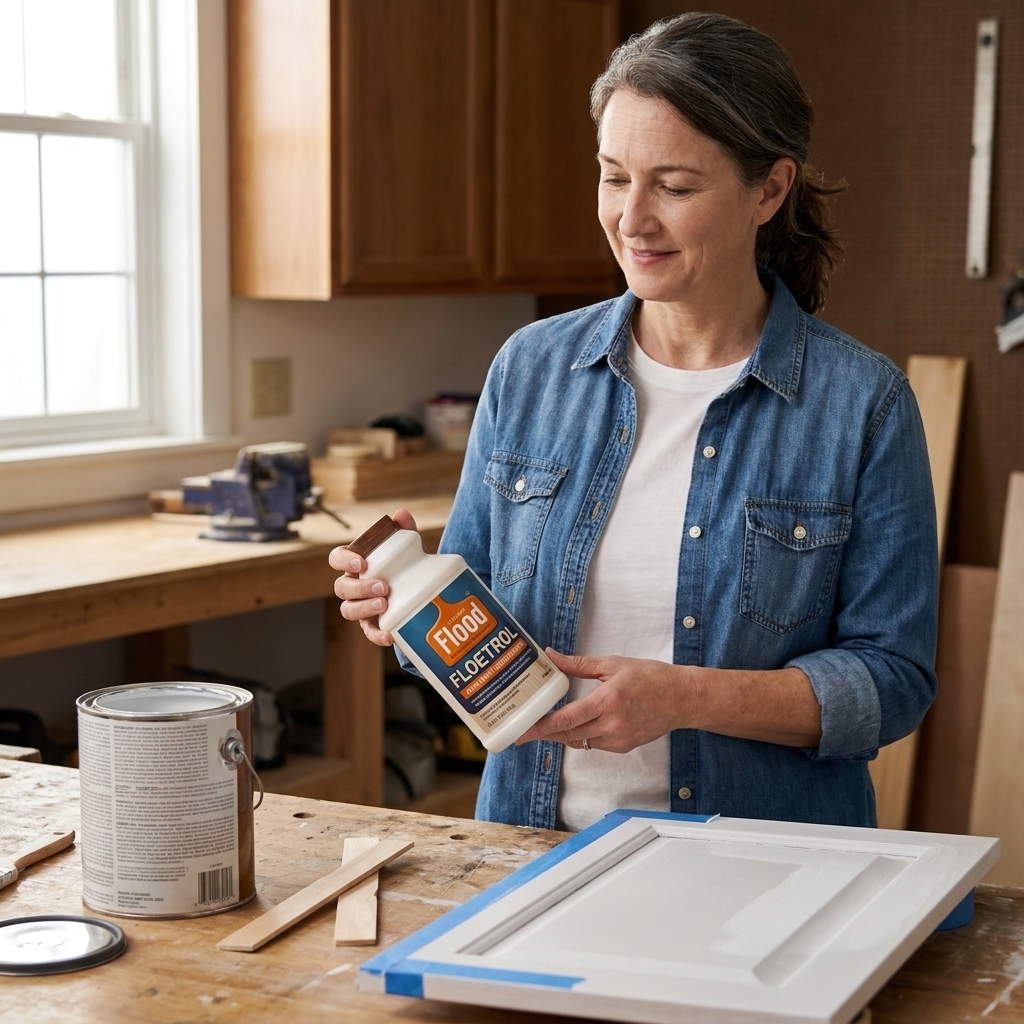
What Floetrol actually does
Floetrol is a latex paint conditioner. Think of it as a leveling helper, not a shortcut for skipping prep. It is designed to:
- Slow drying time so you can keep a wet edge longer
- Reduce drag so your brush or roller glides instead of grabbing
- Improve leveling so brush marks have time to soften and relax
What it does not do: replace primer, fix peeling paint, hide grain, or prevent runs if you apply paint too heavily.
Paint conditioner vs paint thinner
These are not the same. Water (for latex) can thin paint, but overdoing it can reduce binder concentration, affect coverage and sheen, and hurt durability. A conditioner is made to improve flow and leveling without changing the paint as drastically as over-thinning can.
Prep essentials (do not skip)
Floetrol can help paint level, but cabinets live or die on prep. Here is the quick version:
- Degrease first: use a cabinet degreaser or a TSP substitute, rinse if the label says to, then let it dry.
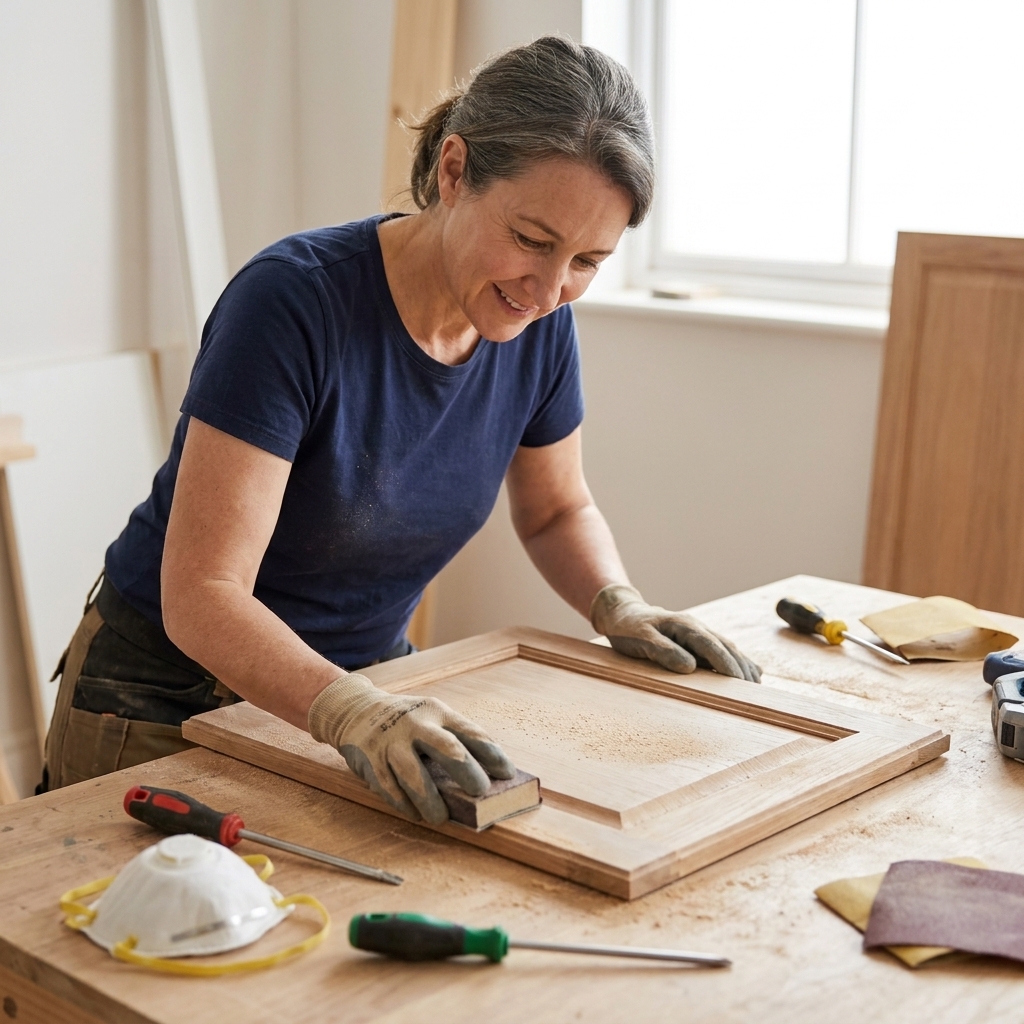
- Scuff sand: you are not removing all finish, you are creating tooth (often 150 to 220 grit depending on the surface).
- Dust control: vacuum, then wipe with a damp microfiber or a tack cloth that is safe for your coating system.
- Prime for bonding: use a bonding primer if you are painting slick factory finishes, laminates, or anything that feels too smooth.
- Fill and spot-prime: patch dings, sand smooth, then prime those repaired areas so they do not flash through.
Which paints can use Floetrol
Good matches
- Latex and acrylic paints (including many cabinet and trim enamels)
Use caution with
- Water-based alkyd paints (often labeled “waterborne alkyd”)
Some cabinet enamels and many waterborne alkyds specifically prohibit additives or limit them to a small amount. Your best move is always to follow the can. If your paint brand recommends an extender or conditioner of its own, start there. If the label discourages conditioners, do not use Floetrol just because it worked for someone else. Cabinets get handled daily, so durability matters as much as looks.
Do not use Floetrol with
- Oil-based paints (use Penetrol or the manufacturer’s oil additive instead)
- Shellac-based primers and most solvent-heavy coatings
- Two-part cabinet finishes (unless the manufacturer explicitly approves)
Always read the paint can. If the label says “Do not add additives” or sets a max amount, follow that.

How much Floetrol to add
For cabinets, I like to start small. You can always add a little more, but you cannot pull it back out once it is mixed. Also, label guidance wins. If your paint sets a cap, stay under it.
- Start: about 5% by volume
- Common range: roughly 5 to 10% for brush and roller work (when the paint label allows additives)
- Do not exceed: the paint and additive manufacturer’s limits. If either label is more restrictive, follow the stricter one.
Easy measuring
- For 1 quart of paint (32 oz): start with about 1.5 to 2 oz Floetrol
- For 1 gallon of paint (128 oz): start with about 6 to 8 oz Floetrol
My rule: if you are tempted to keep adding Floetrol because the paint feels thick, step back and check your tools, your room temperature, and your application technique first. Too much conditioner can slow cure and leave a softer finish that fingerprints.
Step-by-step: mixing Floetrol
What you need
- Your paint (and the label)
- Floetrol (or a comparable latex paint conditioner)
- Graduated measuring cup or marked mixing container
- Stir stick
- Paint strainer (highly recommended)
- Small sample board or scrap wood for testing
1) Stir the paint first
Do not add Floetrol to paint that has not been fully stirred. Pigment settles, and conditioner will not fix uneven color or sheen.
2) Pour out what you will use
Work in smaller batches for cabinets. I often mix 1 to 2 cups at a time so nothing sits around getting skin or thickening.
3) Add Floetrol slowly
Start with your smallest planned amount, stir thoroughly, then evaluate. You want smoother flow, not watery paint.
4) Strain the mixture
This is an underrated step for a smoother finish. Straining catches tiny dried bits that can drag through your brush line and leave ridges.
5) Test before you touch your doors
Paint a scrap board or the back edge of a door. Watch how it levels over the next few minutes (often around 5 to 10, depending on paint and conditions). If brush marks are still harsh, bump up the conditioner slightly for the next batch, staying within the label limits.

How to apply for a smooth finish
Conditioner helps, but technique is what gets you that “did you spray these?” look.
Choose the right tools
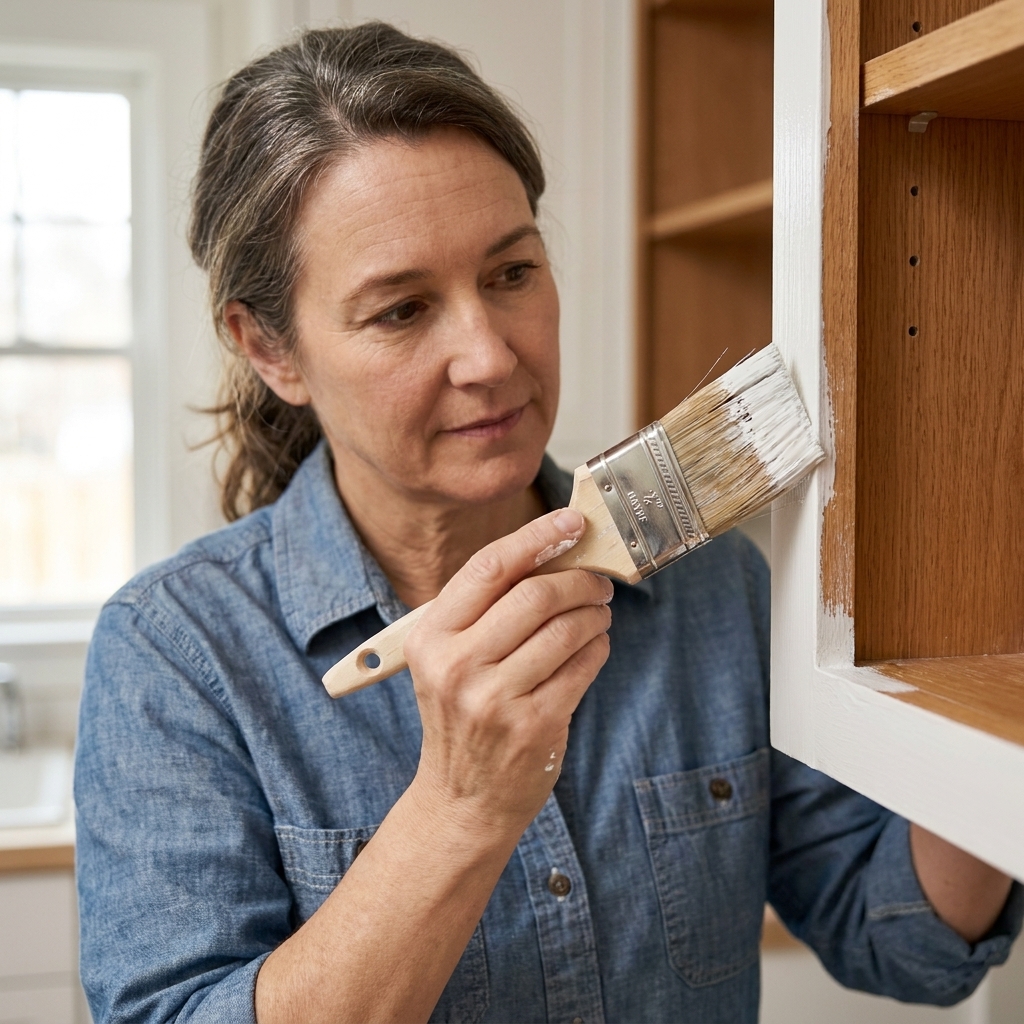
- Brush: a high-quality synthetic angled sash brush (2 to 2.5 inch) for frames and detail
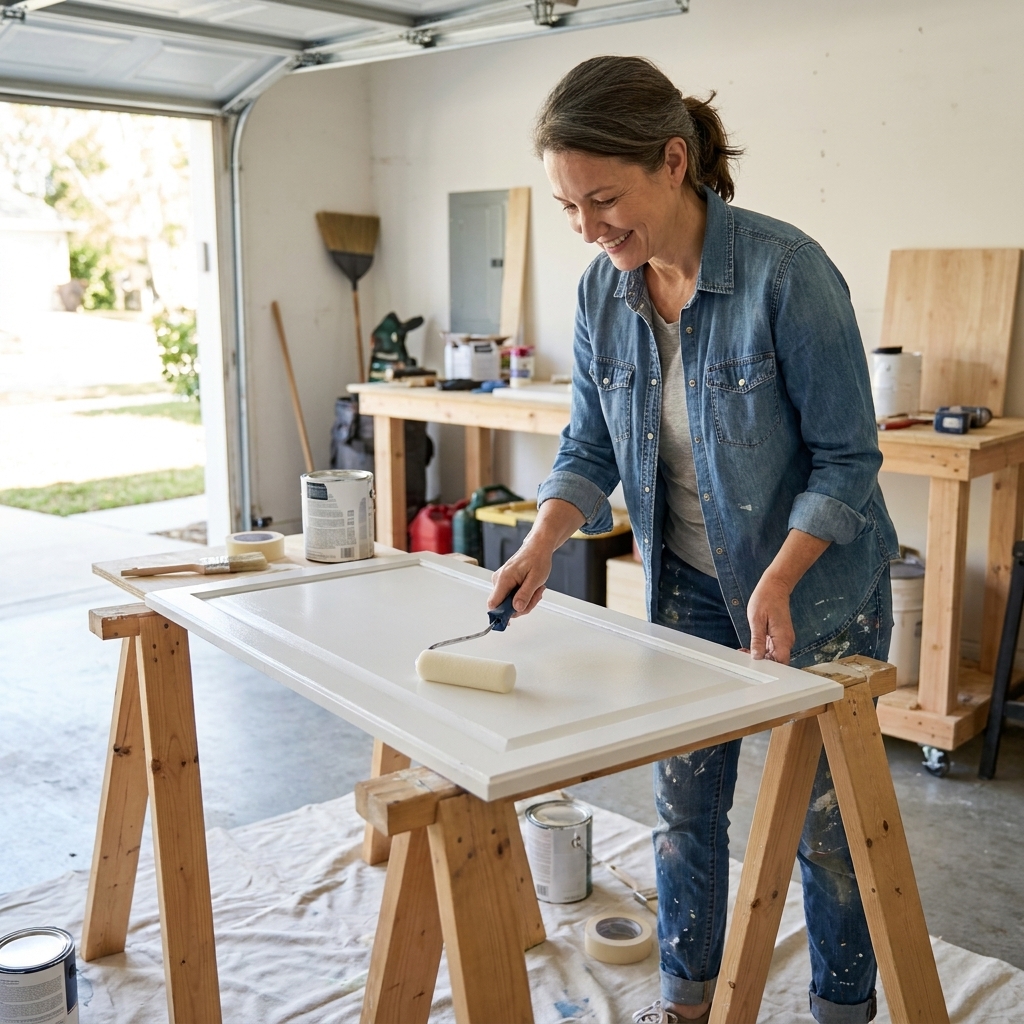
- Roller: 1/4 inch microfiber for most cabinet doors and boxes
- Foam rollers: can look great on smaller, flatter areas, but some paints bubble or show more texture with foam, so test first
- Optional: a small foam brush for quick touch-ups only (not whole doors)
Work in this order (doors and drawer fronts)
- Back first (so you can practice your mix and technique)
- Edges (thin, even coat)
- Center panel (roll or brush, then lay off lightly)
- Final layoff in one direction with very light pressure
Layoff means one gentle pass at the end to smooth out texture. The key is to stop fiddling. Conditioned paint levels best when you leave it alone.
Keep your coats thin
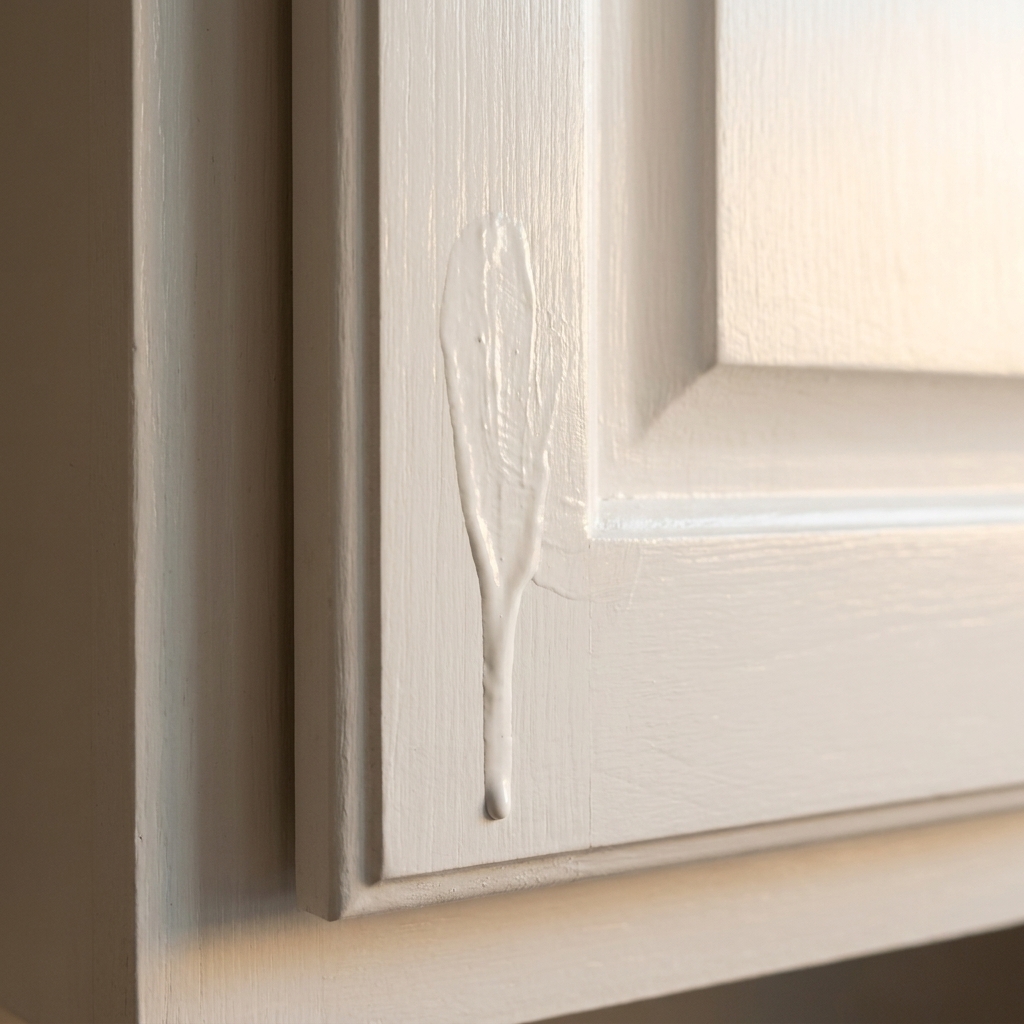
Most brush strokes that refuse to level are actually ridges from too much paint. Two to three thin coats almost always look better than one heavy coat, and they cure harder.
Mind the environment
- Ideal temperature: typically 65 to 75 F (but always follow your paint’s label)
- Avoid hot, dry airflow blowing directly on the doors (it skins the surface too fast)
- Use a fan indirectly for ventilation, not blasting on the paint
Sanding and recoat timing
Sand only after the coat is dry enough for recoating per the label. Softer enamels can gum up if you sand too early. When in doubt, wait longer, then sand lightly (often 320 grit) to knock down dust nibs and ridges.
Waterborne alkyd + Floetrol
Water-based alkyd paint is already designed to level nicely, which is why it is popular for cabinets. If you still see brush marks, the culprit is often one of these:
- Overworking the paint as it starts to set
- Using a low-quality brush that leaves heavy tracks
- Painting too warm or in direct sun
- Coats going on too thick
If your label allows an additive and you choose to use one, keep it minimal and test cure time. The finish should harden up, not stay rubbery. If your doors feel tacky days later, you likely used too much additive, applied too heavily, or painted in humid conditions.
Spraying? Read this first
If you are spraying cabinets, do not add Floetrol by default. Follow your sprayer and paint manufacturer guidance for thinning and spray setup. Some coatings spray better with the product’s own reducer or with no additive at all. Always test on a sample board before committing to doors.
Troubleshooting brush marks
“I still see brush marks after it dried.”
- Fix: Let it dry fully, then sand lightly with 320 to 400 grit to knock down ridges, wipe clean, and apply another thin coat. If your label allows, you can adjust the conditioner slightly on the next batch.
“My paint is sagging or dripping.”
- Fix: You have too much paint on the surface. Back off the load on your brush or roller. Conditioner can make runs more likely if you already apply heavy coats.
“It looks smooth wet, but dries with texture.”
- Fix: Switch rollers. Many cabinet painters get better results with 1/4 inch microfiber than foam, especially on larger flat doors. Also check that you are not rolling as the paint begins to tack.
“The finish feels soft or fingerprints easily.”
- Fix: Stop adding more conditioner. Give extra cure time, and check your paint can for dry, recoat, handle, and full cure times. Make sure doors are not stacked or closed too soon. If needed, re-coat later using straight paint (no additive), following label guidance.
My weekend workflow
If you want a simple plan that works well for most kitchens, here is what I do when I am brushing and rolling instead of spraying:
- Day 1: Degrease, scuff sand, dust, and prime.
- Day 2: After the primer is recoat-ready, sand lightly (often 220 to 320 grit), then first topcoat with a small amount of conditioner mixed in if your label allows it.
- Day 3: After the first coat is recoat-ready, sand lightly (often 320 grit), then second topcoat. Add a tiny bit more conditioner only if your test piece still shows brush ridges and you are still within label limits.
- After: Let doors cure flat as long as you can. Rehang carefully, then baby them for the first week. Full cure can take weeks, so treat fresh paint gently.
FAQ
Can I use Floetrol to make paint look sprayed?
You can get surprisingly close, especially on shaker doors, but it is still brush and roller paint. The biggest “sprayed” upgrades are thin coats, a great roller cover, gentle layoff, and sanding between coats.
Will Floetrol change the color or sheen?
It can slightly affect sheen if you add too much. That is another reason to stay conservative, follow the label, and test first.
Do I need Floetrol if I use a cabinet enamel?
Not always. Many cabinet enamels and waterborne alkyds level well on their own, and some specifically say not to add anything. I reach for conditioner when the paint is drying too fast, dragging, or showing stubborn brush marks even with good tools, and only when the paint label allows it.
Can I add water instead?
A small amount of water can help flow for some latex paints, but it is easy to overdo and reduce hiding power or durability. For cabinets, a conditioner is usually more predictable when it is allowed.
Quick checklist
- Confirm your paint type and whether the label allows additives
- Degrease, scuff sand, remove dust, and use a bonding primer when needed
- Start with a small amount of conditioner (and stay under label limits)
- Mix small batches and strain
- Use a quality synthetic brush and a cabinet-friendly roller
- Paint thin coats and stop overworking
- Sand only after coats are recoat-ready
- Let doors cure longer than you think, and check the can for full cure timing
If you take nothing else from this post, take this: Floetrol helps paint level, but your best brush-stroke eraser is thin coats plus patience. Give the paint time to relax, and it will reward you with a smoother, more factory-like cabinet finish.