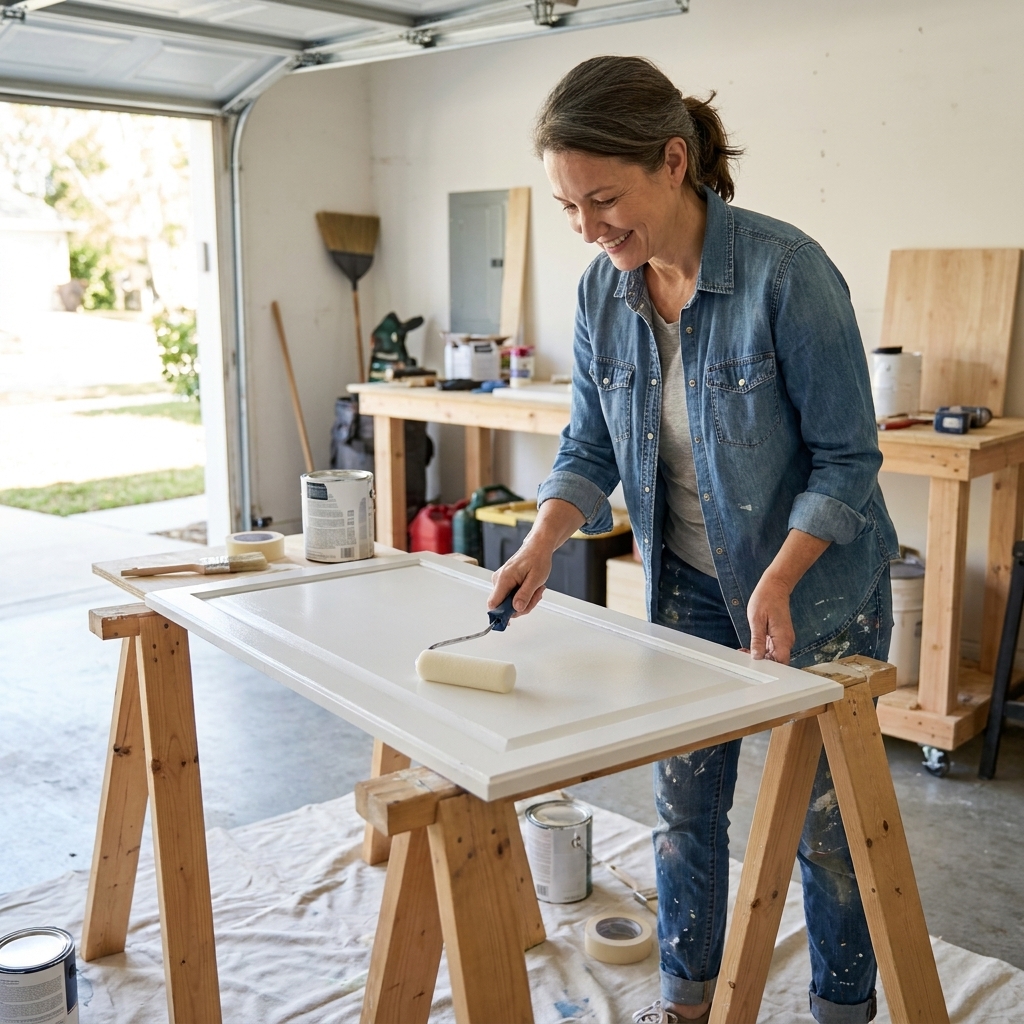
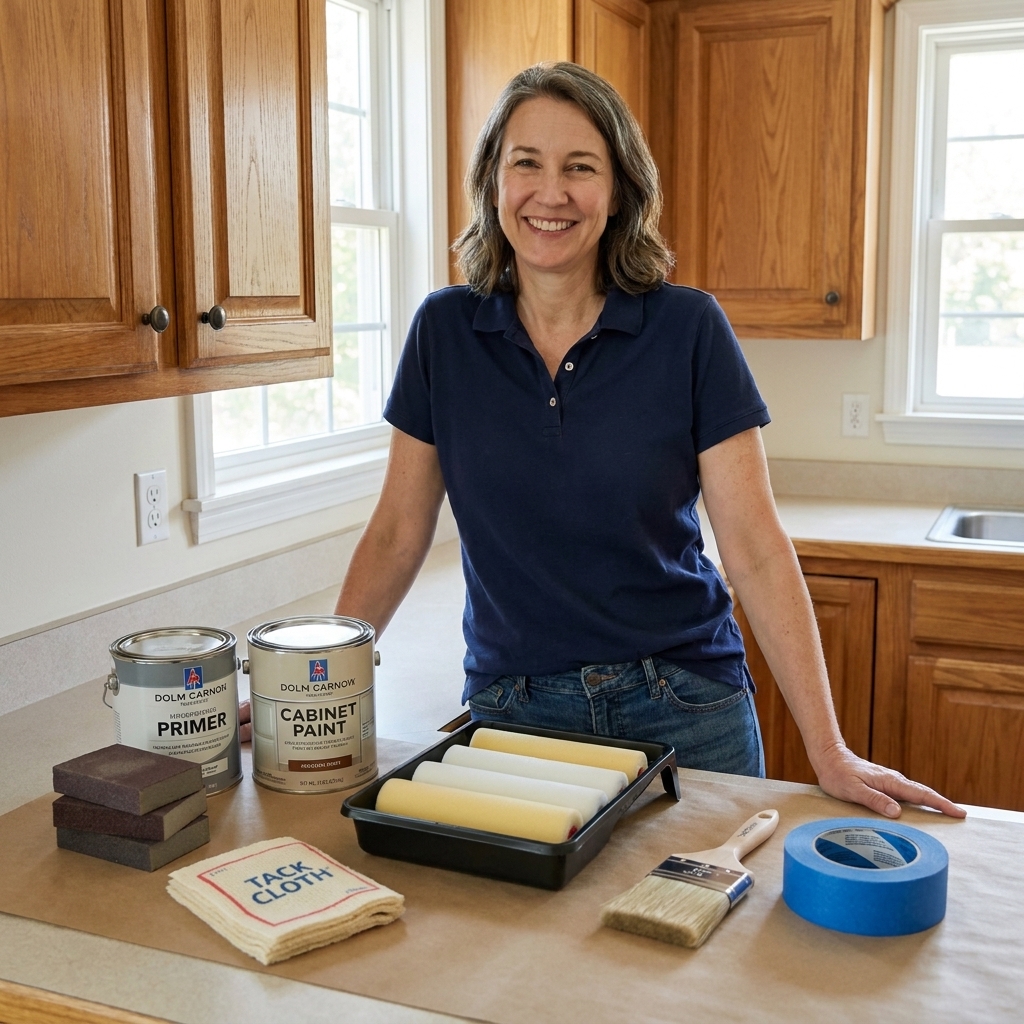
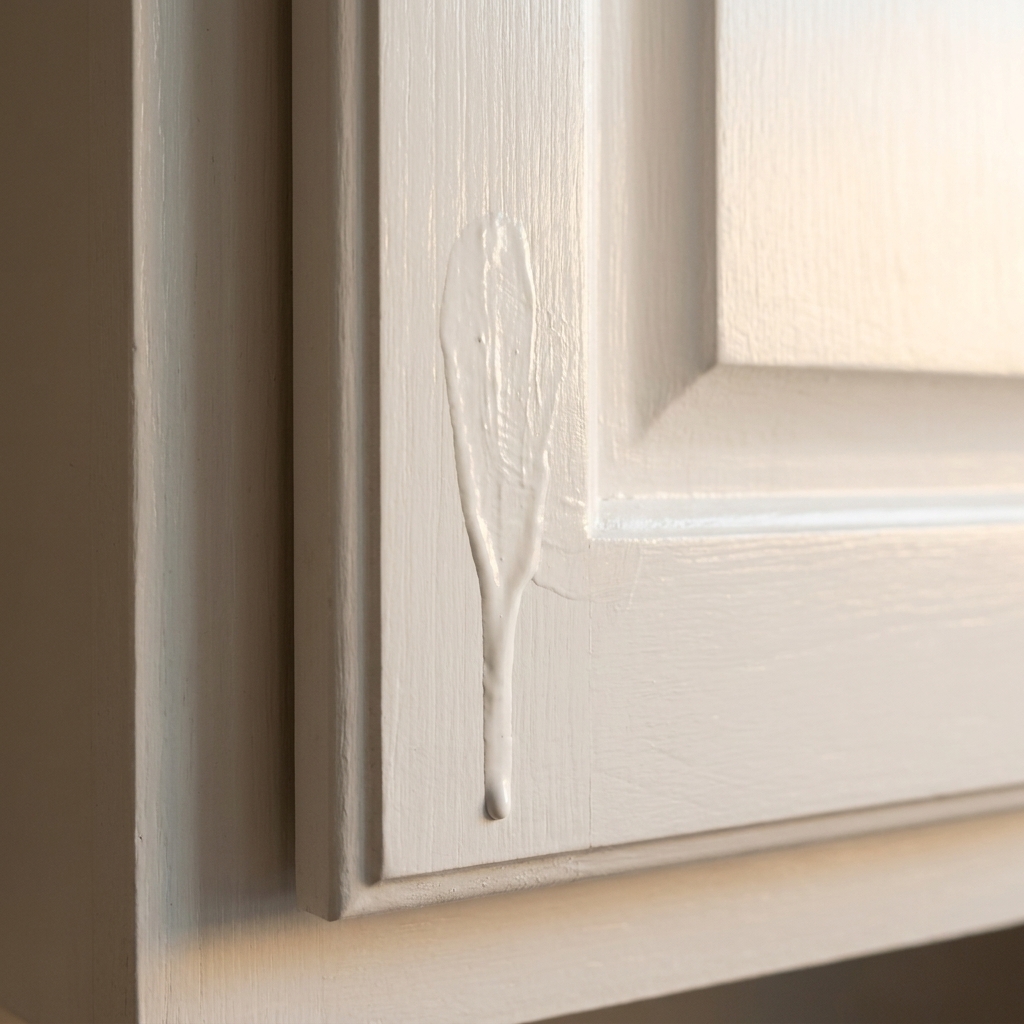
If you have ever sprayed a cabinet door in the garage and watched a surprise fuzz ball float into your perfect finish, you already understand the value of a spray booth. The good news is you do not need a fancy inflatable tent or a permanent build to get clean results. A cheap PVC frame plus drop cloths can create a temporary enclosure that cuts down dust, overspray, and chaos. Pair it with a simple drying rack system and you will feel like you leveled up overnight.
This is the exact kind of setup I wish I had the first time I painted my own honey-oak kitchen. I was balancing doors on paint cans and praying my dog would not brush past them. Never again.
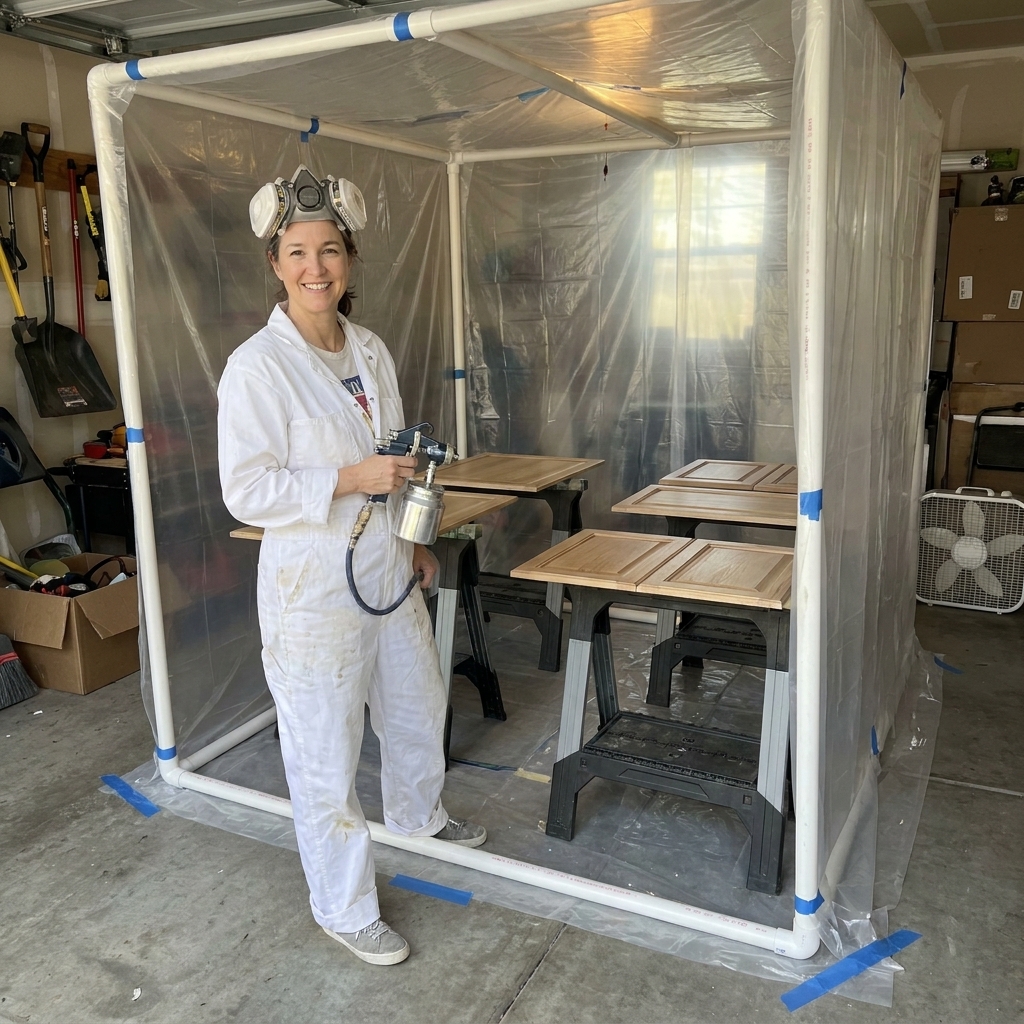
Why a booth and rack matter
- Less dust in your finish: Plastic walls block the constant garage lint and airborne grit.
- Better control of overspray: You keep paint mist off your tools, bikes, and everything else stored out there.
- Faster workflow: Spray, move the door to the rack, repeat. No searching for a clean place to set things down.
- Safer curing: Doors can dry without getting bumped, leaned at weird angles, or stuck to paper.
This is especially helpful for cabinet enamel and lacquer-style finishes, where tiny debris can show up like a spotlight once the paint levels.
Materials and cost
You can tailor sizing to your garage, but these materials work for most kitchens and keep things inexpensive.
Spray booth materials
- 1/2-inch or 3/4-inch PVC pipe (quantity depends on size)
- PVC elbows and T fittings (typically 8 to 12 total)
- Plastic drop cloths (clear is my favorite so you can see dust and wet overspray)
- Painter’s tape and/or clamps (spring clamps or binder clips work)
- Box fan (20-inch) or a cheap blower fan
- Furnace filter (20x20 works well) to tape to the fan or fan opening
- Optional: zipper door kit for plastic sheeting, or just overlap two plastic panels
Drying rack materials
- Two sturdy sawhorses or a folding table and 2x4s
- 1x2 or 2x2 strips (as crossbars) or spare PVC
- S-hooks, cup hooks, or wire for hanging (optional)
- Painter’s pyramids, screws in scrap boards, or simple door stands (optional)
- Optional: felt pads, painter’s tape, or cardboard to protect contact points
Budget note: If you already own a couple sawhorses, this whole setup is often cheaper than one batch of replacement cabinet doors. It is also reusable for future projects.
Pick a booth size
A booth only needs to be big enough for your workflow. I size it around the biggest door, plus room to move your sprayer without bumping plastic. Most cabinet doors land roughly 12 to 24 inches wide and 24 to 36 inches tall, so you do not need a hangar, but you do need elbow room.
- Small setup: about 4 ft x 6 ft footprint, 6 to 7 ft tall. Great for a few doors at a time.
- Medium setup: about 6 ft x 8 ft footprint. My favorite for most kitchens.
- Large setup: about 8 ft x 10 ft footprint if you want a true walk-in booth and room for shelves.
Tip: If your sprayer throws a lot of material (some airless setups do), give yourself more space and more airflow. If your garage is dusty, smaller can be better because it is easier for the fan to exchange air effectively.
Build the PVC frame
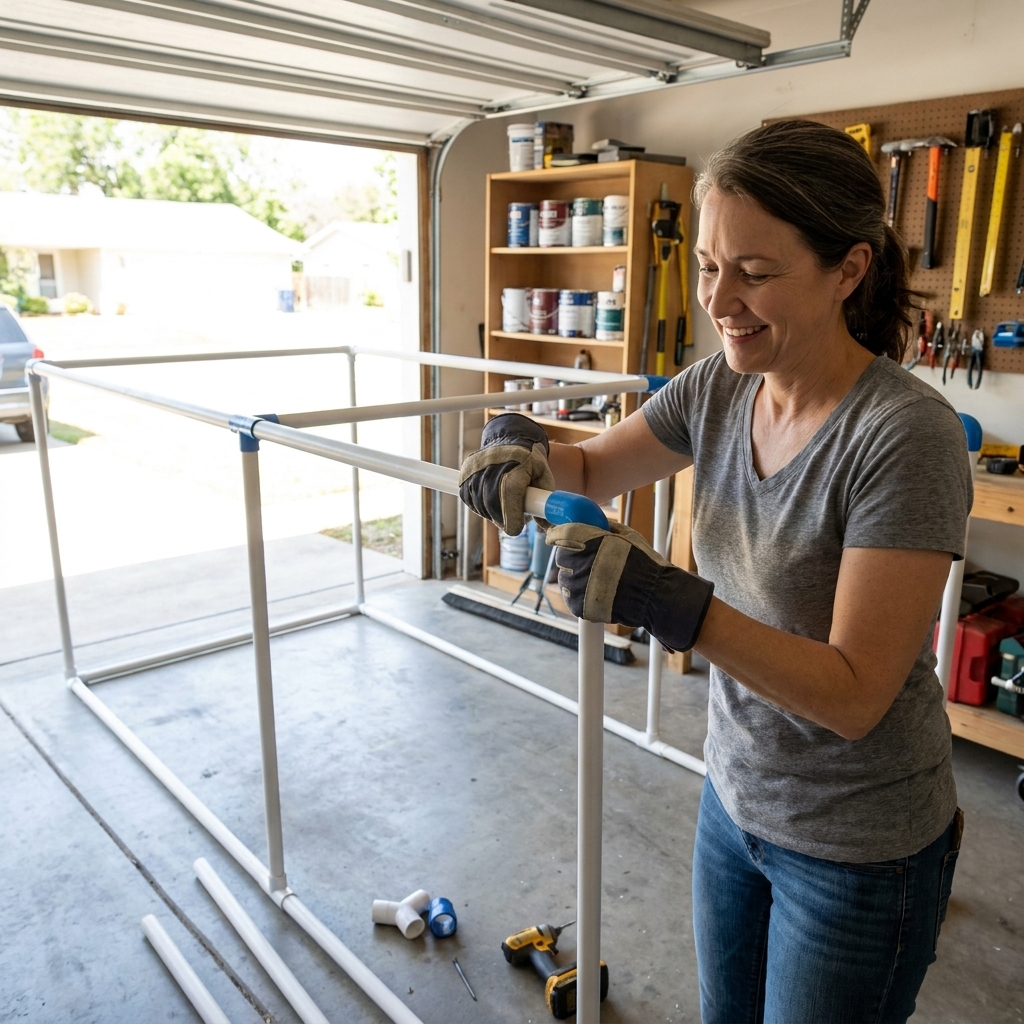
You are basically building a lightweight cube. I recommend dry-fitting first so you can tweak the size before committing.
Step 1: Dry-fit the base
- Lay out your rectangle footprint on the floor using PVC.
- Use 90-degree elbows at corners.
- Add a T fitting on one long side if you want a doorway opening framed in.
Step 2: Add uprights
- Cut four vertical PVC pieces for the corners.
- Press them into the base corners.
- If you want extra stability, add a vertical in the middle of the long sides using T fittings.
Step 3: Add the top rectangle
- Build a matching rectangle for the top.
- Connect it to the uprights.
Do you need PVC cement? For a temporary booth, I usually do not cement it. Friction-fit is fine if you keep it reasonable in size. If yours feels wobbly, cement only the top corners and keep the base removable, or add a couple of diagonal braces with extra PVC.
Hang the plastic
Walls
- Start with one long wall panel and let it drape to the floor.
- Overlap the next panel by at least 12 inches so air does not pull dust through seams.
- Clamp or tape the plastic to the PVC frame. I like clamps because they are easy to adjust.
Floor
Put down a separate plastic layer on the floor inside the booth. Tape it down so you do not trip. This catches overspray and makes cleanup fast.
Doorway
The simplest door is two overlapping plastic panels you can push through. If you want a cleaner seal, a zipper door kit is nice, but not required.
Add ventilation
Ventilation matters for two reasons: it clears overspray so you can see what you are doing, and it helps move fumes away from you. My budget setup uses a box fan plus a furnace filter, but you still need common sense about safety and product chemistry.
Important safety reality check
- Do not assume water-based means non-flammable. Some coatings and additives can still be combustible, and atomized overspray is never something to treat casually. Check your product label and SDS for ventilation requirements and flash point.
- Box fans are not explosion-proof. Avoid spraying solvent-based or unknown flammable coatings with a standard box fan setup. If the label calls for explosion-proof ventilation, believe it.
- Gas appliances are a big deal. Spraying near gas water heaters, furnaces, or any appliance with a pilot light or ignition source is risky and may be prohibited by your coating instructions. If you cannot fully separate your spray area from ignition sources, do not spray there.
Fan and filter setup (two common goals)
There are two things people use filters for: protecting the fan motor from paint mist, and reducing the mist you blow outside. You can do either, but filters clog fast, so plan to swap them.
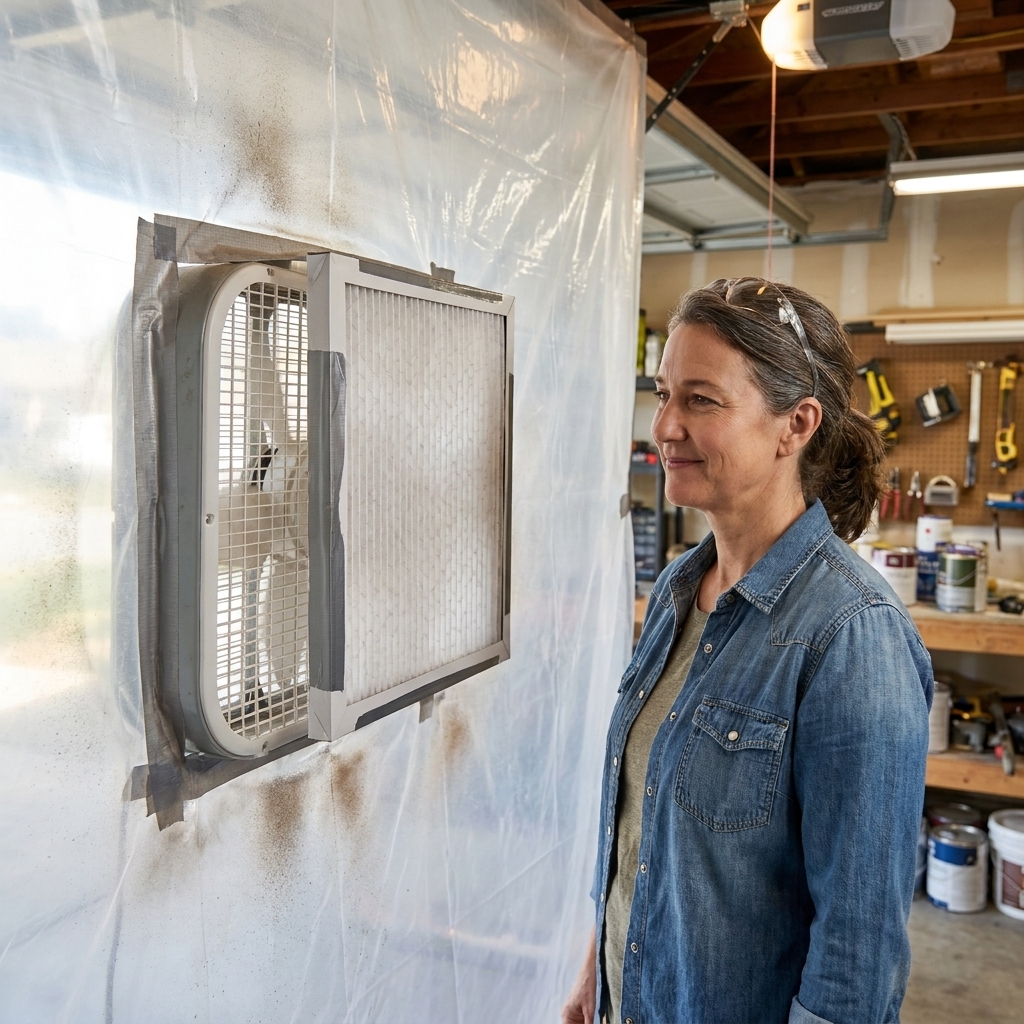
- Protect the fan: Tape a furnace filter to the intake side of the fan so the fan is pulling cleaner air through its motor housing.
- Reduce exhaust mist: Put the filter over the booth opening the fan is exhausting through (or on the fan’s intake if the fan is mounted in the opening). The goal is to catch overspray before it leaves the booth.
- Position the fan so it pulls air out of the booth, blowing toward an open garage door or a window that vents outdoors.
Makeup air (keep it controlled)
If you are exhausting air out, you need fresh air coming in. Crack the garage door on the opposite side of your booth, or leave a small filtered gap low on the front wall. This setup creates negative pressure, which helps keep overspray inside the booth, but it can also make plastic suck inward. Add extra clamps and keep your plastic taut so it does not flap into wet paint.
Where to exhaust
- Vent outdoors, not into the house.
- Be mindful of cars, neighbors, and anything you do not want coated in a fine mist.
- Do not aim exhaust toward ignition sources, including anything with a pilot light.
Quick note on plastic and static: Plastic sheeting can build static, especially in dry weather. With any coating, keep your area clean and grounded (literally and figuratively). With solvent spraying, static plus non-rated fans is one more reason I do not recommend a DIY box-fan booth.
Cheap drying rack
You have two solid options, and I have used both depending on space.
Option A: Sawhorse rack
This is my go-to because it is sturdy and easy to break down.
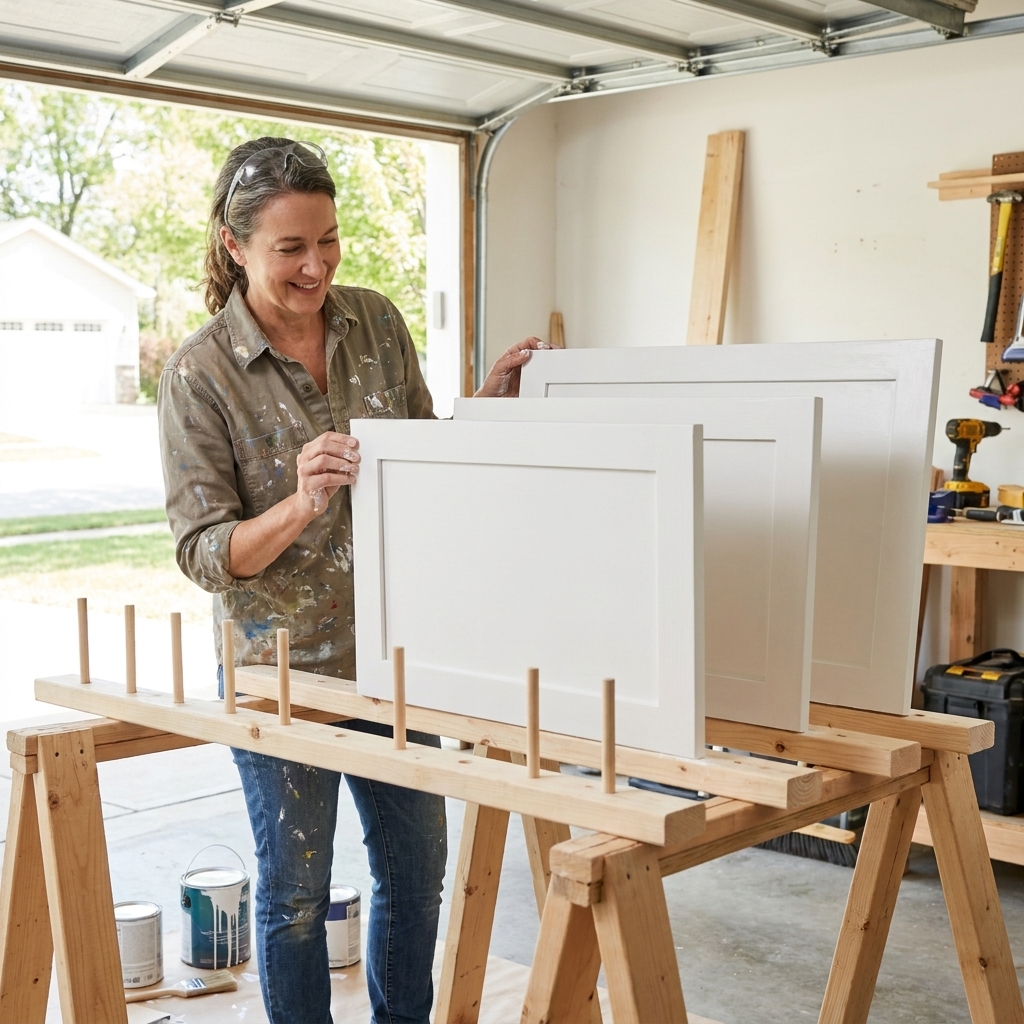
- Set two sawhorses about 4 to 6 feet apart.
- Lay 2x4s across them as rails.
- Screw short 1x2 strips perpendicular across the rails every 8 to 10 inches to create slots.
- Stand doors on their bottom edge in the slots.
Protect your doors: The bottom edge is a contact point. Add painter’s tape, thin cardboard, or felt where doors touch. Painter’s pyramids under corners can also reduce contact marks.
Why it works: The doors are upright so dust does not settle as heavily, and you can fit a lot in a small footprint.
Option B: Hanging rack
If you are spraying both sides in one session, hanging is hard to beat.
- Run a sturdy bar across two tall sawhorses (a 2x4, metal conduit, or a thick dowel).
- Use S-hooks or wire through hinge cup holes to hang doors.
- Space doors a few inches apart so they do not bump when they swing.
Tip: Hanging doors can spin when you spray. A light clip at the bottom to a small weight, or a gentle stabilizing hand, helps.
My workflow
- Blow off and tack: I do this just outside the booth to keep dust down inside.
- Spray inside the booth: Place the door on a stand or pyramids so you can hit edges cleanly.
- Flash time: Wait until the finish sets up enough to handle without sliding or stringing, and follow your product label. For many enamels, that is longer than a minute or two.
- Move to rack: Carry it by the hinge-side edges, not the face.
- Close the booth: Keeping the plastic mostly closed between doors helps a lot.
If you are doing multiple coats in a day, I like to keep a simple checklist on paper: door number, coat 1 front, coat 1 back, coat 2 front. It saves you from the classic “Wait, did I already do this one?” moment.
Dust control
- Mop the garage floor first: Sweeping kicks dust into the air. A damp mop or wet Swiffer is better.
- Mist the floor lightly: A spray bottle of water on the concrete outside the booth can help keep dust down, but keep it light. Wet floors are slippery, and water plus extension cords is a bad combo.
- Change your clothes: Fuzzy hoodies shed. I keep an old smooth sweatshirt just for paint days.
- Let the air settle: If you just dragged boxes around, wait 15 minutes before spraying.
- Keep pets and people out: One quick walk-through can undo your prep.
Safety basics
- Respirator: Use a NIOSH-approved respirator appropriate for your coating, not just a dust mask.
- Eye protection: Overspray finds your eyeballs fast.
- Gloves: Nitrile gloves keep oils off your doors and paint off your hands.
- Ignition sources: Do not spray near pilot lights, sparks, or heaters. If you have gas appliances in the garage, take this seriously and follow your coating label and SDS.
- Extension cords: Keep cords out of walk paths and away from damp areas. Secure them so you cannot snag them while carrying a wet door.
When in doubt, follow the coating manufacturer’s ventilation and safety guidance. If you are spraying anything solvent-heavy or flammable, consider professional-grade ventilation or a different location.
Tear-down and storage
The best part of a PVC booth is that it can disappear when you are done.
- Let overspray dry on the plastic, then fold it inward to contain flakes.
- Wipe PVC with a damp rag if it got dusty or tacky.
- Store pipes by length bundled with painter’s tape, and keep fittings in a labeled bin.
I re-use my PVC frame again and again. I usually replace the plastic each project, but if it is still clean and not too fogged with paint mist, you can save it.
Troubleshooting
The plastic sucks inward when the fan is on
You need more makeup air. Add a low gap on the opposite side of the booth (ideally controlled or filtered), or open the front doorway slightly more. Adding a couple more clamps to keep plastic taut also helps.
I still get dust nibs
Check your process: tack cloth right before spraying, avoid sweeping, and keep doors upright while drying. Also look at your rags, drop cloths, and clothing. They can be the culprit.
My doors feel tacky forever
Humidity and cold garages slow curing. Add gentle heat outside the booth area (never blasting directly at wet paint), and increase airflow. Make sure you are not spraying coats too heavy.
Overspray builds up in the booth
Swap the furnace filter. A clogged filter reduces airflow and makes the booth hazy.
Example cut list
If you want a quick starting point, here is a simple cut list for a 6 ft x 8 ft x 7 ft booth. Adjust for your space, and remember you can dry-fit and trim.
- 8 pieces at 6 ft (front and back width on base and top)
- 8 pieces at 8 ft (side length on base and top)
- 4 pieces at 7 ft (uprights)
That gets you a basic rectangle base, rectangle top, and four corners. If you add a doorway frame or mid-span braces, you will need a few extra pieces and T fittings.
Quick shopping list
- PVC pipe and fittings (size your booth first)
- Clear plastic drop cloths
- Painter’s tape and spring clamps
- 20-inch box fan
- 20x20 furnace filters
- Two sawhorses and a couple 2x4s
- Optional: S-hooks or wire for hanging
Once you have this setup, your cabinet painting days get calmer. Clean spray space, predictable drying, fewer ruined doors. All on a tight budget, which is kind of my favorite way to do anything in a kitchen.