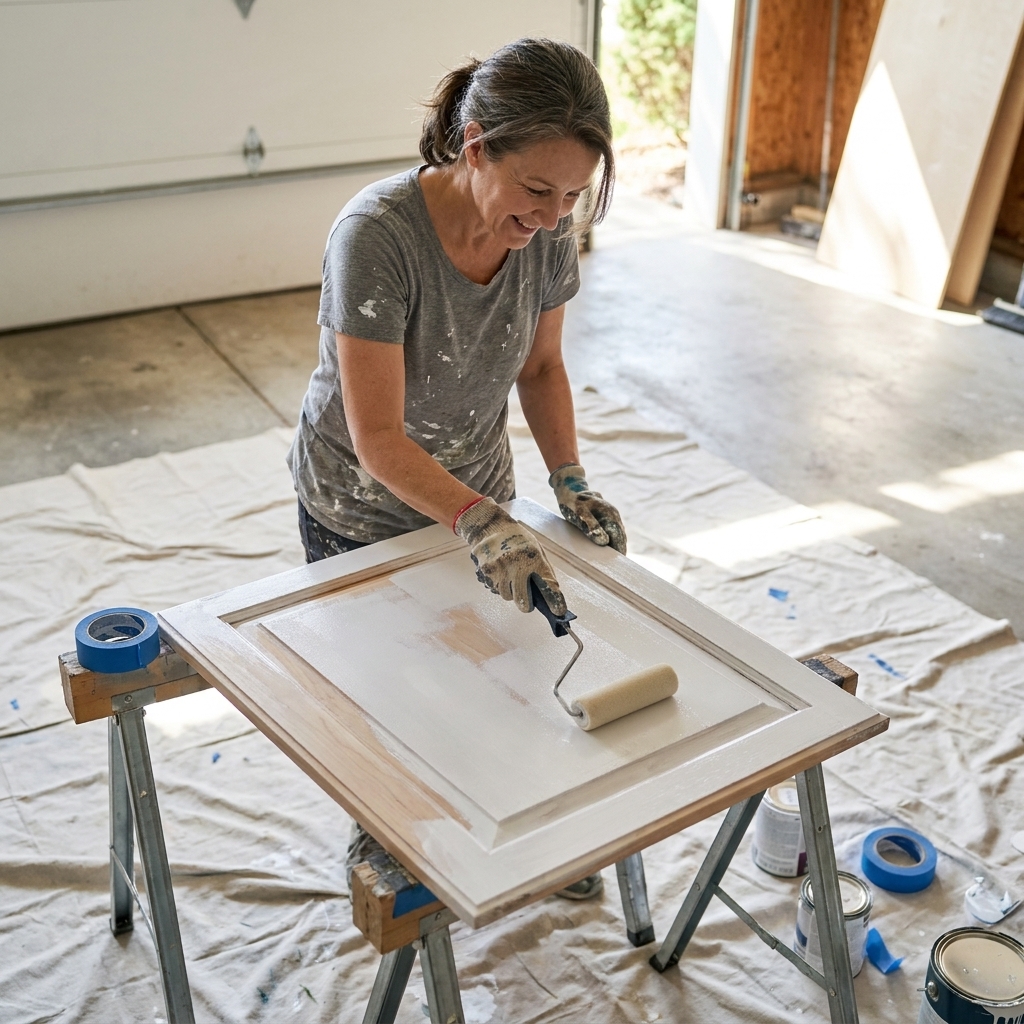
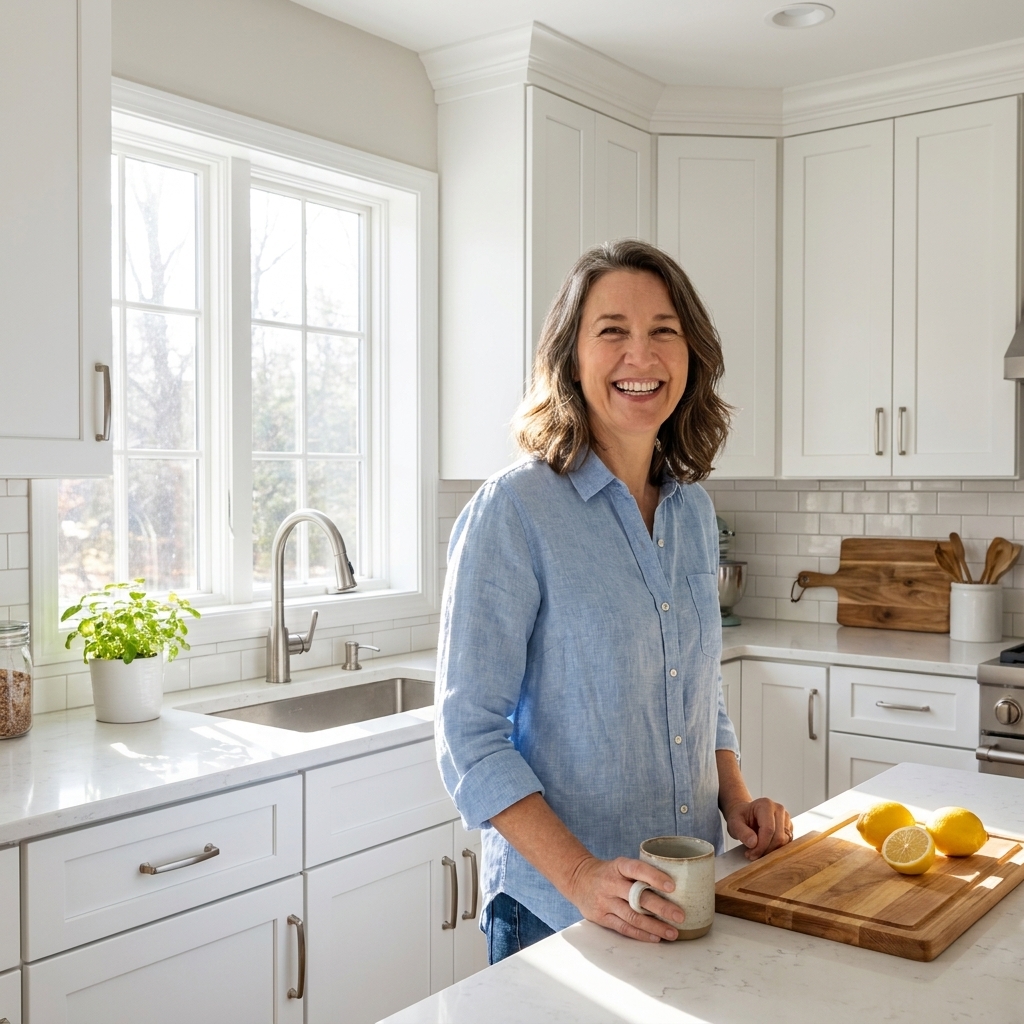
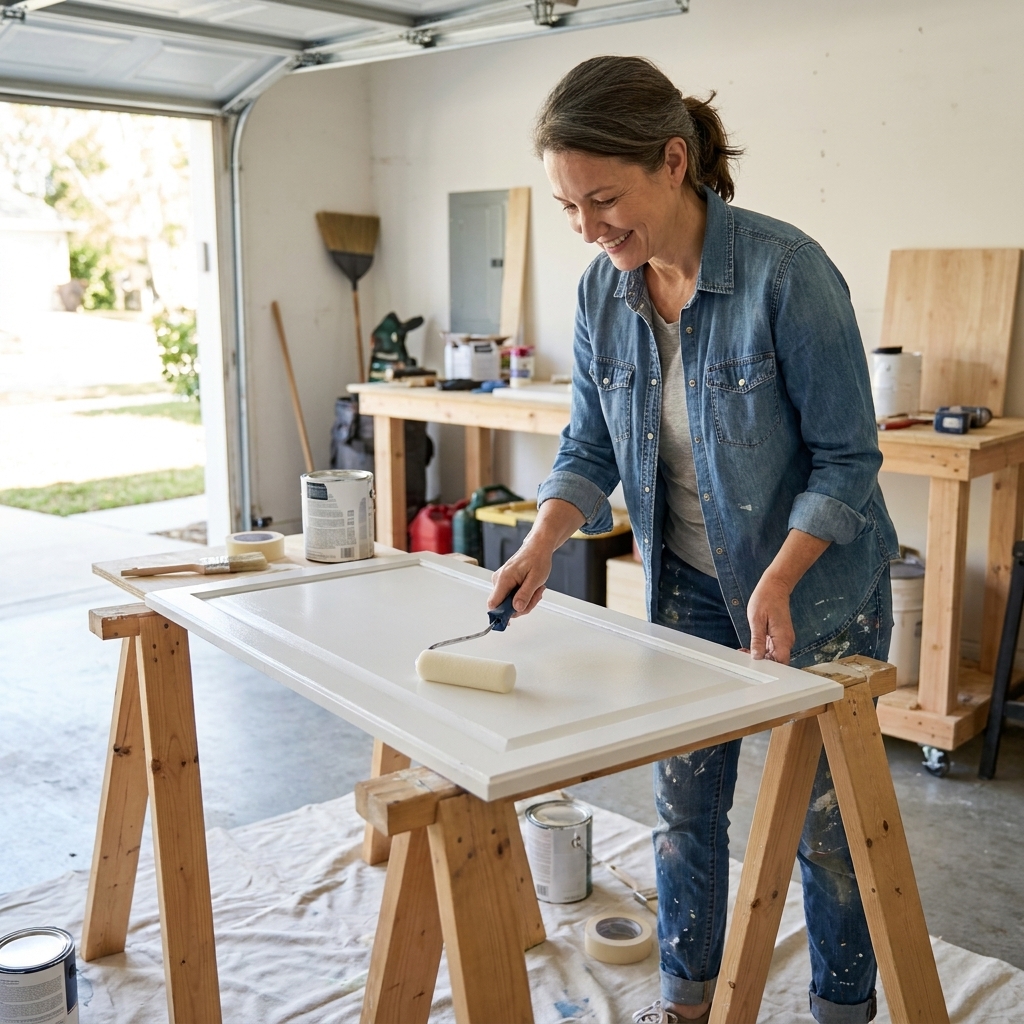
If you have solid cabinets that are just dated (hello, honey oak), you do not need a full remodel to get a fresh, modern kitchen. You need a smart shopping list.
Here is the $150-ish cabinet refinishing kit I recommend when you want a durable painted finish without buying a bunch of nice-to-have stuff you will never use again. Prices vary a lot by region and brand. At big-box stores, many kitchens can land around $150 to $250 depending on what paint you choose.
One quick reality check: door count and whether you paint both sides is the real driver of how much primer and paint you need.
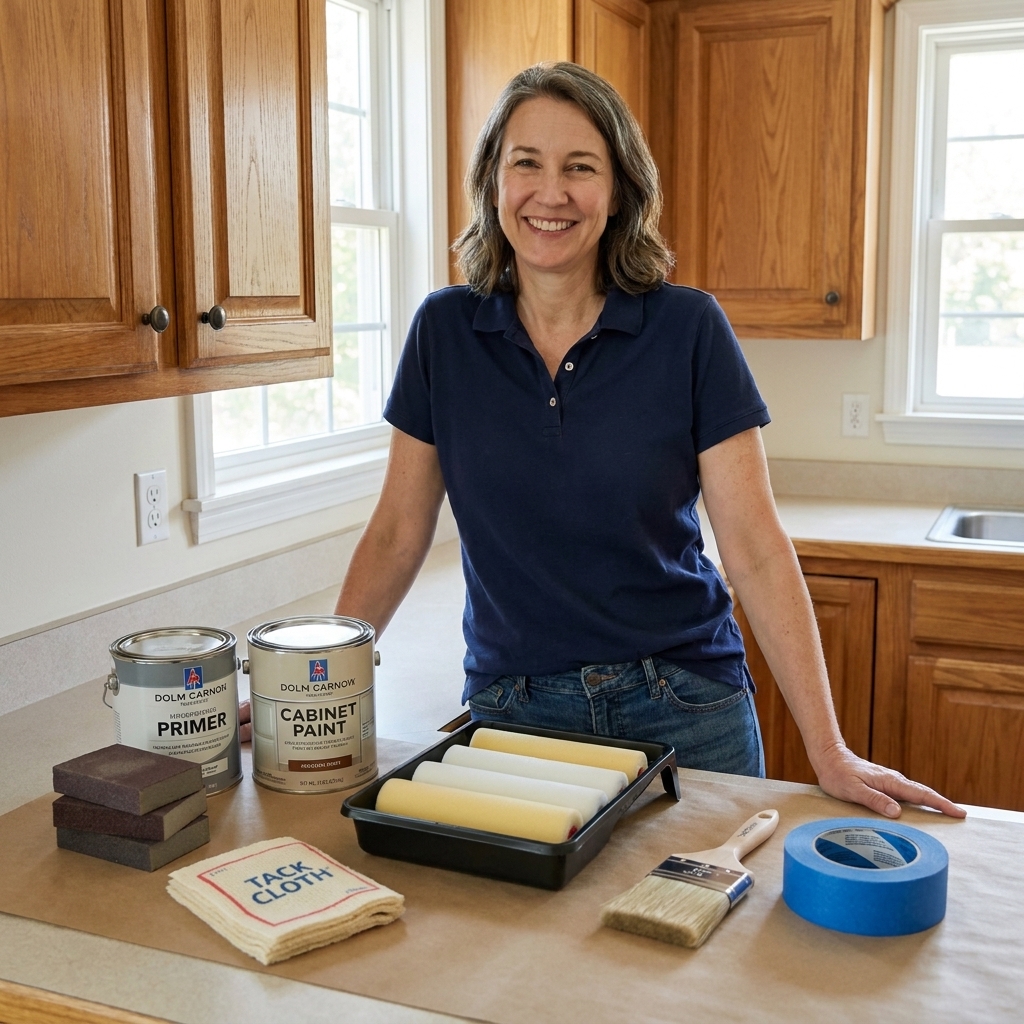
The $150 shopping list
These are the core items that get you from greasy cabinet doors to a smooth, washable finish. I am listing what to buy, the approximate price range, and quick notes so you can make good substitutions based on what your hardware store actually stocks.
1) Cleaner and degreaser ($8 to $15)
- Buy: Krud Kutter Original Cleaner Degreaser or a TSP substitute.
- Why: Paint sticks to clean cabinets, not to cooking oil and hand grime. This is non-negotiable.
- Tip: Grab a cheap spray bottle if your cleaner is concentrate.
2) Scuff sanding kit ($12 to $20)
- Buy: Sandpaper or sanding sponges in 150 to 180 grit and 220 grit.
- When to go coarser: If your finish is especially glossy or beat up, you can drop to 120 grit, but do not cut through veneer on plywood doors.
- My pick: Sanding sponges for profiles and edges plus a small pack of sheets for flat door faces.
- How much: 4 to 6 sanding sponges and 6 to 10 sheets usually covers a kitchen.
3) Dust removal ($4 to $10)
- Buy: Tack cloth or microfiber cloths.
- Why: Leftover sanding dust is a top cause of gritty paint.
- Budget swap: Vacuum with a brush attachment, then wipe with a barely damp microfiber, then let dry.
4) Bonding primer ($18 to $45)
- Buy: 1 gallon of a bonding primer (look for one rated for cabinets and slick surfaces).
- Common choices: Zinsser Bulls Eye 1-2-3, KILZ Adhesion, or an equivalent bonding primer your store recommends.
- Important exception: If your cabinets are thermofoil, laminate, or a very slick factory finish, confirm the primer is compatible. Some situations call for a shellac-based or specialty adhesion primer, and some cabinet types simply do not paint well without serious prep.
- Why: Primer is your insurance policy against peeling.
- How much: 1 gallon is usually right for frames and doors in an average kitchen. If you are painting both sides of every door and drawer front, or you have a lot of cabinetry, you may need 2.
5) Cabinet paint or enamel ($40 to $90)
- Buy: 1 gallon of a durable cabinet and trim paint or an interior enamel in satin or semi-gloss.
- Finish tip: Satin hides flaws better. Semi-gloss is tougher and wipes clean easily, but it can highlight brush marks if you rush.
- How much: 1 gallon often covers a typical kitchen with 2 coats, but it depends heavily on door count, color change, surface texture (oak grain drinks paint), and whether you paint both sides and the boxes.
6) Rollers and tray setup ($10 to $18)
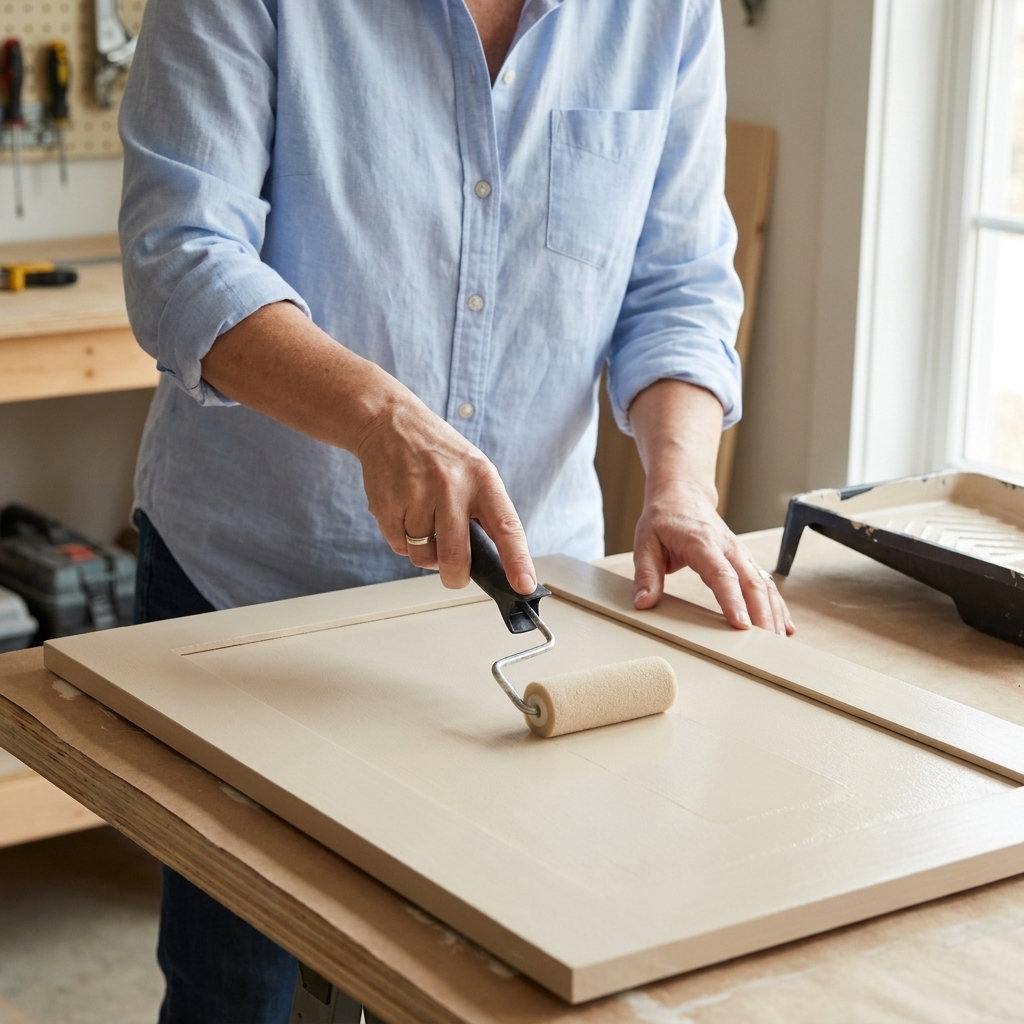
- Buy: A small roller frame, 2 to 4 mini roller covers, and a paint tray or tray liners.
- Roller nap: 1/4 inch microfiber or a high-density foam roller made for smooth surfaces.
- Why: The right mini roller gets you that smoother, sprayed-look finish without owning a sprayer.
7) One great angled brush ($10 to $18)
- Buy: A 2 inch angled sash brush (nylon or nylon-poly blend).
- Why: You need crisp cut-ins along inside corners, hinge areas, and frame details where a roller cannot reach.
- Worth it: This is one of the few items where spending a little more shows up in the finish.
8) Painter’s tape ($6 to $10)
- Buy: 1 roll of quality painter’s tape.
- Where to use: Along walls and edges you want protected, plus labeling doors if you are super organized.
- Real talk: Tape is helpful, but careful brushing is better. Do not rely on tape to fix sloppy lines.
9) Wood filler + putty knife ($8 to $15)
- Buy: Paintable wood filler (small tub) and a 2 to 3 inch flexible putty knife.
- Why: This is how you erase dings and, if needed, fill old hardware holes when you change pulls.
- Note: If you are switching from knobs to pulls with different hole spacing, you may need a second small tub.
10) Caulk (optional but high impact) ($4 to $8)
- Buy: Paintable acrylic latex caulk.
- Where it helps: Small gaps where cabinet frames meet walls, and tiny seams that collect grime.
- Rule: If it will get wet constantly (near sink splash zones), pick a kitchen and bath rated paintable caulk.
11) Cheap but essential add-ons ($10 to $25)
- Drop cloth or rosin paper
- Disposable gloves
- Stir sticks and a paint can opener
- A pack of fine sanding pads for between coats (220 grit)
12) Safety basics (do not skip) ($10 to $35)
- Dust mask or respirator: Especially for sanding and stronger primers.
- Eye protection: Sanding and splatter are not worth the risk.
- Ventilation: Open windows, use a fan, and follow label guidance.
Total target: Often $150 to $250 depending on paint choice and local pricing. If you already own a brush, tray, or drop cloth, getting close to $150 is very realistic. If you choose premium cabinet enamel, plan on the higher end.
Optional upgrades
If you want the biggest visual jump for the least extra effort, these optional items are the usual winners.
Grain smoothing for oak (optional) ($12 to $25)
- What to know: Painted oak can still show grain. Some people love that. Some people do not.
- If you want smoother: Add grain filler or plan on an extra prime, sand, and paint cycle to reduce telegraphing.
Deglosser (optional) ($10 to $20)
- When it helps: Detailed profiles, tight corners, and spots where sanding is impractical.
- Still clean first: Deglosser is not a grease remover.
What you can skip
I love a good tool, but budget cabinet upgrades work because we keep it simple.
- You can skip a sprayer. A mini microfiber roller plus a good brush is plenty for most DIY kitchens.
- You can skip specialty cabinet kits. They can be fine, but you often overpay for small quantities and redundant steps.
- You can skip new hinges. Clean the old ones or replace only if they are bent, rusty, or the doors sag.
- You can usually skip a separate topcoat. Most cabinet and trim enamels are designed to be the final finish.
Where to spend more
If you only upgrade a few items, make it these. They directly affect durability and how smooth your cabinets look up close.
- Bonding primer: Choose one that is truly designed to grab glossy finishes.
- Paint: Pick a cabinet and trim enamel or high-quality interior enamel. This is what you will touch and wipe for years.
- Brush: A quality angled brush reduces visible strokes, especially on face frames.
- Roller covers: Cheap fuzzy rollers leave texture and lint that you cannot unsee once it dries.
Quantities that work
If you are standing in the aisle wondering how much to grab, here is a practical starting point. Adjust based on door count and whether you paint both sides.
- Primer: 1 gallon for most kitchens. 2 gallons for large kitchens, painting both sides of doors, or tricky surfaces that need extra coats.
- Paint: 1 gallon for 2 coats on frames, doors, and drawer fronts in many average kitchens. 2 gallons if you are painting inside cabinet boxes too, doing both sides of everything, or covering deep color changes.
- Mini roller covers: 3 to 4 (primer can ruin one, paint uses at least one, backups save sanity).
- Sanding: 150 to 180 grit for initial scuff, 220 grit for smoothing after primer and between coats.
- Wood filler: One small tub for touch-ups. Two if you are filling lots of old hardware holes.
Weekend game plan
Shopping is easier when you can picture the order of operations. Here is the simple flow I use on real kitchens. Check the label for dry times and recoat windows, and remember humidity and cold garages slow everything down.
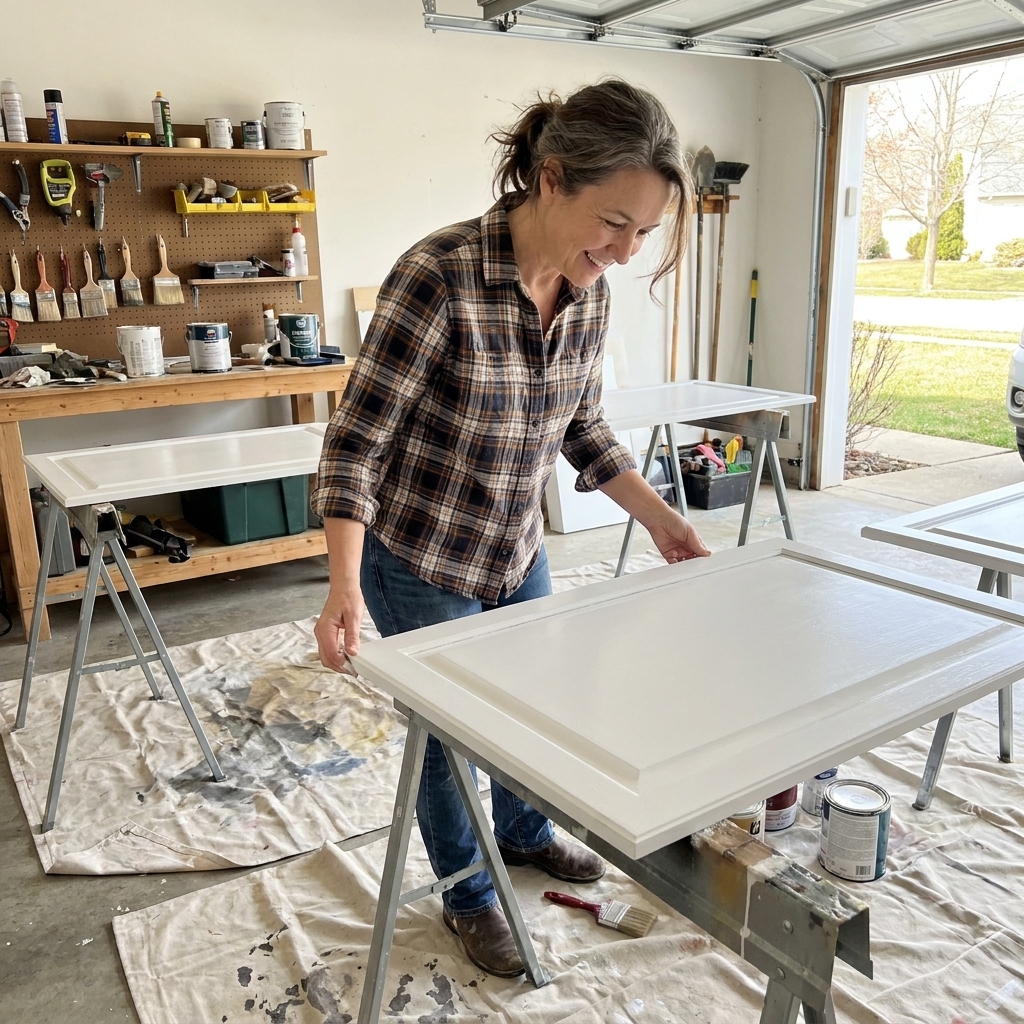
- Day 1 morning: Remove doors, drawers, knobs, and pulls. Bag and label screws and hinges. Clean everything thoroughly.
- Day 1 afternoon: Scuff sand, remove dust, fill dents and old hardware holes, then sand filler smooth.
- Day 1 evening: Prime doors, drawer fronts, and frames. Let dry fully (overnight is your friend).
- Day 2 morning: Light sand (220), remove dust, apply first coat of paint.
- Day 2 later: Second coat if your paint system allows same-day recoats. If not, do it the next day.
- After painting: Let doors cure before heavy use. Gentle use is usually fine sooner, but treat fresh paint kindly for the first week or two. Full cure can take longer, so avoid scrubbing hard right away.
Budget breakdown
| Item | Target price | Notes |
|---|---|---|
| Degreaser | $8 to $15 | Do not skip |
| Sandpaper and sanding sponges | $12 to $20 | 150 to 180 and 220 grit |
| Tack cloth or microfiber | $4 to $10 | Dust control helps smoothness |
| Bonding primer (1 gal) | $18 to $45 | Key to adhesion |
| Cabinet paint or enamel (1 gal) | $40 to $90 | Biggest variable by brand |
| Mini rollers + tray | $10 to $18 | 1/4 inch microfiber or foam |
| Angled brush | $10 to $18 | Worth upgrading |
| Painter’s tape | $6 to $10 | One roll usually enough |
| Wood filler + putty knife | $8 to $15 | For dents and hardware changes |
| Caulk (optional) | $4 to $8 | High impact for gaps |
| Drop cloth, gloves, misc. | $10 to $25 | Little things add up |
| Safety basics | $10 to $35 | Mask, eye protection, airflow |
Quick FAQ
Do I have to sand cabinets before painting?
You do not have to sand them down to bare wood, but you should scuff sand. Think of it as giving primer something to grip. Clean first, then a quick 150 to 180 grit scuff, then dust removal. Go lighter on thin veneers and detailed profiles.
Do I need a topcoat over cabinet paint?
Usually no. Most cabinet and trim enamels are designed to be the final finish. A separate clear coat can cause compatibility issues. If you do want a clear for a specific reason, stay within the same paint system (same brand line when possible) and test first.
Foam roller or microfiber roller for cabinets?
Both can work. Foam can look very smooth but can also leave tiny bubbles if you overwork it. A 1/4 inch microfiber mini roller is my go-to for consistent results on doors and frames.
Can I hit $150 if I also need new hardware?
Maybe, but hardware is its own budget line. My thrifty move is to paint first, then shop pulls after you see the new color. You might find you can reuse what you have, or score great pulls at salvage shops.
What causes peeling?
Skipping cleaning, rushing dry times, or using the wrong primer on a slick factory finish. Clean carefully, scuff sand, and use a true bonding primer. Those three steps solve most problems.
Can I paint thermofoil or laminate cabinets?
Sometimes, but treat it like a special case. Some surfaces are not paint-friendly without specialty prep and the right primer. If you are not sure what you have, test your prep and paint system on the back of one door before you commit.
Checkout checklist
If you want to screenshot one list before you head into the store, make it this:
- Degreaser (Krud Kutter or TSP substitute)
- Sandpaper or sanding sponges: 150 to 180 and 220 grit
- Tack cloth or microfiber cloths
- Bonding primer (start with 1 gallon)
- Cabinet paint or trim enamel (start with 1 gallon)
- Mini roller frame + 1/4 inch microfiber or foam mini rollers
- Paint tray or tray liners
- 2 inch angled sash brush
- Painter’s tape
- Wood filler + flexible putty knife
- Optional: paintable caulk
- Optional: grain filler (if painting oak and you want smoother)
- Drop cloth or rosin paper + gloves
- Dust mask or respirator + eye protection