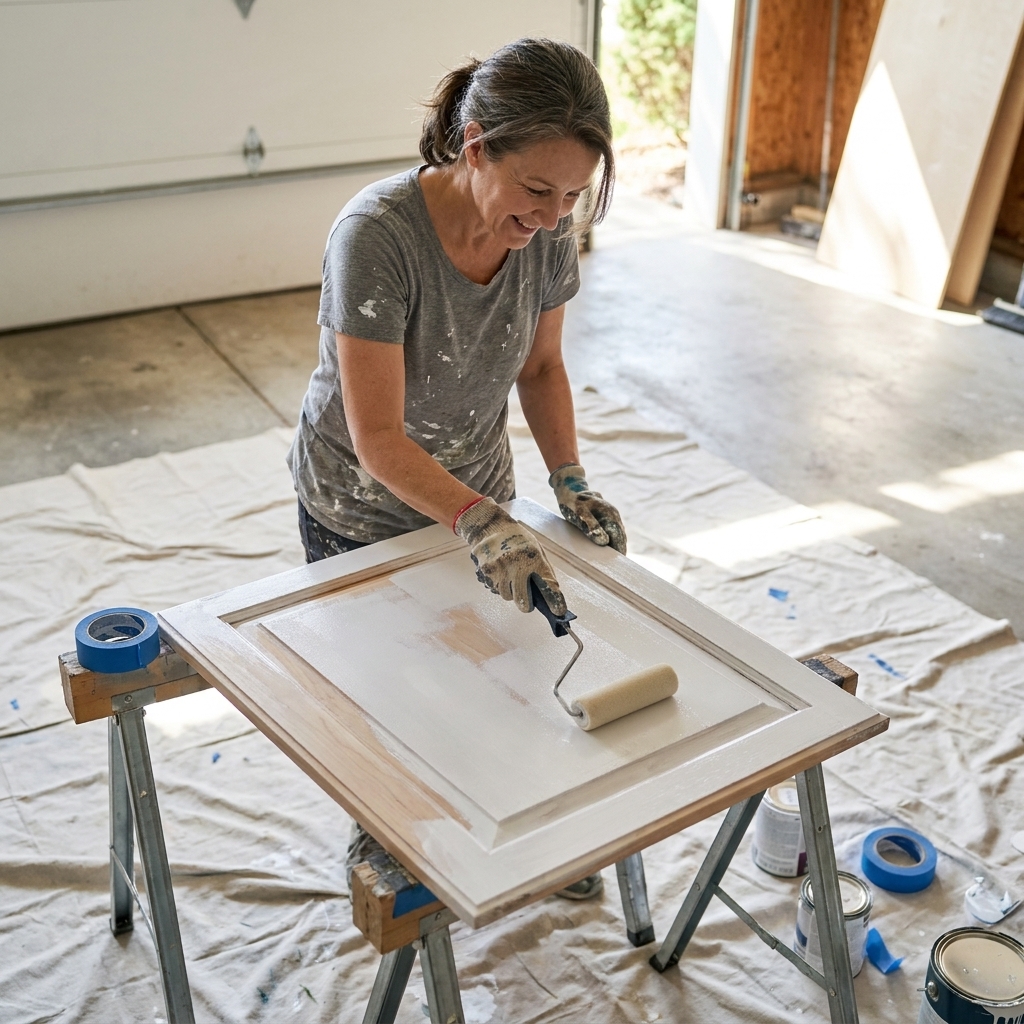
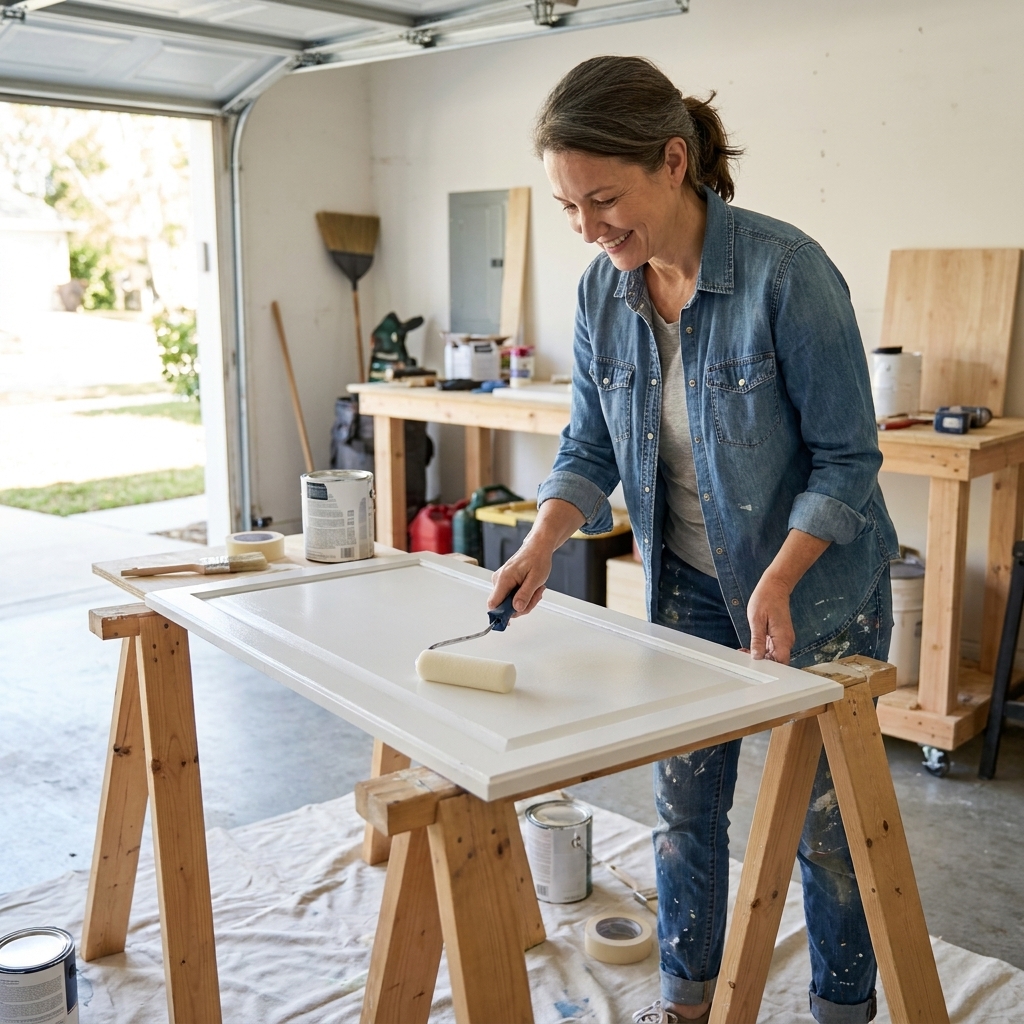
If you have flat panel cabinet doors that feel a little plain, adding trim is one of my favorite budget upgrades. You get that clean, classic Shaker-style vibe without ordering all new doors. The best part is that it pairs perfectly with a cabinet paint refresh because the trim gives your new color instant “custom kitchen” polish.
This is the exact kind of project I wish I knew about when I was staring down my old honey-oak kitchen with a tiny budget and big dreams. We are going to keep it simple: add a square frame to each door, prep it correctly, and paint it so it looks like it came that way from the factory.
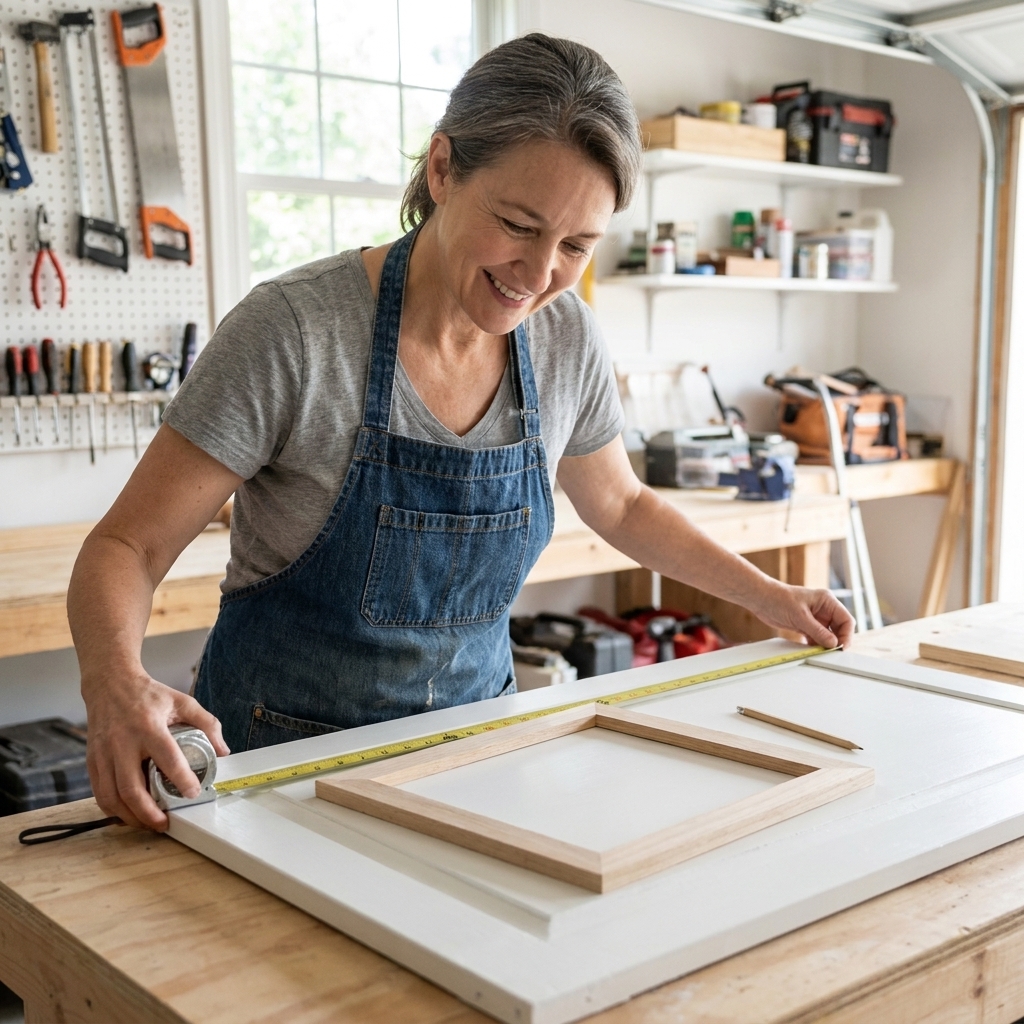
Before you start: is your door a good candidate?
This method works best on:
- True flat slab doors (one flat face, no raised profile).
- Painted or paintable surfaces (wood, MDF, or laminate that can be properly primed).
- Doors that are still structurally solid (no swelling, delamination, or crumbling corners).
Be cautious if:
- Your doors are thermofoil (vinyl-wrapped) and already peeling at edges. You can sometimes paint thermofoil, but adhesion is not as reliable long-term as paint on wood or MDF. Adding trim can also increase the chance of failure if the foil releases. If it is actively lifting, fix that first or replace the door.
- Your doors are very thin (some budget slabs are). Adding trim adds weight and thickness. It is often fine, but hinge clearance and tight gaps matter, so test first.
Materials and tools (budget-friendly list)
Trim options
- Square lattice molding (often 1/4 inch thick, 1 to 1 1/2 inches wide). This is my go-to for beginner-friendly Shaker-style trim.
- Screen molding (similar thickness, sometimes slightly narrower).
- 1/4 inch MDF trim strips (super smooth for paint, great if your doors are MDF).
Supplies
- Wood glue: Water-resistant PVA (Type II) is ideal for kitchens. Regular interior wood glue can work, but Type II is a safer upgrade for humidity and wipe-downs.
- 18-gauge brad nails or painter’s tape and clamps
- Wood filler (paintable)
- Sandpaper: 120, 180, and 220 grit
- Caulk: paintable acrylic latex (optional but gives the most seamless look)
- Primer: bonding primer (critical if doors are slick or previously finished)
- Cabinet paint (enamel or cabinet-specific paint)
Tools
- Miter saw (best) or miter box and hand saw (works, just slower)
- Tape measure and pencil
- Speed square or combination square (helps keep things perfectly square)
- Brad nailer (optional but very helpful)
- Sanding block or orbital sander

Step 1: Plan your frame size
The “Shaker-style look” here is a simple frame inset from the door edge. There is no single right measurement, but here are two easy ways to choose:
Option A: Classic and balanced
- Trim width: 1 1/4 to 1 1/2 inches
- Inset from door edge: 2 to 2 1/2 inches
Option B: Slim and modern
- Trim width: 3/4 to 1 inch
- Inset from door edge: 1 1/2 to 2 inches
My real-life tip: Cut two short scrap pieces and tape them onto one door to preview the look from a few feet back. It is amazing how different it feels once it is on the door.
Quick proportion check: On smaller doors or narrow drawer fronts, a huge inset can make the center “panel” look tiny. If a door is petite, scale the inset down a bit so the proportions still feel intentional.
Step 2: Check hinge and door clearance
Before you commit to trimming every door, do a quick clearance check:
- Overlay doors: Adding 1/4 inch trim to the front often does not affect how the door closes, but it can change reveals if your gaps are already tight. Test, especially near corner cabinets and where doors meet.
- Inset doors: Be extra careful. Inset installs are less forgiving. You may need slimmer trim, and you may need to adjust hinges after.
- Hidden hinges: Open the door and look at where the hinge arm swings. Your trim frame should not extend into a spot where it bumps hardware.
If you are unsure, trim and install one test door first. It is the best insurance policy.
Step 3: Remove doors and prep
Yes, you can do this with doors still hanging, but you will get straighter trim and cleaner paint if you take them down.
- Label everything. Put a piece of painter’s tape inside each door and write its location, like “Upper Left of Sink.” Label hinges too if you want a stress-free reinstall.
- Clean thoroughly. Degrease with a kitchen-safe degreaser or a diluted detergent solution. Rinse and let dry.
- Scuff sand. You are not trying to remove the finish, just dull it so the glue and primer can grip. Use 120 to 180 grit.
- Remove dust. Vacuum, then wipe with a damp microfiber cloth. Let dry.
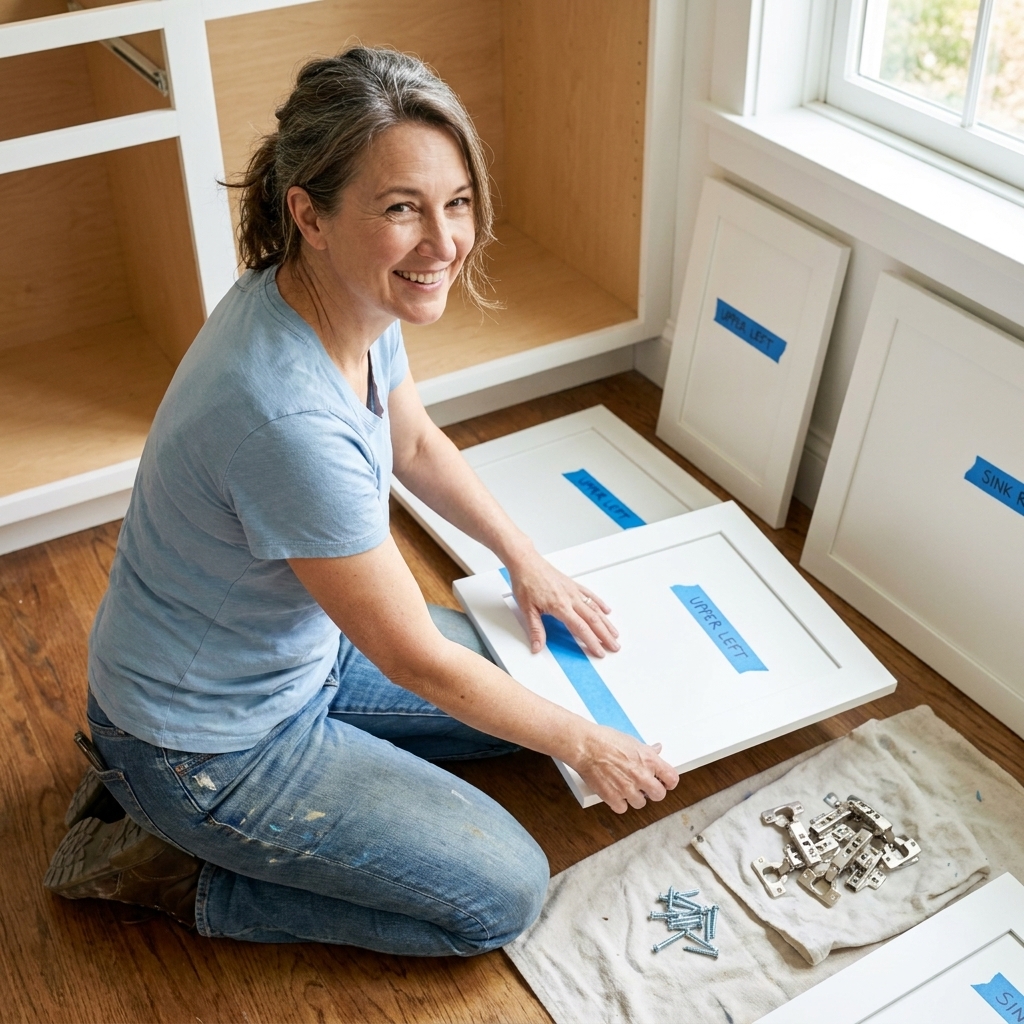
Step 4: Measure and cut trim
For clean corners, consistency matters more than speed. Here is my favorite approach for beginners.
Safety first
Wear eye protection, keep hands well clear of blades and nailers, and secure skinny trim before cutting. A clamp or stop block makes small pieces much safer and more accurate.
Choose your corner style
- Mitered corners (45 degrees): Looks most like many frame-and-panel cabinet doors sold as “Shaker style” today. A little less forgiving than square cuts, but totally doable.
- Butt joints (square cuts): Easiest and still looks great, especially in modern kitchens. If miter cuts make you nervous, do butt joints and call it done.
How to measure
- Decide your inset (example: 2 inches from the door edge).
- Lightly mark that inset on all four sides using a square.
- Measure the distance between your lines for each side. Do not assume all doors are identical.
Pro sanity tip: Cut one full frame for one door and dry-fit it with painter’s tape before cutting trim for the whole kitchen.

Step 5: Attach the trim flat
The goal is full contact between trim and door with no gaps and no bowing.
My favorite method: glue + brad nails
- Apply a thin, even bead of wood glue to the back of the trim piece. You want coverage, not squeeze-out everywhere.
- Line up to your pencil marks and press in place.
- Pin with brad nails (18 gauge). Place nails near the corners and add one at the midpoint on longer sides to prevent lifting or bowing.
- Wipe glue squeeze-out immediately with a damp cloth.
No nailer? Use tape and clamps
You can absolutely do this without a nail gun.
- Glue the trim.
- Use painter’s tape stretched tightly across the trim to hold it down.
- If you have clamps, add them at corners and midpoints.
- Let it cure for the full time listed on your glue bottle before moving the door.
Important: Weight helps. If you have something flat and heavy (like a few books wrapped in plastic), you can gently weight the trim while it cures so nothing lifts.

Step 6: Fill, sand, and caulk
This is the part that makes DIY trim look like it is part of the door.
- Fill nail holes with wood filler. Let dry fully.
- Sand the trim lightly with 180, then 220 grit. Focus on smoothing filled spots and easing any sharp edges.
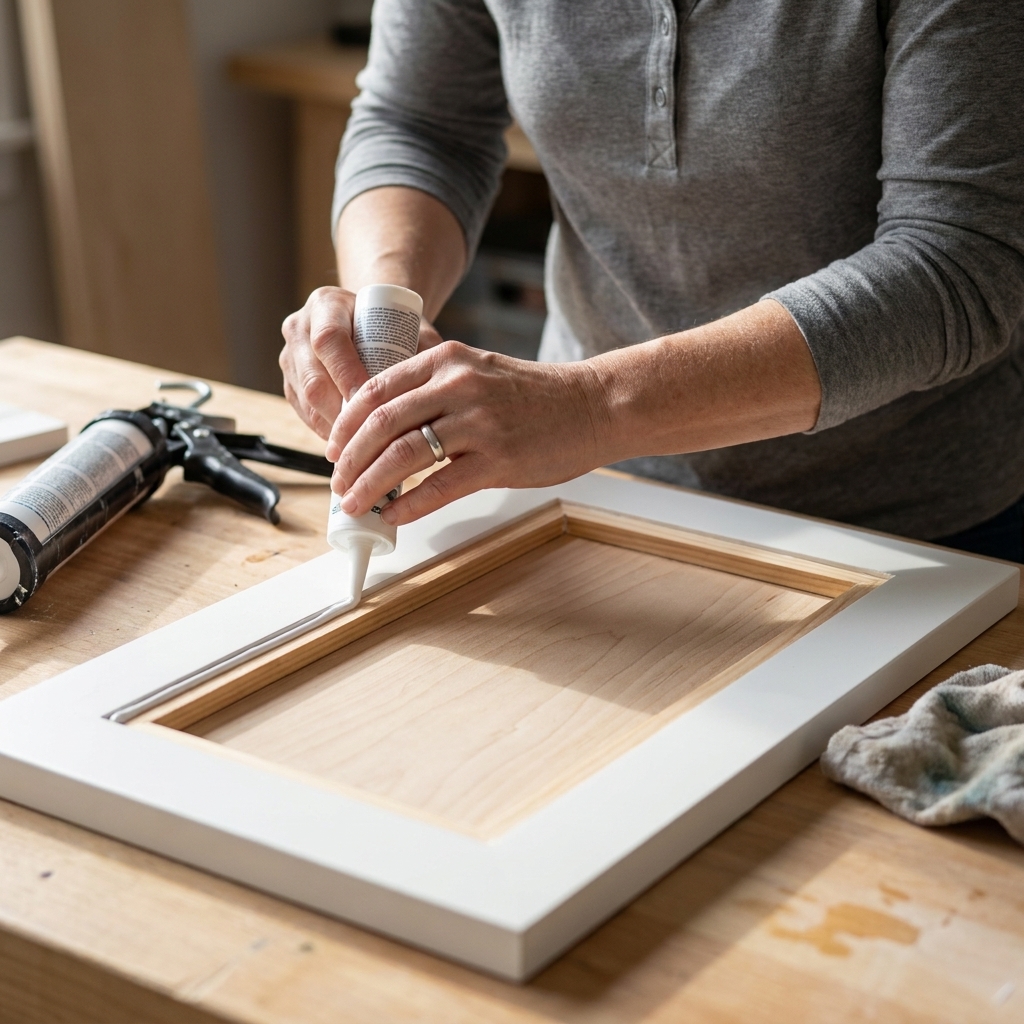
- Optional but worth it: Run a very thin bead of paintable acrylic latex caulk along the inside and outside edges of the trim where it meets the door. Smooth with a damp finger or a caulk tool. Avoid silicone caulk here because paint does not bond well to it.
My rule: If you can catch a fingernail on an edge or a gap, paint will highlight it. Fix it now and your final finish will look ten times more expensive.
Step 7: Prime properly
Trim plus old cabinet finishes can be a tricky combo. Primer is what keeps your hard work from peeling or chipping.
What primer should you use?
- Previously stained or varnished wood: A bonding primer is a must.
- MDF doors or MDF trim: Use a primer that seals MDF well. MDF loves to fuzz and drink up moisture at cut ends if it is not sealed.
- Laminate or slick factory finishes: Use a bonding primer and do not skip scuff sanding.
Do not skip the cut ends: If you cut MDF trim, prime those raw edges thoroughly (often two passes) so they do not swell or get fuzzy later.
Roll or spray primer in thin coats. Let it dry, then lightly sand with 220 grit to knock down texture. Wipe clean.
Step 8: Paint smooth
Once your primer is smooth, paint is the fun part. A few tips that make a big difference on trim-built doors:
- Use thin coats. Trim edges love to collect drips. A light hand wins.
- Watch the inner corners. Paint likes to puddle where the trim meets the door. Brush it out, then roll lightly.
- Lightly sand between coats if needed. If you feel grit or raised nibs after the first coat dries, a quick, gentle sand with 220 grit (then a wipe-down) helps the next coat level out.
If you are using a foam roller, roll the flat areas first and then lightly roll over the trim to even out texture. If you are spraying, do a light pass around the trim edges first, then fill in the center.
Let doors cure before rehanging. Dry is not the same as cured. Follow the paint label for cure time, which is often several days and sometimes up to a couple weeks for full hardness. If you hang too soon, doors can stick to bumpers or chip at edges.
Rehang and finish
Once everything is cured:
- Reinstall hinges and doors using your labels.
- Add new bumpers if yours are old or missing. Fresh bumpers prevent sticking and protect your new paint.
- Consider upgrading hardware. Shaker-style doors plus updated pulls is a huge return for a small cost.

Common mistakes
- Skipping the test door: Always do one full door to confirm the look and clearance.
- Using trim that is warped: Sight down each piece at the store. Warped trim is a gap problem waiting to happen.
- Too much glue: Excess squeeze-out can interfere with primer and paint. Use a thin bead and wipe immediately.
- Not sanding after primer: That one quick sand is how you get smooth, not gritty.
- Rushing cure time: Give the paint time to harden before rehanging and stacking doors.
FAQ
Is this cheaper than buying Shaker doors?
Almost always, yes. Trim, glue, filler, and primer typically cost far less than replacement doors, especially if you already plan to paint. It is also a great way to extend the life of solid doors that just look dated.
Should I use wood trim or MDF trim?
For painted cabinets, both can work. MDF is very smooth and paint-friendly. Wood is more durable at edges. If your kitchen is high-traffic and you have kids or pets, I lean wood for toughness. If your doors are MDF already, matching with MDF trim can keep movement and texture more consistent.
Do I have to caulk the trim?
No, but it is the easiest way to hide hairline gaps and make the trim look built-in. Use a very small amount and smooth it well.
Will the added trim interfere with my cabinet pulls?
Sometimes. If your hardware is close to the door edge, your new frame can crowd it. Before you glue anything, hold your trim in place and make sure your pull placement still looks balanced. If needed, you can move hardware slightly or choose a slimmer trim width.
Can I do this on drawer fronts too?
Yes, and it looks amazing. Just double-check clearances between drawer fronts so added thickness does not cause rubbing.
My encouragement
If you are worried about making everything perfectly identical, you are not alone. The trick is to slow down on the measuring and cutting, and then let filler, sanding, and primer do their job. Once the doors are painted and hung, the overall effect is what you notice, and it is a big upgrade for a very reasonable cost.
If you want the simplest path, start with one test door this weekend. By the time that first door is done, the rest feel totally manageable.