If you have arched cathedral cabinet doors in your kitchen, you are not alone. I swear every budget kitchen makeover I’ve helped with has at least one clue from the 80s or 90s, and the cathedral arch is usually the loudest one.
Quick definition so we’re talking about the same thing: “cathedral” doors usually have an arched top rail and or an arched routed detail in the center panel.
The good news: you do not have to replace all your doors to get a cleaner, more modern look. With the right combination of prep, clever paint choices, and a few simple upgrades, you can disguise that arch so your kitchen feels fresh again.
First, decide: hide it or keep it?
Before you buy primer or start filling, step back and choose your direction. Both routes can look great, but the prep level and the final vibe are different.
- Hide the arch if you want a more modern, Shaker-ish feel and your goal is to make the door profile quiet.
- Keep the arch if you like a traditional look, but want it to feel intentional and updated (usually through paint, hardware, and color contrast).
I’ll share options for both, starting with the least expensive and least risky, then moving into more involved upgrades.
Option 1: Paint to calm the arch
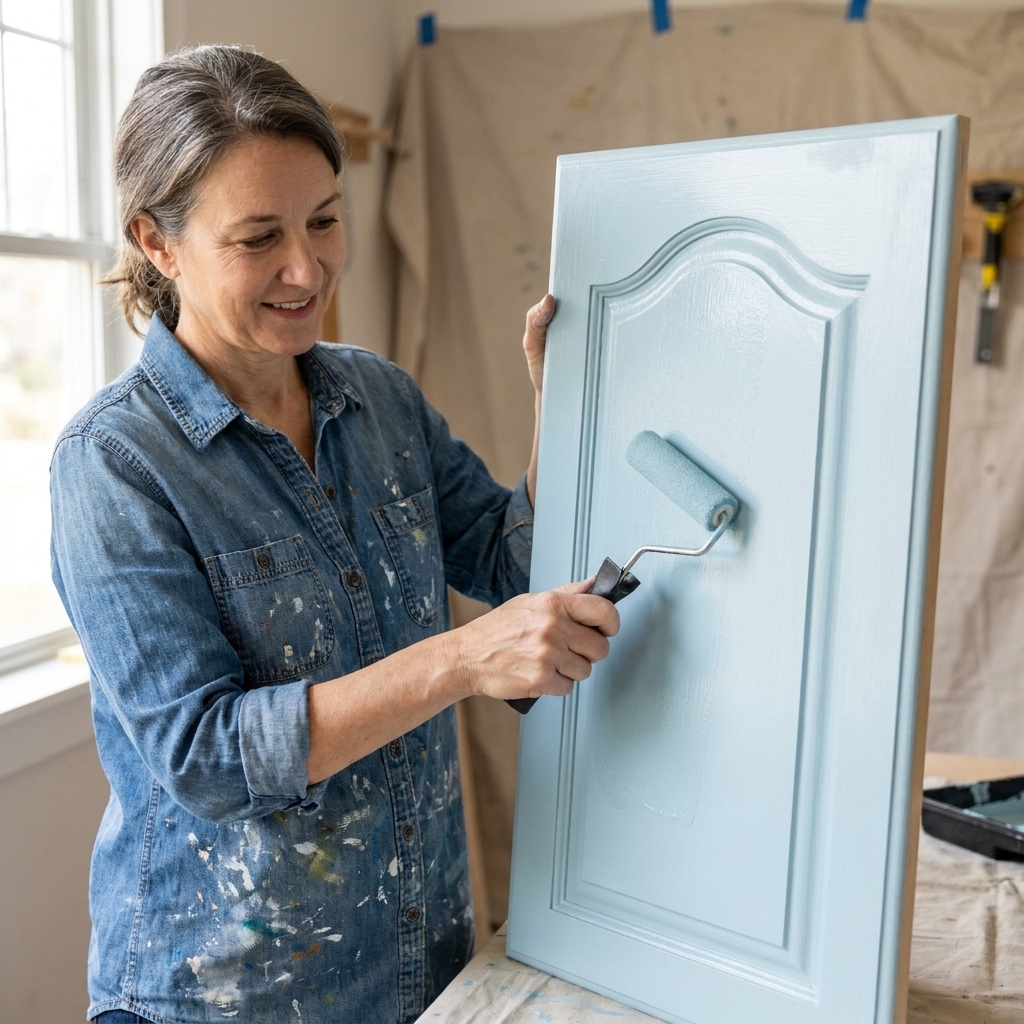
If your doors have a routed arch detail (a curved inner panel line), you can often make it fade from across the room using paint strategy alone. This is the cheapest, fastest way to quiet cathedral doors.
Paint it all one color
Cathedral doors look extra dated when the profile casts strong shadows. A single, consistent color reduces contrast and makes the shape less noticeable.
- If your cabinets are glossy, previously varnished, or slick to the touch, use a bonding primer so paint can grip.
- If your cabinets are oak (or you see knots or yellowing bleeding through), plan for a stain-blocking primer to prevent tannin bleed. This is the difference between “looks great” and “why are there yellow streaks?”
- Pick a soft satin or low-luster finish for door faces. High gloss can highlight every curve, dent, and patch.
Choose modern, curve-friendly colors
Color does a lot of heavy lifting here. These shades tend to make arched doors feel calmer and more current:
- Warm whites (creamy, not stark) for a clean update that still works with most countertops.
- Greige and mushroom for a modern neutral that hides daily smudges.
- Deep muted colors like charcoal, inky blue, or forest green to turn the door style into a background element.
Use tone-on-tone to distract
If you want something a little special without making the arch the star, try tone-on-tone. For example, paint the doors warm white and paint the cabinet frames the same white, just one shade deeper. The eye reads it as cohesive and modern, not busy.
Option 2: Hardware that retrains the eye
One reason cathedral doors feel dated is that older kitchens often paired them with tiny knobs placed high and centered. A simple hardware change can shift the whole look.
Use longer pulls
Longer pulls add a clean line that competes with the arch (in a good way). Common starting points:
- For doors: many people like pulls in the 5 to 7 inch range.
- For wide drawers: 8 to 12 inch pulls are a popular modern choice.
But proportions win. If you are unsure, mock it up with painter’s tape and step back. You will know fast what looks right on your door and drawer sizes.
Lower the placement a touch
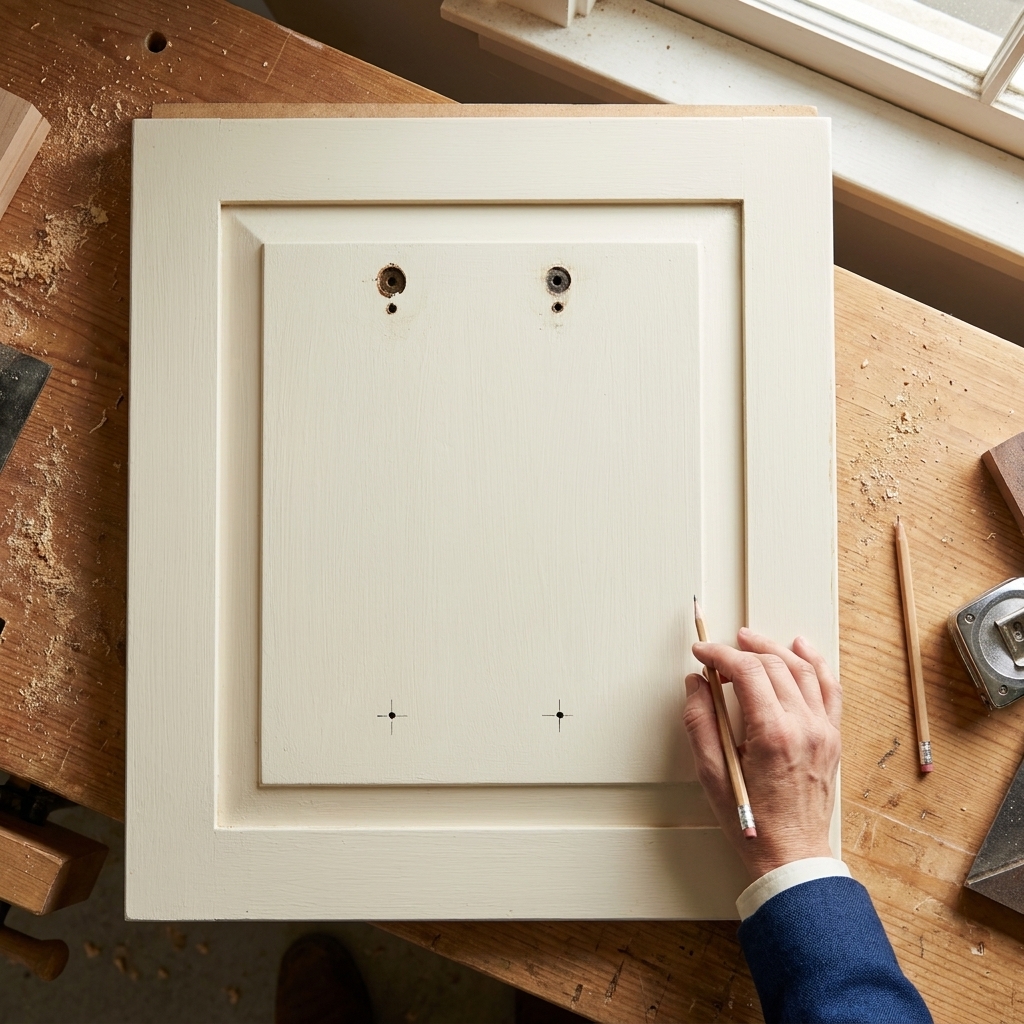
You do not have to go wild, but lowering the pull placement by even an inch can help the arch feel less like the center of the door. If you’re filling old holes anyway, this is a perfect time to adjust.
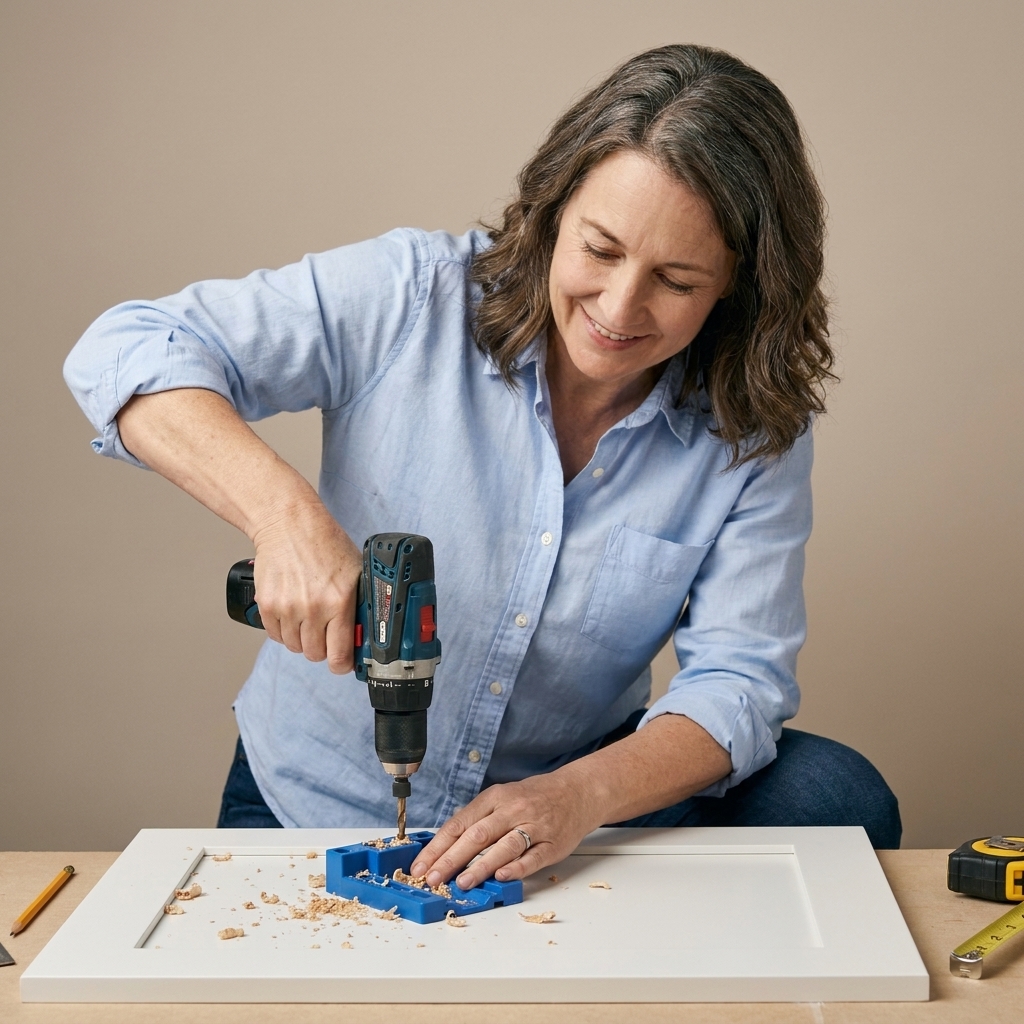
Fill old holes the durable way
If your new pulls do not match the old hole spacing, fill the old holes so they do not telegraph through your new paint.
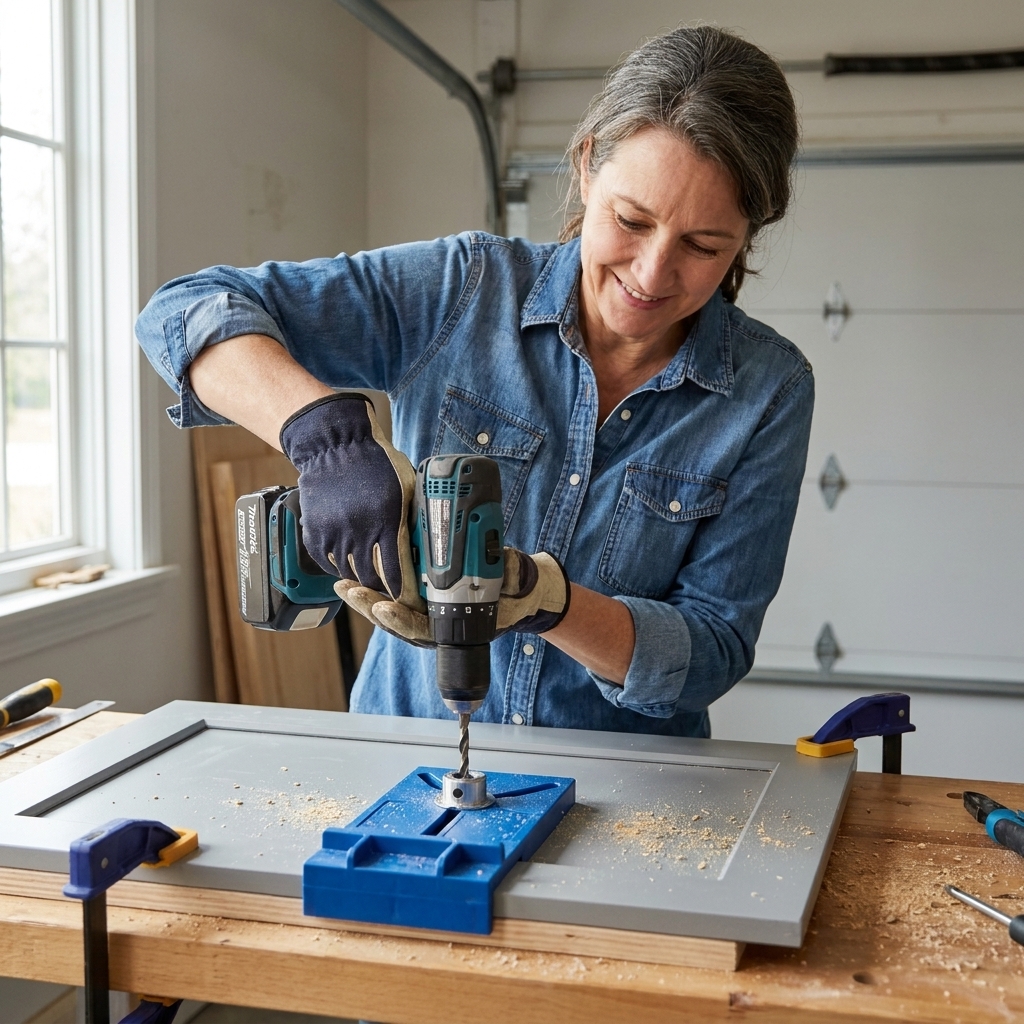
- For painted cabinets: use a strong two-part wood filler or a high-quality solvent-based filler for durability.
- Sand flush, prime the repaired spots, then paint.
- If your door is oak with open grain, consider grain filling too, otherwise the old hole area can picture-frame under certain lighting.
Option 3: Fill the routed groove
If your cathedral door has a routed groove (not a fully raised arch panel), you can sometimes fill that groove to create a flatter look. This is more work than paint alone, but it can be a real style shift for low materials cost.
What to use
- Two-part wood filler for strength and sandability.
- For tiny pinholes only: a small amount of wood filler still beats spackle on a moving wood door.
- Paintable caulk is great for hairline seams, but it is not a structural filler for deep profiles.
How to fill a routed detail
- Clean and degloss the door. Grease and polish residue are filler’s worst enemy.
- Scuff sand to give the filler something to grip.
- Press filler firmly into the groove in thin layers. Overfill slightly.
- Let it cure fully, then sand flush with a sanding block (not just fingers, which can dip).
- Prime the entire door face, not just the repair, for a consistent finish.
- Paint with a durable cabinet-grade enamel (more on that below).
My honest warning
Filled grooves can crack if the door profile flexes, if the filler is applied too thick, or if the door takes a lot of impact. If your kitchen is high-traffic or you have kids who like to swing on doors, consider a trim overlay instead (next section), which tends to hold up better long term.
Option 4: Add trim for a Shaker look
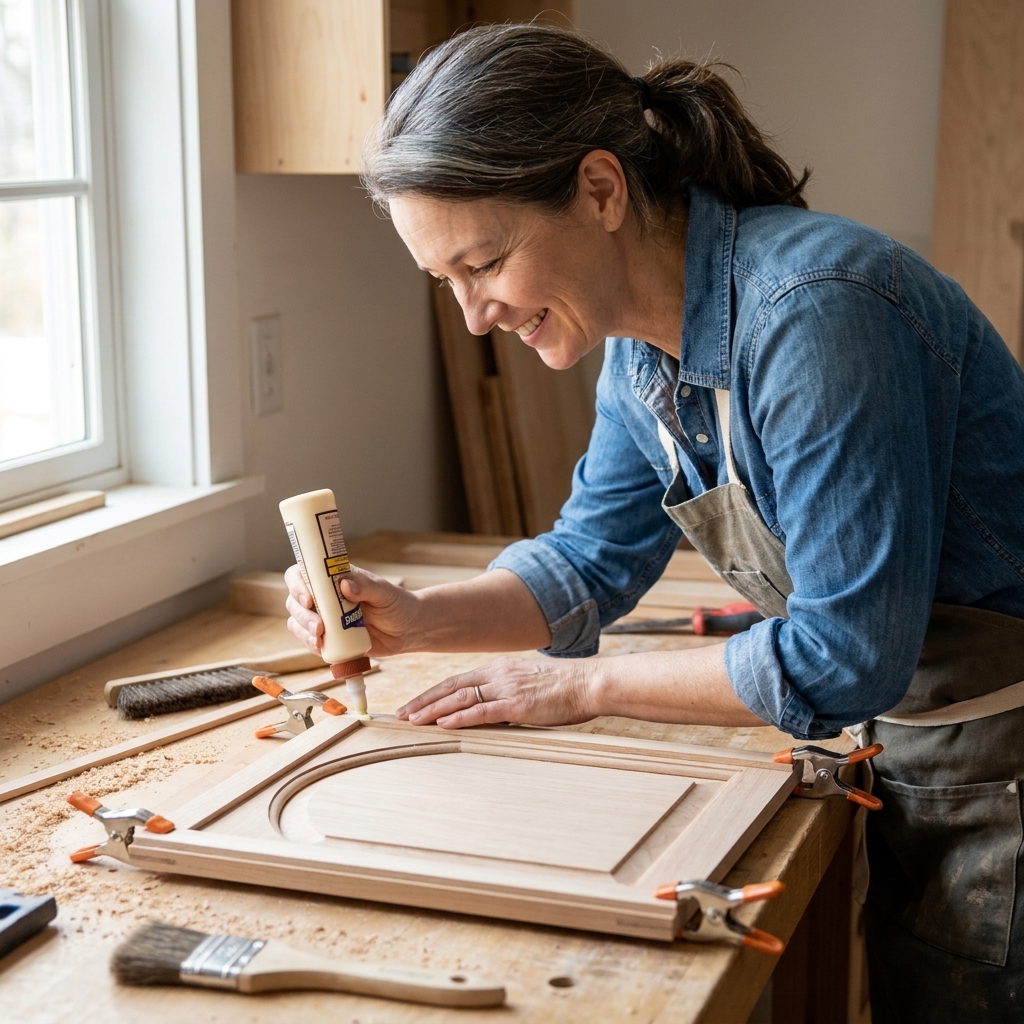
This is one of my favorite bang-for-your-buck upgrades when you want a truly different door style without buying new doors. The concept is simple: attach thin trim pieces to the door face to create a crisp, square frame that distracts from the arch.
Trim that works well
- Thin lattice molding (flat, clean, easy to cut).
- Screen molding for a slightly more traditional Shaker frame.
- Flat stock for the cleanest modern edge.
Plan the layout
You can:
- Square it off so the new trim frame ignores the arch completely.
- Float the frame higher so the bottom of the arch is hidden inside the new panel area.
The goal is consistency. Once you pick a reveal (the distance from the door edge), keep it the same across every door.
Install basics
- Remove doors and lay them flat.
- Lightly sand and clean.
- Measure and cut trim for each door.
- Attach with wood glue plus a few brad nails (or pin nails) if you have them.
- Fill nail holes and seams, then sand smooth.
- Prime and paint.
Option 5: Flat front with a thin skin
If your doors are very curved or deeply raised and you want the flattest look possible, you can apply a thin, smooth panel over the face of the door. Done well, it is surprisingly effective paired with modern hardware.
Common materials
- 1/8-inch hardboard (smooth and paintable).
- Thin plywood for a sturdier feel.
- MDF panel if you can keep it well sealed and dry.
Details that can make or break it
- Added thickness affects fit. Check your cabinet type (inset, partial overlay, full overlay) and the reveals between doors.
- Hinges may need attention. Added thickness can change clearances at the hinge side, and some doors may need hinge adjustment or replacement.
- Edge finishing matters. If you can see the panel edge from the side, it needs to be clean (and sealed) so it does not look like an afterthought.
- Weight adds up. Make sure hinges are tight and not worn out.
This approach is for DIYers who feel comfortable measuring carefully and dry-fitting. If you want a simpler style change with fewer variables, trim overlay is usually my pick.
If you are already worried about hinge geometry, door spacing, or keeping everything perfectly square, this is a good moment to consider a cabinet pro.
Option 6: Replace a few doors
If your budget is tight but you really dislike the cathedral shape, you do not have to replace everything at once. Strategic replacement can make a kitchen feel updated without a full door order.
Where it matters most
- The doors you see first when you walk in.
- Upper cabinets at eye level.
- Any cabinet run that is a feature wall in your layout.
Make it look intentional
If some doors are new Shaker and some are old cathedral, keep the finish consistent and unify with matching hardware. Painted all one color, most people will not notice the style mix as much as you fear.
Option 7: Keep the arch, update the vibe
Maybe you do not actually hate the arch. You just hate the honey oak and the shiny brass knobs. Fair. Here are a few ways to keep the door style while updating the whole mood.
Moody and monochrome
Cathedral doors can look surprisingly classy in a deep, velvety color with simple hardware. Think charcoal with brushed nickel, or deep green with antique brass.
Warm white plus warm metals
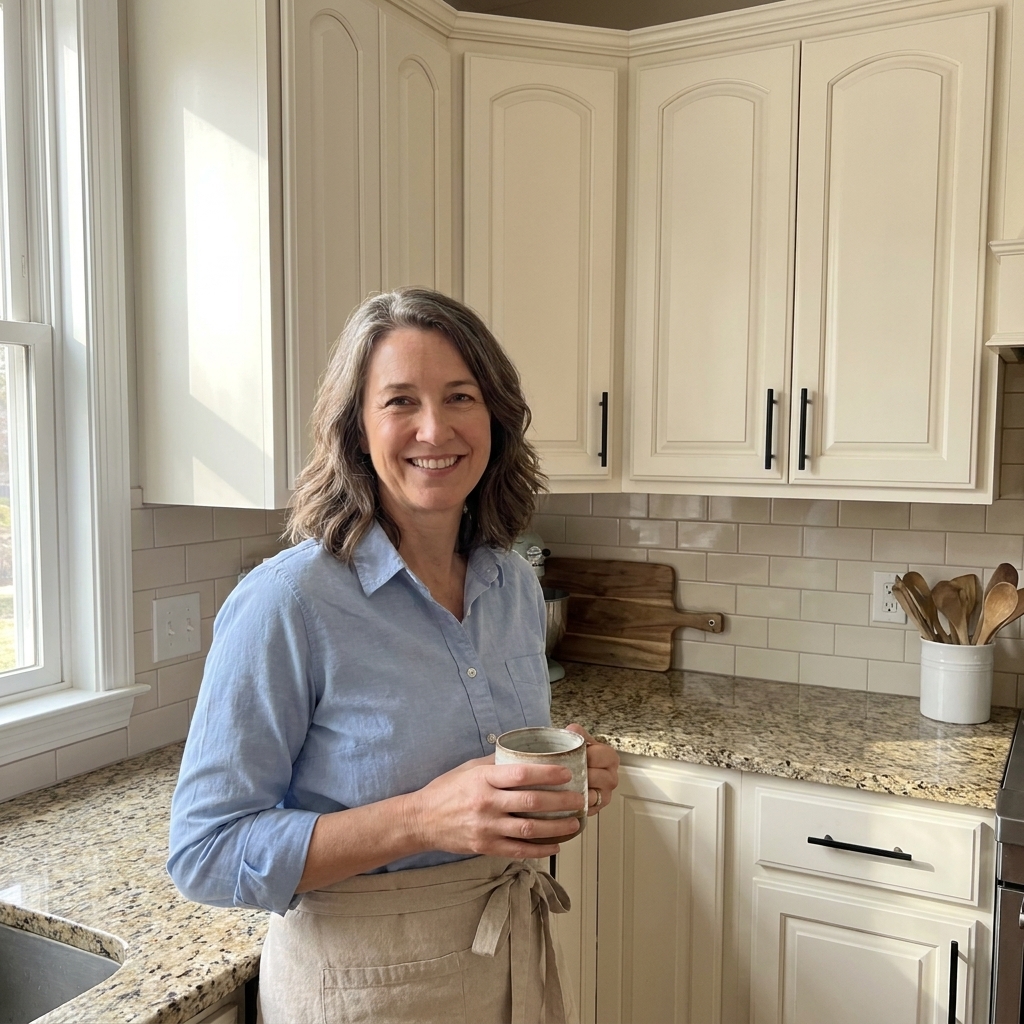
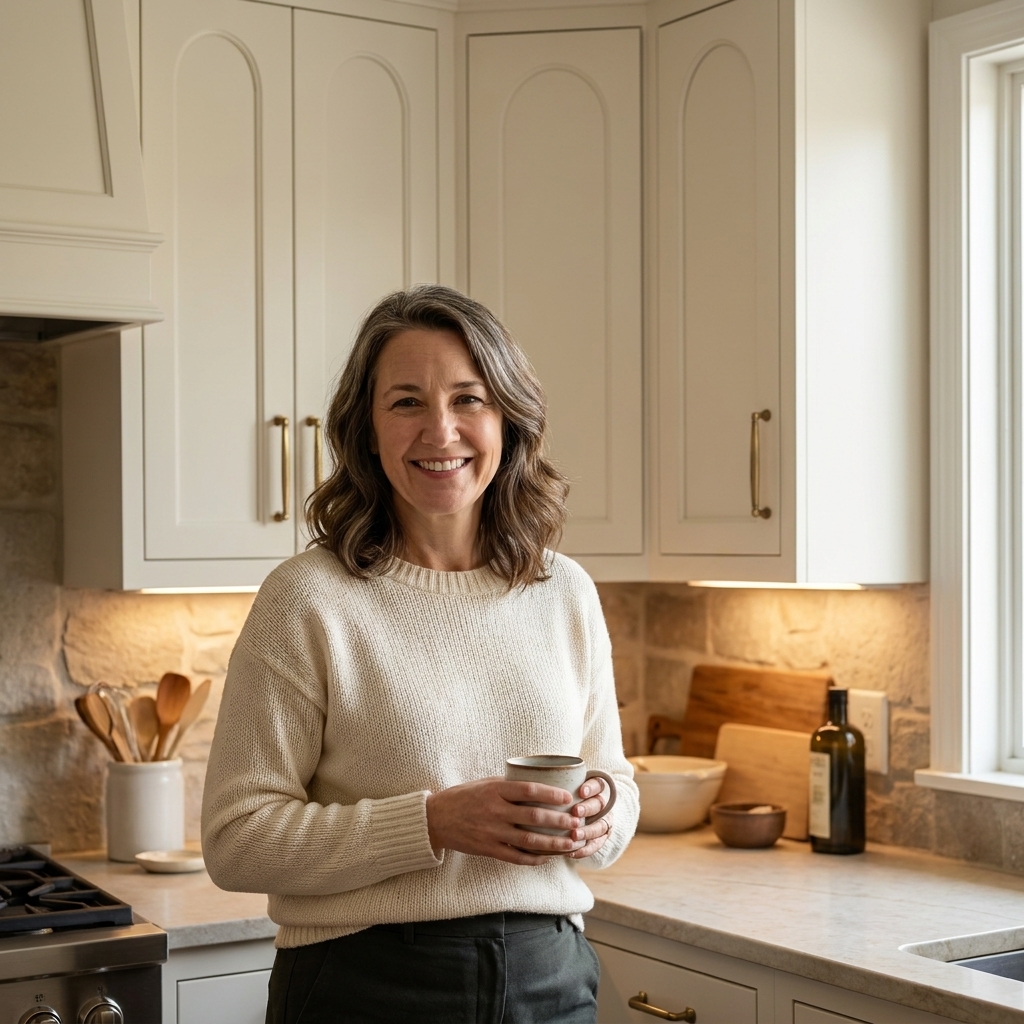
A creamy white paint, soft warm lighting, and champagne bronze pulls can turn dated into traditional and cozy really quickly.
Glass inserts in a couple of uppers
If you have a bank of upper doors that feels heavy, converting one or two doors to glass can break up the arches. This is easiest when the doors are true frame-and-panel construction where the center panel can be removed. Many cathedral doors are one-piece routed doors, which makes glass conversion more of a tools-and-skill project (or a new-door project). If you are not sure what you have, pop a door off and check the back before you commit.
Prep that matters
Because cathedral doors have extra grooves, curves, and shadow lines, prep is what makes the difference between weekend makeover and why is this peeling already.
- Degrease first with a cleaner that cuts kitchen oils, especially around knobs and near the stove.
- Test before sanding if your cabinets are old or you are dealing with unknown layers of paint. Lead paint is still a possibility in older homes, and dry sanding is not the place to gamble.
- Scuff sand so primer can bite.
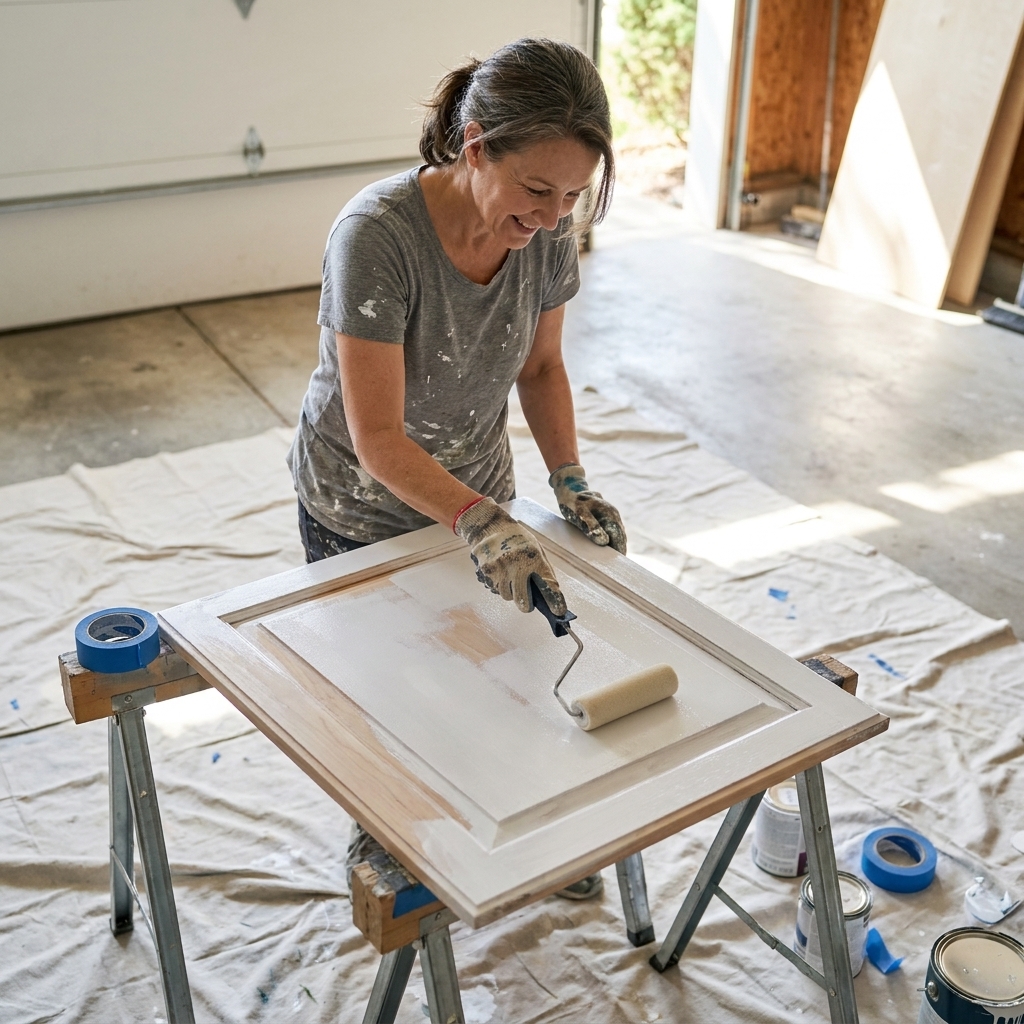
- Prime for the job. Use bonding primer for adhesion on slick surfaces, and stain-blocking primer when tannins, knots, or yellowing could bleed.
- Mind the corners. Paint loves to pool where the panel meets the frame. Brush it out, then lightly roll to level.
- Let it cure. Dry is not the same as cured. Full cure can take days to weeks depending on the product and conditions.
- Go easy at first. Add felt bumpers, avoid harsh cleaners, and be gentle for the first couple of weeks while the finish hardens up.
One more paint note: “cabinet enamel” usually means an alkyd, hybrid-alkyd, or other hard-drying trim and cabinet paint, not standard wall paint. That harder cure is what helps doors survive constant handling.
Quick decision guide
If you are trying to pick a path, here’s how I’d choose based on time, budget, and tolerance for mess.
- Fastest and cheapest: paint everything one color plus modern hardware.
- Best style change for the effort: Shaker trim overlay plus paint.
- Flattest look: panel skin overlay (more measuring, more fitting, more hinge considerations).
- Lowest risk if your doors flex a lot: skip heavy filling and do paint plus hardware or trim overlay.
FAQ
Can I sand down the arch on raised cathedral doors?
Technically you can sand almost anything, but sanding a raised arch into a flat panel is usually a losing battle. You will remove veneer or create uneven low spots long before you get a clean, flat look. If you want flatter, go with trim overlay or a panel skin overlay.
Will filling the arch crack later?
It can. Doors move with humidity, and cabinet doors get bumped. Thin layers of a strong wood filler, good primer, and proper cure time all help. If you want the most durable disguise, trim overlay tends to hold up better than filling deep profiles.
What sheen looks best on painted cathedral doors?
For most kitchens, I like satin because it wipes clean but does not highlight every curve and patch. Semi-gloss is tougher, but it can make cathedral details more noticeable.
Do I need to grain-fill oak before painting?
You do not have to, but if you want the smoothest, most modern result, grain filling helps a lot. Oak grain can show through paint, especially on doors with lots of angled light. If you are aiming for a sleek look, consider grain filler plus a high-build primer, and be ready for a little extra sanding time.