Nothing makes freshly painted cabinets look more “finished” faster than new hardware. But hardware is also one of the easiest places to second-guess yourself. One crooked pull or a row that is even slightly off can jump out every time the light hits it.
The good news is this is a very learnable, very repeatable DIY. Once you choose a placement and set up a drill jig, the rest becomes a simple assembly line.
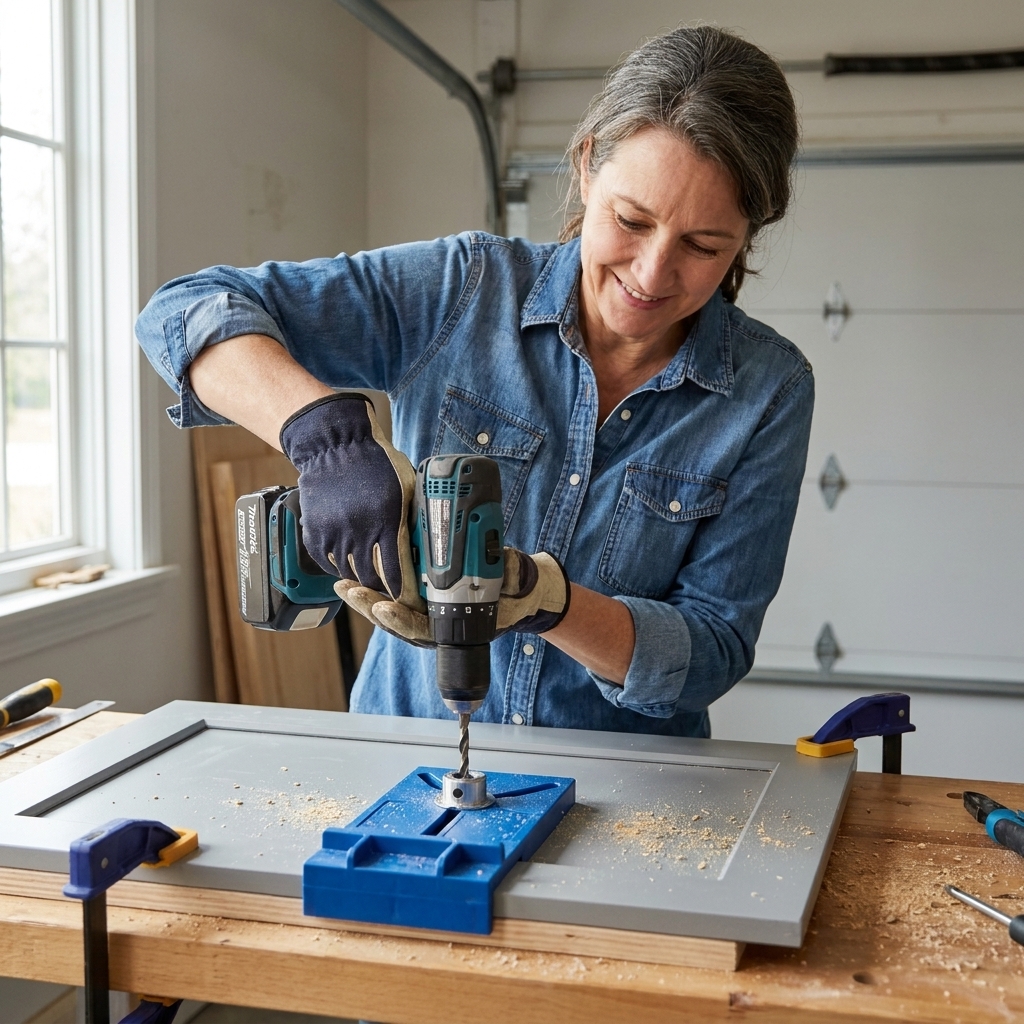
Quick safety note: Wear eye protection, and stabilize your work. It is easiest (and safest) to drill doors and drawer fronts off the cabinets on a bench.
Before you drill: pick your look and stick to it
Hardware placement is part “standard practice” and part “what looks right in your kitchen.” The key is consistency. Decide on a placement rule for your doors and drawers, test it, then commit.
Quick placement vocabulary
- Stile: the vertical frame pieces on a shaker style door.
- Rail: the horizontal frame pieces.
- Reveal: the small, consistent gap around doors and drawers.
- Center-to-center (C-C): the distance between the two screw holes on a pull.
Standard placements that work in most kitchens
There is no single building code requirement for knob and pull locations in a typical residential kitchen. (Accessibility guidelines can apply in some commercial or universal design situations.) These are the most common placements I see in real kitchens and the ones that are easiest to make look intentional.
Important: When you see measurements like “3 inches from the edge,” that is to the center of the hole, not the edge of the knob or the pull base.
Upper cabinet doors (knobs or pulls)
Most common: place the knob or pull near the bottom corner of the door, on the side that opens.
- Distance from the bottom edge (to hole center): 2 1/2 to 3 inches up is a great starting point.
- Distance from the side edge (to hole center): 1 to 1 1/2 inches in from the edge is typical.
- Shaker doors: many people align the hardware with the corner of the inner stile/rail (so it visually “tucks” into that corner). This looks clean and custom.
- Slab doors: a clean, modern look is usually about simple offsets (like 2 1/2 to 3 inches and 1 1/4 inches) and repeating them perfectly across the whole run.
Lower cabinet doors (knobs or pulls)
Most common: place the knob or pull near the top corner of the door, on the side that opens.
- Distance from the top edge (to hole center): 2 1/2 to 3 inches down is a solid starting point.
- Distance from the side edge (to hole center): 1 to 1 1/2 inches in.
Drawer fronts (pulls or knobs)
You have two classic options, and both can look great.
- Centered: place the pull centered left-to-right and centered top-to-bottom. This is the simplest to measure and looks very balanced.
- Slightly high (especially on deep drawers): centered left-to-right, but set a bit above center. This can feel more ergonomic on deep drawers and can look more “designed” in some kitchens.
Wide drawers (30 inches and up)
Wide drawers almost always look best with a pull (not a knob). For extra-wide or heavy drawers, some people use two pulls for symmetry and easier two-handed opening, and to help reduce racking on drawers that get a lot of use.
If you are considering two pulls, test with painter’s tape first. It is much easier to adjust tape than fill holes later.
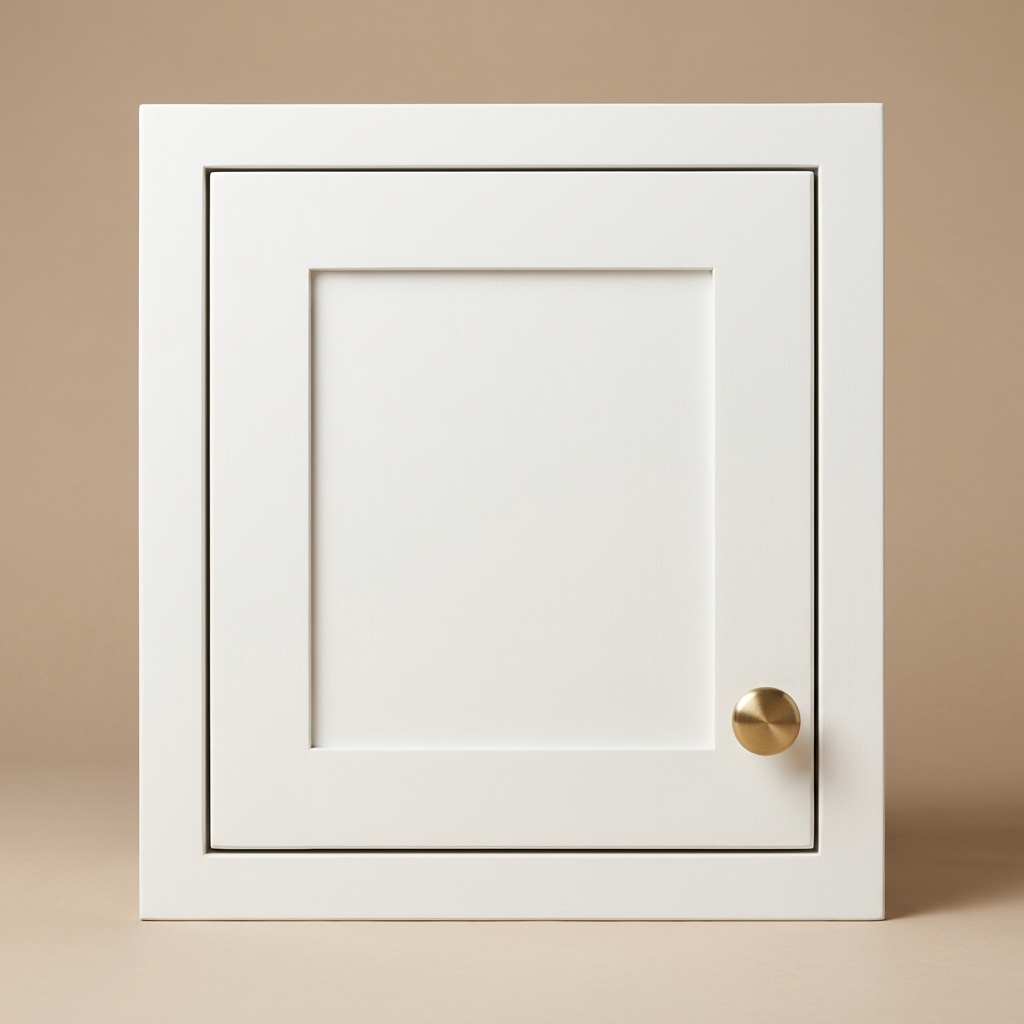
The painter’s tape test (my non-negotiable step)
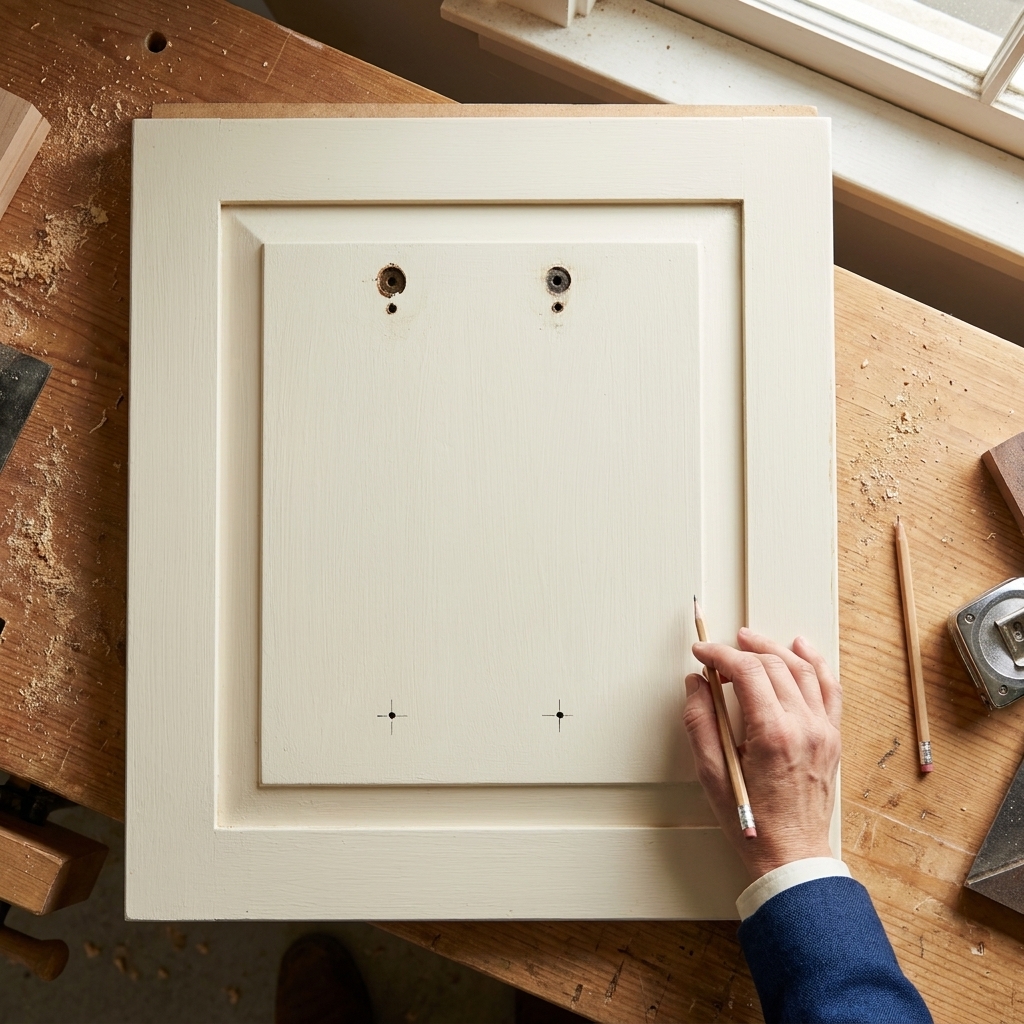
Even if you are using a drill jig, you still need to choose your exact hole locations. This is where painter’s tape saves you.
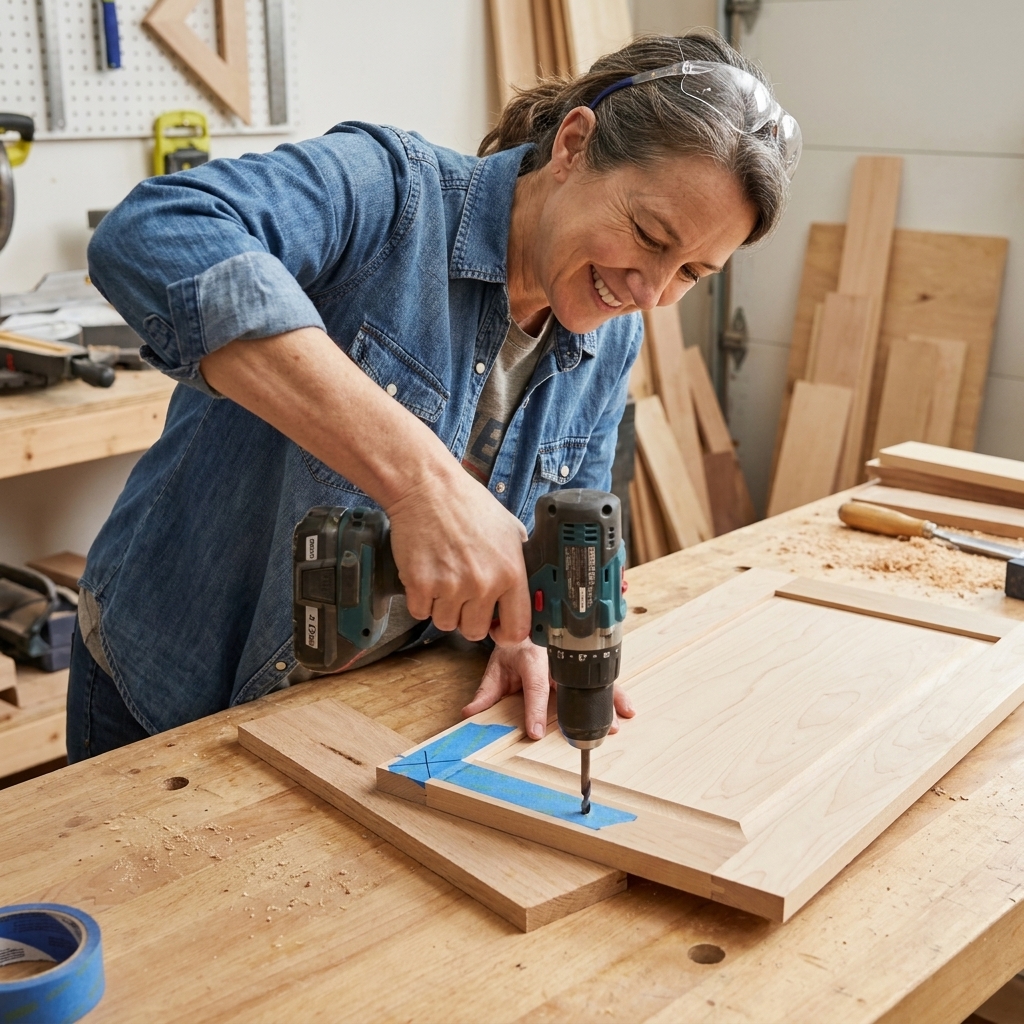
- Apply painter’s tape where the hardware will go. Tape gives you a place to mark clearly and helps reduce tear-out when drilling.
- Mark a few options using the measurements you are considering (for example, 2 1/2 inches vs. 3 inches from the edge, measured to the hole center).
- Temporarily stick hardware on using a little folded tape on the back, or hold it in place and step back.
- Check sight lines across a whole run of cabinets. What looks perfect on one door can look slightly off once repeated ten times.
Once you like the look, write down your final measurements. Those numbers become your “rule” for the whole kitchen.
Tools and supplies for clean, repeatable holes
- Cabinet hardware drill jig (adjustable for doors and drawers)
- Measuring tape or ruler
- Combination square (optional but very helpful)
- Pencil or fine marker
- Painter’s tape
- Center punch or awl (optional, helps prevent bit wander)
- Drill/driver (use the drill function for holes, and the driver function for installation)
- Drill bits: a 3/16 inch bit is a common clearance size for many cabinet hardware screws, including #8-32 and M4, but always confirm on the package and test on scrap
- Scrap wood (as a backer board)
- Clamps (recommended for doors)
Bit tip: A sharp bit matters. Dull bits are one of the biggest causes of chipping and “wallowed out” holes. If you want the cleanest holes on painted or veneered fronts, a brad-point bit helps start exactly where you mark.
How to use a cabinet hardware drill jig (step by step)
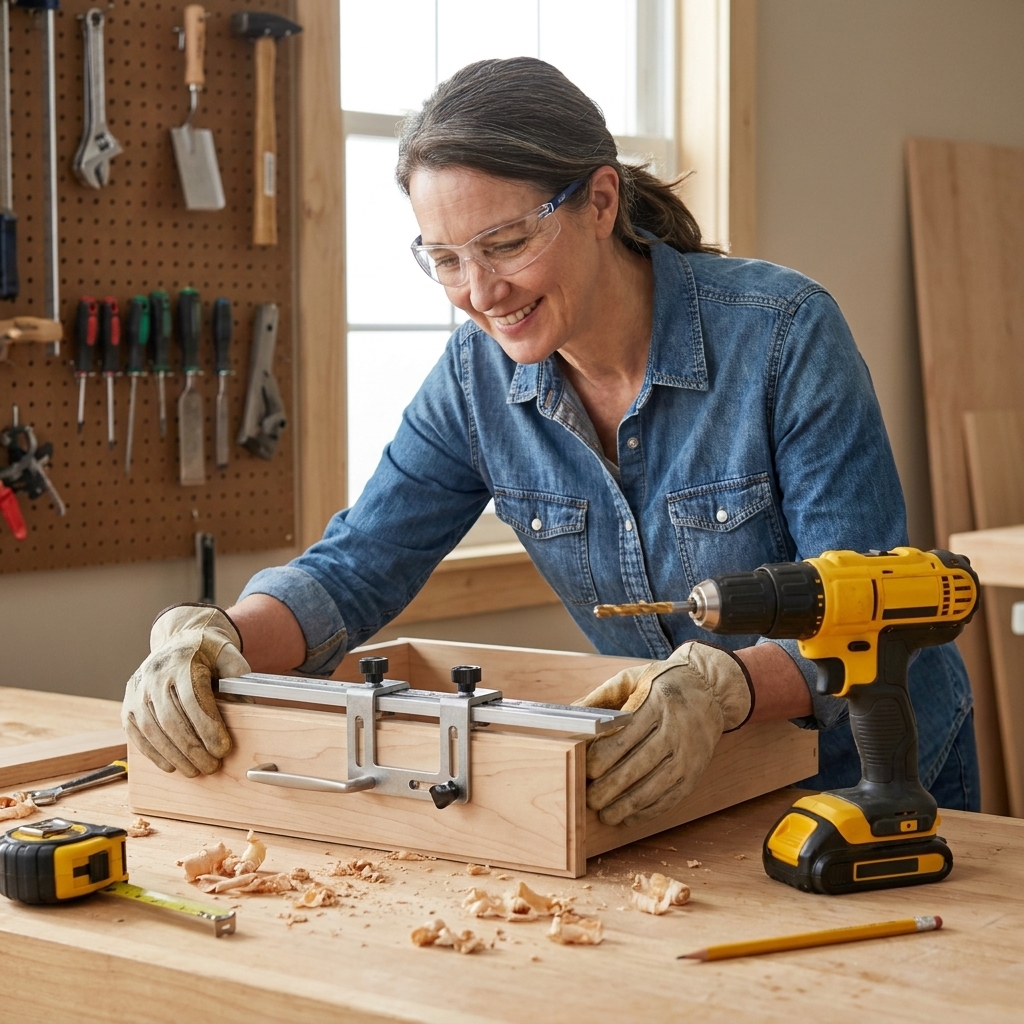
Most jigs work the same way. They register off cabinet edges and use guide holes to keep your drill bit exactly where it should be.
1) Set the jig for your measurement
- Decide your edge offsets (for example, 3 inches from the top and 1 1/4 inches from the side, measured to the hole center).
- Adjust the jig’s sliders/stops to match those offsets.
- Tighten everything down firmly. If a stop can slip, it eventually will.
2) Set the jig for your pull’s hole spacing (if using pulls)
Find the pull’s center-to-center measurement. Common sizes are 3 inches (76 mm), 3 3/4 inches (96 mm), 5 inches (128 mm), and 7 9/16 inches (192 mm).
Adjust the jig’s two drill guides to that spacing. Double-check with the actual pull by holding it up to the guides.
3) Position the jig correctly for the door or drawer
- Doors: reference from the correct edges for that door (top/side for lowers, bottom/side for uppers). Pay attention to hinge side vs. opening side.
- Drawers: reference from the top edge for slightly-high placements, or from center marks if you are centering everything.
This is the moment to slow down. Most “oops” holes happen when the jig is flipped or referenced off the wrong edge.
4) Clamp if you can
Clamping the jig to the door makes drilling calmer and more accurate. If you cannot clamp, use firm pressure and keep the jig flat against the face.
5) Drill with a backer board
- Place scrap wood behind the drilling area.
- Drill straight, moderate speed, light pressure.
- Stop as soon as you break through into the backer board.
The backer board helps prevent blowout on the back side of the door or drawer front. For painted faces, drill from the finished side with tape in place so any minor chipping is on the back, not the front.
6) Test-fit hardware before you move on
Install the hardware loosely and confirm everything lines up and sits flat. It is much easier to fix one hole now than discover an issue after you drilled 30 doors.
My measuring shortcuts for a whole kitchen (without mistakes)
Make one “master” door and one “master” drawer
Pick one door and one drawer front to be your test pieces. Once you love the placement, use those as your physical reference anytime you feel unsure.
Work in batches
I like to:
- Drill all uppers first
- Then all lowers
- Then all drawers
This keeps your jig setup consistent and reduces the chance you drill an upper like a lower by accident.
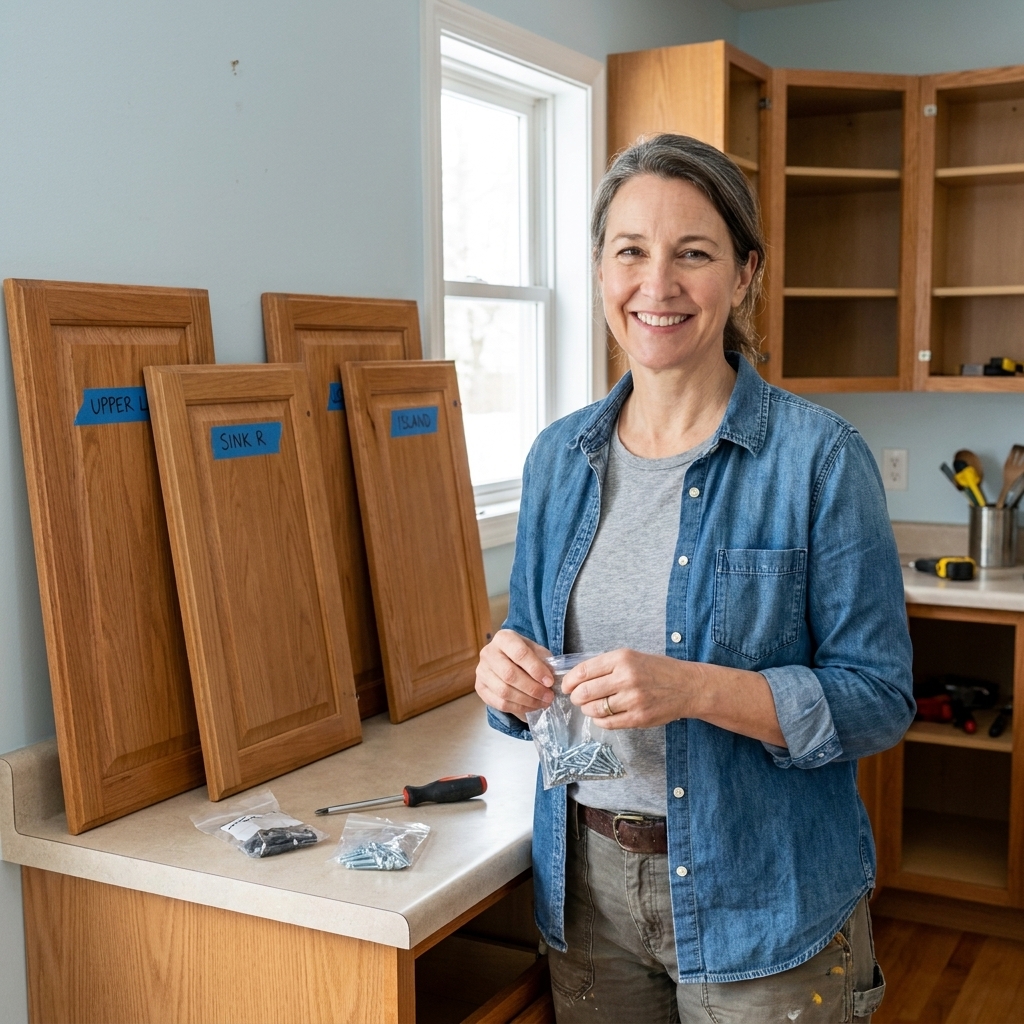
Label doors as you remove them
If you are painting or refinishing, you are probably already labeling with tape. Keep that system going during hardware installation so every door goes back exactly where it came from.
Common hardware placement choices (and what they look like)
Knobs only
Knobs are budget-friendly and forgiving. They work beautifully on classic doors and smaller drawers. If you have lots of wide drawers, knobs can feel a little underpowered visually and functionally.
Pulls only
Pulls feel modern, are easy to grab, and can help reduce fingerprints on freshly painted doors because you are less likely to touch the paint.
Mixing knobs and pulls
This is a classic combo:
- Knobs on doors
- Pulls on drawers
It is practical and keeps costs down because drawers usually need larger, pricier hardware.
Drilling into freshly painted cabinets: protect your finish
If you are installing hardware after painting, you can absolutely do it without damaging your beautiful new finish.
- Let paint cure. Dry is not the same as cured. If you can, wait several days (longer for humid weather) so the finish is tougher.
- Use painter’s tape where you will drill to reduce chipping.
- Start with a small pilot hole if you are nervous about bit wandering, then move up to your final bit size.
- Do not overtighten. Cranking down can dent paint and even crack a painted finish around the screw head.
What if your cabinets already have holes?
This is super common when you are swapping out old knobs and dated pulls.
If the new hardware uses the same holes
Celebrate and move on. Just check screw length, especially if your new hardware bases are thicker.
If you are changing hole spacing
- Option 1: Choose hardware that matches existing spacing. Easiest path, and there are lots of gorgeous modern pulls in standard sizes.
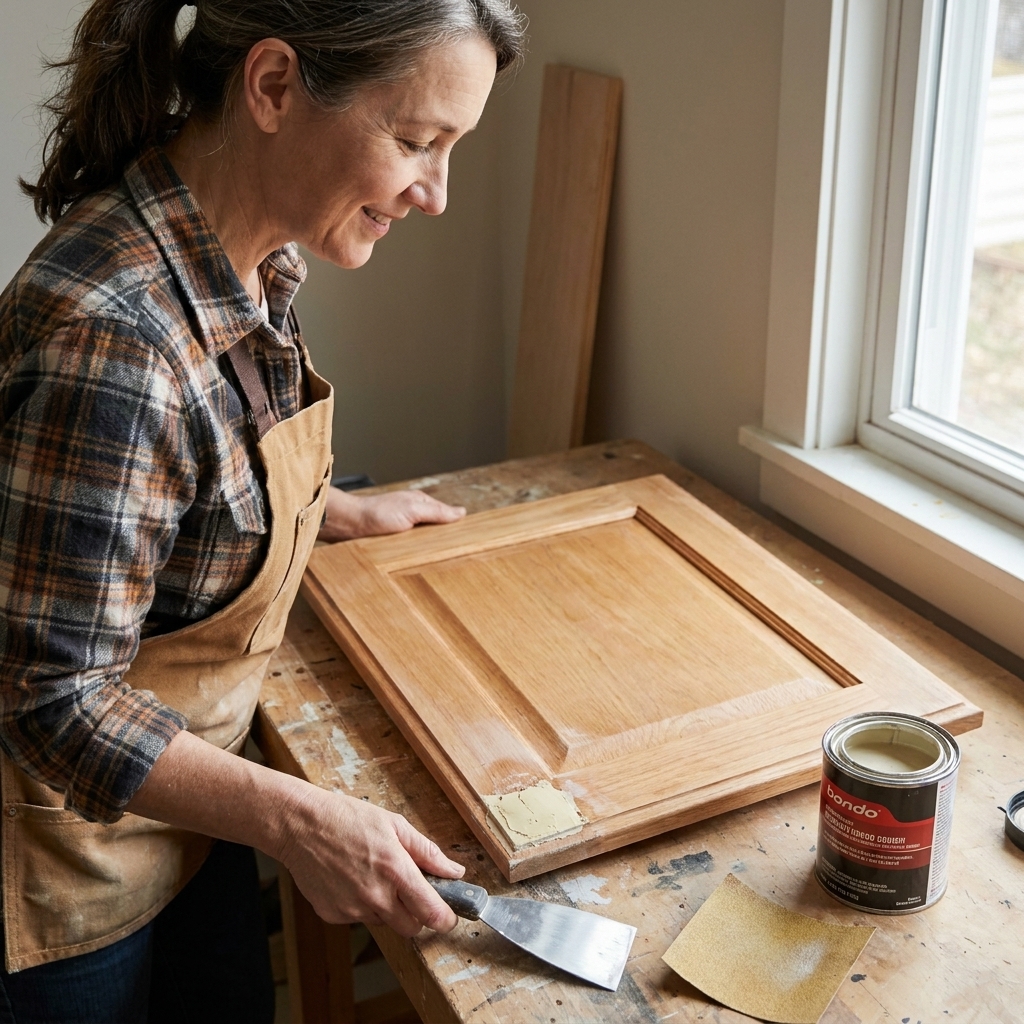
- Option 2: Fill and re-drill. For painted cabinets, I like a quality wood filler for small holes and a two-part epoxy filler for larger or damaged areas. Sand smooth, prime the patch, then paint. Once fully dry, drill new holes using your jig.
- Option 3: Use backplates. If you love your paint job and want to avoid patching, decorative backplates can cover old holes depending on the layout.
If you are staining instead of painting, matching filled holes is much harder. In that case, try very hard to match existing hole spacing, or plan for backplates.
Troubleshooting: fixes for the most common mistakes
The drill bit slipped and the hole is slightly off
- If it is minor, some hardware bases will cover it.
- If it is not covered, fill the hole, let it fully harden, sand, touch up, and re-drill using a center punch first.
The pull screws do not reach
You likely have thicker drawer fronts, or you added a new panel. Many cabinet pulls use either #8-32 (common in the US) or M4 (common for IKEA, European, and many imported online hardware). Buy longer screws in the matching thread. Take one screw to the hardware store to match it.
The screws are too long and bottom out
Add a washer under the screw head inside the door or trim the screw length with a hacksaw (and clean up the threads with a nut if you have one).
Hardware feels loose after tightening
This can happen on softer wood or MDF fronts. A small washer can help spread pressure. Also make sure you are not cross-threading the screw into the hardware.
Quick placement cheat sheet
- Upper doors: hardware near the bottom corner on the opening side, typically 2 1/2 to 3 inches up and 1 to 1 1/2 inches in (measured to hole center).
- Lower doors: hardware near the top corner on the opening side, typically 2 1/2 to 3 inches down and 1 to 1 1/2 inches in (measured to hole center).
- Drawers: centered is the simplest and most classic. Slightly high can feel more ergonomic on deep drawers.
- Always test first before drilling a whole kitchen.
- A drill jig is worth it for consistent, professional-looking results.
FAQ
Do I have to use a drill jig?
No, but if you are doing more than a couple doors, a jig is the easiest way to get consistent placement and straight holes. It is one of those tools that pays for itself in reduced frustration.
What size drill bit do I use for cabinet hardware?
A 3/16 inch bit is a common clearance size for many cabinet hardware screws, including #8-32 and M4. Always confirm on the package and test on scrap first, because hardware brands and tolerances vary. If you want extra control on painted fronts, drill a small pilot hole first, then your final size.
Should door pulls be vertical or horizontal?
Traditionally, pulls on doors are installed vertically, and pulls on drawers are installed horizontally. Plenty of modern kitchens break this rule, but sticking to it is the safest choice if you want a timeless look.
Can I install hardware before painting?
You can. Installing after painting keeps your new finish cleaner while you work, but installing before painting lets you fill mistakes more easily. If you install before painting, remove hardware for priming and painting, then reinstall after curing.