Spray painting cabinet hardware sounds like the ultimate budget win, until you reinstall everything and the paint starts rubbing off around the edges within a week. I have been there. The difference between a finish that flakes and a finish that survives years of greasy fingers and drawer yanks is not “better paint.” It is prep, the right primer, using compatible products, and giving the finish time to cure.
This is my go-to process for repainting kitchen knobs and pulls so they hold up. It is totally doable in a weekend, with one big caveat: you cannot rush the curing time.
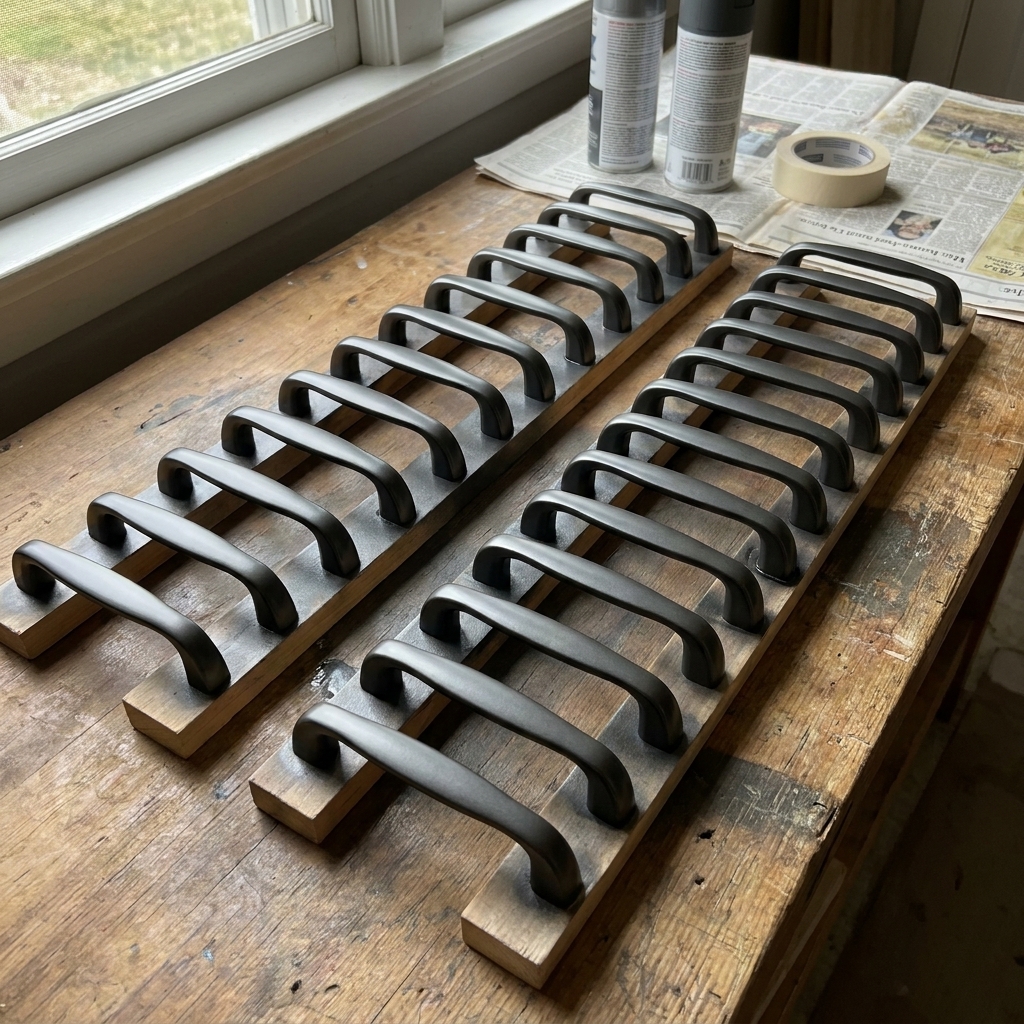
Before you start
Most metal knobs and pulls can be spray painted successfully, especially if they are solid metal with a factory finish that is still mostly intact. Here is what to know:
- Great candidates: brass, steel, zinc alloy, aluminum, and most previously finished or plated hardware.
- Okay but needs extra care: chrome or very glossy polished finishes. They are slick, so scuffing and a true bonding primer matter a lot.
- Usually not worth it: flimsy plastic pulls or hardware with peeling plating across large areas. Paint will highlight the roughness.
If your hardware has a clear coat that is failing in patches, you can still paint it, but you need to remove loose clear coat and smooth the edges before priming.
Quick reality check on chrome: If it is true chrome plating or highly polished, durability can still be limited even with great prep. You can improve your odds, but it is one of the hardest finishes to get paint to stick to long term.
Supplies that last
You do not need a fancy spray booth. You do need the right prep supplies, patience, and products that play well together.
Must-haves
- Degreaser (Krud Kutter, Dawn + hot water, or a good kitchen degreaser)
- Non-scratch scouring pad or scrub brush
- Sandpaper: 220 grit and 320 grit, or a fine sanding sponge
- Denatured alcohol or 91% isopropyl alcohol for final wipe
- Nitrile gloves (to avoid reintroducing skin oils)
- Bonding primer in a spray can (look for “bonding” or “adhesion” on the label)
- Spray paint suitable for metal (enamel formulas tend to wear better)
- Optional but helpful: a clear topcoat designed to go over your paint
Compatibility tip: Follow label directions and keep your system consistent. For example, use a primer and paint that are meant to work together (often easiest when they are in the same product line). If you change brands, do a test piece first.
My favorite little hacks
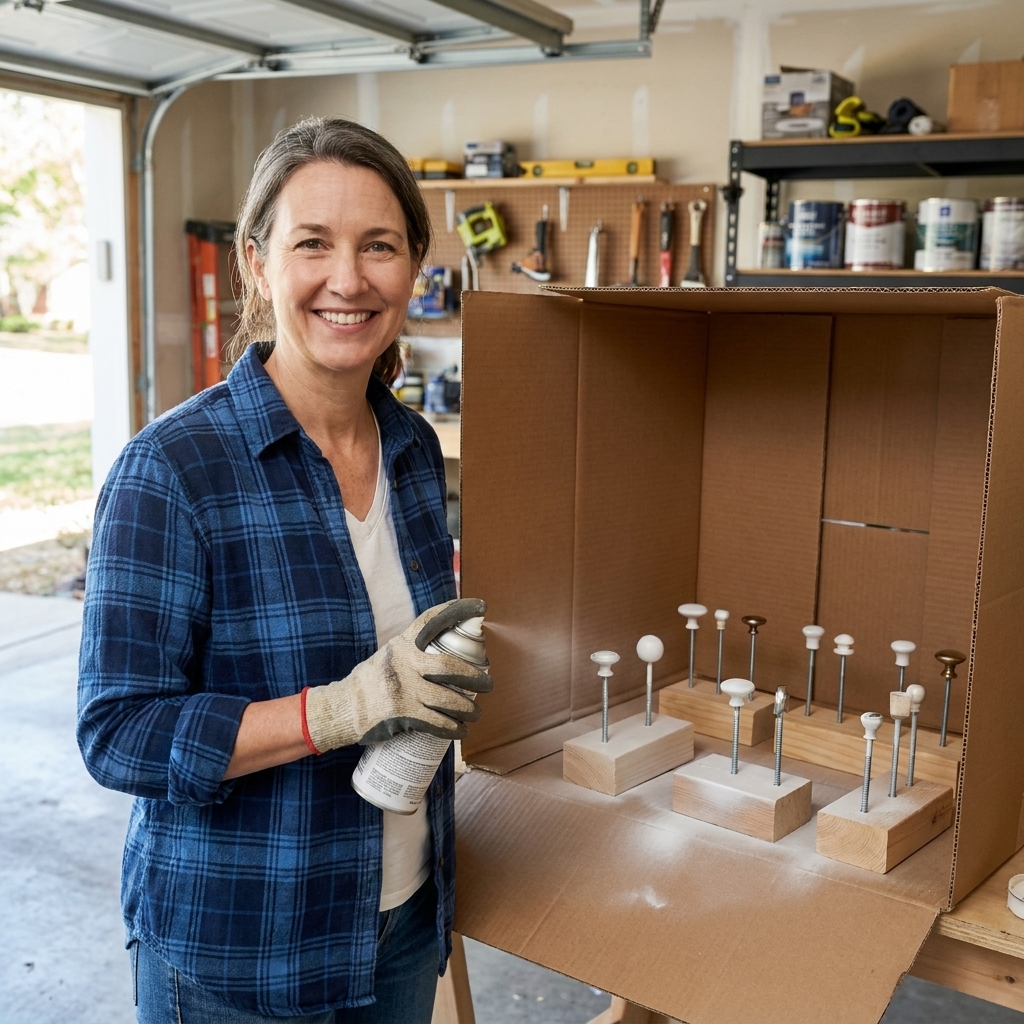
- Cardboard box or large piece of cardboard as a spray station
- Wood skewers, nails, or short screws to lift hardware off the surface while spraying
- Tack cloth (lightly used) to pick up dust before priming and painting
Step-by-step
1) Remove hardware and label
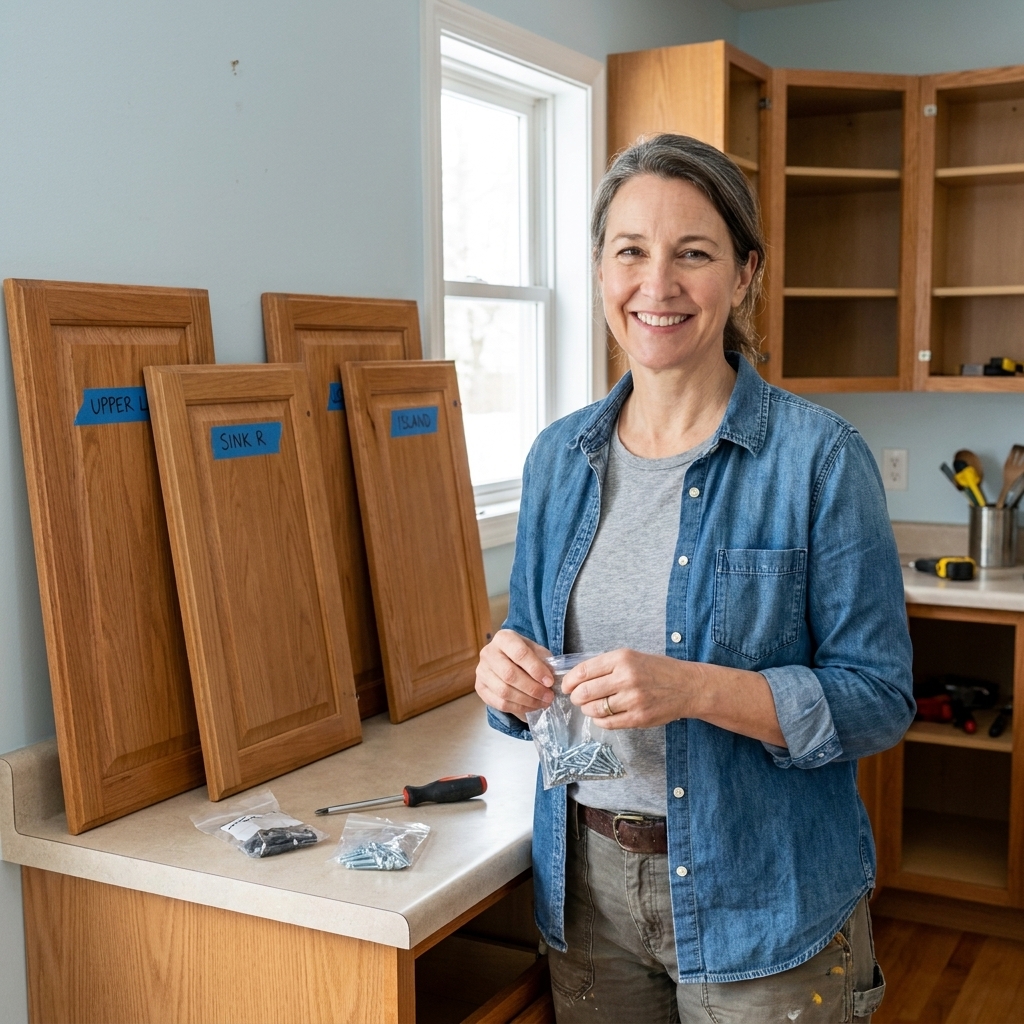
Unscrew your knobs and pulls and stash the screws in a bag. If you are reinstalling the same pulls in the same doors, label them by location. It is not required, but it saves time later if your screw lengths vary.
2) Degrease thoroughly
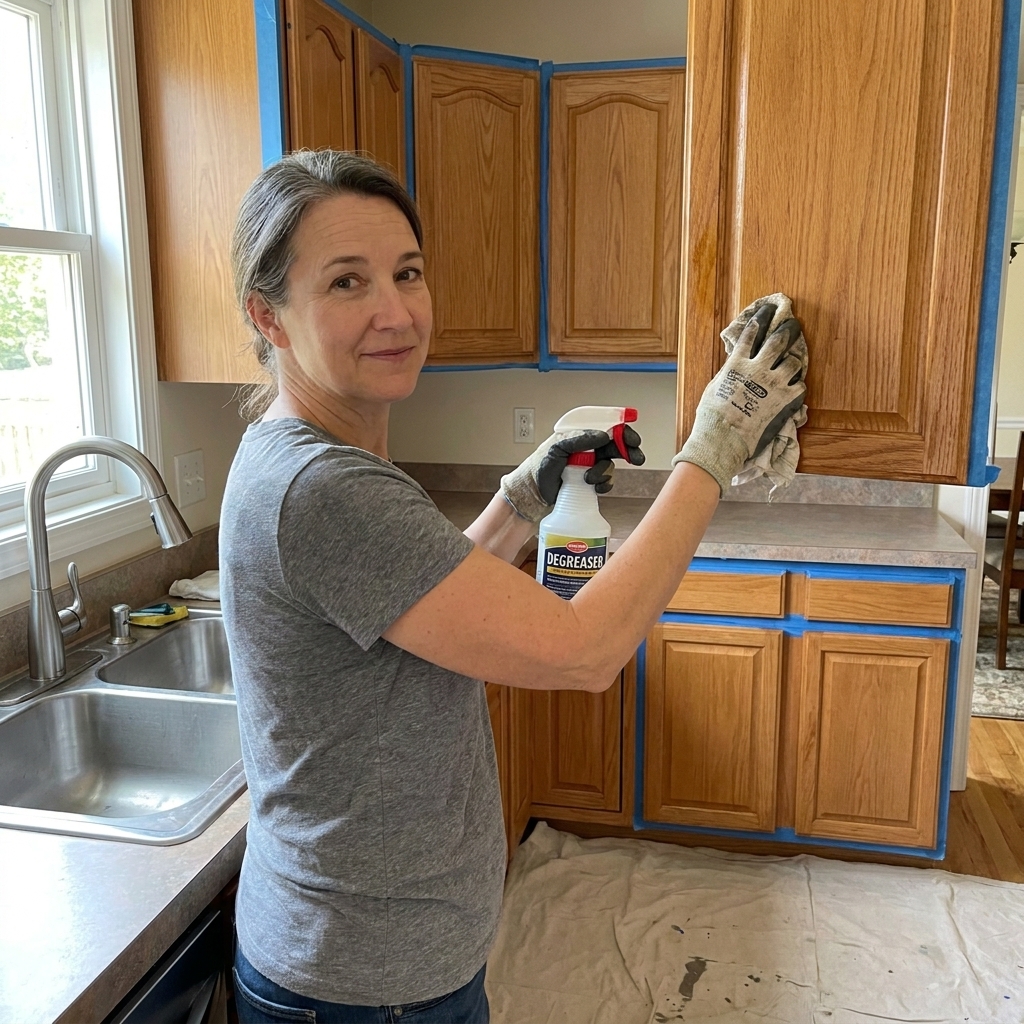
Kitchen hardware gets coated in invisible cooking oil. Wash everything in hot, soapy water or a degreaser and scrub into crevices. Rinse well and let dry.
Tip: If you can rub a clean finger across the hardware and it feels even a little waxy or slick, clean again.
3) Scuff sand for grip
You are not trying to sand down to bare metal. You are trying to degloss the surface so primer has something to bite into. Use light pressure, especially on plated finishes, and aim for a consistent dull sheen.
- Use 220 grit to knock down shine and any rough edges.
- Follow with 320 grit for a smoother surface that still has tooth.
For ornate knobs, a sanding sponge is easier than flat paper.
4) Dust off, then wipe with alcohol
Remove sanding dust, then wipe each piece with denatured alcohol or isopropyl alcohol. Wear gloves for this step and for everything after. Oils from your hands can cause fish-eyes and adhesion issues.
5) Set up your spray station
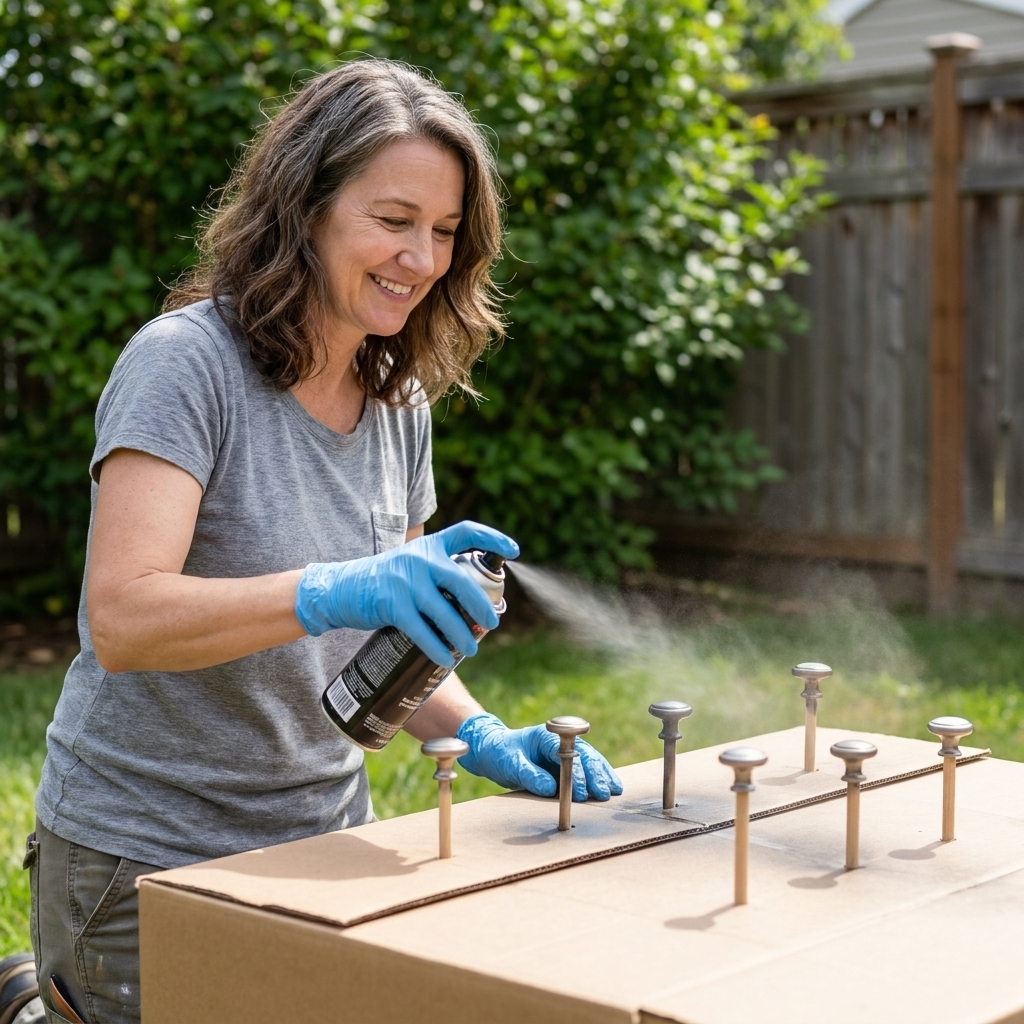
Lay hardware on cardboard and elevate each piece so you can spray edges without gluing it to the surface. I like using short screws poked up through the cardboard so the knob sits on the screw head. Skewers also work.
Spray in a well-ventilated area, out of wind, and ideally between 60 to 80°F with moderate humidity. Extreme cold or humidity is where “perfect paint jobs” go sideways.
6) Safety first
Spray products are hard on lungs and highly flammable. Wear eye protection and a respirator rated for paint fumes, and keep aerosols away from flames, pilot lights, and sparks. Ventilation matters more than you think.
Bonding primer
If you take only one thing from this tutorial, let it be this: use a bonding primer. Regular primer can work on raw wood, but slick metal hardware needs an adhesion-focused product.
How to spray primer
- Shake the can for the full time on the label.
- Hold the can about 8 to 10 inches away.
- Spray past the piece, across it, and past it again. Do not start and stop directly on the hardware.
- Apply 2 to 3 light coats instead of one heavy coat.
Light coats reduce drips and give a tougher finish. If you see a wet, glossy puddle forming, you are spraying too heavy or too close.
Let primer dry per the label. Many bonding primers are ready for paint in 30 to 60 minutes, but always follow your can.
Spray paint tips
1) Use thin coats
Plan on 2 to 5 thin coats of color depending on coverage, color change, and what your can recommends. This is how you get a smooth finish without sagging drips, especially on curved pulls.
2) Watch recoat windows
Many spray paints have a recoat rule like “within 1 hour or after 48 hours.” If you miss that window, you can get wrinkling or lifting. Read the label and stick to it.
3) Rotate carefully between coats
After each coat flashes off and is dry enough to handle per the label, rotate each piece so you can hit the underside edges and posts. If you can, use a skewer or a gloved touchpoint on an area that will be hidden during install (like the back side). This is where wear happens first, and fingerprints happen fast.
4) Skip the too-soon touch test
Spray paint can feel dry and still be soft underneath. If you pick it up too early, you will leave fingerprints that never fully disappear. Let the pieces sit untouched between coats as much as possible.
Optional: clear coat
If you picked a paint designed for metal and high-touch surfaces, you can often skip clear coat. That said, on heavily used drawers (trash pull-out, utensil drawers), a compatible clear coat can add insurance.
Important: Not all clears play nicely with all paints. If you want to clear coat, use a clear designed to work with your paint (same line is often safest), and do a test piece first.
Curing time
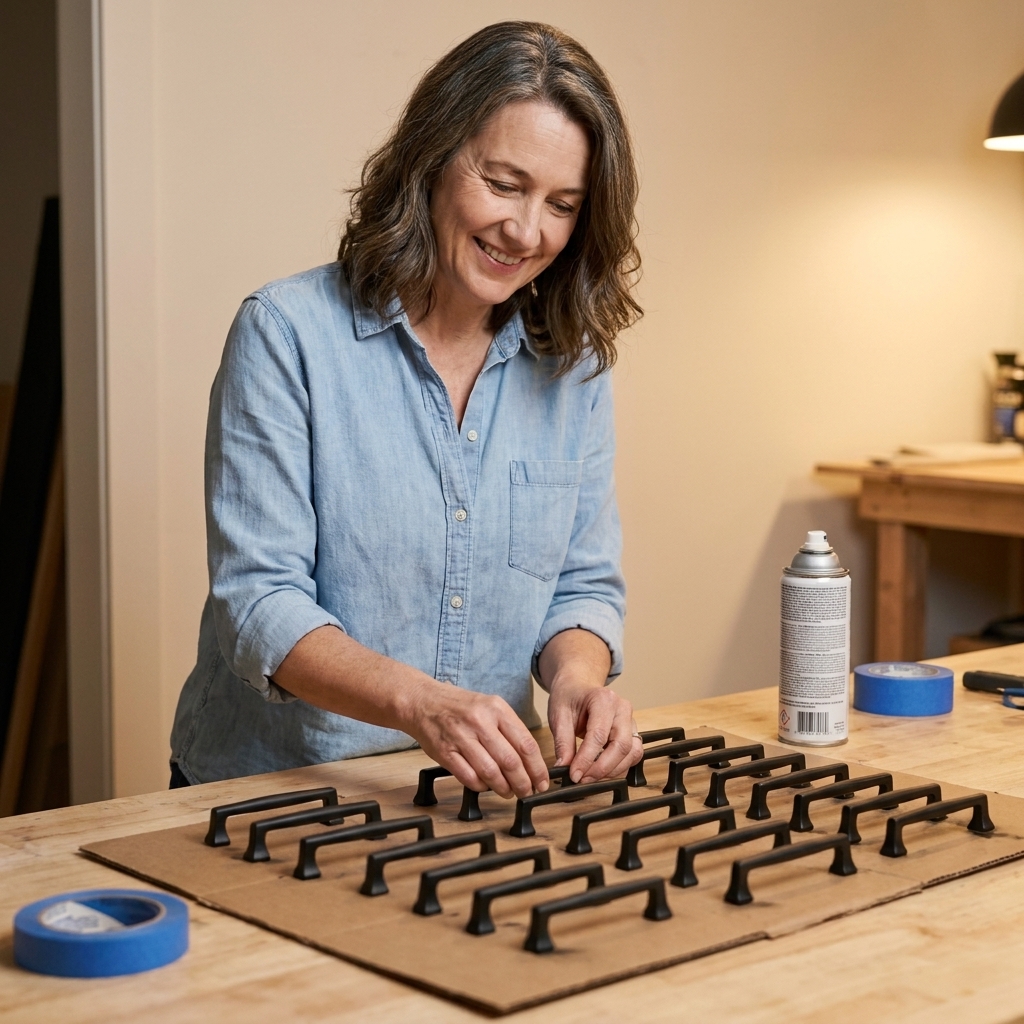
Dry is not cured. Cured is when the finish has hardened enough to resist scratches and dents.
- Handle carefully after: typically 24 hours
- Reinstall (best practice): 48 to 72 hours
- Full cure: typically 5 to 30 days depending on the product and conditions. Check the can.
If you reinstall too soon, you can twist the soft paint around screw holes or chip edges when you tighten the hardware.
My rule: Wait at least 48 hours before reinstalling, and tighten by hand, slowly, with a gentle touch.
Reinstall without chips
- Wash your hands or wear gloves to avoid oils while handling.
- Set hardware on a soft towel while you work.
- Use the correct screwdriver bit to avoid slipping and gouging.
- Use a hand screwdriver, not a drill.
- Tighten screws until snug, not cranked down.
- If a pull wants to spin while tightening, hold it with a microfiber cloth to protect the finish.
- If you feel the hardware grabbing and twisting the finish at the screw holes, back the screw off and re-tighten gently. Slow is the whole game here.
Troubleshooting
“My paint is scratching off with my fingernail.”
This is most often grease left behind, skipping bonding primer, or not enough cure time. Other common culprits are an incompatible primer and paint combo, not enough scuffing on slick plating, spraying heavy coats that stay soft, or painting in cold or damp conditions.
If it is truly scratching down to the original finish, strip or sand back the failure areas, degrease, scuff again, prime with bonding primer (or a specialty primer recommended for your metal), repaint with lighter coats, and give it more cure time.
“I got drips.”
Let them dry fully, then sand the drip smooth with 320 grit and respray light coats. Trying to wipe a drip while wet usually makes a mess.
“The finish feels gritty.”
This is typically dust or spraying in wind. Sand lightly with 320 grit once dry, wipe clean, and apply another light coat.
“My chrome hardware still feels slick.”
Chrome can be stubborn. Spend a little longer scuff sanding to fully degloss, then do two light coats of bonding primer. If it is true chrome plating and you want maximum durability, consider a primer specifically recommended for hard-to-bond metals. And even then, know that chrome is the highest-risk surface for chips over time.
FAQ
Is spray painting hardware better than brush painting?
For knobs and pulls, yes. Spraying lays down a smoother coat with fewer brush marks, and it wraps around curves more evenly. Brush painting also tends to leave thicker paint around edges that chips faster.
Do I need to sand before spray painting?
Yes. Even if you use a bonding primer, a quick scuff sand improves adhesion and durability. Think of it as giving the primer something to grab.
Can I spray paint hardware without primer?
You can, but it is the fastest route to chipping, especially on glossy or plated finishes. Primer is what makes the finish last under daily hand contact.
What sheen holds up best?
Satin and semi-gloss are my sweet spot for kitchens. Flat finishes can show fingerprints and burnish, while very glossy finishes highlight every little flaw.
How do I clean painted hardware?
For the first few weeks, treat it gently while it finishes curing. Use a damp microfiber cloth and mild soap if needed, and skip harsh cleaners or abrasive scrubbers.
My honest take
Painted hardware can absolutely last, especially if you prep well, use compatible products, and let it cure. Is it as bulletproof as brand-new factory-finished pulls? Not always. But if your budget says “refresh, not replace,” this is one of the most satisfying little upgrades you can do, and it pairs beautifully with freshly painted cabinets.
If you try this method, give your hardware the gift of time. That is what takes it from “looks good today” to “still looks good next year.”