If your cabinets have those old-school exposed hinges (the kind you can see when the doors are closed), switching to hidden European hinges is one of the biggest “wow” upgrades you can do without replacing your cabinet boxes. The doors close more quietly, the look is clean and modern, and you can finally get consistent reveals and alignment.
I am going to walk you through the process I use: remove the old hinges, fill the mortises and screw holes, prep the door and frame, then drill new holes for concealed hinges and plates. This is absolutely a weekend DIY if you go one door at a time and measure carefully.
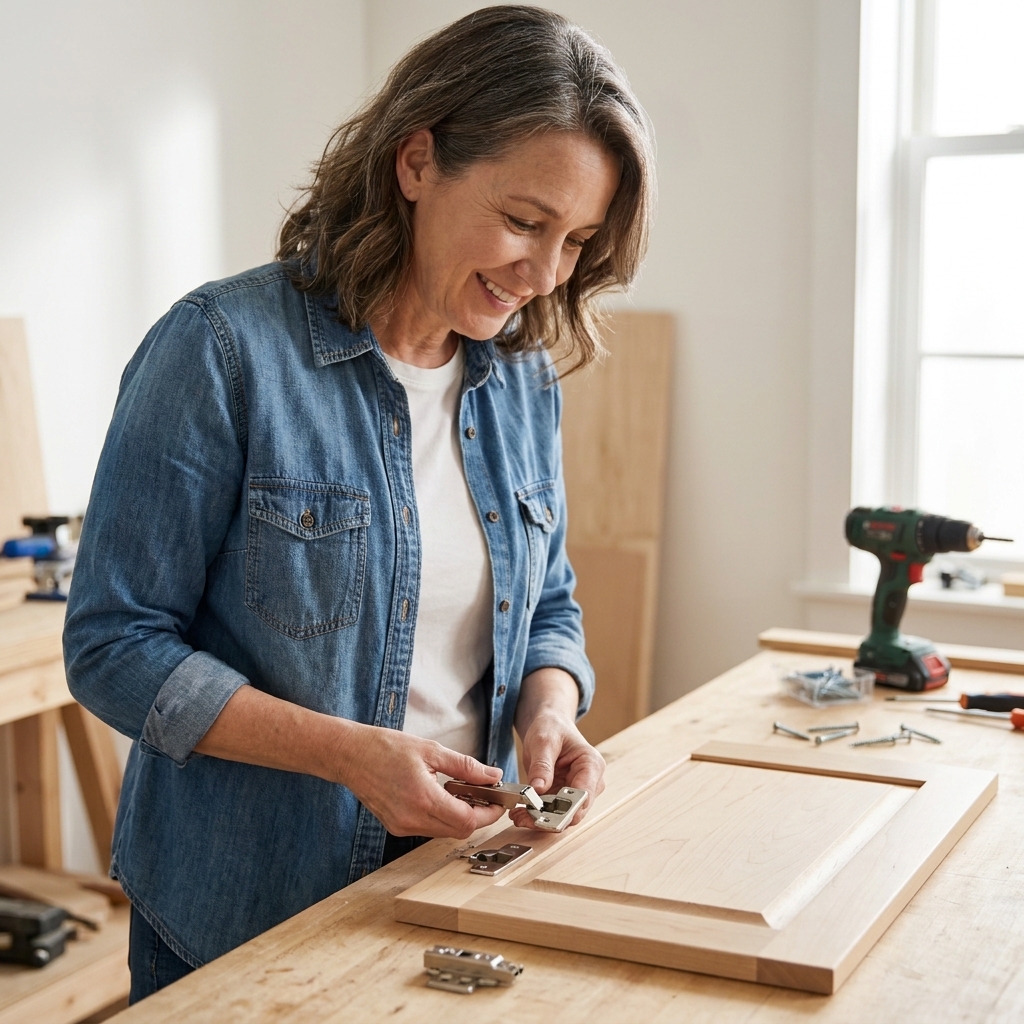
Before you start: make sure this conversion makes sense
Most cabinets with exposed hinges can be converted, but a quick inspection will save you frustration (and returned hardware) later.
You can usually convert if
- Your doors are 5/8 to 3/4 inch thick (about 16 to 19 mm). Both are common for concealed hinges, but always verify the hinge’s required cup depth and screw length first.
- You have enough “meat” on the door stile where hinges would go (generally 2 inches wide or more is comfortable).
- You know what cabinet style you have: face-frame (frame around the opening) or frameless (no frame, hinges mount to the side panel). Both can use Euro hinges, but they use different plates.
Slow down and double-check if
- Your doors are very thin (some older slab doors can be 1/2 inch). You may need a shallow cup hinge, different screws, or a different approach.
- Your doors are heavily warped or twisted. Hidden hinges can adjust a lot, but they cannot force a banana-straight reveal.
- The cabinet interior opening is tight. Some hinges need clearance so they do not hit pull-outs, interior dividers, or shelf hardware.
- You have inset doors. Inset conversions can be done, but clearance and alignment are less forgiving, and you may need inset-specific hinges, stops, or even door edge work.
My best tip: Buy one hinge and plate first and test it on one door before you order for the entire kitchen.
What you will need
Tools
- Drill or impact driver
- 35 mm Forstner bit (standard Euro hinge cup size)
- Hinge drilling jig (highly recommended for accuracy)
- 1/16 inch drill bit for pilot holes
- Combination square or tape measure and a sharp pencil
- Clamps (to hold the door steady while drilling)
- Chisel (for cleaning old mortise edges if needed)
- Sanding block or random orbital sander
Materials
- Concealed Euro hinges (105 to 115 degrees are common) and matching mounting plates
- Wood glue
- Wood filler and/or two-part epoxy filler (for deeper mortises)
- Hardwood plugs or hardwood dowels (for blown-out screw holes)
- Sandpaper: 80, 120, 180, 220 grit
- Bonding primer (especially if you are painting)
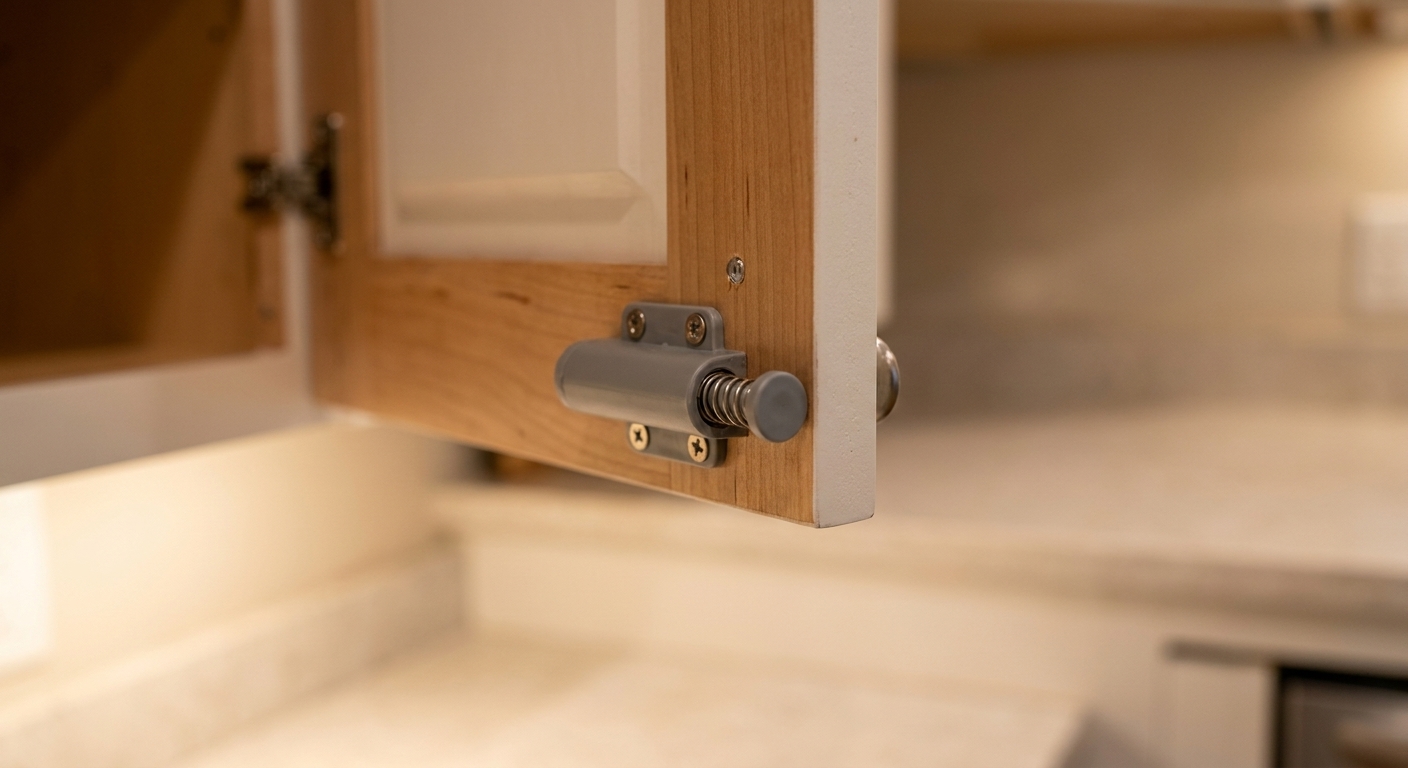
Hinge type note: If you want soft-close, you can either buy soft-close hinges or use standard hinges plus add-on soft-close dampers. I prefer soft-close hinges for simplicity.
Screw note: Use the screws provided by the hinge manufacturer when you can, especially for the hinge cup. Length matters when you are drilling close to the front face of the door. Some systems use special Euro screws or expansion dowels, so read the spec sheet.
Step 1: Remove the old hinges and label everything
Take the doors off and remove every hinge. Old exposed hinges vary a lot, and doors can be slightly different sizes from years of settling and paint buildup.
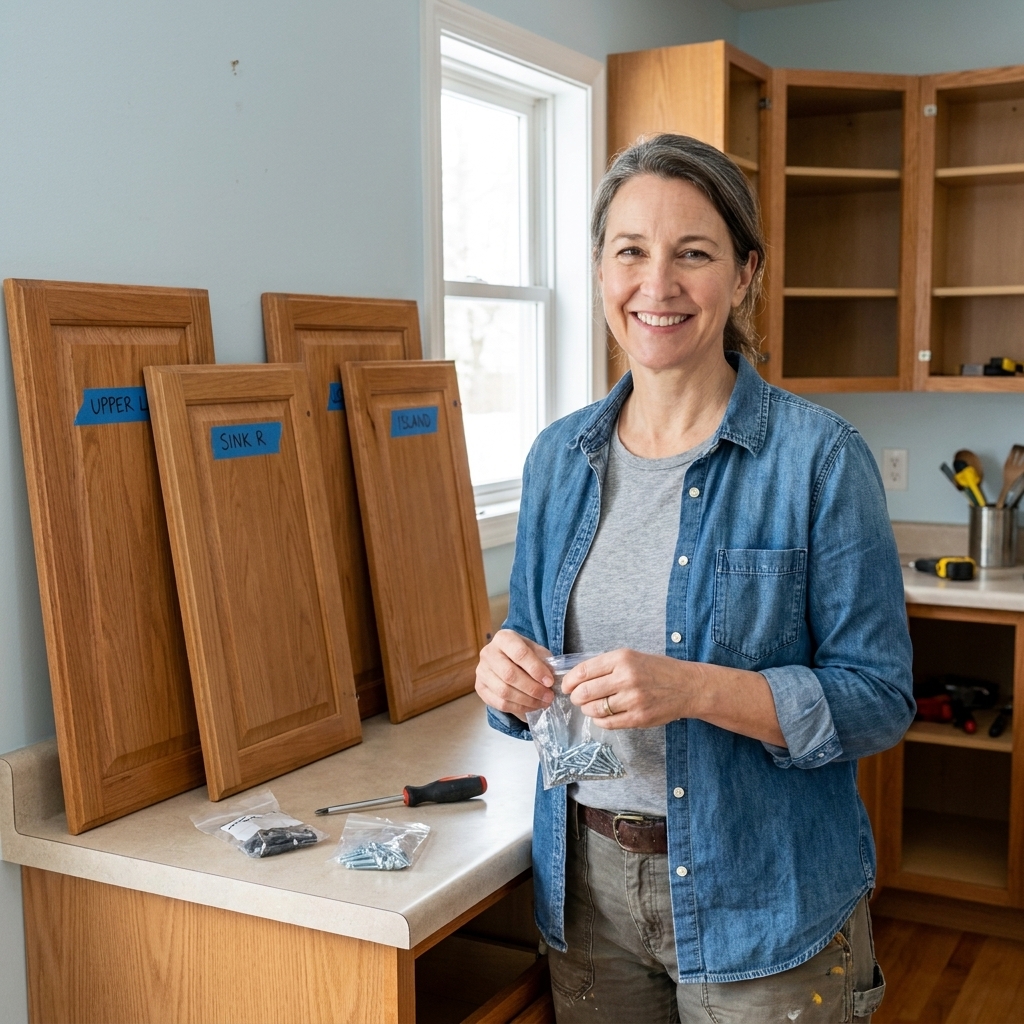
- Number each door with painter’s tape on the back (for example: “Upper 3”).
- Put screws from each door in a small bag labeled to match.
- Take a quick photo of each cabinet opening before you start patching. It is helpful later when you are deciding hinge placement.
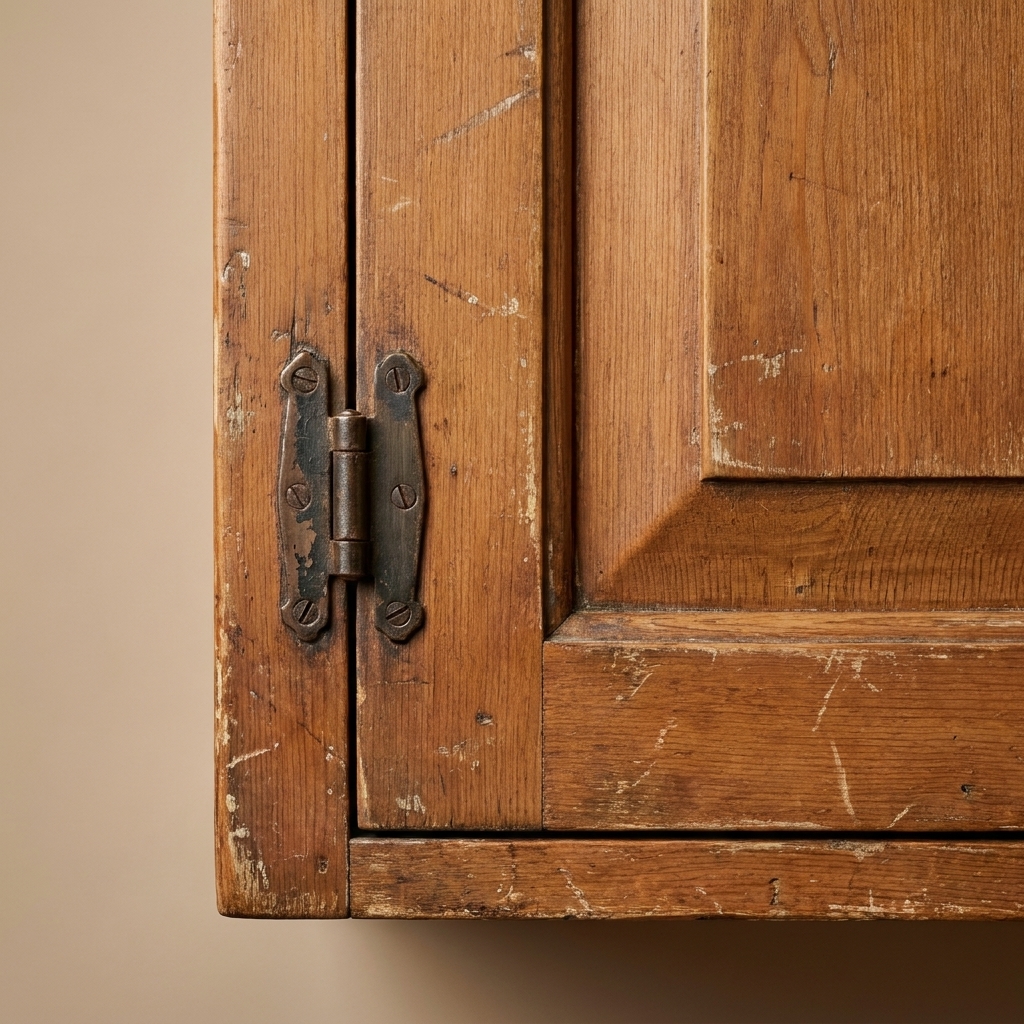
Step 2: Fill old hinge mortises and damage
Exposed hinges often leave a mortise on the door edge, the face frame, or both. You want these areas solid and flush so your paint job looks seamless and your new hinges have stable mounting points.
If the mortise is shallow and clean
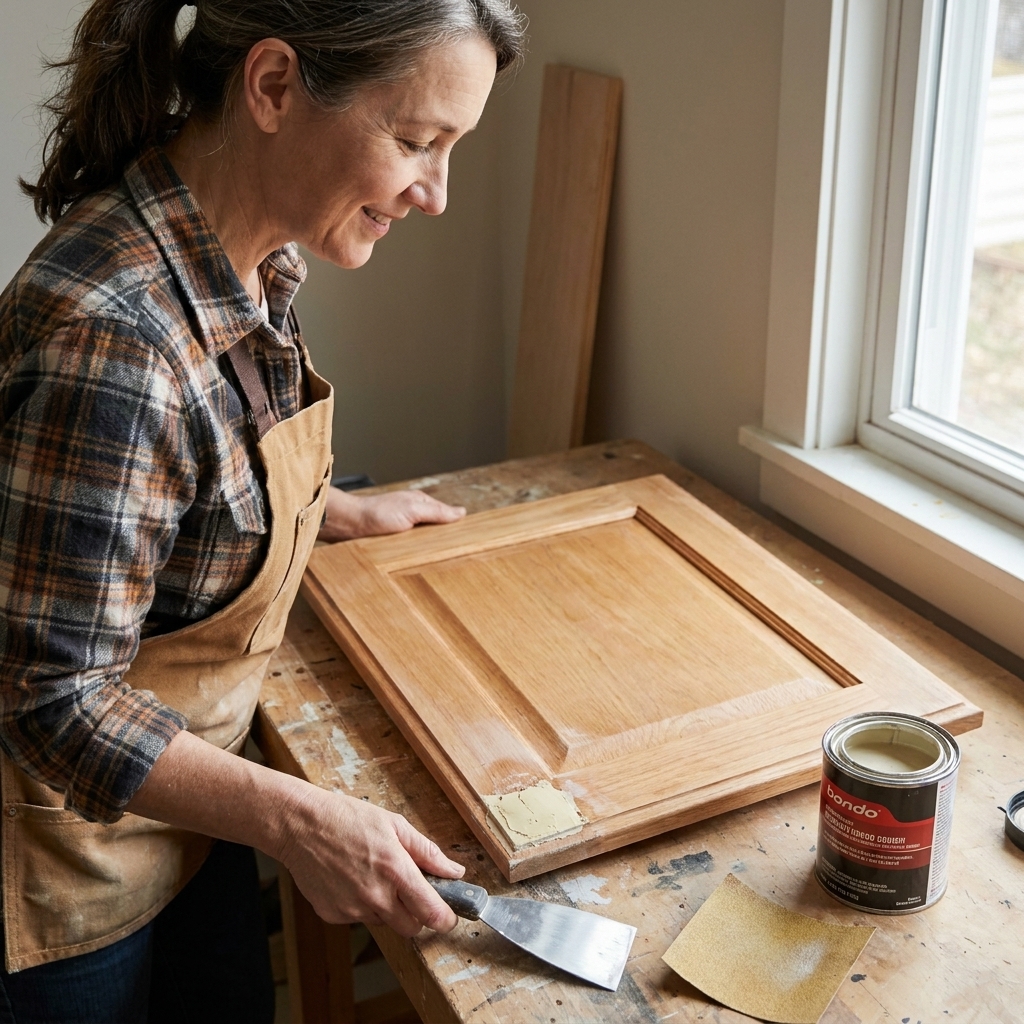
You can usually fill it with a quality wood filler.
- Scuff-sand inside the mortise with 80 to 120 grit so filler grips.
- Press filler in firmly. Slightly overfill.
- Let it cure fully (do not rush this, even if it feels dry on top).
- Sand flush, then finish-sand with 180 to 220 grit.
If the mortise is deep or the edge is chewed up
This is where I switch to a stronger method: a wood patch or epoxy filler.
- Best repair: Glue in a thin wood patch that fits the mortise (you can make one from a paint stir stick or thin hardwood scrap). Clamp until dry, then skim coat with filler and sand smooth.
- Fast repair: Two-part epoxy wood filler. It cures harder than standard filler and holds up well on edges where doors get handled.
Edge warning: Door edges take abuse. If you can glue in wood, do it. Pure filler on a door edge can chip later if it is thick.
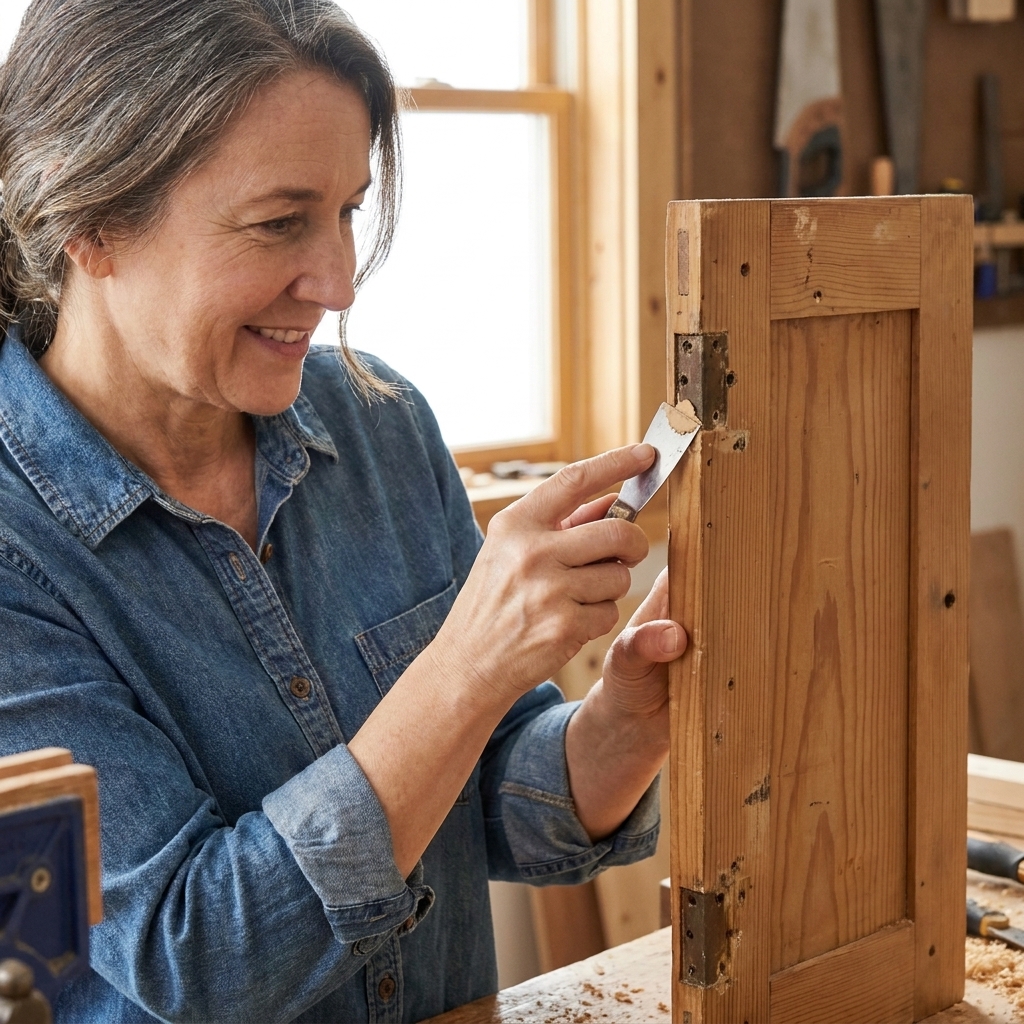
Step 3: Fix old screw holes the right way
Old hinge screw holes are almost never in a helpful place for your new concealed hinge plates. Even worse, they can interfere with new screws. The goal is to create fresh, solid wood where you need it.
For small stripped holes
- Drip a little wood glue into the hole.
- Tap in a few toothpicks (or a bamboo skewer).
- Trim flush once dry.
- Sand lightly.
For larger holes or split wood
- Drill the hole slightly larger to clean it up (use a bit that matches your dowel).
- Glue in a hardwood dowel or plug.
- Let dry, then flush-cut and sand smooth.
My rule: If you can wiggle a screw in the hole with your fingers, it is dowel time. Mounting plates need to stay tight for years.
Step 4: Pick overlay and match the right hinge system
European hinges are not one-size-fits-all. The big terms you will see are overlay and inset, plus cabinet style (face-frame vs frameless).
- Full overlay: Door covers most of the face frame opening. Very common and forgiving.
- Partial overlay: Doors share space with a center stile or have tighter gaps.
- Inset: Door sits flush inside the opening. Different hinges, tighter clearances, more precision.
Most older kitchens with exposed hinges are overlay doors, but measure to be sure.
How to measure overlay (quick check)
- Close the door.
- Measure how much the door overlaps the face frame on the hinge side (often 1/2 inch or 5/8 inch).
- Write it down for shopping.
Important reality check: Overlay alone does not fully determine what to buy. Your final hinge and plate choice depends on overlay, cabinet style (face-frame or frameless), door thickness, and the hinge’s required cup setback (often listed as the E dimension in the spec chart). When in doubt, use the manufacturer’s chart or a hinge finder tool from a cabinet-hardware supplier.
Step 5: Mark hinge locations on the doors
Most cabinet doors use two hinges. Tall or heavy doors may need three. Keep placement consistent across your kitchen for a professional look.
Common placement
- Top hinge: 3 to 4 inches down from the top of the door
- Bottom hinge: 3 to 4 inches up from the bottom of the door
- Third hinge (if needed): centered between them
When I add a third hinge: If a door is over about 40 inches tall, or it is heavy (solid wood, thick MDF, or glass), I plan for three sooner rather than later.
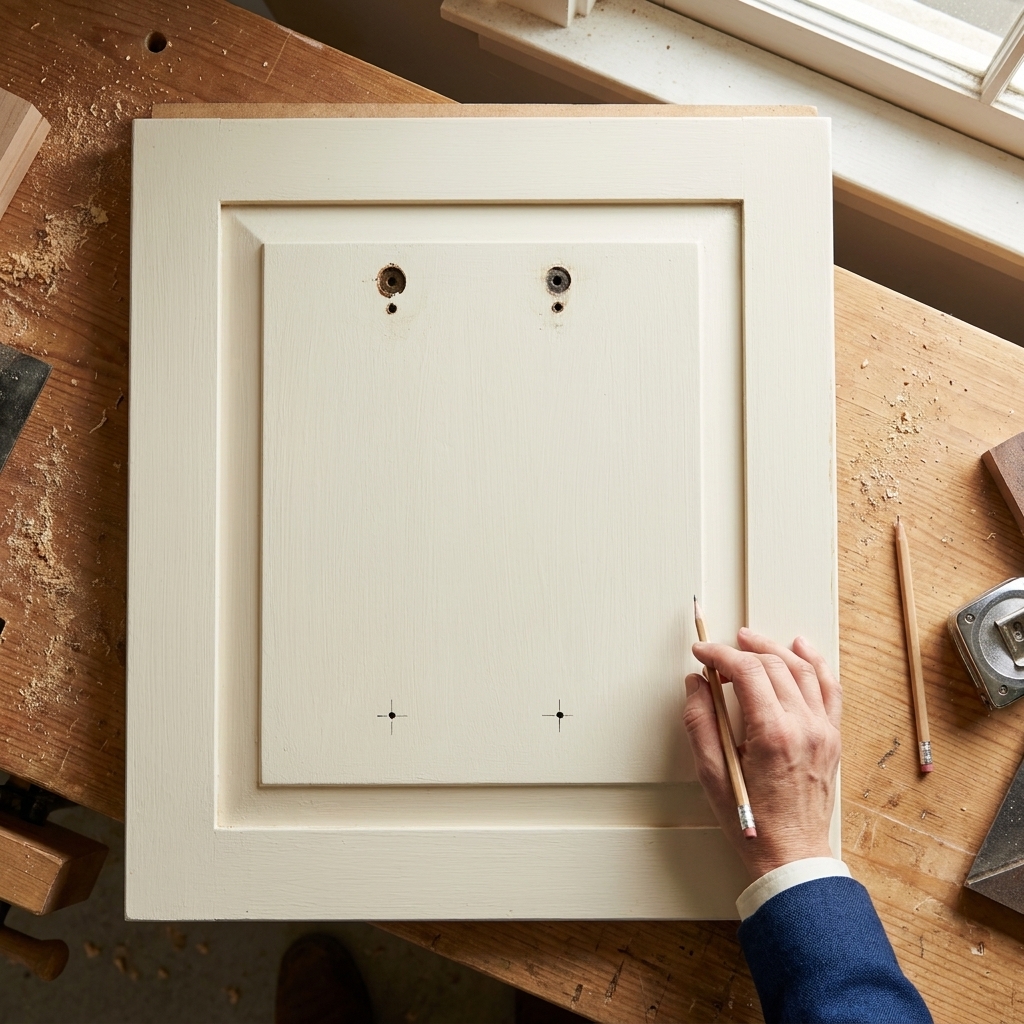
Measure from the top and bottom of each door and make light pencil marks on the back side (hinge side).
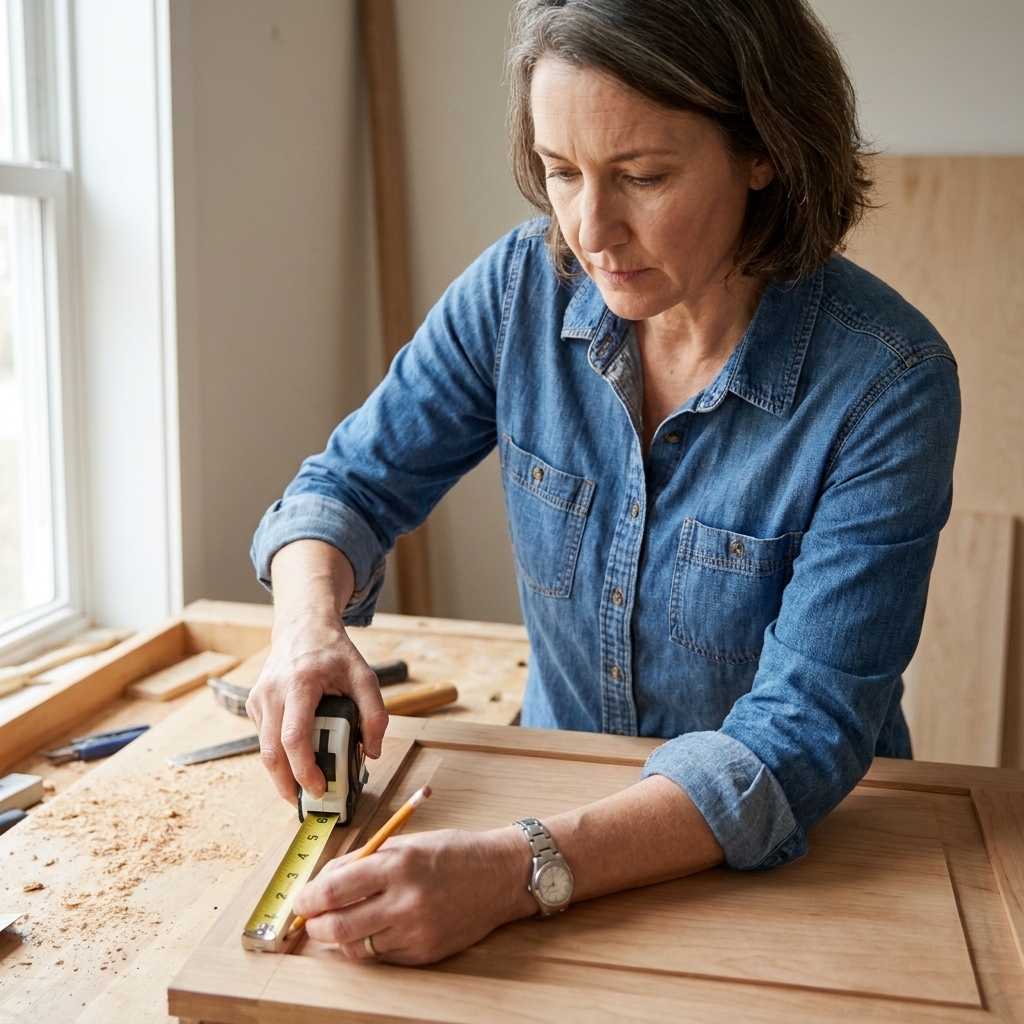
Step 6: Drill the 35 mm hinge cup holes
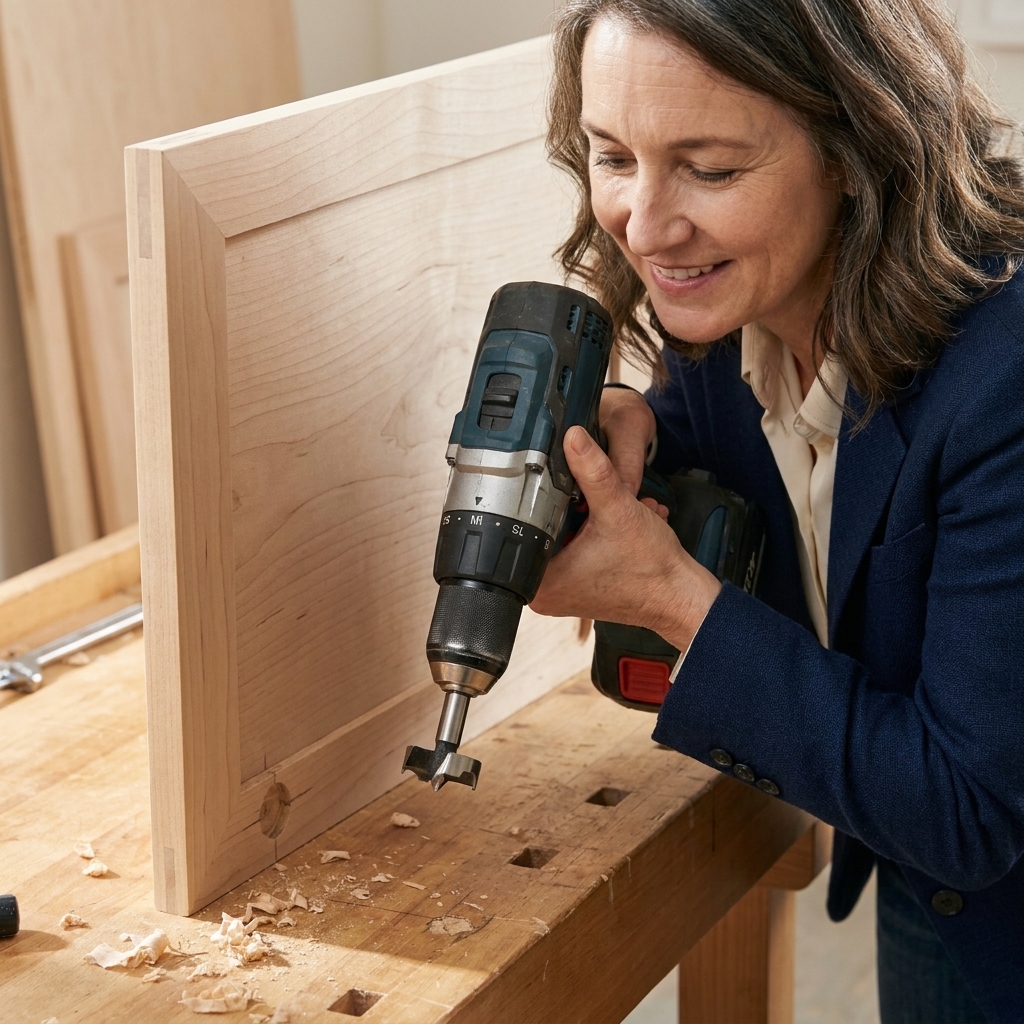
This is the part that makes people nervous, but it is very doable if you set up carefully. The hinge cup hole is typically 35 mm wide, and the cup depth is commonly around 11.5 to 13 mm, depending on hinge brand and model. Always confirm your exact hinge spec, and measure your door thickness before you commit.
Use a jig if you can
A hinge cup jig keeps your hole location consistent and helps prevent walking when the bit starts.
Basic drilling steps
- Clamp the door flat on your work surface with the back facing up.
- Set your jig and measurements based on the hinge spec sheet, especially the E dimension (the required distance from the cup bore to the door edge). This varies by hinge model and overlay. A common range is about 3 to 6 mm, but the chart is the boss.
- Use a 35 mm Forstner bit.
- Depth control: Set a drill stop collar or wrap tape around the bit as a depth marker. Do not drill through the front of the door.
- Drill slowly and steadily. Let the bit do the work.
- Test-fit the hinge cup. It should sit flush without forcing it.
My tip: Practice on a scrap board first. Even a five-minute test run will make your first real door feel easy.
Step 7: Attach the hinges to the doors
Once the cups fit nicely, install the hinge arms to the doors.
- Seat the hinge cup in the hole.
- Mark the screw holes.
- Remove the hinge and drill pilot holes (this prevents splitting and keeps screws straight).
- Screw the hinge to the door snugly, but do not over-tighten.
If your door is older and the wood is a little dry or soft, pilot holes are non-negotiable.
Step 8: Install mounting plates
The plates are where the hinge connects to the cabinet box. What you do here depends on whether your cabinets are face-frame or frameless.
Face-frame cabinets
Face-frame cabinets typically use face-frame plates that screw into the frame. Your hinge will clip or screw onto this plate depending on brand.
- Remove or lower nearby shelves while you work so you do not drill into them by accident.
- Hold the door in the opening at the height you want, using shims or playing cards to create an even reveal.
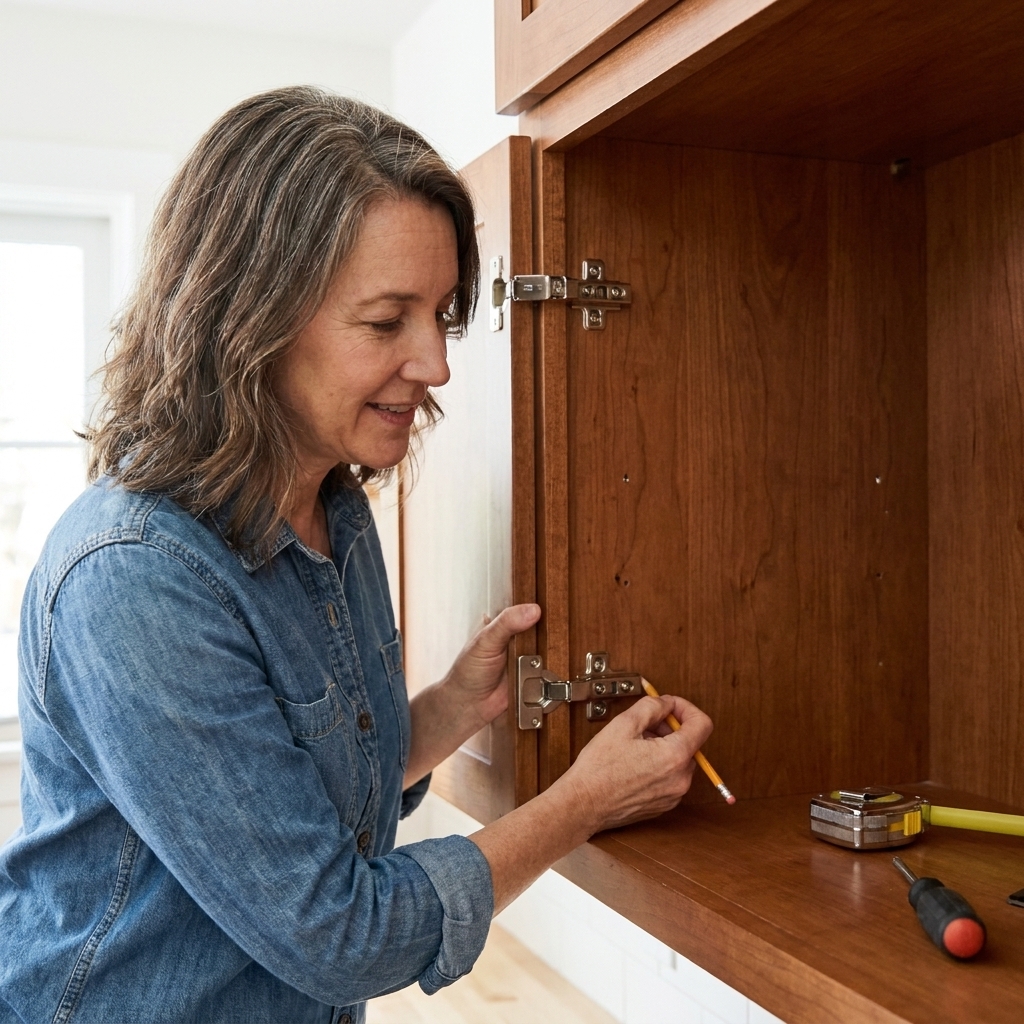
- With the hinge attached to the door, swing it into position and mark plate locations through the hinge. This keeps you honest with real-world geometry instead of guessing.
- Pre-drill pilot holes. If you have one, a self-centering Vix bit makes this step cleaner.
- Install the plates, then clip or screw the hinges onto them.
Frameless cabinets
Frameless cabinets mount plates to the cabinet side panel. Many systems use Euro screws (system screws) that fit pre-drilled 5 mm holes, but wood screws are also common in retrofits. Follow the hinge brand’s drilling pattern and plate specs for your cabinet thickness.
Helpful trick: A simple support block clamped inside the cabinet opening can hold the door while you mark plate locations.
Step 9: Hang the doors and fine-tune alignment
This is where concealed hinges shine. Most Euro hinges have three adjustments:
- Side-to-side: aligns gaps between doors
- In-and-out: brings the door closer to or farther from the cabinet
- Up-and-down: adjusts door height (sometimes on the plate)
Close the doors, step back, then adjust in tiny increments. I like to get all doors pretty good first, then do a second pass to fine-tune reveals.
Soft-close note: If your hinges have an on-off soft-close switch, turn soft-close off while you are aligning. Turn it back on when everything looks right.
How this fits into painting and refinishing
If you are also painting your cabinets, hinge conversion is best done before your final paint coats. Here is the order I recommend:
- Remove doors and hardware
- Degrease and scuff-sand
- Fill mortises and holes, sand smooth
- Prime repaired areas (spot prime), then prime everything
- Drill hinge cup holes and do a test fit
- Paint doors and frames
- Final install and adjustments
Drilling after paint is possible, but it increases the risk of chipping. If you must drill after paint, use painter’s tape over the drill area and go slow.
Troubleshooting
The hinge cup hole is too deep
If you barely went too deep, the hinge may still work. If you drilled dangerously close to the front face, stop and reassess. You may need a different hinge with a shallower cup, shorter screws, or a different mounting method. If the front face is compromised, replacing the door can be the cleanest fix.
The cup hole is too close to the edge and the wood cracked
Remove the hinge, wick wood glue into the crack, clamp, and let it dry. If the crack is severe, you may need to add a thin wood patch on the edge and re-drill using the correct E dimension for your hinge.
The door will not sit flush
Check for obstructions inside the cabinet and verify you have the correct plate type for your cabinet style. Then use the in-and-out adjustment to bring the door into plane.
My reveals are uneven
Work from the cabinet boxes out. Make sure the face frame is sound and not loose. Then adjust doors side-to-side, then up-and-down. If the cabinet is out of square, perfect reveals everywhere may not be possible, but you can usually make them look very consistent.
Quick FAQ
Do I have to fill the old hinge mortises if I am not painting?
If the mortises are visible with the door closed or if they weaken the edge, yes. If they are fully hidden and the door edge is still strong, you can sometimes leave them. Most of the time, though, filling is worth it for durability and resale polish.
How many hinges per door?
Two for most standard doors. Add a third hinge for taller doors or heavier doors. If your door is over about 40 inches tall, I usually plan for three.
Can I do this without a hinge jig?
You can, but it is much harder to keep your cup setback consistent. A jig is one of those budget-friendly tools that pays for itself quickly.
Should I convert hinges before or after new pulls and knobs?
Either works, but I like doing hinges first. Once doors are aligned, it is easier to place hardware so it looks perfectly level across the run.
My best advice: do one door first
When I tackled my first hinge conversion, the confidence came from finishing a single door completely, from patching to drilling to adjusting. Once you have one success under your belt, the rest becomes a simple repeatable process.
If you are already painting your cabinets, this upgrade is the cherry on top. Clean exterior lines, soft-close doors, and no more dated exposed hardware stealing the spotlight.