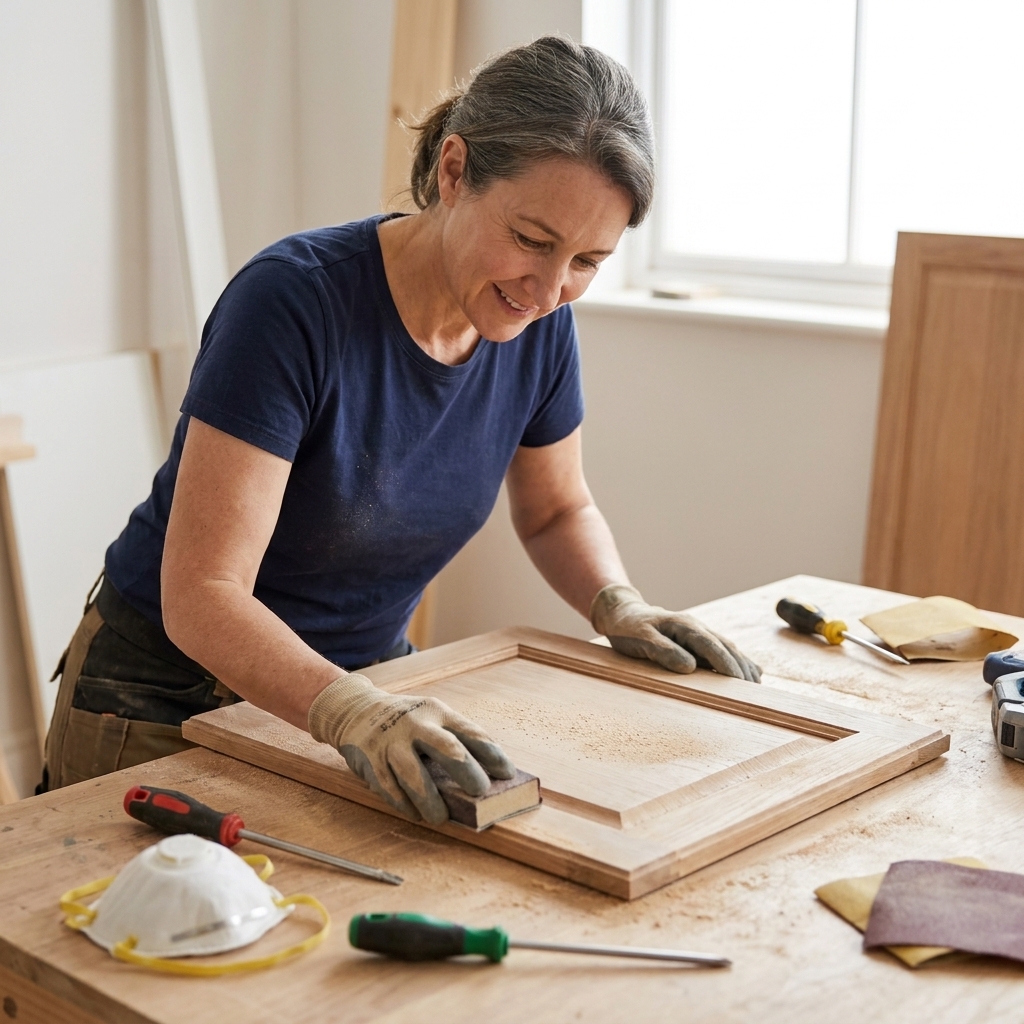
If you have ever finished a coat of paint on your cabinets and felt gritty bumps when it dried, leftover dust is often the culprit. Sanding dust is sneaky. It hides in hinge corners, clings to door profiles, and floats right back onto your surfaces as soon as you start moving around. And to be fair, dust is not the only cause. You can also get nibs from debris in the paint, lint from a roller cover, a dirty brush, overspray dry fall, or a quick draft carrying junk across a wet coat.
The good news is that you do not need fancy equipment to get a truly clean surface. You just need the right combination of vacuuming, microfiber wiping, and, when it makes sense, a tack cloth. Here is how I choose between them, and the exact “final clean” routine I use before primer and topcoats.

Why dust removal matters
Paint can only level out so much. When dust is left behind, it turns into:
- Grit and nibs that you feel with your hand and see in bright light
- Weaker adhesion where primer cannot properly grab the surface
- Texture and bumps when dust gets trapped in the coating
- Extra sanding between coats, which adds time and frustration
And while dust does not usually cause true fish eyes on its own, it can make surface problems more obvious. Fish eyes and craters are more commonly linked to contamination like oil, silicone, wax, polish, or cleaner residue.
I like to think of dust removal as the last step of prep and the first step of a professional-looking finish.
The three main tools
1) Vacuum
A vacuum does the heavy lifting. It removes the bulk of sanding dust without smearing it around.
- Best for: raw sanding dust on doors, frames, drawer fronts, and inside corners
- Where it shines: shaker grooves, raised panels, beadboard, hinge areas, and cabinet boxes
- Biggest risk: blowing dust back out if your filter is clogged or your exhaust is dusty
My favorite setup: a shop vac with a clean filter and a soft brush attachment. The brush keeps you from scratching and helps lift dust out of profiles.
If you are sanding MDF, primer, or filler: consider a HEPA filter or a fine-dust bag. Those super-fine powders are the ones most likely to sneak through a basic filter and end up right back in the air.

2) Microfiber cloth
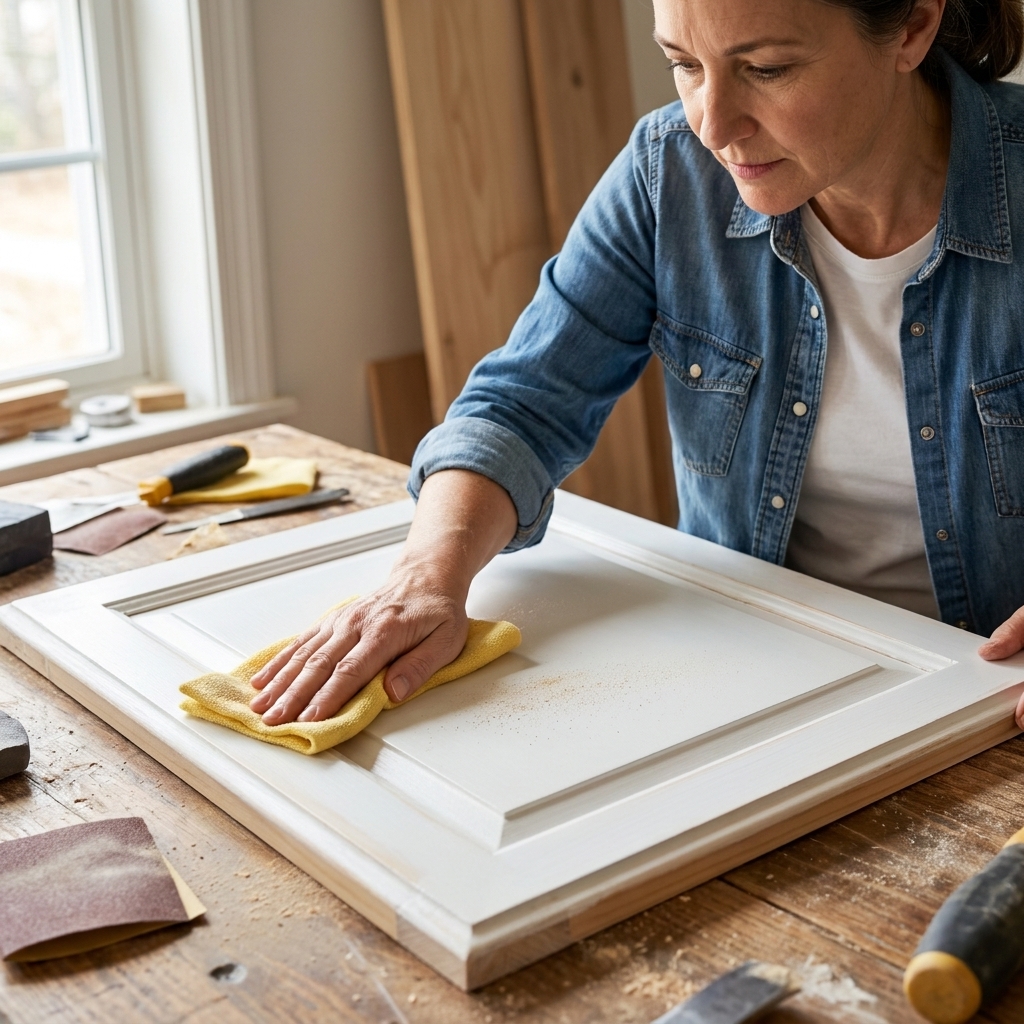
Microfiber is my workhorse for the “final wipe” stage. It grabs dust instead of pushing it.
- Best for: flat surfaces after vacuuming, and any time you are wiping with a cleaner
- Where it shines: cabinet faces, door backs, drawer fronts, and lightly textured wood grain
- Biggest risk: using a fabric softener washed cloth, which can leave residue and reduce absorption
Tip from my own mistakes: keep a dedicated stack of microfiber cloths for painting prep only. Wash them without fabric softener and skip dryer sheets.
One more habit that helps: fold the cloth into quarters and turn to a clean face often. Once one side looks gray, it is not cleaning anymore, it is redepositing.
3) Tack cloth
Tack cloths are lightly sticky cloths designed to pick up the last little specks of dust right before paint. They can be super helpful, but they are not my first step.
- Best for: a quick final pass after vacuuming and microfiber, especially right before spraying or rolling the first coat
- Where it shines: smooth doors and drawer fronts where you want that extra level of clean
- Biggest risk: leaving behind residue if you press too hard, especially on warm days or on very porous surfaces
My rule: if I use a tack cloth, I use a light touch. You are dusting, not scrubbing.
Compatibility note: some modern tack cloths are labeled “waterborne-safe” or “low tack,” which is what I look for when I am using water-based primers and cabinet paints. When in doubt, follow your paint system’s instructions or test on the back of a door.
What should you use?
Brushing or rolling
Vacuum + microfiber is usually enough. I add a tack cloth only if I am seeing dust settle again, or if I am working in a space where sanding dust is unavoidable.
Spraying
Use all three. Sprayers highlight every speck. Vacuum first, wipe with microfiber (barely damp with water or a compatible cleaner), let it fully dry, then a very light tack cloth pass right before spraying.
Inside cabinet boxes
Vacuum is the star here. Follow with microfiber. Tack cloths can snag on rough edges and corners, so I only use them on smoother interior surfaces.
After wood filler or sanding primer
Definitely vacuum. Filler dust is extra fine and loves to settle back into corners. After vacuuming, microfiber wipe, then consider tack cloth right before your next coat.
My dust-free routine
This is the exact order I use on cabinet doors, drawer fronts, and face frames.
Step 1: Let dust settle
If you just sanded, pause for a couple minutes. If you immediately start wiping, you can end up chasing airborne dust.
Step 2: Vacuum everything
- Start with door profiles, corners, and edges
- Then vacuum flat faces
- Do the backs too, especially around hinge cup holes
- Vacuum face frames and the inside lip where doors close
Quick check: run your hand over the surface. If you feel powder, vacuum again before you move on.
Step 3: Microfiber wipe (dry or barely damp)
I prefer a microfiber cloth that is either dry or just barely damp with water. The goal is dust pickup, not soaking the surface.
- If your surface is clean but dusty: dry microfiber
- If dust is clinging: barely damp microfiber, then let it dry fully
Dry time matters: do not paint over moisture. Give it a few minutes, or longer in humid conditions, until it looks and feels completely dry.
Raw wood and MDF edges: be extra sparing with water. A too-wet wipe can raise grain on raw wood or fuzz up MDF edges, which means more sanding.
If you use a degreaser or deglosser earlier in prep, this wipe is still important because sanding dust can land afterward.
Step 4: Tack cloth only as a last pass
If I am using a tack cloth, I unfold it fully and use feather-light pressure. One or two passes is plenty.
Important: if your tack cloth feels very sticky, test it on the back of a door first. If it leaves any tackiness, skip it and stick with microfiber, or switch to a waterborne-safe, low-tack version.
Step 5: Clean the room too
Dust on the floor becomes dust in your paint. Before I prime, I like to:
- Vacuum the floor around my work area
- Wipe down a work table or sawhorses
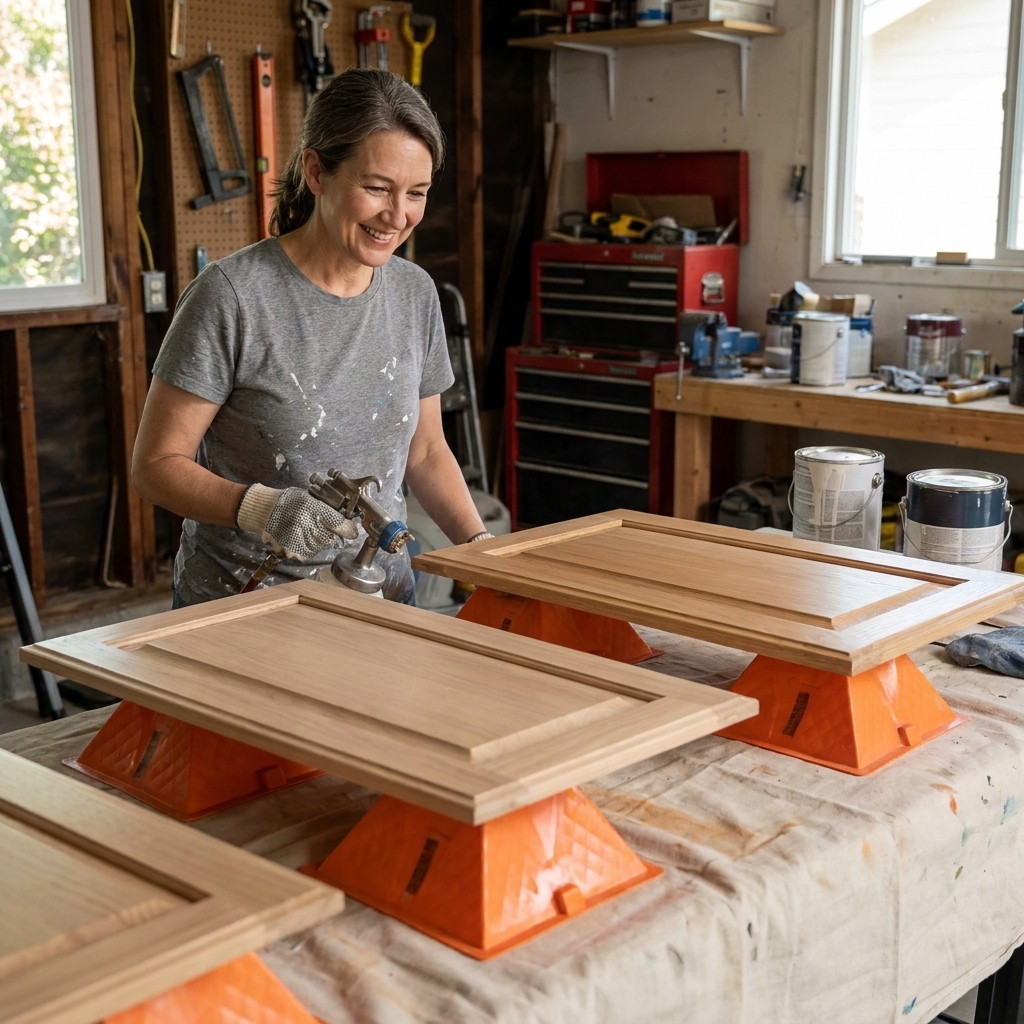
- Keep doors elevated on painter’s pyramids or screws in 2x4s so they are not sitting in dust
What I avoid: sweeping with a broom or using a fluffy duster. Both tend to kick fine dust back into the air.
Common mistakes
Using paper towels
Paper towels tend to shred and push fine dust around. Microfiber is far more reliable.
Vacuuming with a dirty filter
If your shop vac filter is packed with dust, suction drops and exhaust can puff dust back into the air. A quick filter clean makes a big difference.
Skipping edges and hinge areas
Most visible grit shows up along inner edges, profiles, and around hinge cup holes because that is where dust hides.
Overworking the tack cloth
Pressing hard does not pick up more dust. It increases the chance of residue. Light touch wins.
What about compressed air?
I get asked this a lot. Compressed air can blast dust out of crevices, but it also spreads dust everywhere unless you are working in a controlled space. If you use it, do it outside, then vacuum and microfiber wipe afterward. For most DIY cabinet projects, a vacuum with a brush attachment is cleaner and simpler.
FAQ
Do I need a tack cloth before painting cabinets?
Not always. If you vacuum thoroughly and wipe with clean microfiber, you can get a great finish. Tack cloths are helpful as a final insurance step, especially for sprayed finishes or glossy, smooth doors where every speck shows.
Can tack cloth hurt adhesion?
It can if it leaves residue. That usually happens when you press hard, use a very sticky cloth, or wipe a warm surface. Use a light touch, and if you ever feel tackiness afterward, switch back to microfiber or a low-tack, waterborne-safe tack cloth.
Should I wipe with mineral spirits before painting?
I stick to what the primer and paint manufacturer recommends. For many water-based cabinet systems, a water-damp microfiber wipe after sanding is plenty. Mineral spirits can be useful in certain situations, especially with some oil-based products, but I do not treat it as a universal last step before waterborne paint unless the product label or spec sheet specifically allows it. If you do use it, allow full evaporation and follow compatibility guidance.
How clean is clean enough?
My test is simple: run a clean hand over the surface in good light. If you feel powder or grit, keep cleaning. If the surface feels smooth and looks uniform with no dusty film, you are ready to prime.
My bottom line
If you only remember one thing, make it this: vacuum first, microfiber second, tack cloth last. That order prevents smearing dust around and gives your primer a clean, solid surface to grab. It is one of those unglamorous steps that makes your cabinets look like they were professionally finished, even on a tight budget.