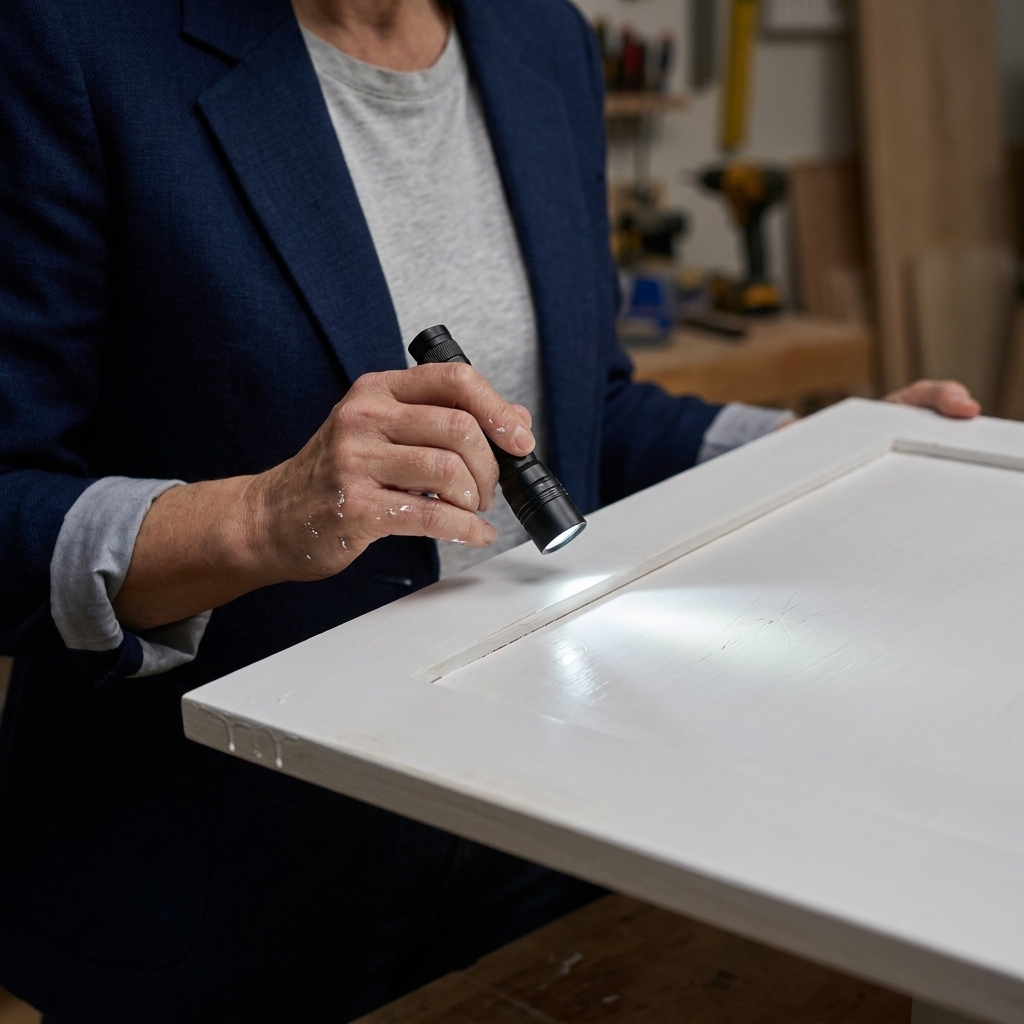
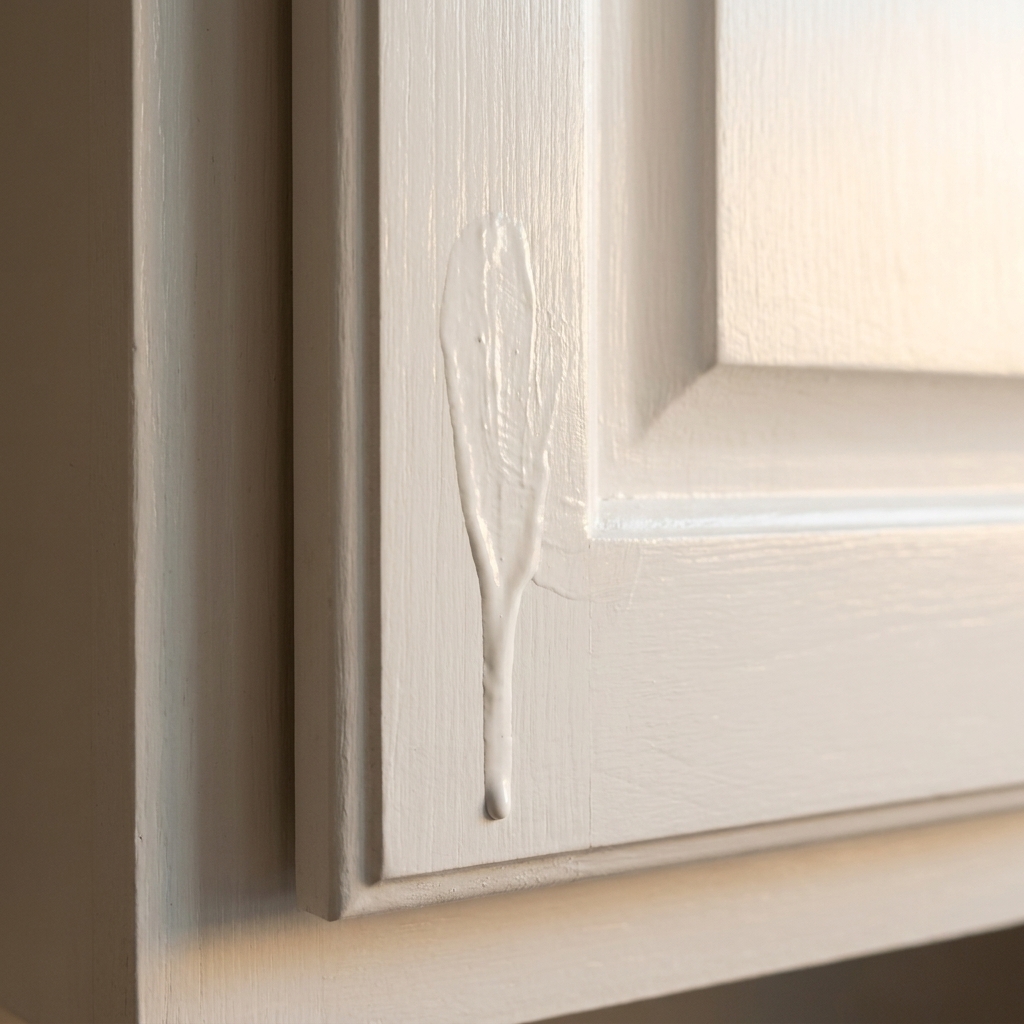
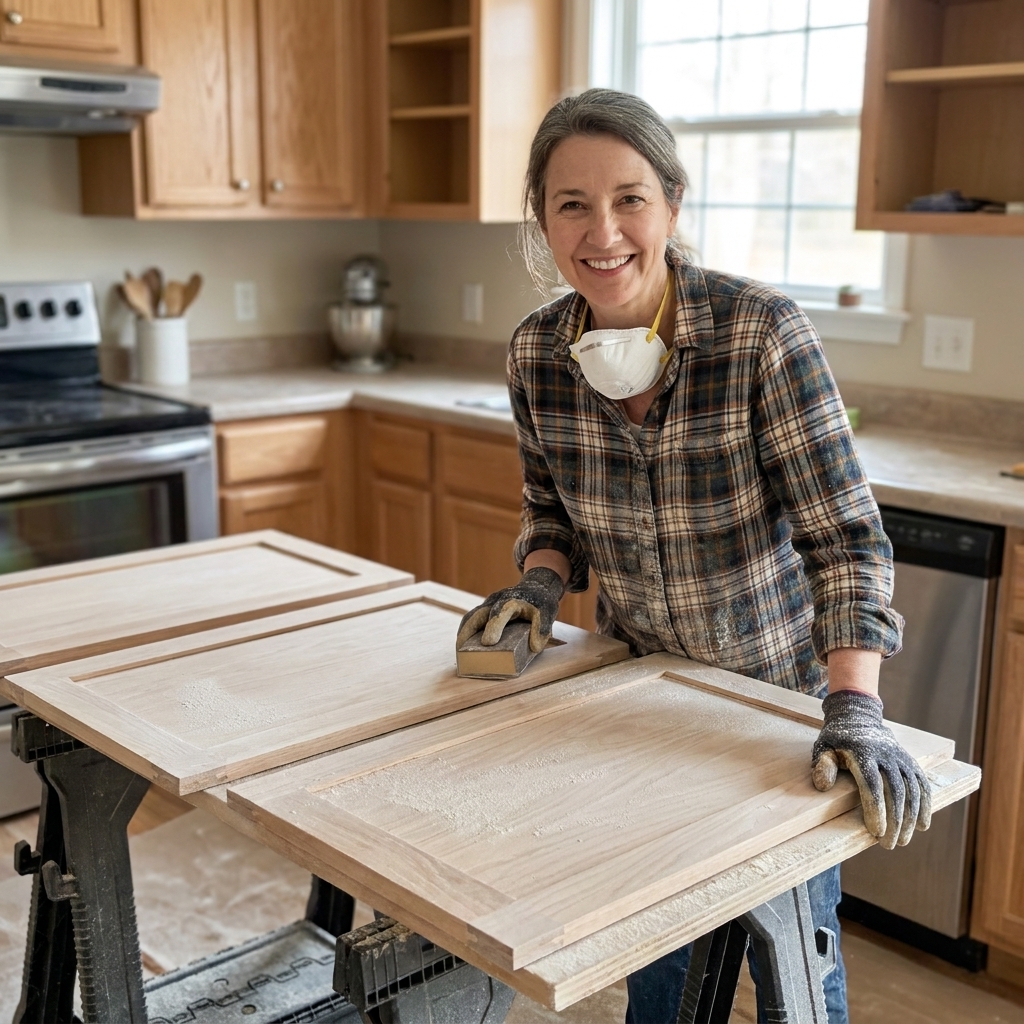
If you have ever stepped back from freshly painted cabinets feeling proud… only to spot a weird ridge or a dried drip the next morning, you already understand the heartbreak. The fix is not better luck. It is raking light, a simple lighting trick that makes surface flaws jump out before the paint locks them in.
A raking light is just a bright light aimed low and across the surface, not straight at it. That low angle throws tiny shadows from anything that is not perfectly flat: sanding gouges, dried glue, roller texture, sneaky drips, and even residue you thought you cleaned.
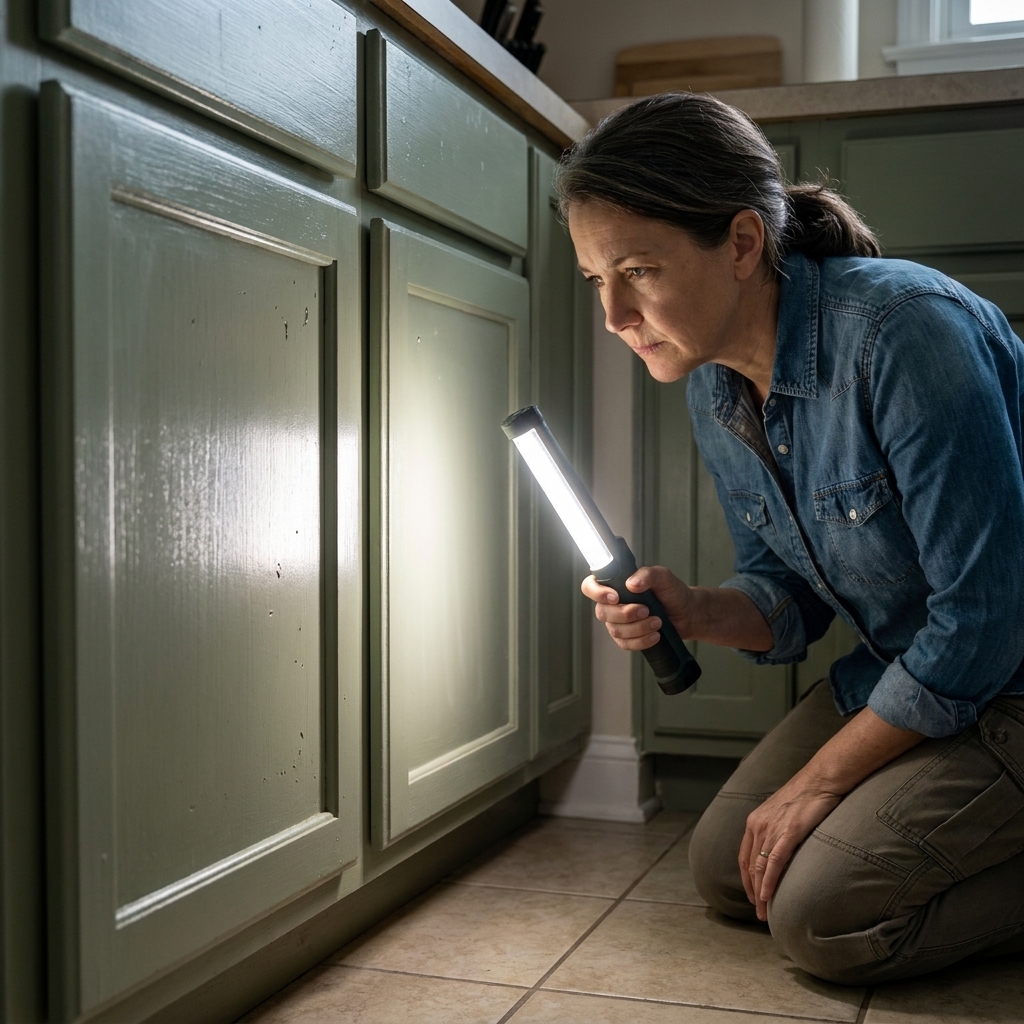
What raking light reveals
Most kitchens have ceiling lights that blast straight down. That lighting is fine for making dinner, but it is terrible for checking paintwork because it flattens everything out. Raking light does the opposite.
- Drips and runs along door profiles, rails, and stile edges
- Heavy primer ridges and lap marks from brushing
- Swirl scratches from sanding sponges used too aggressively
- Cross-grain scratches that show up later under satin and semi-gloss
- Dings and divots you forgot to fill, especially near knobs
- Old glue smears around trim or decorative molding
- Contamination spots from oil, wax, polish, or silicone that can cause fish-eyes or craters, plus plain kitchen grease that can lead to crawling or adhesion problems
- Dust nibs and tiny hairs trapped in primer or paint
I use raking light at three moments: after cleaning, after sanding, and between coats. It is like having a “problem finder” on demand.
How to use raking light
1) Turn off overhead lights
Switch off the overhead lights if you can, or at least dim them. You want the low-angle light to be the star so shadows are easy to see.
2) Put the light low and to the side
Set your light 6 to 18 inches from the surface and aim it across the door or face frame. For doors on sawhorses, I like the light at one corner aiming diagonally across the panel.
3) Sweep, then change angles
Move the light or your body so the beam hits from a couple directions. Some flaws only show when the light is coming from the left or right.
4) Mark flaws immediately
Keep a pencil handy (not a marker). Circle a drip, put a tiny dot near a scratch, or lightly outline a dent so you can find it again once the light moves.
5) Fix while it is still fixable
- Wet paint run: gently “tip off” with the tip of a quality brush or a foam brush, then feather lightly.
- Dry run or ridge: let it cure, then level it. I usually start with 320 for light defects and finish with 400. If it is a heavier ridge, you may need to start closer to 220 to 320 and work back up, then spot-prime if needed.
- Grease or residue spot: stop and clean again. Degrease, rinse, dry, then sand and re-prime. Do not paint over it and hope.
Best lights to use
You do not need fancy photography lighting. You need bright, portable, and directional. Here are the workhorse options that actually help during cabinet prep and painting.
1) Slim LED bar work light
This is my favorite for doors laid flat because you can place it close to the surface and get a long, even beam.
- Why it works: wide beam, low profile, easy to position
- Look for: adjustable stand or strong magnet, roughly 1000 to 3000 lumens, diffuser cover, option to plug in (or a big battery)
- Best for: cabinet doors, drawer fronts, long face-frame runs
2) Handheld flashlight
A bright flashlight at a low angle is shockingly effective. If you already own one, start here.
- Why it works: super directional, easy to aim into corners and profiles
- Look for: a focused beam option, comfortable grip, rechargeable battery
- Best for: inside corners, door profiles, toe kicks, face-frame edges
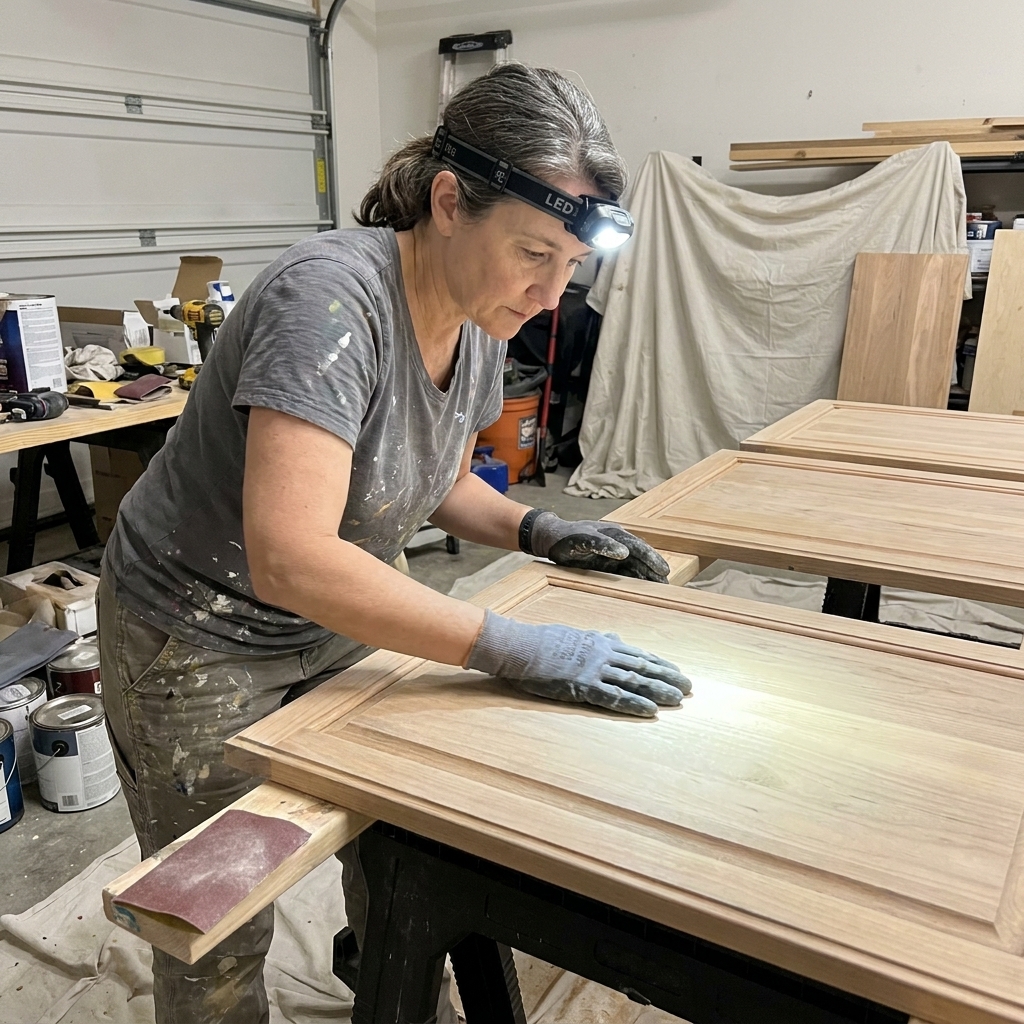
3) Headlamp
A headlamp is perfect when you are sanding, filling, and spot-fixing because the light goes wherever you look.
- Why it works: hands-free, great for close-up inspection while you work
- Look for: roughly 300 to 600 lumens, adjustable tilt, comfortable strap, rechargeable battery, a spot mode (not only flood)
- Best for: sanding checks, filling nail holes, inspecting profiles and edges
4) Clamp light with an LED bulb
A classic clamp light is budget-friendly and can be aimed from almost any angle. Pair it with a bright LED bulb and you are in business.
- Why it works: easy to aim, easy to clamp to a sawhorse or shelf
- Look for: sturdy clamp, metal guard, bright LED bulb
- Best for: garage setups, doors on racks, face frames in place
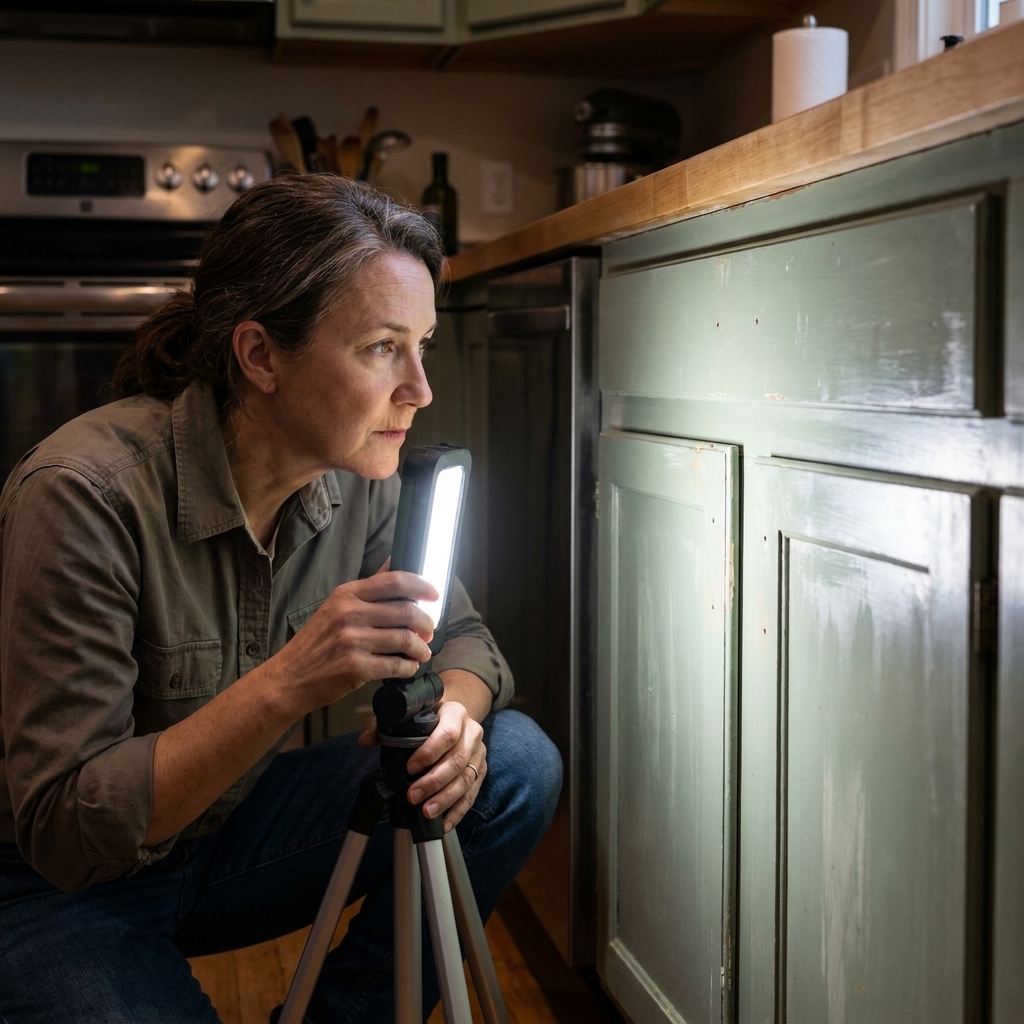
5) Tripod LED work light
If you are painting cabinets in place, a tripod work light can wash the whole run of uppers or lowers, then you can drop it low and rake the light along the line.
- Why it works: stable, adjustable height, lights a larger area quickly
- Look for: adjustable head tilt, roughly 2000 to 5000 lumens, plug-in option for long sessions
- Best for: face frames, long cabinet runs, final pre-topcoat checks
Brightness and color
People get hung up on lighting specs, so here is the simple version for cabinet refinishing. Think of these as helpful starting points, not hard rules.
- Brightness (lumens): For raking light, brighter is usually better. As a rough range, aim for 800+ lumens for a flashlight style light, and 1500 to 3000+ for a work light. Beam shape and how close you can place the light matter just as much as the number.
- Color temperature (Kelvin): A neutral to cool white helps flaws pop. I like 4000K to 5000K for inspection. Warm bulbs can hide texture.
- Beam shape: A more focused beam shows sharper shadows. A flood beam is fine for general work, but a spot or directional option is excellent for inspections.
Where it saves time
After cleaning
This is when you catch the shiny spots that are often grease, wax, polish, or old cleaner residue. If you can see a slick patch under raking light, your primer might not love it.
After sanding
Perfect moment to spot cross-grain scratches and gouges. Fix them now, not after you have primer in every pore.
After primer
Primer is a truth-teller. Raking light will show every little ridge, dent, and sanding scratch you missed. If you only do raking light once, do it here.
Between coats
Quick checks between coats prevent texture stacking where each coat builds on the last coat’s flaws.
Gloss makes flaws louder
The shinier the finish, the more it telegraphs defects. Satin, semi-gloss, and high-gloss cabinet paints reflect light like a spotlight, so tiny scratches and ridges that seemed “fine” in primer suddenly look obvious. Raking light helps you get ahead of that.
Quick routine
- Dim the overhead lights so shadows are easy to see.
- Hold the light low at one corner and sweep across the surface.
- Change direction and sweep again.
- Feel the surface where the light shows a shadow. Your fingertips confirm what your eyes suspect.
- Mark and fix immediately, then re-check before moving on.
It is a tiny habit that keeps you from spending an entire Saturday re-sanding one stubborn drip.
Safety notes
- Watch the heat: If you use a clamp light, stick with an LED bulb. Old-school bulbs can get hot fast.
- Mind cords and stands: Tripods and extension cords love to create trip hazards in a kitchen or garage.
- Protect your eyes: Do not stare into the beam. Aim it across the work, not into your face.
Mistakes to avoid
- Using the light straight-on. If the beam hits the surface head-on, you lose the shadows that reveal texture.
- Only checking from one angle. Rotate the light position. Door profiles love to hide runs depending on direction.
- Assuming “it will level out.” Cabinet paints level nicely, but they will not magically erase a ridge, hair, or dent.
- Fixing a run too late. If it is tacky, leave it alone. Let it cure and sand it flat later, or you can tear the surface.
FAQ
Do I need special lighting to paint cabinets?
No. You can paint with normal work lighting. But for a smooth, pro-looking finish, inspection lighting matters, and raking light is the fastest way to catch problems early.
Will a phone flashlight work?
In a pinch, yes. It is better than nothing for finding drips and dents. But it is not very bright and the beam is wide, so a basic flashlight or small LED work light is a noticeable upgrade.
Can raking light help with stain too?
Absolutely. It will show blotchy sanding, swirl marks, and glue spots that stain will highlight like a neon sign.
What is the best light for doors on sawhorses?
A slim LED bar work light or a clamp light set low and aimed across the door. Pair that with a headlamp for hands-free touch-ups.
My take
If you are painting cabinets on a budget, raking light is one of the best cheap upgrades you can add. It does not cost much, it does not require skill, and it helps you avoid the most annoying part of cabinet painting: redoing work you already thought you finished.
Set a light low, sweep it across every door and face frame, and fix what you find while it is still easy. Future-you will be very grateful.