If your cabinet doors suddenly look crooked after painting, new hardware, or just years of daily use, take a deep breath. In most kitchens, sagging doors and uneven gaps are not a “new cabinets” problem. They are a hinge adjustment problem. The best part is you can often fix it with a screwdriver in under an hour, especially with modern concealed hinges. If you are dealing with stripped particleboard, a warped door, or a cabinet that has shifted, it can take longer, but the process is still the same: diagnose, tighten, adjust, and test.
This guide walks you through how to adjust, align, and troubleshoot common cabinet door issues like rubbing, doors that will not stay closed, bounce-back, and those annoying uneven reveals between doors and drawers.
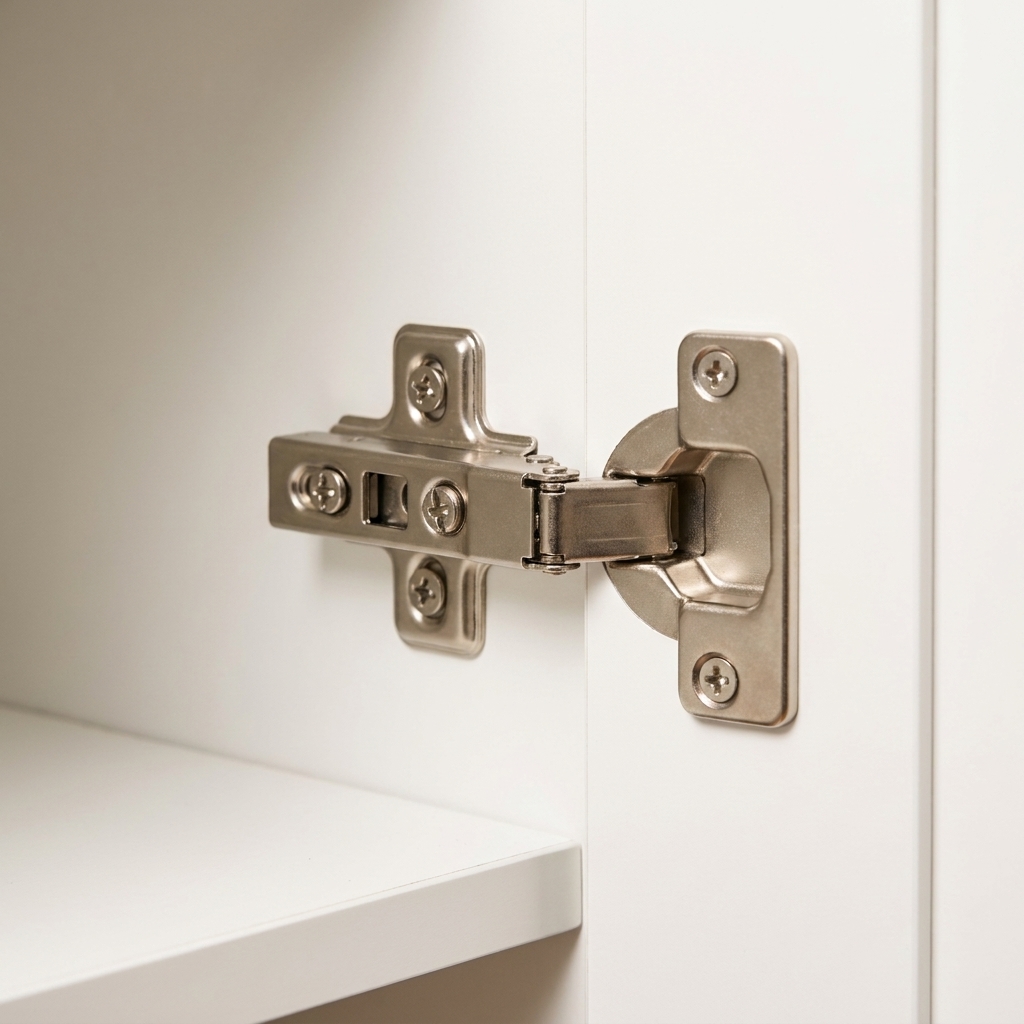
Quick diagnosis
Before you start turning screws, figure out the symptom. Each one points to a specific adjustment or check.
- Door is rubbing the cabinet box or face frame: usually a vertical adjustment, sometimes a depth adjustment.
- Gap between two doors is uneven: usually a side-to-side adjustment.
- Door sticks out or sits too far in: depth adjustment.
- Door is sagging and looks lower on the latch side: hinge screws may be loose, a screw hole may be stripped, a hinge may be worn, or the cabinet box may be slightly out of square.
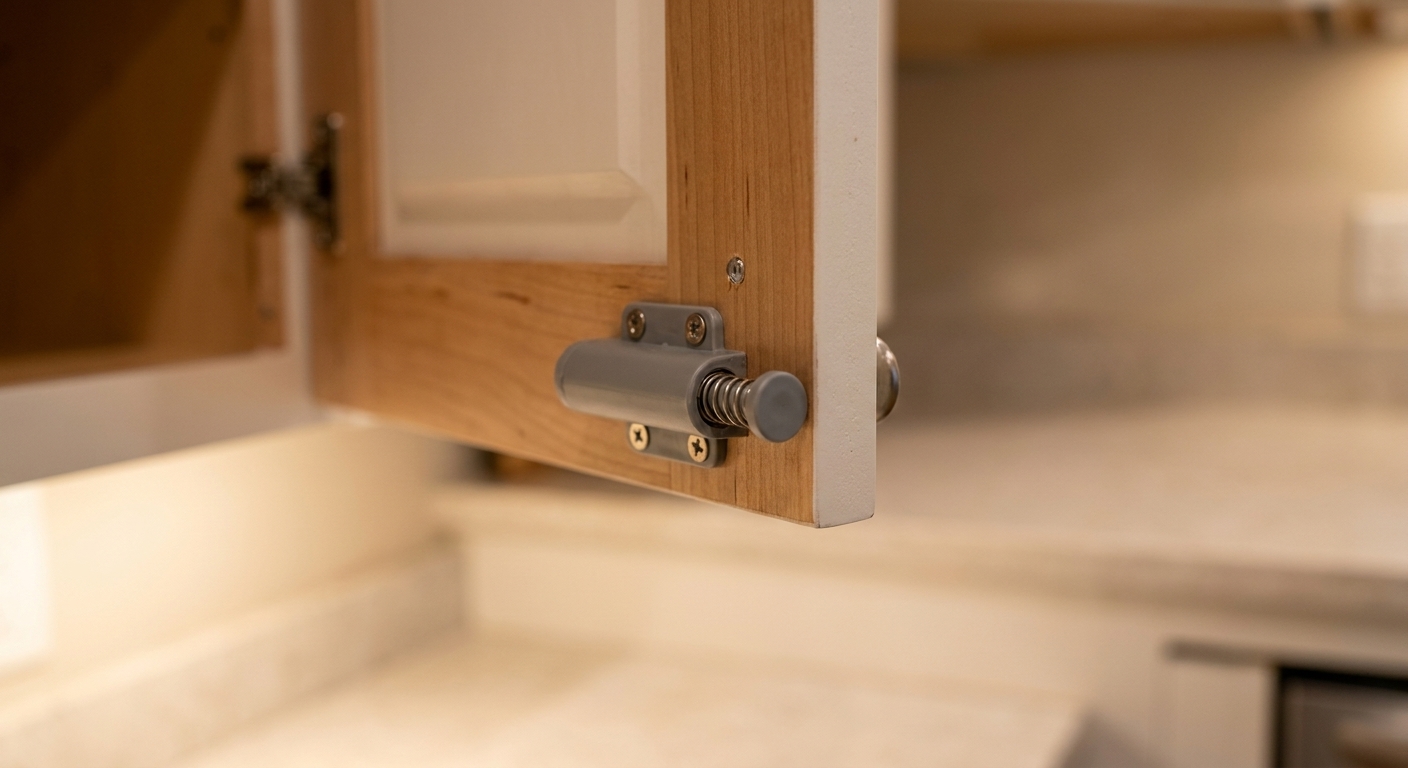
- Door will not stay closed: common causes include misalignment with the catch, a worn self-close cam or hinge spring, a warped door, or a catch that needs adjusting (magnetic or roller).
- Door closes but bounces open: door can be set too far “out,” the catch can be pushing too hard, a soft-close damper can be binding, push-to-open hardware can be too strong, or a clip-on hinge may not be fully seated on its mounting plate.
Tools and supplies
You do not need fancy tools for basic alignment. Here is what I keep in my cabinet-fixing kit.
- #2 Phillips screwdriver (or a drill with a clutch set low)
- Small flathead screwdriver (occasionally helpful)
- Pencil
- Painter’s tape (for marking reference lines)
- Level (optional but handy)
- Wood toothpicks and wood glue (for stripped screw holes)
- Replacement hinge screws (same size and length as existing)
Painting tip: If your cabinets were recently painted, be gentle at first. Fresh paint can “glue” a hinge plate to the cabinet. A slow, steady adjustment prevents chipping around the hinge area.
Face-frame vs frameless
This is a quick clarity boost before you start adjusting. Face-frame cabinets have a wooden frame around the opening, so rubbing often happens on that frame. Frameless cabinets (common in modern and flat-pack kitchens) have no face frame, so rubbing happens on the cabinet box edge or against a neighboring door. The same hinge screws still do the work, but “flush” and “rubbing” can look a little different depending on what you have.
Know your hinge type
Most kitchens I see fall into one of these categories:
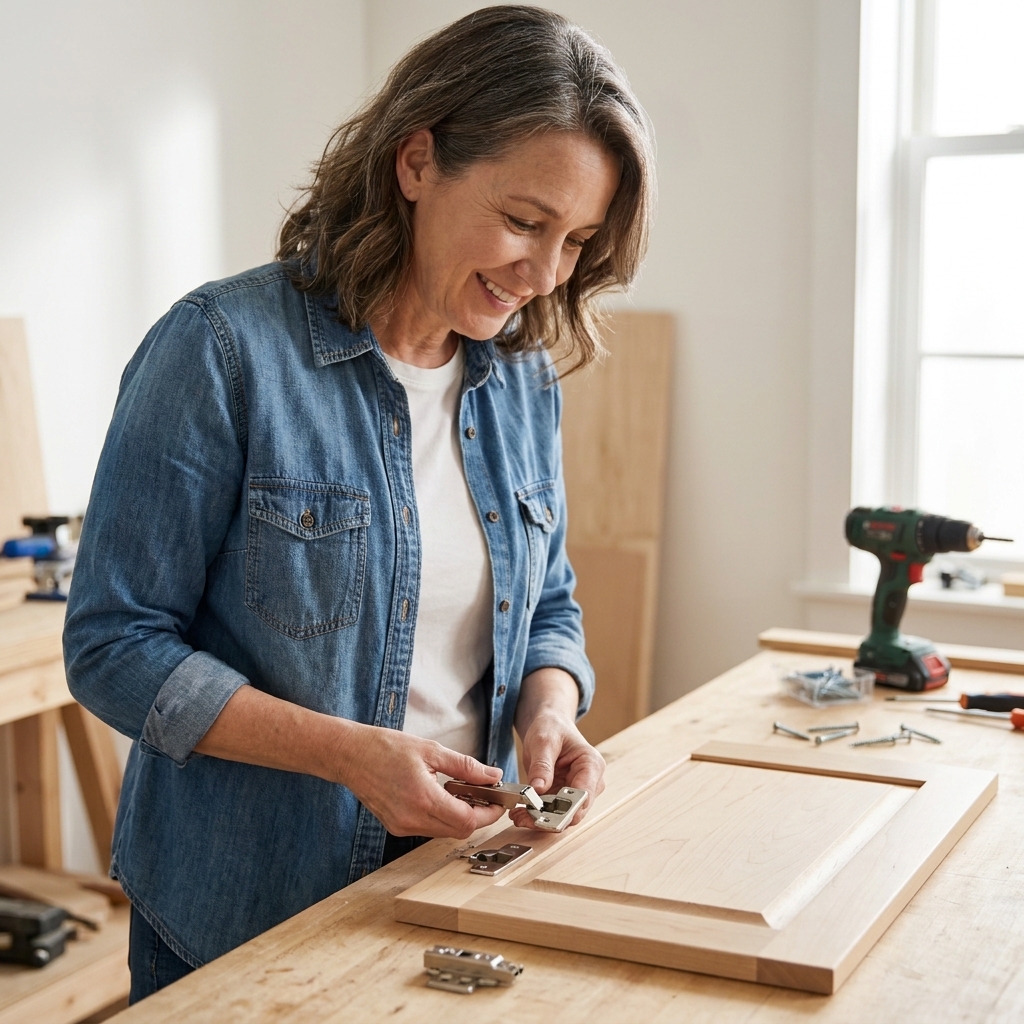
Concealed Euro hinges
These are hidden when the door is closed. They usually have three adjustments: side-to-side, up-and-down, and in-and-out (depth). Some budget models and older concealed hinges have limited vertical adjustment, so you may be loosening the mounting plate screws and shifting by hand rather than turning a dedicated height screw.
One important habit: adjust both hinges a little at a time. Big changes on only the top or bottom hinge can twist the door and create a new problem.
Surface or semi-concealed hinges
These have less built-in adjustment. You can still fix sagging, but it often involves tightening screws, shifting the hinge slightly, shimming, or repairing screw holes.
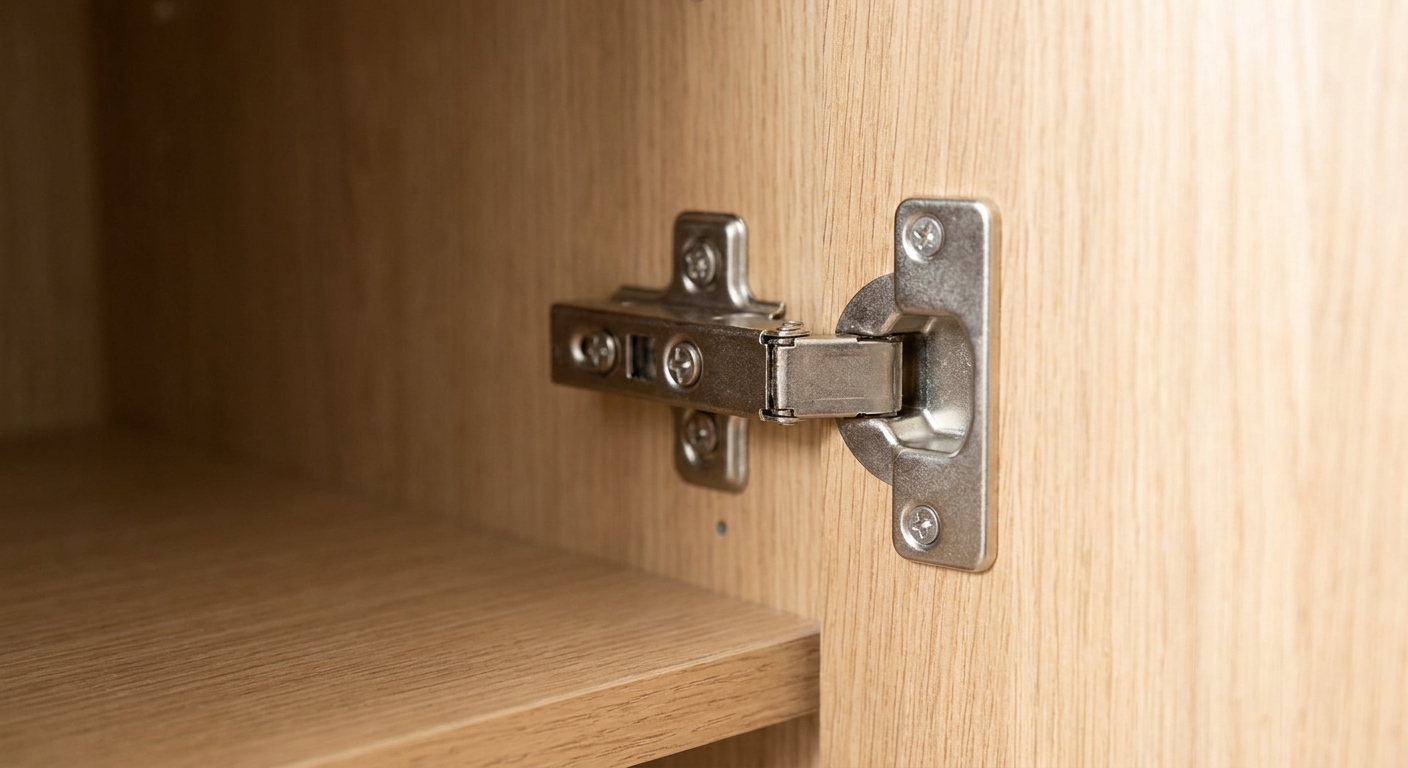
Step 1: Tighten first
This is the unglamorous step that fixes more doors than you would think.
- Open the door and support it with one hand.
- Tighten the screws that hold the hinge to the door.
- Tighten the screws that hold the hinge mounting plate to the cabinet box.
If a screw just spins and never tightens, skip ahead to the section on stripped holes. Adjustments will not hold if the hinge is not firmly attached.
Step 2: Adjust Euro hinges
Most concealed hinges give you three ways to move the door. Make small changes, then close the door and check. Think quarter turns, not full spins. Also note that clockwise and counterclockwise direction varies by hinge brand, so watch the gap as you turn and stop when it moves the right way.
Side-to-side
This is the adjustment you use when the space between double doors is wider at the top than the bottom, or one door looks like it is leaning.
- Find the screw on the hinge arm that moves the door left or right (often the one closest to the cabinet opening).
- Turn a little, close the door, check the gap.
- Adjust the top hinge and bottom hinge in small, matching moves for the straightest result.
Up-and-down
This is usually done on the mounting plate inside the cabinet. Some plates have slotted holes, and some have an adjustment screw that lifts or drops the door.
- Support the door with your hand or a small block. This keeps the weight off the screws and helps prevent stripping.
- Loosen the mounting plate screws slightly (do not remove).
- Lift or lower the door to align with neighboring doors or drawer fronts.
- Retighten while holding the door in place.
My trick: Put a strip of painter’s tape along the cabinet stile and mark where the door should land. It gives you a visual target while you tighten.
Depth
If the door is rubbing the cabinet box or face frame, scraping a neighboring door, or not sitting flush, depth is the adjustment you want.
- Find the screw that moves the door in and out (often the one set farther back on the hinge arm).
- Turn slowly to move the door closer to or farther from the cabinet box.
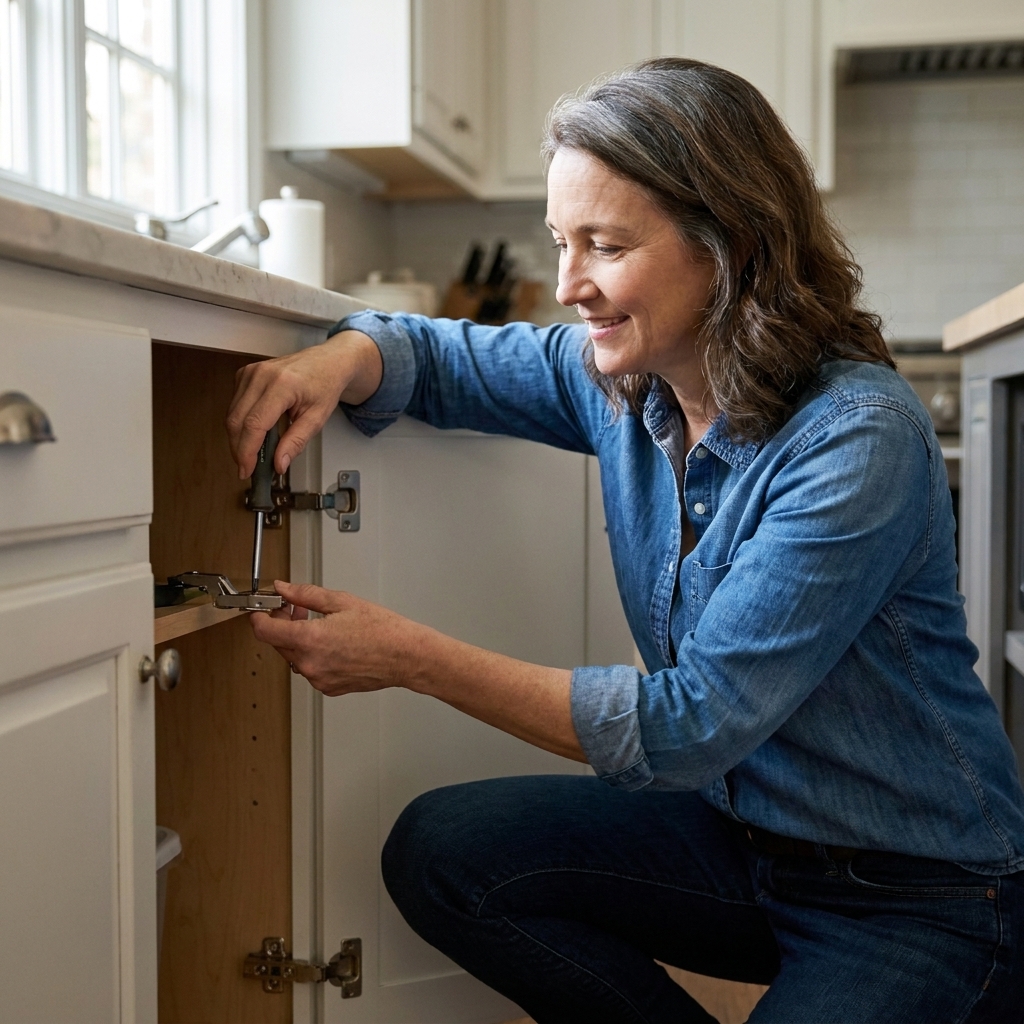
Soft-close and clip-on checks
If you have soft-close concealed hinges, do these quick checks before you chase adjustments.
- Make sure the hinge is fully seated: Many Euro hinges clip onto the mounting plate. If it is not fully clipped in, the door can sit crooked or bounce.
- Look for a soft-close switch: Some hinges have a small on off toggle for the damper. If one hinge is on and the other is off, closing can feel odd.
- Check for binding: If the soft-close damper is jammed or broken, the door may bounce open or stop short. Sometimes replacement is the clean fix.
Fix common problems fast
Door rubs at the top corner
- Try a side-to-side adjustment first to center the door.
- If it still rubs, do a small depth adjustment to pull the door slightly inward.
- Check that nothing inside the cabinet is pushing on the hinge area.
Door rubs at the bottom
- Check for loose screws first.
- Do a slight vertical adjustment to raise the door.
- If the door is sagging on the latch side, adjust the top hinge slightly more than the bottom to square it back up.
Big gap on one side
- Use the side-to-side screw on both hinges.
- Make small matching turns on top and bottom until the gap looks even.
Door closes crooked even after adjusting
- Look at your hinges. If one is bent, cracked, or feels sloppy, it may be worn out.
- Check the cabinet box for movement. If the cabinet is pulling away from the wall, alignment will not stay put until the cabinet is re-secured.
Door will not stay closed
- If you have a catch (magnetic or roller), make sure the door is actually landing on it. Misalignment is more common than people think.
- Try a small depth adjustment so the door reaches the catch cleanly.
- If the hinge is self-closing and it feels weak or inconsistent, the spring or closing cam may be worn and the hinge may need replacement.
Door bounces open
- Confirm the hinge is fully clipped to the plate.
- Back off the catch slightly if it is pushing too hard.
- Try a small depth adjustment to bring the door slightly inward.
- If you have soft-close, check that the damper is not binding or mismatched between hinges.
Adjust older hinges
Older hinges do not always have handy adjustment screws, but you still have options.
Tighten, then re-seat
Sometimes the hinge has shifted over time.
- Loosen the screws just enough that the hinge can move.
- Nudge the door into the correct position.
- Retighten firmly.
Use shims
If you need the door to sit slightly farther out or in, a thin shim can help.
- Cardstock, a thin wood veneer shim, or even a small piece of cereal-box cardboard can work.
- Place it behind the hinge leaf where it meets the cabinet or door.
- Retighten and test.
Replace worn hinges
If the door still sags after everything is tight, the hinge pin or spring may be worn. Bring one hinge to the hardware store so you match the size and overlay.
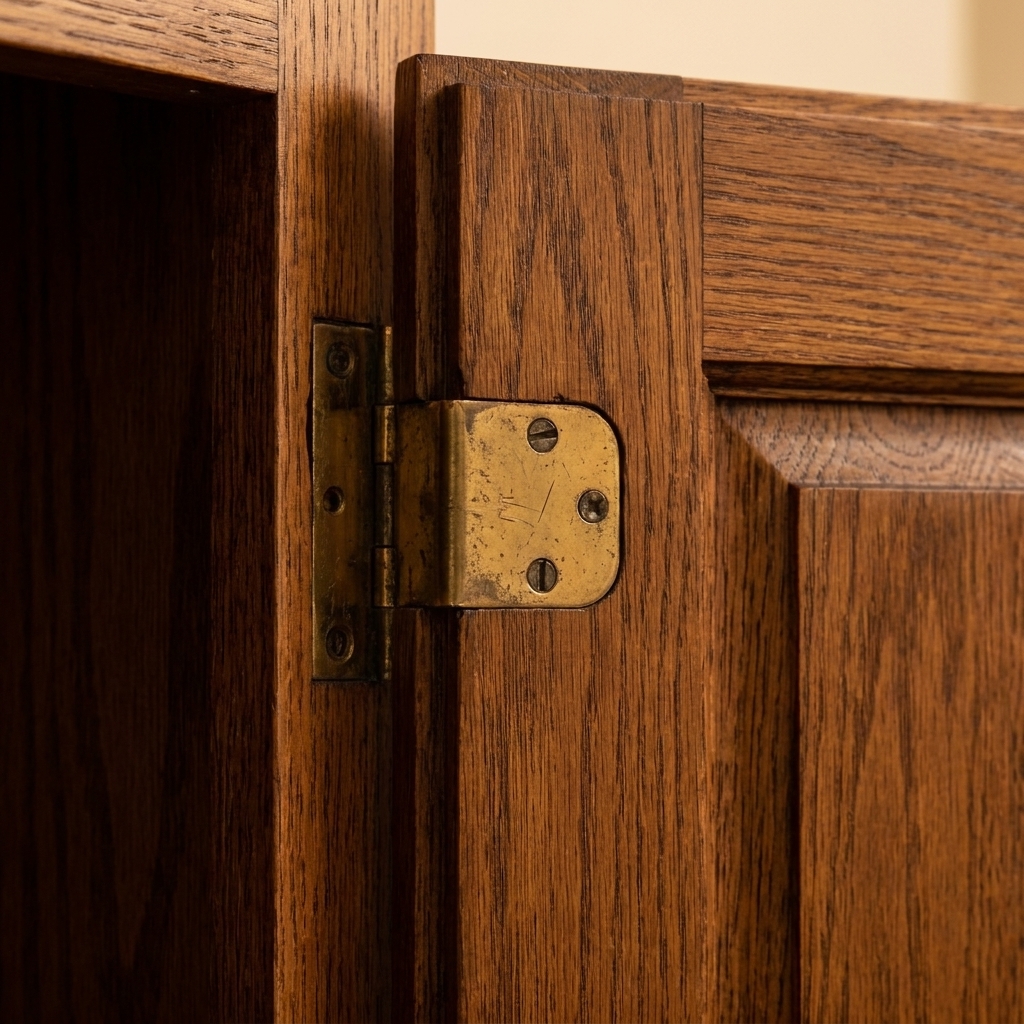
Fix stripped screw holes
Stripped holes are the hidden villain behind a lot of sagging doors, especially on heavy doors or cabinets that get opened constantly.
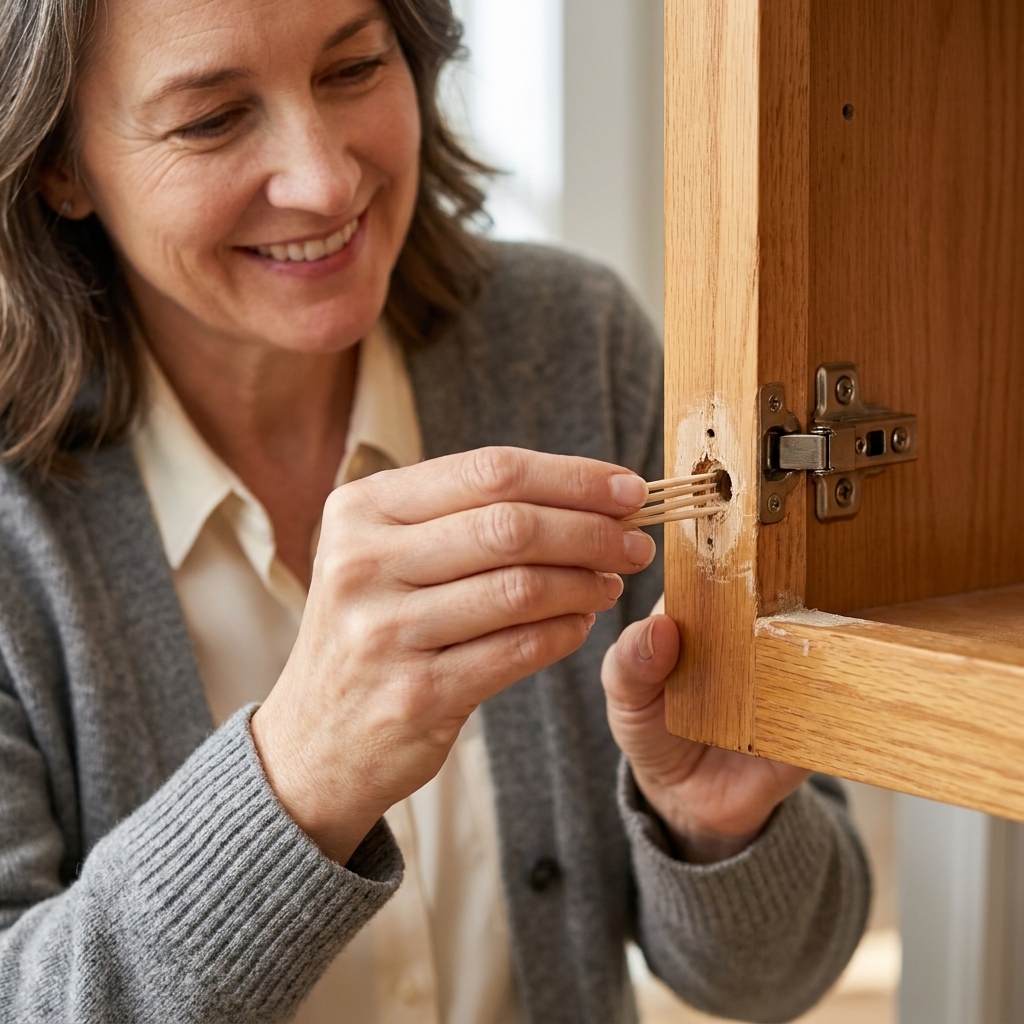
Toothpick and glue
- Remove the screw.
- Add a few drops of wood glue into the hole.
- Push in wood toothpicks (as many as fit snugly).
- Snap them flush.
- Let dry, then re-drive the screw.
Use a longer or thicker screw
If the cabinet side is solid wood and you have room, a slightly longer screw can grab fresh wood. Avoid going so long that it pokes through the cabinet exterior.
If the cabinet is particleboard
Particleboard can crumble once stripped. Toothpicks can still help, but you may get a stronger fix with a wood dowel and glue, or a hinge repair plate made for cabinet hinges.
When it is not the hinge
If you have adjusted and tightened everything and the door is still acting up, check these common culprits.
Paint buildup
After a cabinet painting project, extra paint around hinge plates, hinge edges, or along the hinge-side door edge can cause rubbing. Lightly sanding the edge and touching up can solve it.
Loose cabinet box
If the whole cabinet has shifted, doors will look off no matter how perfect your hinge adjustments are. Look for gaps where the cabinet meets the wall or a neighboring cabinet, then re-secure with appropriate cabinet screws into studs or with the proper anchors.
Warped door
Wood doors can warp slightly from humidity changes. If the door is visibly twisted when you lay it on a flat surface, hinge adjustments can only do so much. Sometimes adding a third hinge helps. Sometimes replacement is the only true fix.
What about crooked drawers?
Drawer fronts are a separate adjustment from door hinges, but you can absolutely fix uneven reveals there too.
- Pull the drawer out and look for the screws that hold the drawer front to the drawer box. Many systems use slotted holes that let you nudge the front up, down, left, or right.
- Loosen slightly, adjust the front to match the gaps around it, then retighten.
- If you have adjustable drawer hardware (common on newer cabinets), look for small cams or set screws on the drawer sides that fine-tune alignment.
If your doors look right but the gaps around your drawers look off, this is usually why.
My order of operations
If you are adjusting multiple doors, use this workflow. It keeps you from chasing your tail.
- Start with one anchor door that looks the best.
- Set vertical alignment first (doors level with each other).
- Set depth next (all doors sit similarly flush).
- Dial in side-to-side last (even reveals between doors).
- Do a final tighten on every screw you touched.
Spacing tip: A playing card, paint stir stick, or small stack of index cards makes an easy spacer for consistent gaps while you adjust.
Reality check: In real-life kitchens, perfection is rare because cabinet boxes settle. Aim for even reveals at eye level and smooth opening and closing. That is what reads professional day to day.
FAQ
How much gap should there be between cabinet doors?
The real goal is consistent spacing. Many kitchens land around 1/16 to 1/8 inch depending on cabinet style (frameless, face-frame, inset, and overlay all vary). Even gaps look intentional, even if they are slightly larger or smaller.
Why did my doors go crooked after I painted my cabinets?
Paint can build up around hinge plates and screw heads, and doors often get removed and rehung quickly during painting. Usually you just need a fresh hinge adjustment, plus a check that all screws are snug in solid material.
My door will not close all the way. Is it the hinge?
Sometimes. First check for paint drips along the door edge, a shelf pin sticking out, a trash pullout hitting the door, or an organizer bumping the door. If nothing is in the way, try a small depth adjustment. If the hinge feels worn or the soft-close is binding, replacement may be the clean fix.
Should I replace hinges while refinishing cabinets?
If your hinges are squeaky, loose, bent, missing adjustment range, or the soft-close is failing, replacing them can be worth it. If they are in good shape, keep them and spend that budget on great primer and paint. In a budget makeover, hinges can wait unless they are causing daily frustration.
One last tip
When I refinished my old honey-oak cabinets years ago, I thought the paint job was off because the doors looked uneven. It turned out the finish was fine. The doors just needed a slow, methodical round of hinge adjustments after reinstalling them.
So if your doors are rubbing or your gaps are driving you crazy, grab a screwdriver and work in small steps. You will be amazed how much calmer your whole kitchen looks once everything lines up again.