If you have paneled cabinet doors, you already know the “flat parts” are the easy part. It’s the little inside corners, the ogee edges, the bead details, and the skinny grooves that make prep feel never-ending.
I’ve painted a lot of cabinets, including my own stubborn 1990s honey-oak kitchen, and I can tell you this: the best sanding tool depends on what you’re trying to remove and how crisp you need your profiles to stay. A power detail sander can save your weekend, but a humble sanding sponge is often what keeps you from accidentally rounding over a beautiful door profile.
What sanding needs to do
Before we compare tools, let’s get clear on the goal. For most cabinet painting projects, you do not need to sand down to bare wood. You need to:
- De-gloss shiny factory finishes so primer can grip
- Scuff stain and clear coat so you get mechanical adhesion
- Feather chips and scratches so they don’t telegraph through paint
- Knock down grime or texture after cleaning
When you might need to go further: If the existing finish is peeling, flaking, checking, or delaminating, you have to remove whatever is failing until you reach solid, well-bonded material. The same goes for mystery contamination like waxy furniture polish, silicone residue, or greasy buildup that keeps coming back. In those cases, more aggressive sanding (or stripping) is not overkill, it’s the fix.
Either way, controlled sanding matters, especially on door profiles where it’s easy to chew up edges.
Tool options
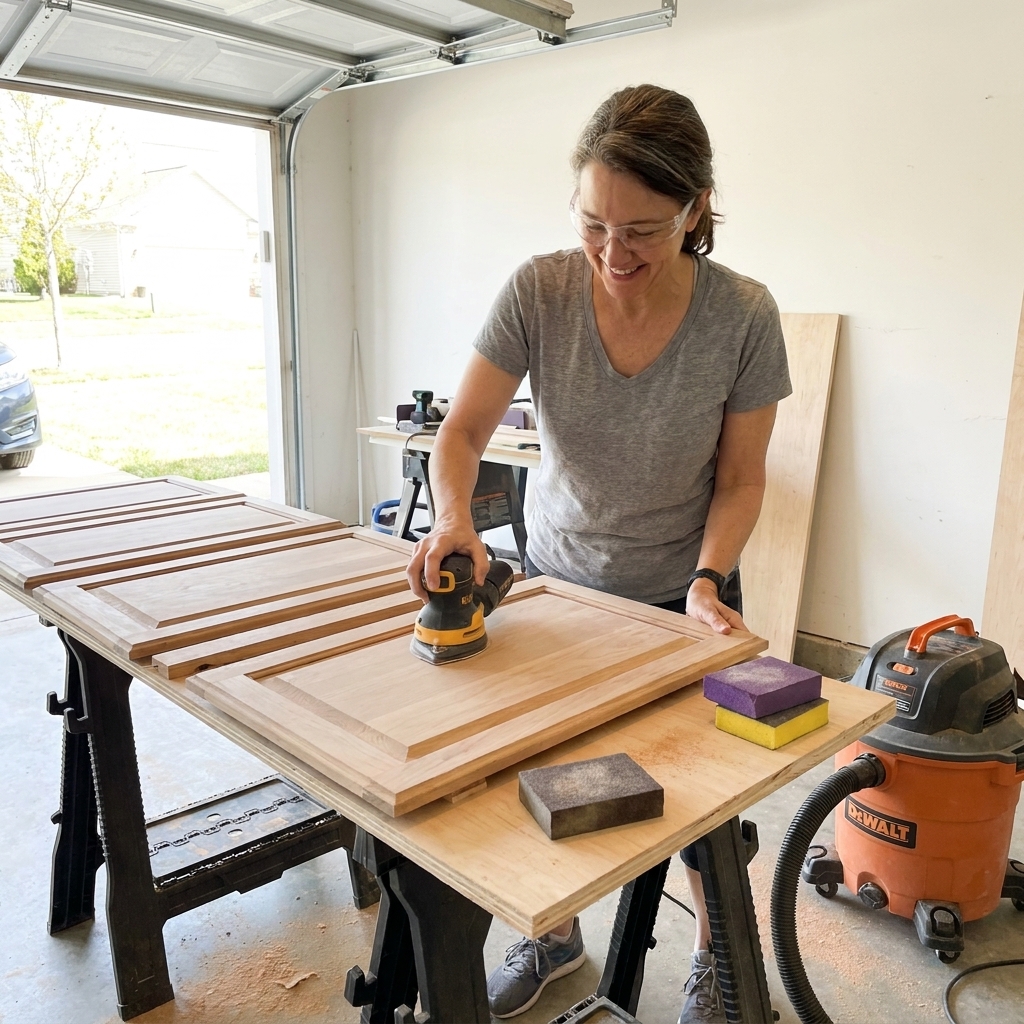
1) Power “mouse” detail sanders
These are the little triangular-pad sanders made for corners and tight areas. They move fast and feel satisfying, but they can also remove detail fast if you linger.
Best for:
- Quickly scuffing the inside edges of stiles and rails (the vertical and horizontal frame pieces)
- Lightly sanding recessed flat areas of a panel
- Feathering small paint drips or raised dust nibs
Watch-outs:
- They can round over crisp profiles if you press or tip the tool
- They do not love deep grooves and tight concave shapes
- The little hook-and-loop pads can clog quickly on old clear coat
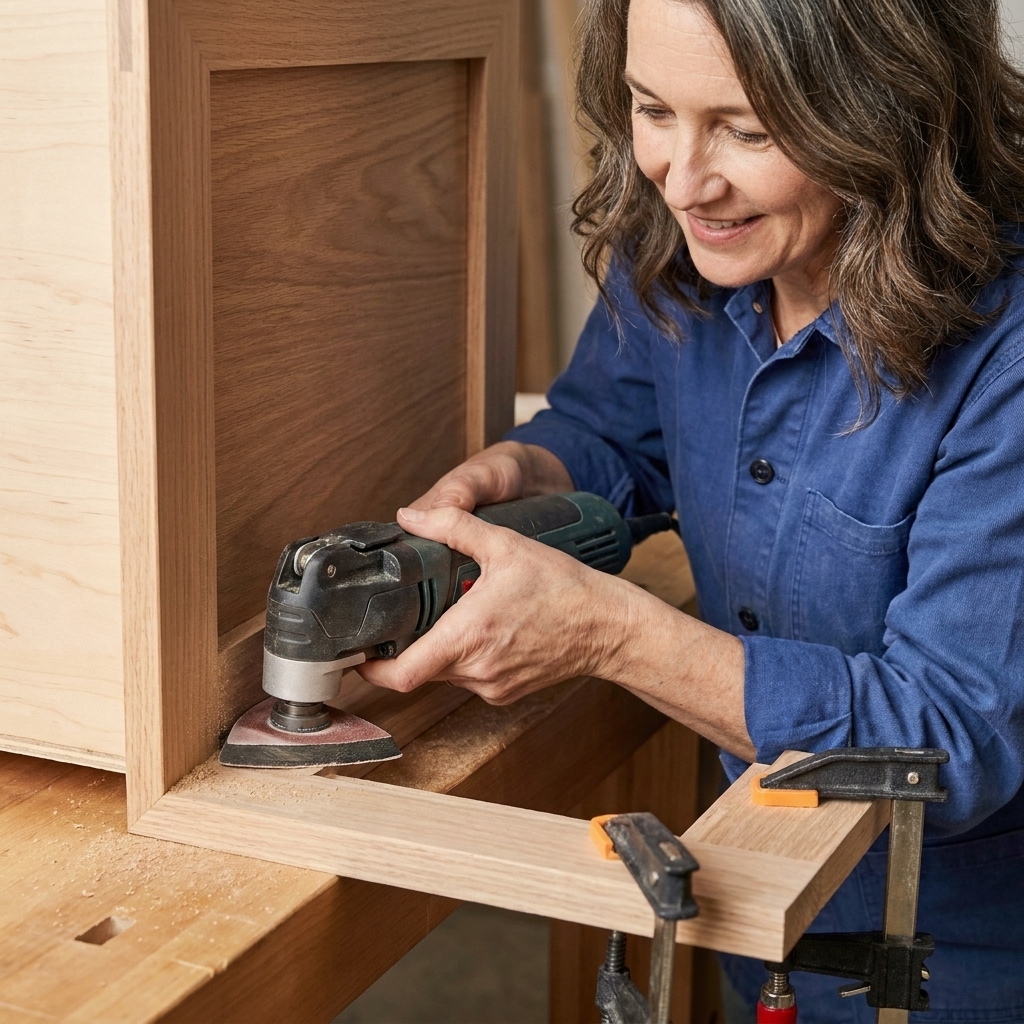
2) Oscillating multi-tools (with sanding accessories)
An oscillating tool is the “Swiss army knife” tool that can sand, scrape, and cut. With a triangular sanding pad, it can feel easier to aim into corners and along edges because it tends not to “walk” around as much as some vibrating detail sanders.
Best for:
- Targeting problem spots, like ridges of old paint near corners
- Light sanding in tight inside corners where pads keep folding
- Removing stubborn bits of finish in small areas without sanding the whole door
Watch-outs:
- It’s easy to create little flat spots on curved molding if you hold it still
- Cheaper sanding triangles can fly through sandpaper
- Not the best “all-over” tool for prepping multiple doors efficiently
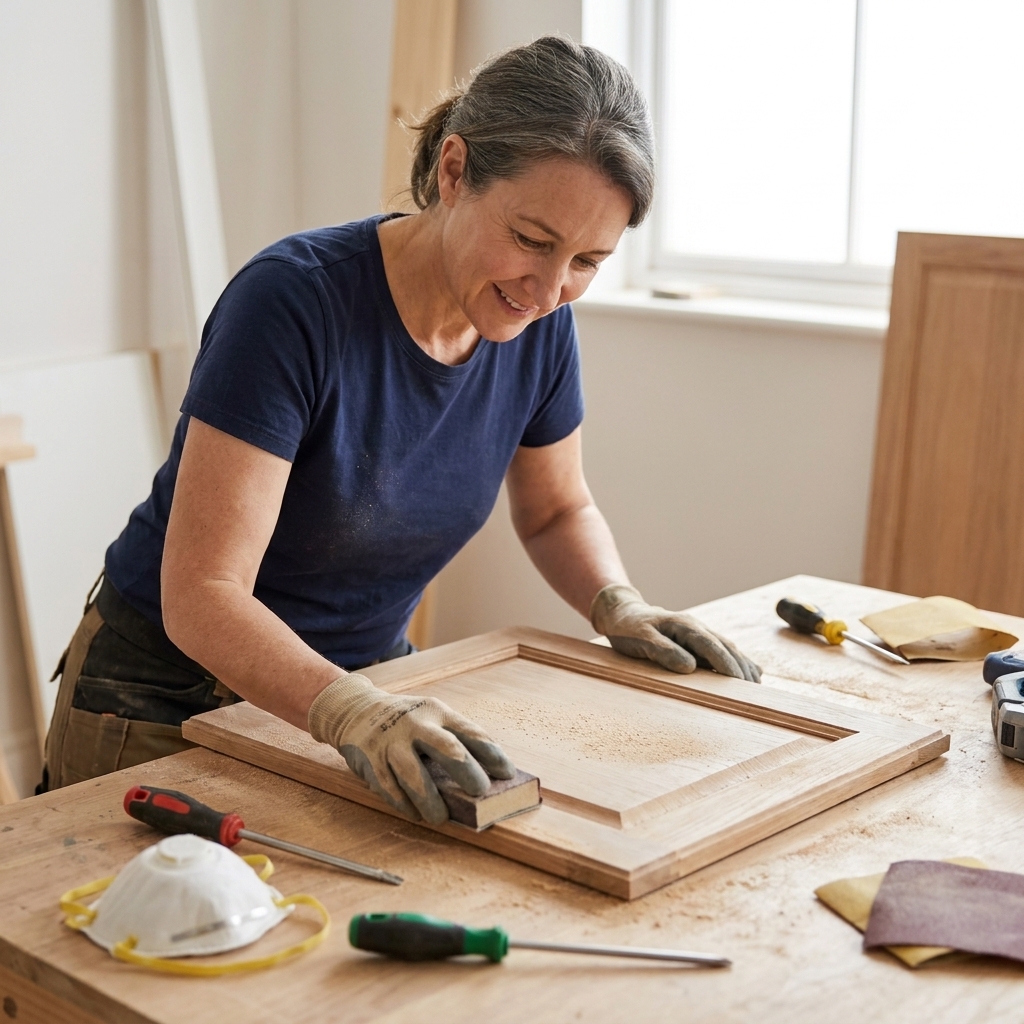
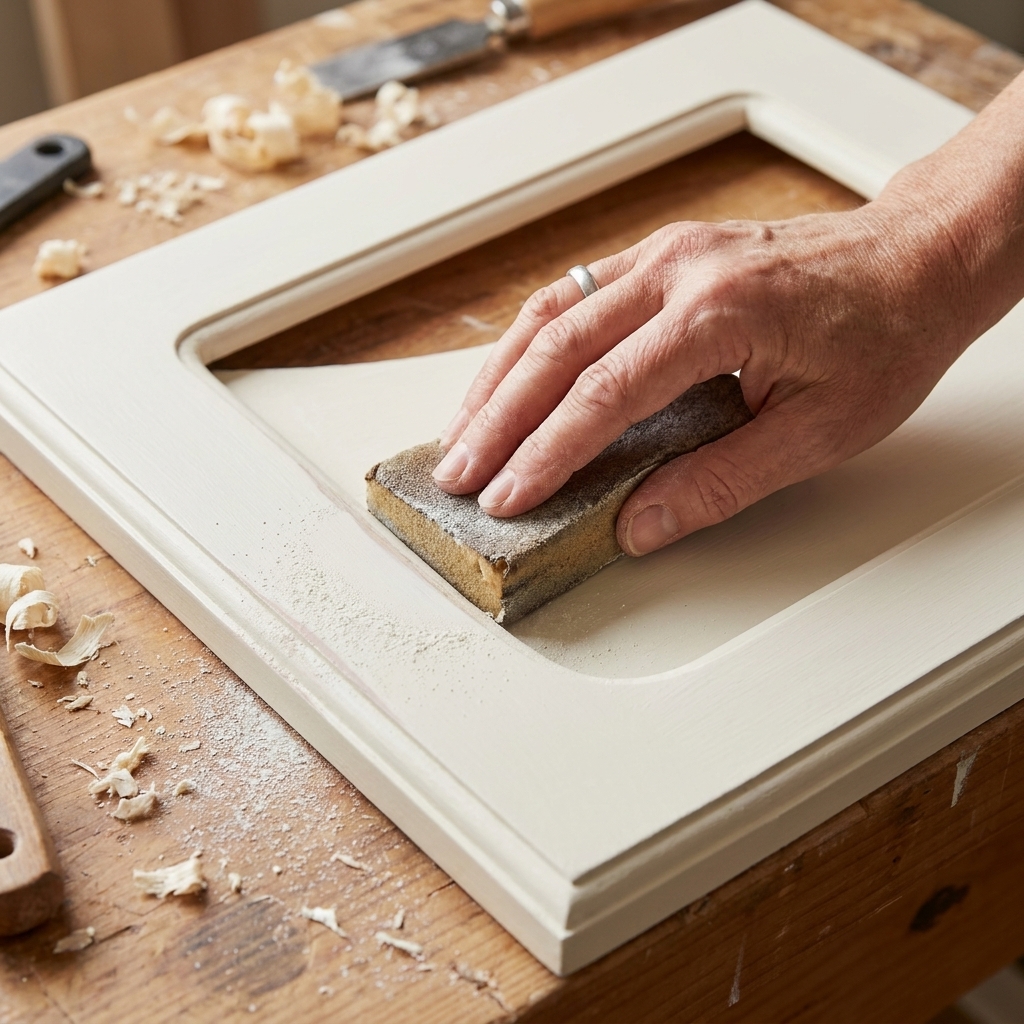
3) Sanding sponges and hand sanding blocks
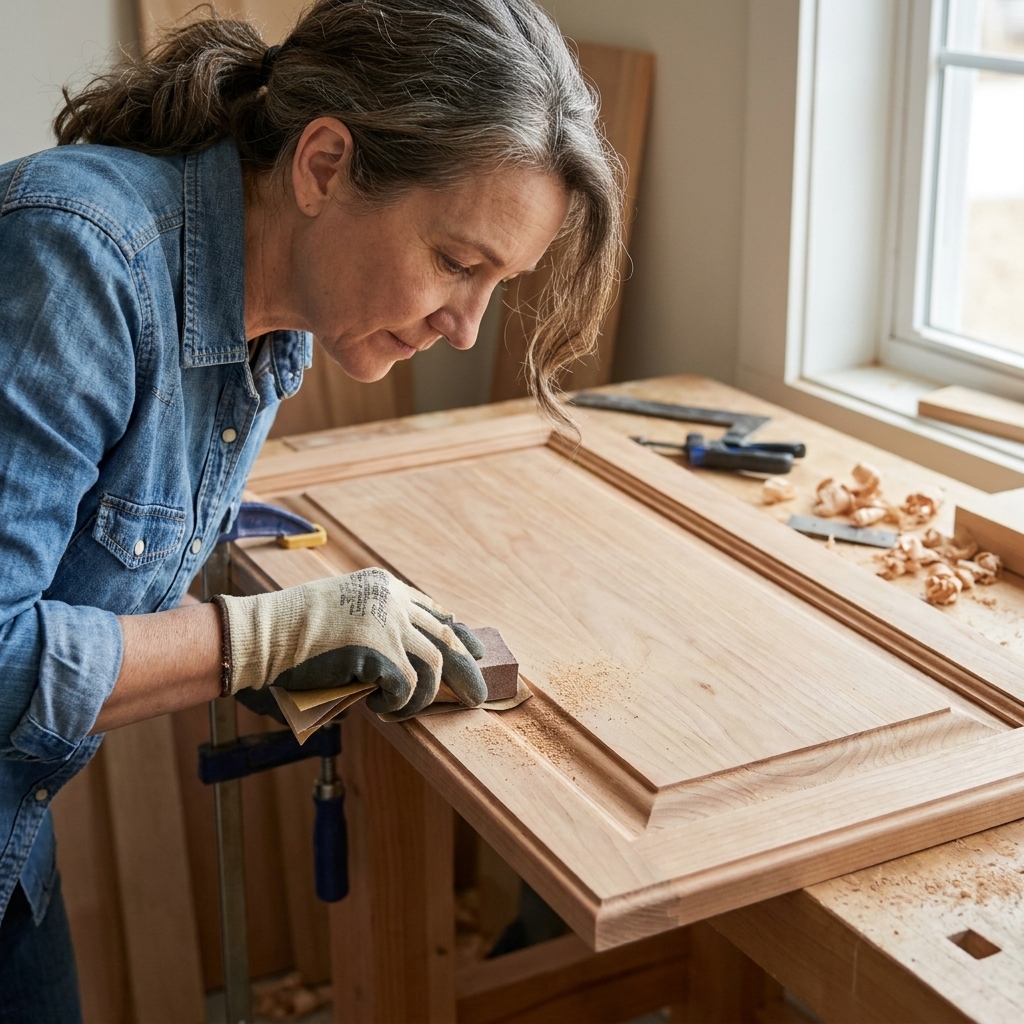
This is the unglamorous, most-forgiving option. A sanding sponge conforms to curves and profiles instead of forcing the wood into the shape of your tool.
Best for:
- Profiles, bevels, and ogee edges where you want to keep detail crisp
- Recessed grooves when you fold, pinch, or cut the sponge to fit
- Final “feel check” sanding after priming
Watch-outs:
- Slower on big jobs if you do everything by hand
- Hard to fix thick drips or heavy brush marks without stepping up to a power tool first
My quick pick
If I had to pick just one approach for paneled doors, it would be mostly sanding sponges, plus a power detail sander for the flatter recessed areas.
Here’s why: cabinet profiles are decorative. Once you round them over, you cannot un-round them. A sponge is slower, but it’s the tool that helps you keep the door looking like a door and not like a softened, sanded blob.
Where each tool works best
Recessed panel field (the flat “middle” inside the frame)
- Fastest: detail sander (light pressure)
- Most precise: oscillating tool (short bursts in corners)
- Safest: sanding sponge
Inner profile where the frame meets the panel
- Best overall: sanding sponge (folded to match the curve)
- Use with caution: oscillating tool only if the area is mostly flat
- Often skip: detail sander if the profile is rounded or ornate
Outside edge profile (the part you touch when opening doors)
- Best overall: sanding sponge, especially a medium grit
- Detail sander: fine if the edge is square and you keep it flat
- Oscillating tool: only for isolated fixes
Inside corners and skinny grooves
- Best overall: hand sanding with a sponge or folded paper
- Helpful: oscillating tool for tiny corner touch-ups
- Usually frustrating: detail sander, because the pad is still too big for many grooves
Grit choices
You’ll see a million opinions on grit. Here’s the cabinet-safe version I use:
- For scuff sanding shiny finishes before primer (adhesion only): 180 to 220 grit
- For general prep on worn or brushed-up clear coat: 150 to 180 grit
- For knocking down rough texture, repairs, or small drips: 120 to 150 grit
- For sanding primer smooth before paint: 220 grit
If your cabinet doors have a thick clear coat and feel slick, I usually start at 180 and only drop to 150 if it’s not dulling the sheen. Starting too coarse can carve scratches into profiles that primer will not magically hide.
Don’t ruin the profiles
This is the mistake I see most often when people use power sanders on decorative doors.
- Let the abrasive do the work. Pressing harder does not prep better, it just removes detail faster.
- Keep the pad flat. Tipping a detail sander onto an edge is how you get wavy lines.
- Use short passes. Especially on the inner profile. Two or three light passes beat one long grind.
- Switch to hand sanding for curves. If the surface is not flat, a flat tool will fight it.
- Stop and feel it. Close your eyes and run your fingertips along the profile. Your hand will catch flaws your eyes miss.
Safety and dust
Cabinet sanding creates fine dust that you do not want in your lungs (or floating around your house).
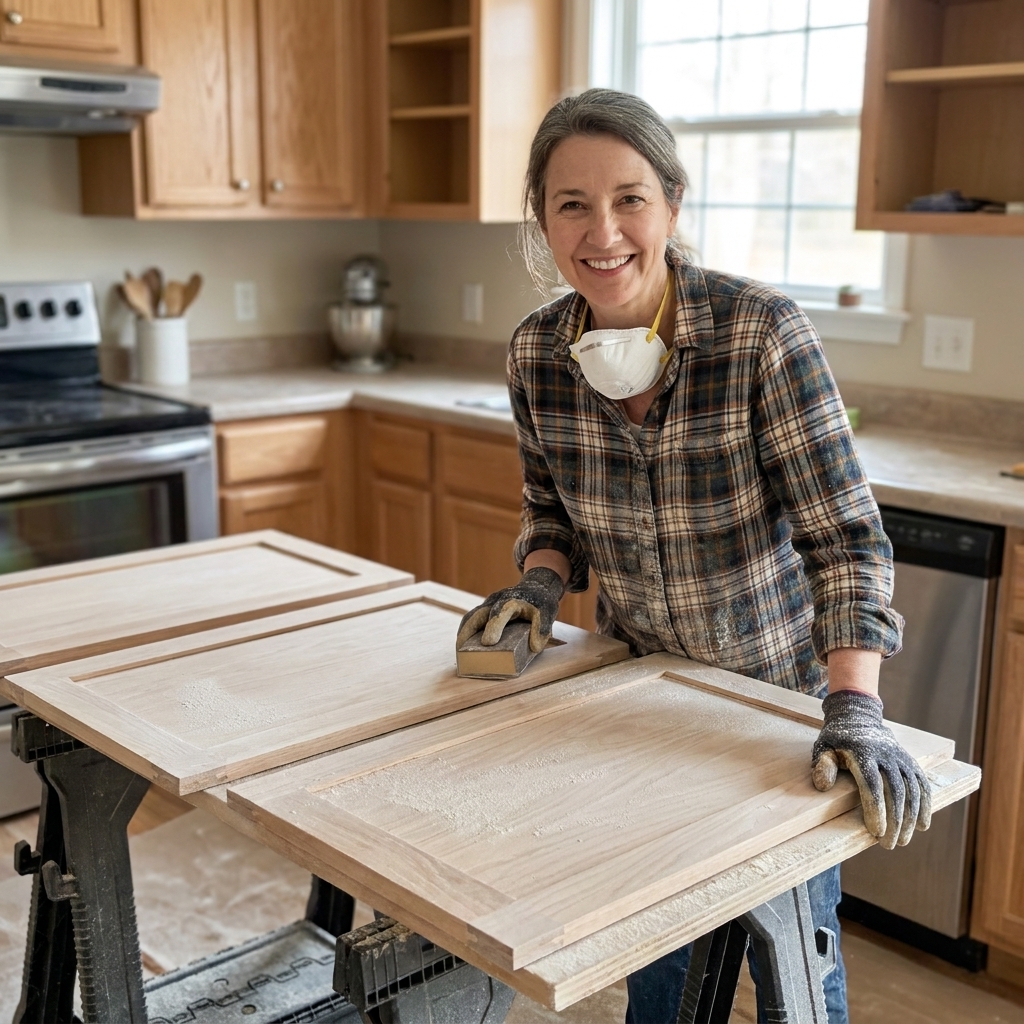
- Wear a respirator or a good dust mask, and add hearing protection if you’re using power tools.
- Vacuum as you go (a shop vac with a brush attachment helps a lot).
- If your home is older and you suspect old paint layers (built-ins, older cabinetry, or a previous paint job), treat sanding dust seriously and follow lead-safe practices. When in doubt, test first and avoid aggressive dry sanding on unknown coatings.
My sanding workflow
- Remove doors and hardware. Label doors and hinges if needed so re-hanging is easy.
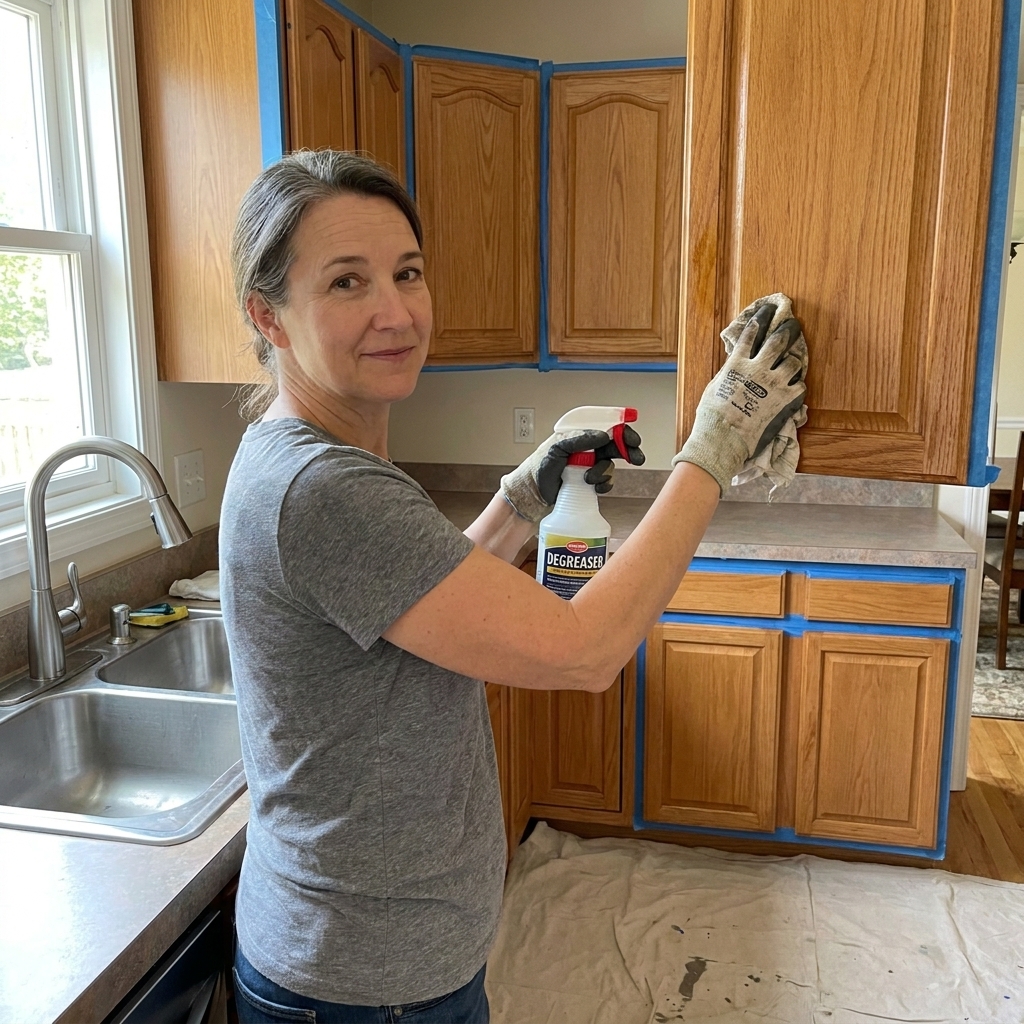
- Clean first. Degrease well and let dry fully. Sanding grease just smears it around.
- Start with a sanding sponge. Hit the profiles and edges with 150 to 180 grit (or 180 to 220 if the finish is in good shape and you’re just scuffing).
- Use a detail sander on flatter recessed areas. Light pressure, keep it moving.
- Hand sand the tight bits. Fold a sponge into a point, or tear off a strip of sandpaper and wrap it around your finger for skinny grooves.
- Vacuum dust. Get dust out of corners and panel recesses.
- Wipe down. A damp microfiber (or vacuum plus a clean microfiber) is my go-to. Tack cloths can work if you use them lightly, but some waterborne primers and paints can be sensitive to residue, so do not leave anything sticky behind.
- Prime. Once primer is on, you can do a gentle 220 grit sand to smooth nibs before paint.
What about liquid deglosser?
Liquid deglosser (sometimes called liquid sandpaper) can be handy on super fussy profiles where even a sponge feels clumsy. I treat it as a helper, not a replacement. It does not level drips, it won’t feather chips, and it cannot fix a failing finish.
If you use one, follow the label exactly, ventilate well, and still plan on at least a light scuff where you can. In real life, the most reliable prep is clean, lightly abraded, and dust-free.
Which should you buy?
Choose a detail sander if you:
- Have lots of doors and want to speed up scuff sanding
- Mainly need to prep flatter Shaker-style recesses and inside edges
- Plan to reuse it for other projects like trim touch-ups and small furniture
Choose sanding sponges if you:
- Have ornate profiles, rounded inside edges, or deep decorative grooves
- Are nervous about sanding through veneer or softening details
- Want the most budget-friendly, low-risk option
Consider an oscillating tool if you:
- Want one tool that can sand and handle random cabinet tasks (scraping caulk, undercutting trim, plunge cuts)
- Have a few stubborn problem areas rather than needing to sand every surface fast
Extra tricks for grooves
- Cut your sponge into strips. Narrow strips slide into grooves without shredding.
- Use a foam nail file style sanding pad. They are great for tiny inside curves and are easy to control.
- Wrap sandpaper around a paint stir stick. Perfect for straight, narrow recesses.
- Don’t chase perfection in raw sanding. Your primer and paint system matters more than sanding a groove until it looks “new.” Focus on clean, dull, and smooth to the touch.
FAQ
Do I have to sand grooves if I use bonding primer?
I still recommend a light scuff in grooves and profiles whenever you can. Bonding primers are amazing, but they work best on surfaces that are clean and slightly abraded. At minimum, make sure grooves are thoroughly degreased and lightly dulled.
Will a detail sander fit into the little corner of a cabinet profile?
Sometimes, but not always. The pad may reach the corner, but the profile is usually curved, and the flat pad cannot match that curve. That’s where a sanding sponge wins.
What if my doors are veneer?
Be extra gentle. Use 180 grit and sanding sponges more than power tools, especially on edges. Veneer is thin, and it’s easy to sand through on corners and high spots.
Can I use a Dremel for sanding grooves?
You can, but I rarely recommend it for cabinet doors. Rotary tools remove material quickly and can leave divots. For most DIY cabinet painting, a sponge and a little patience are safer.
Bottom line
For cabinet profiles and recessed details, sanding sponges are the safest tool and the one most likely to keep your doors looking crisp after paint. A detail sander is a great time-saver on flatter recessed areas and long inside edges, as long as you use a light touch. Oscillating tools are best as a targeted helper for stubborn spots, not your main sanding strategy.
If you want the simplest shopping list to start: grab a pack of 180 or 220 grit sanding sponges for scuff sanding, plus a few sheets of 150 for the spots that need a little more leveling, and 220 for after primer. Add a detail sander only if you have a lot of doors or very flat door styles and you want to move faster.