If you have ever brought home “pretty” pulls and then held them up to your cabinets only to realize they look oddly tiny (or comically huge), you are not alone. Hardware is one of the quickest ways to modernize a kitchen after painting or refinishing, but sizing is where most DIY projects go sideways.
I have been there. When I painted my old honey-oak cabinets years ago, I picked pulls I loved online, ordered them, and then realized I had not thought through proportions, hole spacing, or how they would look across different drawer sizes. The good news is you do not need a design degree to get this right. You just need a couple of measuring rules and one simple test before you commit.
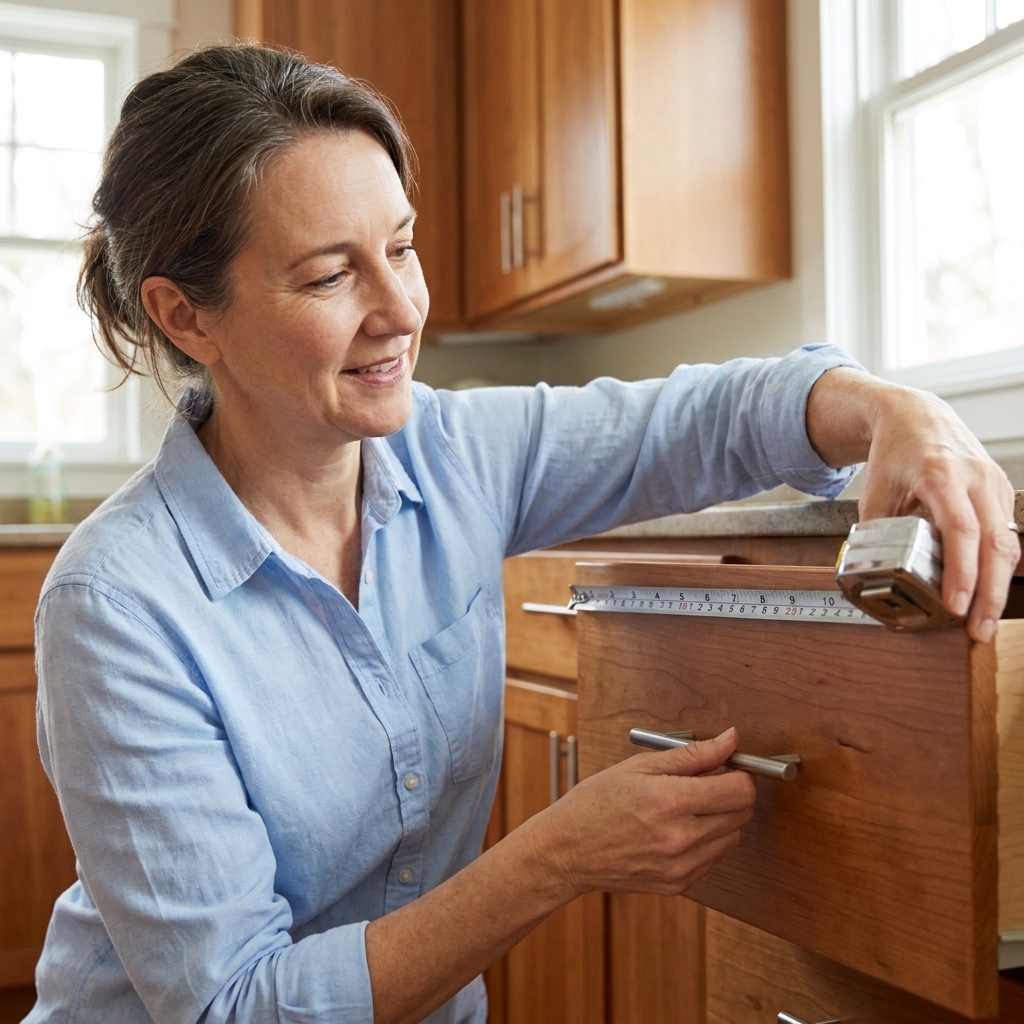
Know what you are sizing
Before we talk lengths, let’s clear up the vocabulary, because listings can be confusing.
- Overall pull length is the end-to-end size you see (example: a 5-inch pull measured from tip to tip).
- Center-to-center (often written as C-to-C) is the distance between the two screw holes. This matters most for replacements because your existing holes may dictate what fits. Many pulls are labeled by C-to-C, not overall length, and the overall length is usually longer.
- Knob size is usually the diameter (round knobs) or the width (square/rectangular knobs).
When you shop, filter by C-to-C if you are trying to reuse holes, and filter by overall length if you are trying to hit a specific look, like long modern pulls.
Two sizing rules that work
Rule 1: For drawers, start around 1/3 of the drawer width
This is the easiest way to land on a “looks right” size. Measure the drawer front width (left to right), then start with a pull that is about one-third of that number. This rule is about the pull’s overall length (end to end). If you are shopping by C-to-C, look up the overall length in the product specs and compare that to your drawer width.
- 18-inch drawer: 5- to 6-inch overall pull length
- 24-inch drawer: 7- to 8-inch overall pull length
- 30-inch drawer: 10- to 12-inch overall pull length
- 36-inch drawer: about a 12-inch overall pull length (or two pulls, more on that below)
My practical tweak: if you love a cleaner, more substantial look, you can push closer to 1/2 the drawer width on wide drawers, especially in modern kitchens with slab doors. Just test it first (the painter’s tape trick later makes this easy).
Rule 2: For doors, use common starting ranges
Doors are less about math and more about balance, grip, and the style of the door. These are common starting ranges, not universal rules. Door width, rail and stile size, and whether your cabinets are shaker, slab, or raised-panel can nudge you shorter or longer.
- Upper cabinet doors: knobs or 3- to 5-inch pulls are common, but 5-inch pulls can look great on wider or more modern uppers.
- Lower cabinet doors: 5- to 8-inch pulls are common, especially if doors are wider or you prefer a more modern feel.
- Pantry and tall doors: 8- to 12-inch (or longer) pulls are common, depending on door height and the look you want.
If you are mixing knobs and pulls (very common), many kitchens use knobs on doors and pulls on drawers for comfort and cost. If you prefer an all-pull look, just be consistent with placement and finish.
Quick size cheat sheet
These are the most common “real life” choices I see work again and again, including in budget-friendly refreshes where you want the biggest visual impact without overthinking it. Sizes below refer to overall pull length unless noted.
| Cabinet part | Common sizes that look balanced | Notes |
|---|---|---|
| Small drawers (12- to 15-inch wide) | 3- to 4-inch pulls | Also a great place for knobs if you want a traditional look. |
| Medium drawers (18- to 24-inch wide) | 5- to 8-inch pulls | This is the “sweet spot” for most kitchens. |
| Wide drawers (27- to 36-inch wide) | 10- to 12-inch pulls | Longer pulls look intentional, not undersized. |
| Very wide drawers (39+ inches wide) | 12- to 18-inch pulls or two pulls | Two pulls can feel more stable and can reduce twisting. |
| Upper cabinet doors | Knobs or 3- to 5-inch pulls | Go longer on wider doors or slab fronts. |
| Lower cabinet doors | 5- to 8-inch pulls or knobs | If you use knobs, choose a comfortable size for your grip. |
| Pantry doors | 8- to 12+ inch pulls | Longer pulls look higher-end and are easy to grab. |
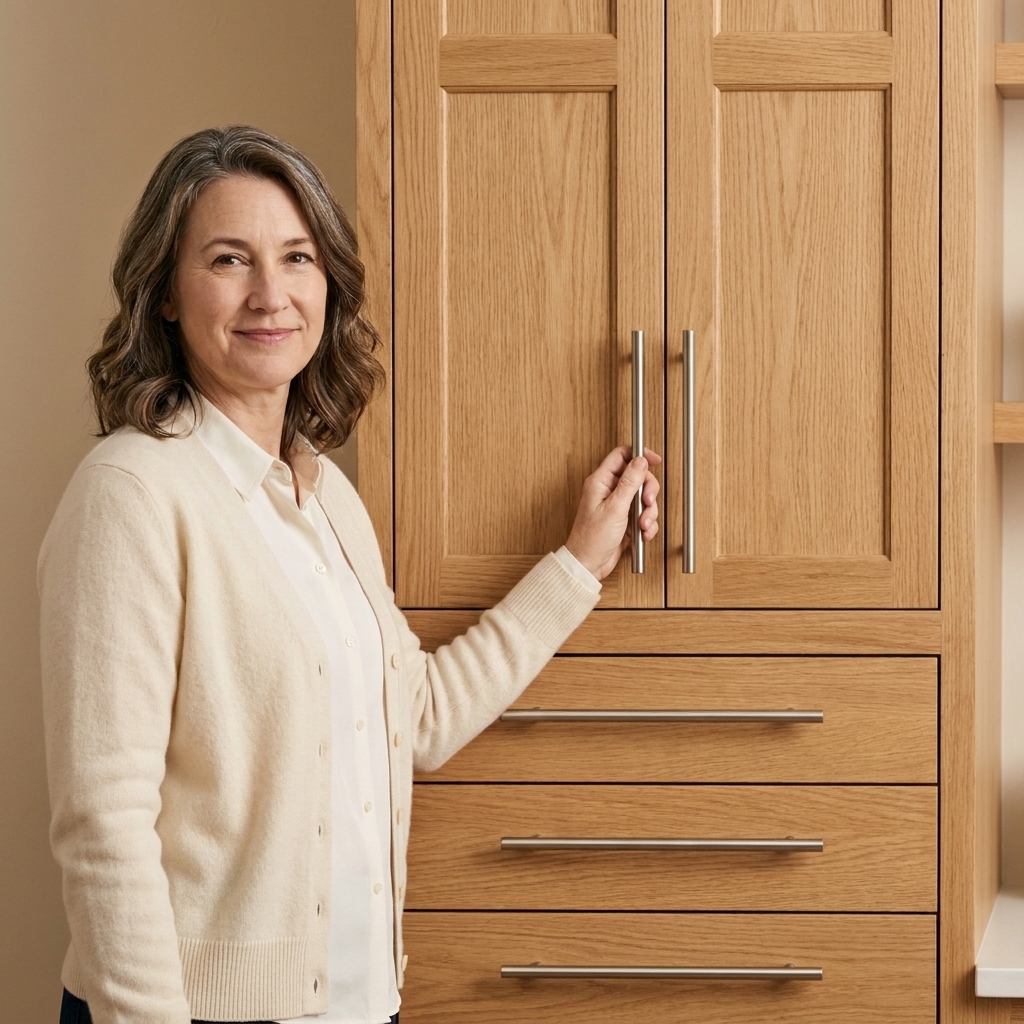
Knobs: size and comfort
Knobs are forgiving on proportion, but they can still look “off” if they are too small for the style of your kitchen.
- Classic round knobs: 1-1/4 inch is a safe, widely used size. 1-3/8 inch to 1-1/2 inch looks a bit more updated and substantial.
- Square knobs: 1-1/4 inch to 1-3/8 inch is common. Bigger squares can look very modern quickly.
- Comfort check: If you have heavy doors, deep drawers, or kids who yank things open, avoid tiny knobs that force a pinching grip.
One budget tip I love: spend a little more on the hardware you touch the most (trash pull-out, utensil drawer, pantry), and keep the rest in the same family but at a better price point.
Placement matters
You can buy the perfect pull and still hate the result if placement is inconsistent. Here are placements that look clean and work well.
Drawers
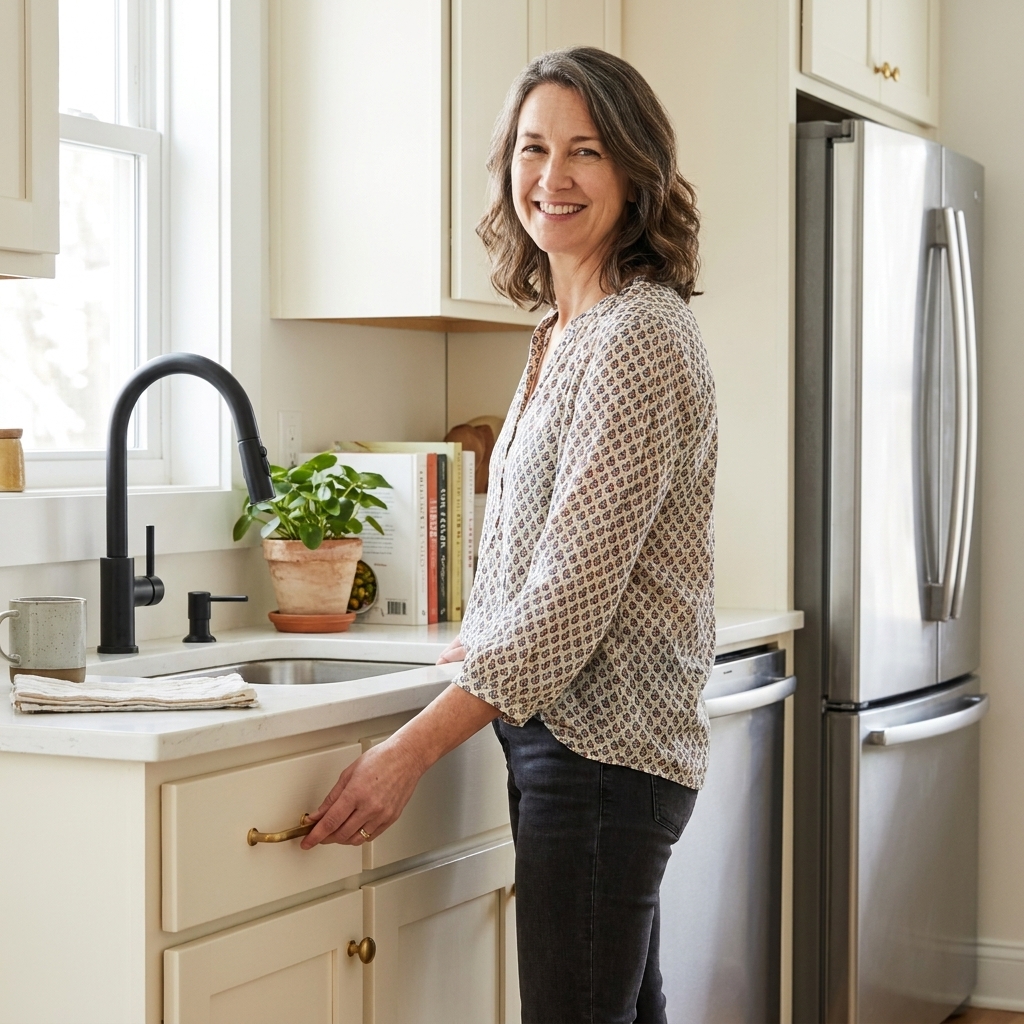
- Standard placement: centered on the drawer front, both left-to-right and top-to-bottom.
- For very tall drawer fronts: place the pull slightly higher than center (it feels better in your hand), but keep it consistent across all tall drawers.
Doors
- For knobs: typically 2-1/2 to 3 inches from the corner. Measure to the center of the knob (and therefore the hole).
- For pulls: align the pull with the stile (the vertical frame piece) and keep the look consistent. A very common approach is placing the pull so the screw hole centers land about 2-1/2 to 3 inches from the door corner.
My favorite DIY habit: pick one measurement (like 2-3/4 inches to hole center) and stick with it everywhere it makes sense. Consistency reads as custom.
Style matters too
Hardware sizing is not just about the cabinet width. The cabinet style can limit what looks right and what physically fits.
- Shaker doors: rail and stile width matters. If the frame is narrow, an extra-long pull can look cramped or force awkward hole placement.
- Slab doors: they can handle longer pulls and bolder sizing because the front is clean and uninterrupted.
- Raised-panel or detailed doors: shorter pulls or knobs often feel more balanced. If you love a modern long pull here, tape-test it first so it does not compete with the panel detail.
Long pulls: when they shine
Long pulls can instantly modernize painted cabinets, especially shaker and slab doors. They also highlight your paint job because the lines feel crisp and intentional.
Long pulls work especially well when:
- You have wide drawers and want a clean, high-end look.
- Your cabinets are simple (shaker, slab) and you want the hardware to be the “jewelry.”
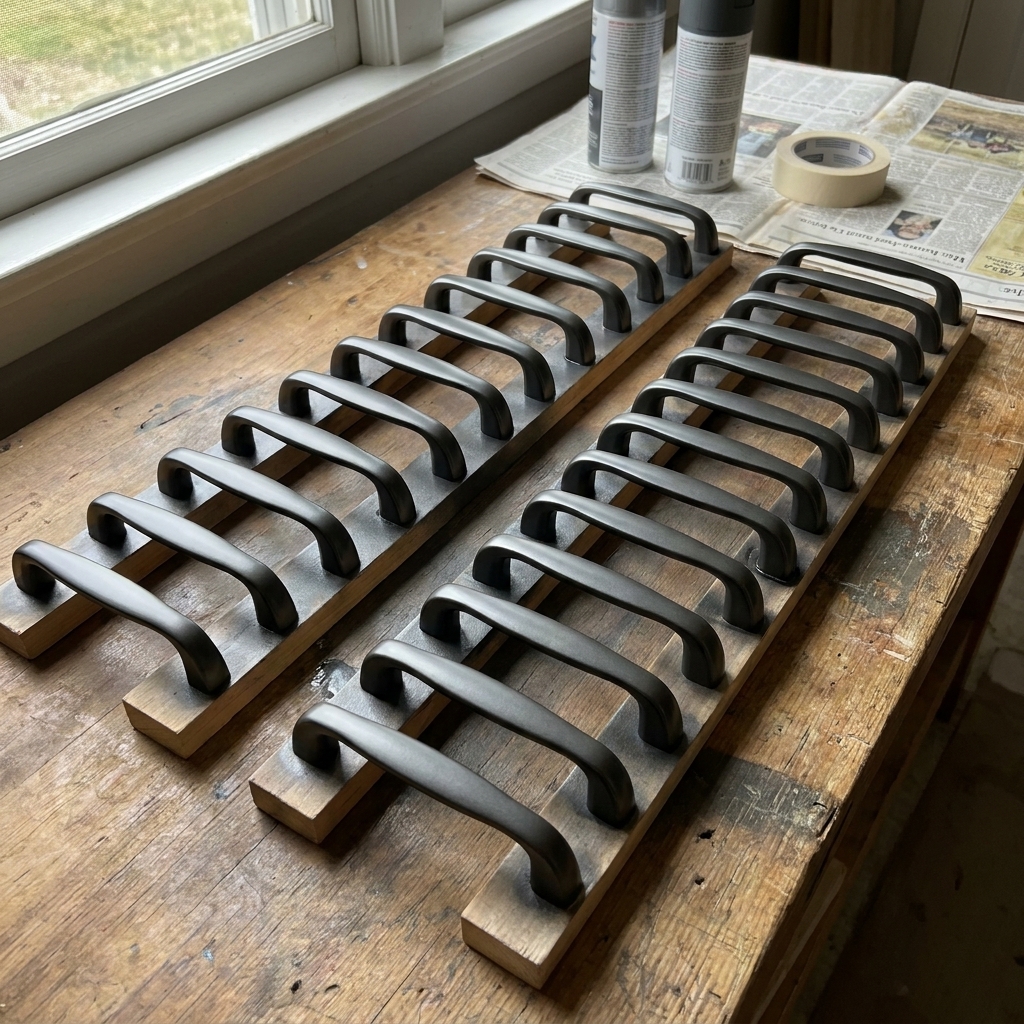
- You are using a matte black or brushed brass finish and want bold contrast.
Consider shorter pulls or knobs when:
- Your door fronts are busy (arched panels, heavy detailing) and long pulls compete visually.
- You have very narrow rails or older cabinetry where a long pull looks cramped.
- You are trying to avoid drilling and want to reuse existing holes easily.
If you love long pulls but want to stay budget-friendly, prioritize them on the drawers and most visible lower cabinets first. That is where they make the biggest difference.
Replacing hardware without new holes
If your cabinets already have pulls and you would rather not fill and repaint around old holes, your main job is matching C-to-C.
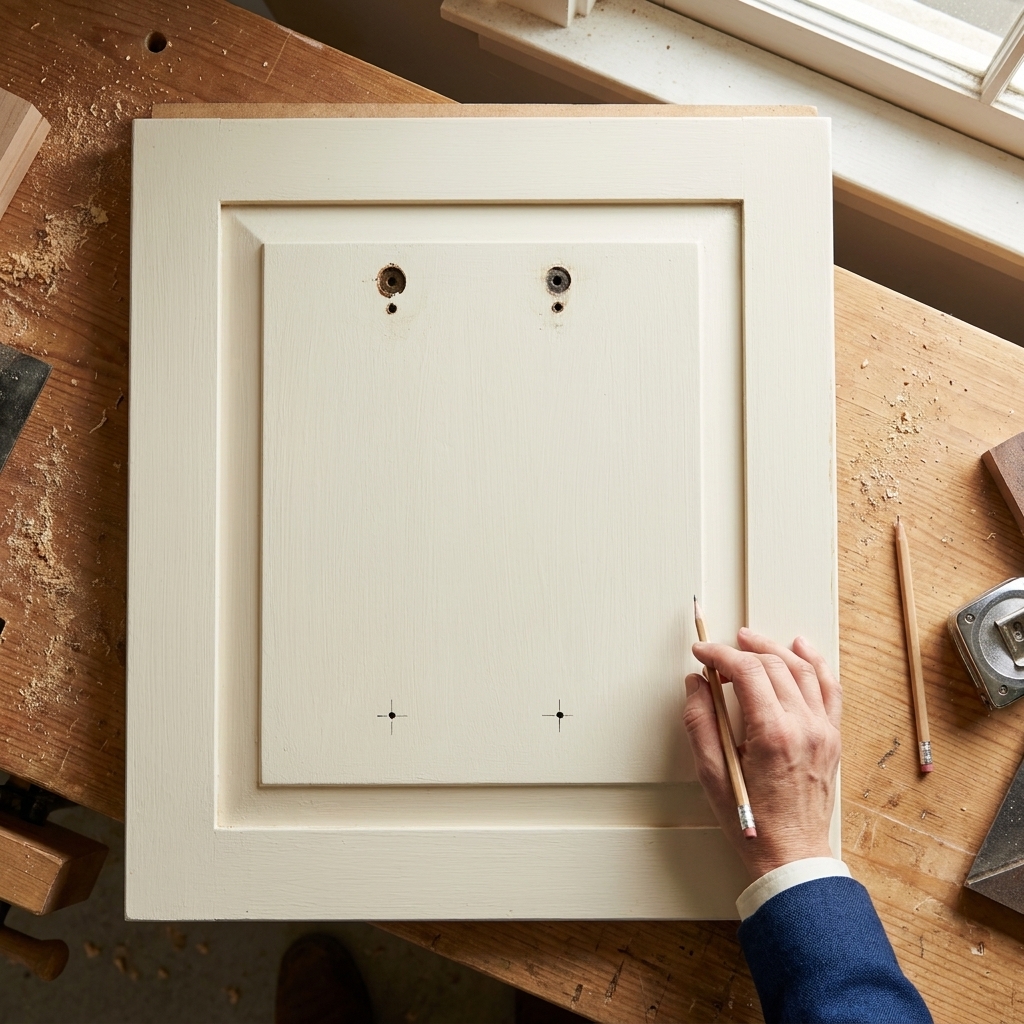
- Measure from the center of one hole to the center of the other. That is your C-to-C.
- Shop by that number. You will see both inch and metric listings. Common options include 3 inch (76 mm), 3-3/4 inch (96 mm), 5 inch (128 mm), 6-5/16 inch (160 mm), 7-9/16 inch (192 mm), and 10-1/16 inch (256 mm).
- Check projection. Some pulls stick out more, and that changes how they feel in tight walkways.
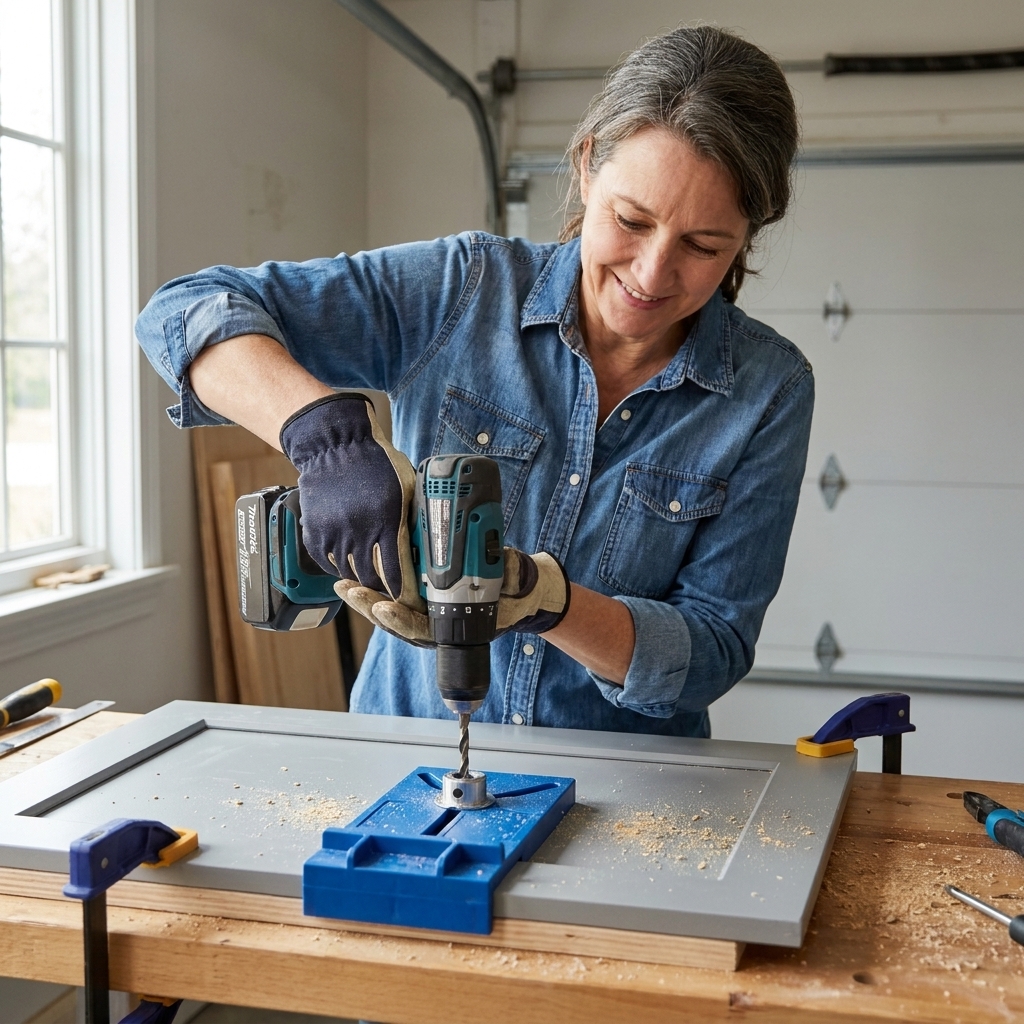
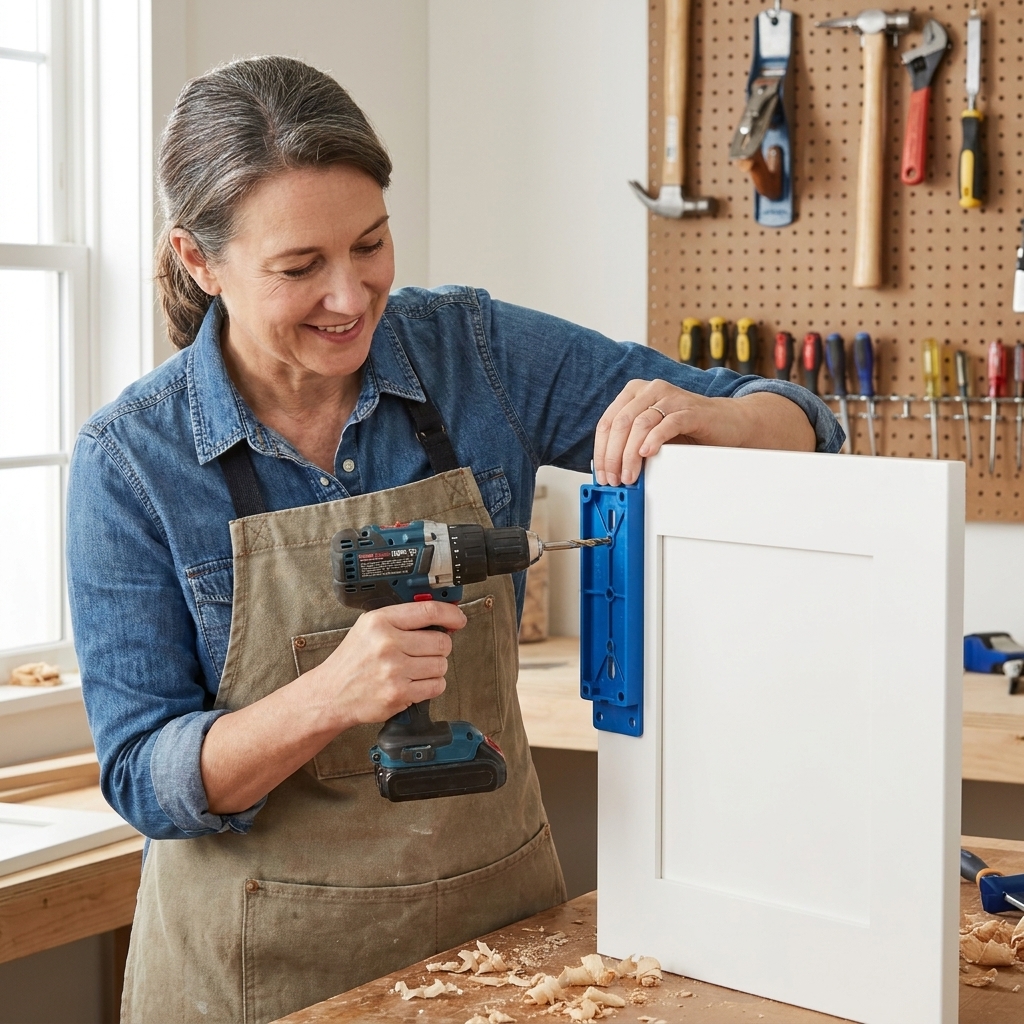
If you are switching from knobs to pulls (one hole to two), plan to use a drilling jig. It keeps everything lined up, which is especially important after you have spent a weekend painting cabinets and you do not want “wobbly” looking hardware to steal the show.
One more small thing that saves headaches: put painter’s tape where you will drill, and use a scrap of wood behind the door or drawer front while drilling to help prevent splintering or blowout.
Two pulls on one wide drawer
Two pulls can look beautiful on wide drawers, and it can make a heavy drawer feel steadier when you open it. It is also a style choice.
- Use two pulls when: the drawer is extra wide (often 36 inches or more), the drawer is heavy (pots and pans), or you want a more traditional look.
- Use one long pull when: you want a modern, streamlined style and you can find a length that looks proportional.
If you go with two pulls, a simple placement that usually looks right is to center each pull on its half of the drawer. In other words, measure the drawer width, divide by four, and place each pull centered at those quarter points. Tape it up first and adjust by eye if your drawer has panel detailing.
If you are on the fence, tape both options up with painter’s tape and step back across the room. Your eye will usually pick the winner fast.
The painter’s tape test
Before you drill anything, do this:
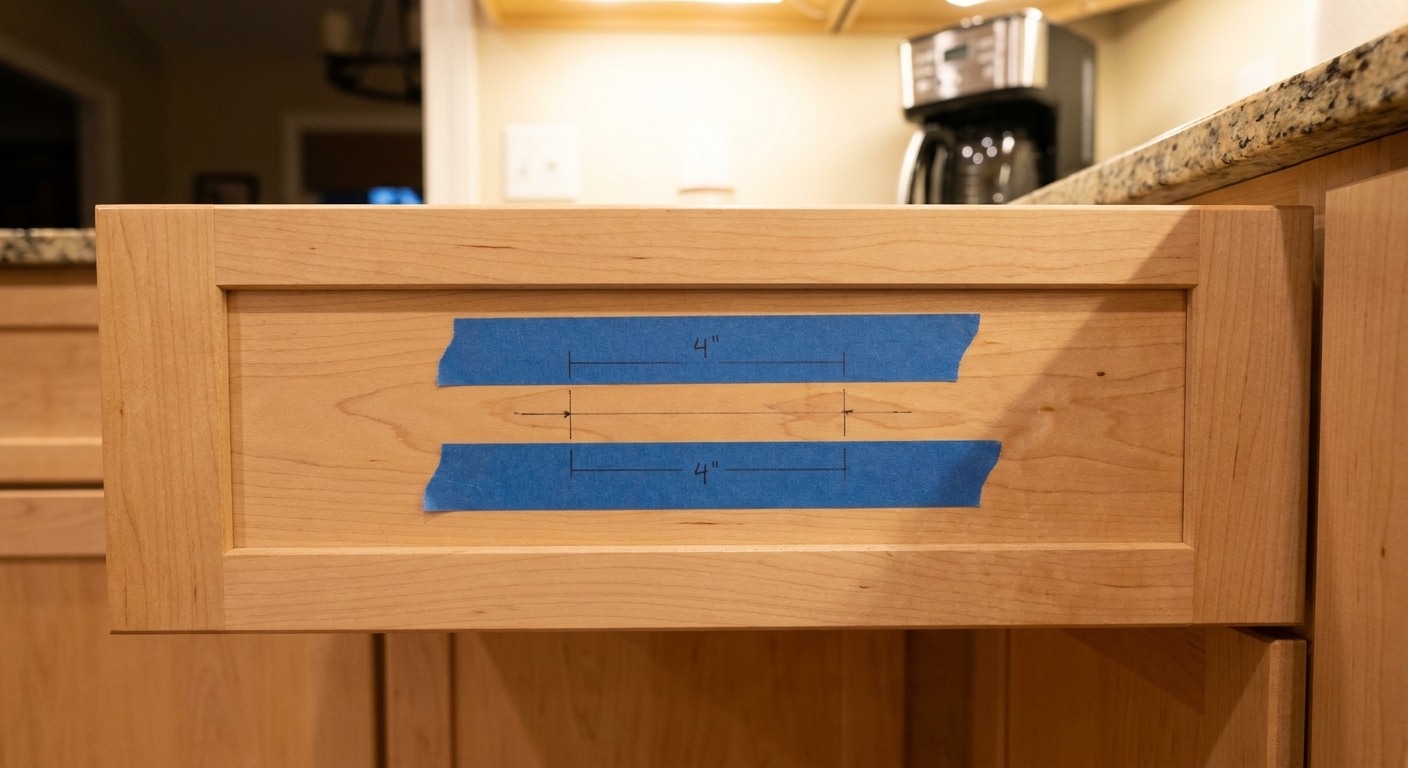
- Cut a strip of painter’s tape roughly the length of the pull you are considering (overall length).
- Stick it on the drawer or door where the pull would go.
- Repeat on a few different sizes of drawers and doors (top drawer, a wide drawer, an upper door, and a lower door).
- Stand back and look at the whole run of cabinets.
If the tape looks skimpy on the wide drawers, size up. If it looks like it takes over the door, size down. This is the easiest way to avoid buying hardware twice.
Common sizing mistakes
- Going too small on wide drawers: a 3- or 4-inch pull on a 30-inch drawer usually looks accidental. Choose a longer pull or commit to two pulls.
- Mixing pull lengths randomly: it is fine to use different lengths on different drawer sizes, but keep it systematic (small, medium, wide) so it feels intentional.
- Ignoring door style: long, modern pulls can fight with ornate raised-panel doors. You can still do it, just test first.
- Not checking clearance: make sure pulls will not bump appliances, walls, or each other in corners.
- Skipping a jig: freehand drilling is how you end up with hardware that looks crooked forever.
FAQ
Is there a standard pull size for kitchen cabinets?
There are common starting points, but not one universal standard. Many DIYers have good luck with 5- to 6-inch pulls on average drawers and knobs or 3- to 5-inch pulls on doors, then sizing up for wide drawers and tall pantry doors.
Should all pulls in a kitchen be the same length?
Not necessarily. Many kitchens use one length for small and medium drawers and a longer length for wide drawers. What matters is that the sizing pattern is consistent.
What size pulls look best on shaker cabinets?
Shaker cabinets are flexible, but the rail and stile width can limit how long you can go. For a more modern look, go longer on drawers (often 7- to 12-inch overall length depending on width). For a classic look, 5- to 6-inch pulls on drawers with knobs on doors is a solid combo.
Can I put pulls on doors instead of knobs?
Absolutely. It can look more modern and can feel easier to grab. Just keep placement consistent and choose a length that does not overwhelm the door.
If I just painted my cabinets, when should I install hardware?
After the paint has cured enough to handle gentle pressure without denting. If you used a cabinet enamel, I like to wait at least a few days, and longer if humidity is high. Use a jig, go slow, and put painter’s tape on the spot to help prevent chipping.
A simple plan
If you want the shortest path to a pulled-together look, here is the plan I give friends:
- Measure your drawer widths and group them into small, medium, and wide.
- Pick your finish (matte black, brushed nickel, champagne bronze, and so on) after you look at your faucet and lighting.
- Choose one pull length for medium drawers (often 5- to 8-inch overall length), then pick a longer matching pull for wide drawers.
- Decide knobs vs pulls on doors based on the style you want and how you use the kitchen.
- Tape-test the sizes on your actual cabinets before ordering everything.
Hardware is the final touch that makes a painted or refinished kitchen feel finished. When the sizing is right, even budget cabinets look intentional, updated, and honestly a little bit custom.