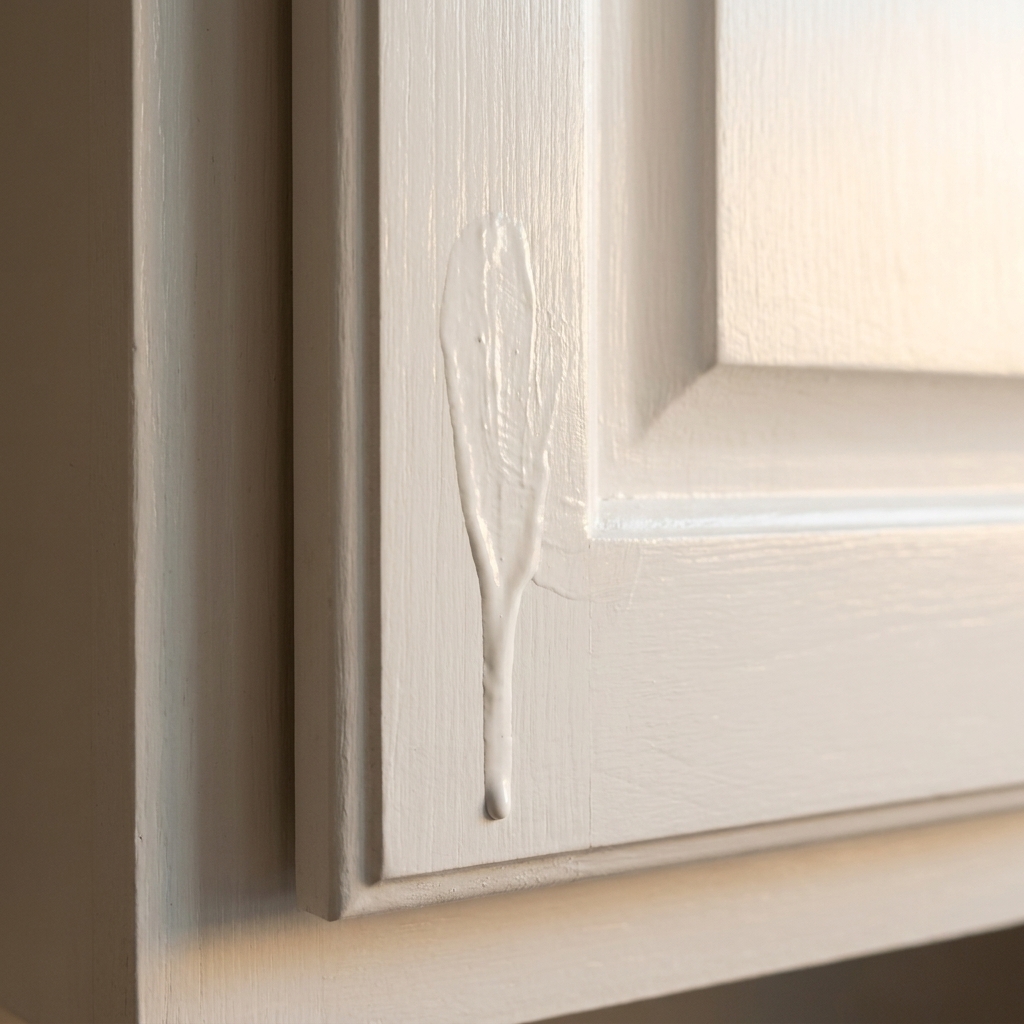
If you have ever poured your heart into freshly painted cabinets, stepped back, and then noticed a shadow line where the crown meets the ceiling or the trim meets the cabinet box, welcome. Caulk is the quiet little finishing step that makes cabinetry look built-in instead of “added later.” It also happens to be one of the easiest places to pick the wrong product and end up with cracking, shrinking, or paint that peels right off.
Below is exactly how I choose paintable caulk for cabinet crown molding and trim, including what each type is best at, what I avoid in kitchens, and a few pro tricks for getting a smooth bead even if your hands are not perfectly steady.
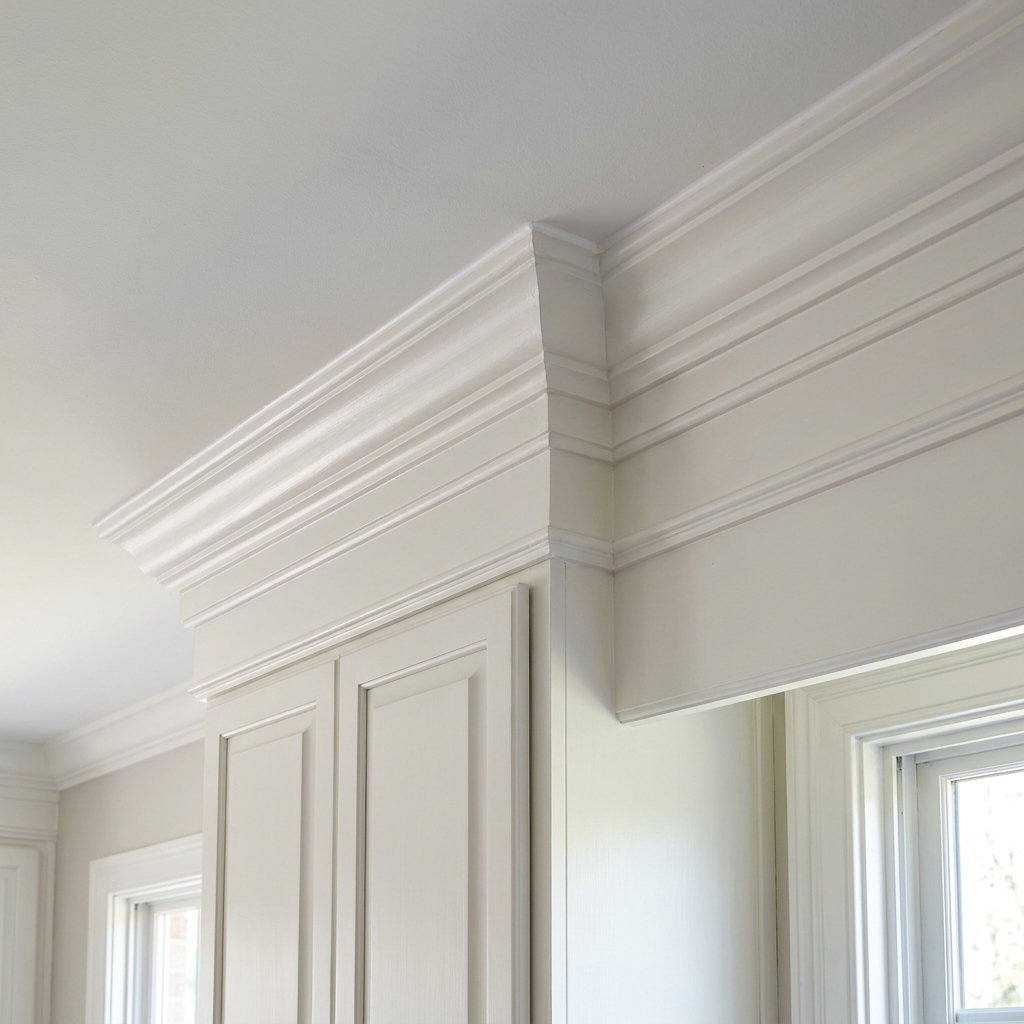
What matters most
Kitchen cabinets live in a tough zone: steam from pots, humidity swings, and tiny vibrations from doors opening and closing. A good cabinet caulk needs to handle movement without looking messy after you paint.
- Paintability: Sounds obvious, but not all caulks that claim “paintable” accept cabinet paint well. You want a surface that paint bonds to, not one that stays slick.
- Flexibility: Crown molding seams move a little with seasonal changes. A brittle caulk will split and show a hairline crack that screams “DIY.”
- Low shrink: High-shrink caulk leaves a shallow groove after it cures, and that groove catches light after painting. You want it to stay full.
- Tooling time: This is your working window before the caulk starts to skin over. You want enough time to smooth it, but not so slow that it collects dust while you wait.
- Easy cleanup: For cabinet work, water cleanup is a sanity saver.
Caulk types for cabinets
In the caulk aisle, three categories show up again and again for trim and paint projects. Here is how they perform specifically for crown molding, light gaps around cabinet panels, and trim details near uppers.
Acrylic latex caulk
This is the standard “painter’s caulk.” It is water-based, easy to tool, and usually paints nicely. For small, stable seams it can look great, but it is not always my first choice for crown in a real kitchen.
- Best for: Tiny gaps (think hairline to about 1/8 inch) where trim meets cabinet boxes, especially on interior runs that do not move much.
- Pros: Easy cleanup, usually inexpensive, and some formulas can be sanded lightly once fully cured (test first, because others can gum up).
- Cons: Can shrink more than you expect, and can crack if the seam moves.
Siliconized acrylic
This is the middle ground and the category I use most often for cabinetry. You get the paintability and water cleanup of acrylic, with a boost in flexibility and moisture resistance.
- Best for: Crown molding to ceiling, crown to cabinet tops, trim joints, and anywhere you want a crisp line that stays crisp.
- Pros: Better stretch than basic acrylic, usually less cracking, generally still very paint-friendly.
- Cons: Some formulas can still shrink a bit, and silicone content varies by brand.
Elastomeric caulk
Elastomeric caulk is designed to stretch and recover. If your kitchen shifts seasonally, or you have older homes with a little movement between ceiling and cabinets, this is the “sleep better at night” option.
- Best for: Longer crown runs, slightly uneven ceilings, and seams you know will move with humidity and seasons.
- Pros: Excellent flexibility, strong crack resistance, and often lower shrink (product dependent, and bead size matters).
- Cons: Often costs more, can be a little stickier to tool, and some versions have longer cure times before painting.
What I avoid: 100% silicone
Pure silicone is fantastic for wet areas like inside showers, but it is a common cabinet mistake because most paints will not adhere reliably. Even “paintable silicone” claims can be hit or miss on a cabinet finish where you want a smooth, durable film.
- Use 100% silicone for: Sinks, backsplash corners that see regular water, and non-painted waterproof joints.
- Skip it for: Painted crown molding and painted cabinet trim seams.
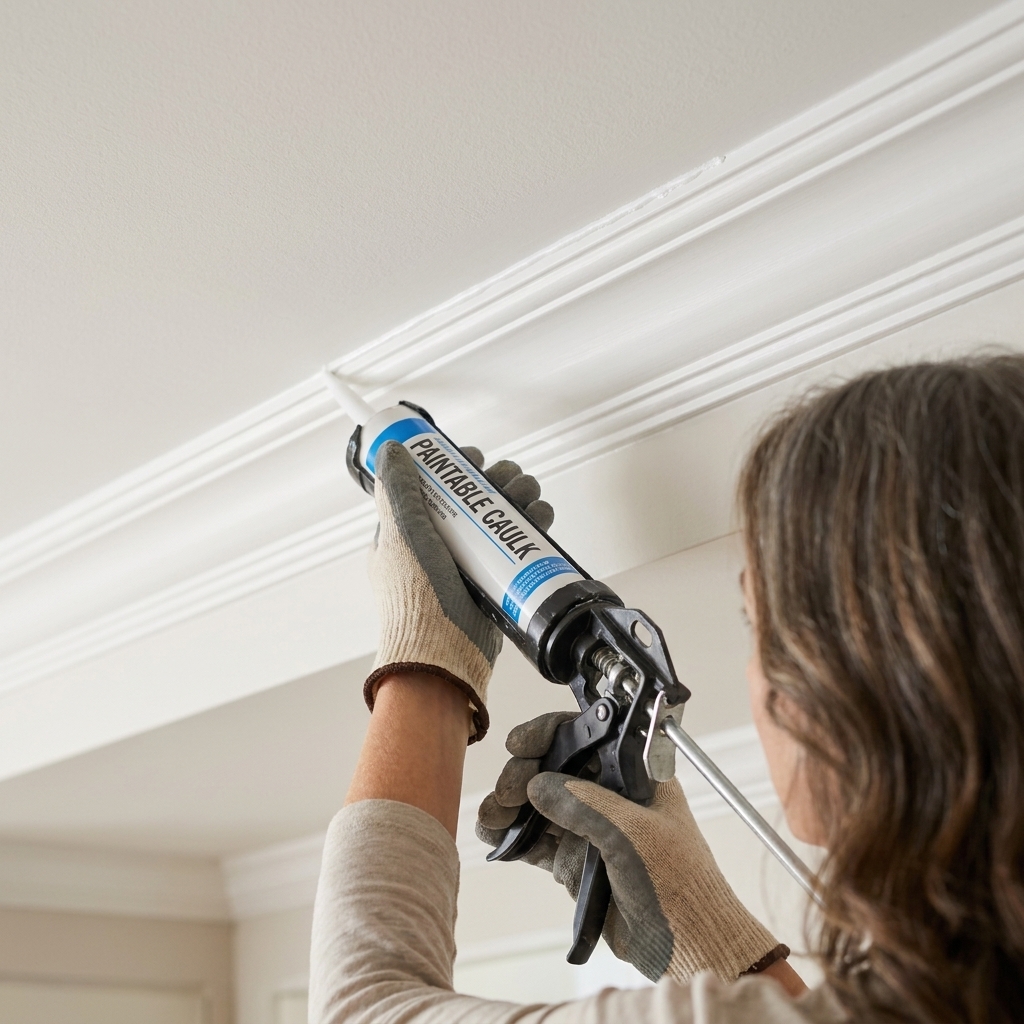
Quick decision list
- Most cabinet crown molding seams: Choose a siliconized acrylic.
- Ceiling line is wavy or the gap changes size: Choose an elastomeric caulk.
- Super tiny trim touch-ups: A quality acrylic latex painter’s caulk is fine.
- Areas that get splashed constantly: Use the right product for the right place. Silicone belongs near water, but not under paint.
What labels mean
“Paintable”
Look for caulks clearly labeled paintable, and ideally intended for trim or interior molding. If the label leans heavily “kitchen and bath” and “mildew proof,” double-check the type. Many of those are silicone-heavy and can fight your paint.
“Flexible” and movement ratings
“Flexible,” “stretch,” and “crack resistant” usually point you toward siliconized acrylic or elastomeric. If you want a spec to look for, some tubes list a movement rating (often called Class 25, Class 35, and so on). Higher movement ratings generally handle seasonal shifting better, which is exactly what crown-to-ceiling seams like to do.
Paint time vs cure time
A caulk might say you can paint in 30 minutes, but full cure can take days. On cabinets, I like to give it enough time that it is not still shrinking under my topcoat. If I can, I caulk one day and paint the next.
Paint type compatibility
Most paintable acrylic and hybrid caulks play nicely with common water-based cabinet paints. If you are using an alkyd or oil-based enamel, check the tube for oil-paint compatibility. When in doubt, a small test bead on a scrap saves a lot of frustration.
Interior vs exterior
Some exterior elastomeric caulks work beautifully indoors, but they can have stronger odor and longer cure. If you are working in an occupied kitchen, pick an interior-rated formula when possible.
Match caulk to the gap
Crown to ceiling
This seam moves. It is where I most often see cracking a few months later if the caulk is too basic. For most kitchens, siliconized acrylic is a great balance. If the ceiling is uneven or your home is older, bump up to elastomeric.
Crown to cabinet top
This is usually more stable than ceiling-to-crown, but it can still shift slightly. I use siliconized acrylic here almost every time for clean tooling and reliable paint adhesion.
Trim, scribe, and light rail
For small trim seams, acrylic latex can work. If the trim is tight to a wall that moves or the seam is longer than you think, I still choose siliconized acrylic.
Hardware holes are not a caulk job
I know it is tempting. Caulk stays flexible, which means it can telegraph and dent. For hardware holes, use a wood filler or a two-part epoxy filler, then sand, prime, and paint.
My caulking method
- Remove failing caulk first: If there is old cracked caulk, cut it out and scrape clean. Caulk does not like sticking to loose caulk.
- Clean and dry: Degrease the area. If the crown is near the range, wipe with a grease-cutting cleaner and let it dry fully.
- Tape only if you need it: If you are new to caulking or the seam is very visible, painter’s tape can help. Pull it while the caulk is still wet.
- Cut a tiny nozzle opening: Start smaller than you think. You can always cut more, but you cannot put caulk back in the tube.
- Use steady pressure: Move at a consistent pace and let the caulk fill the seam without flooding it.
- Tool it immediately: A damp finger works, but I prefer a caulk finishing tool for a crisp line. Wipe the tool often.
- Less is more: You want just enough to bridge the gap. A fat bead takes longer to cure and is more likely to shrink.
- Let it set before paint: Follow the tube, but if you can wait overnight, do it. Your final paint line will look cleaner and stay cleaner.

Common mistakes
- Caulking over dust or grease: Paint may stick, but the caulk bond can fail underneath and crack later.
- Using too much caulk: Thick beads skin over, then shrink, leaving a dip that shows through satin and semi-gloss finishes.
- Painting too soon: If caulk is still curing and moving, your paint line can crack, shrink, or show a visible ridge along the seam.
- Using silicone under paint: Paint can fisheye or peel, and touch-ups never blend well.
- Trying to caulk big gaps: If the gap is wider than about 1/4 inch, step back. Many products have a maximum joint size, and deep gaps usually need backing (like backer rod) to perform well. Always check the tube’s gap rating.
FAQ
What is the best caulk for crown molding on kitchen cabinets?
For most kitchens, a high-quality siliconized acrylic caulk is the sweet spot: paintable, flexible, and easy to tool. If your ceiling line is uneven or you have seasonal movement, go with an elastomeric caulk.
Will caulk crack with humidity changes?
It can, especially basic acrylic latex in longer seams. That is why I lean toward siliconized acrylic or elastomeric caulk for cabinet crown molding. They stay flexible and handle movement better.
Can I paint over caulk the same day?
Sometimes, yes, but it depends on the product and the bead thickness. For the smoothest result with the least shrink, I prefer caulk one day and paint the next, even if the label says “paint in 30 minutes.”
Why does my caulk line show after I paint?
Usually it is shrinkage, too thick of a bead, or painting before it has set up. Apply a smaller bead, tool it tight, and give it more time before topcoating.
Should I caulk before or after priming?
For crown molding and trim being painted, I like to prime first so the caulk adheres to a clean, sealed surface, then caulk, then apply topcoats. If you are only touching up small seams, you can caulk first, but make sure surfaces are clean and dull, not glossy.
Shopping checklist
- Type: Siliconized acrylic for most cabinet trim, elastomeric for movement-prone seams
- Label: Paintable, interior trim, flexible, low shrink
- Gap rating: Match the tube’s max joint size to your seam
- Paint compatibility: Especially if you are using alkyd or oil-based enamel
- Cleanup: Water cleanup
- Plan: Time to set and cure before your final cabinet paint coat
If you treat caulk like the final “make it look custom” step instead of an afterthought, your crown molding and trim lines will photograph like a built-in kitchen. And that is the whole Cabinet Glow vibe: making what you already have look intentional and fresh without the remodel price tag.