If your kitchen cabinets have that crusty, chipping paint look, you are not alone. Many older kitchens have been painted more than once, often with the quickest prep possible. The good news is you can absolutely get those doors back to clean wood, but the safest way depends on what you are stripping, what the doors are made of, and where you are doing it.
In this guide I will walk you through three reliable methods I have used (and tested on plenty of stubborn cabinet doors): chemical strippers, infrared heat tools, and controlled scraping. We will also talk about lead safety, ventilation, and how to avoid the number one heartbreak: gouging soft wood with an overconfident scraper.
Before you strip
Make sure it is the right move
Stripping to bare wood is the best choice when:
- The paint is thick and brittle with multiple layers that keep flaking.
- You have heavy brush marks, drips, or peeling that sanding will not level.
- You need to remove failing varnish or mystery coatings before staining.
- You want bare wood for a stained finish, not paint.
You might skip full stripping (and save a ton of time) if the existing paint is well bonded and you are repainting. In that case, thorough cleaning, scuff sanding, and a quality bonding primer can be enough.
Know what your doors are made of
This is the quick reality check that saves a lot of regret:
- Solid wood: Best candidate for stripping and heat methods.
- Veneer: Strip with care. Aggressive scraping can go through the veneer, and heat can soften glue lines or cause bubbling.
- MDF or particleboard: Avoid water rinses and heavy soaking. Strong chemicals and moisture can swell edges and make them fuzzy forever.
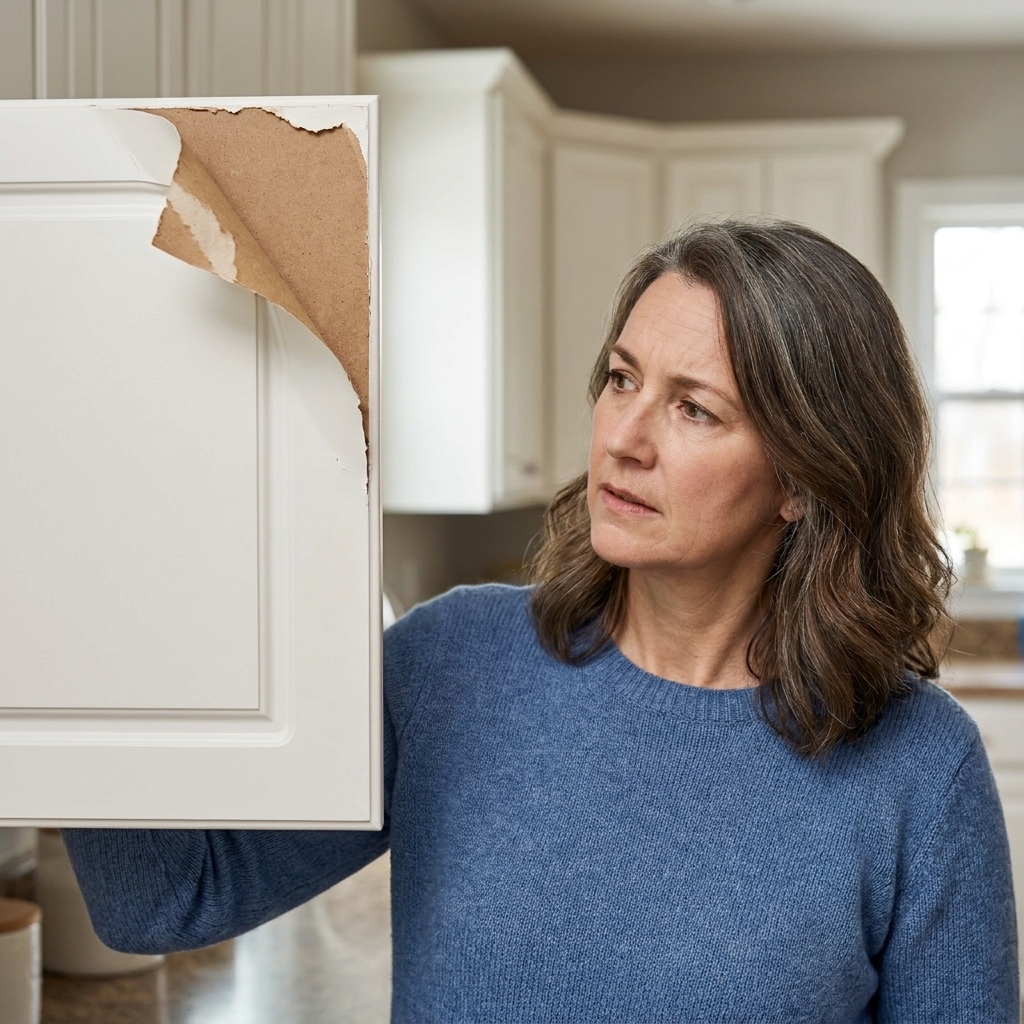
- Laminate or thermofoil: Do not strip. The “finish” is a plastic layer, and chemicals or heat can lift it. These are usually a replace or paint with specialty prep situation.
Safety first
1) Treat pre-1978 paint like it may contain lead
If your home was built before 1978, treat old paint as suspicious until proven otherwise. Lead is most risky when it becomes dust or chips, which happens easily during scraping and sanding. Wet methods can reduce airborne dust, but they still create contaminated slurry that needs containment and careful cleanup.
- Test: Use an EPA-recognized lead test kit on the oldest layer you can reach (often near an edge or hinge mortise). Be aware that some kits can produce false negatives, so when in doubt, act as if it is lead.
- If positive or unsure: Minimize disturbance, contain the area, and follow EPA Renovation, Repair and Painting (RRP) best practices. For large jobs, consider a certified lead-safe contractor.
2) Containment and cleanup basics (lead-safe habits)
- Work outdoors when you can. If indoors, isolate the work area with plastic sheeting and keep HVAC returns closed off nearby.
- Keep paint chips and sludge contained. Do not let it spread across the garage floor or get tracked into the house.
- Clean with a HEPA vacuum (not a shop vac without HEPA), then wet wipe. Dispose of wipes and debris in sealed bags.
3) Ventilation and PPE
- Nitrile gloves (or chemical-resistant gloves for strong strippers)
- Safety glasses
- Respirator: For solvent-based strippers, use a respirator with organic vapor cartridges. If lead paint is present (or suspected) and you are scraping or sanding, you also need particulate filtration, typically a P100 (HEPA) rated filter, and a proper fit. A dust mask is not enough.
- Long sleeves you do not mind getting messy
Work outdoors if you can. If you are in a garage, open the door, add a fan to move air out, and keep pets and kids away from the work zone.
Set up your station
A little setup makes stripping faster and less gross.
- Remove doors, drawers, and all hardware. Bag screws and label doors so everything goes back where it came from.
- Lay doors flat. Strippers and softened paint behave better on a horizontal surface.
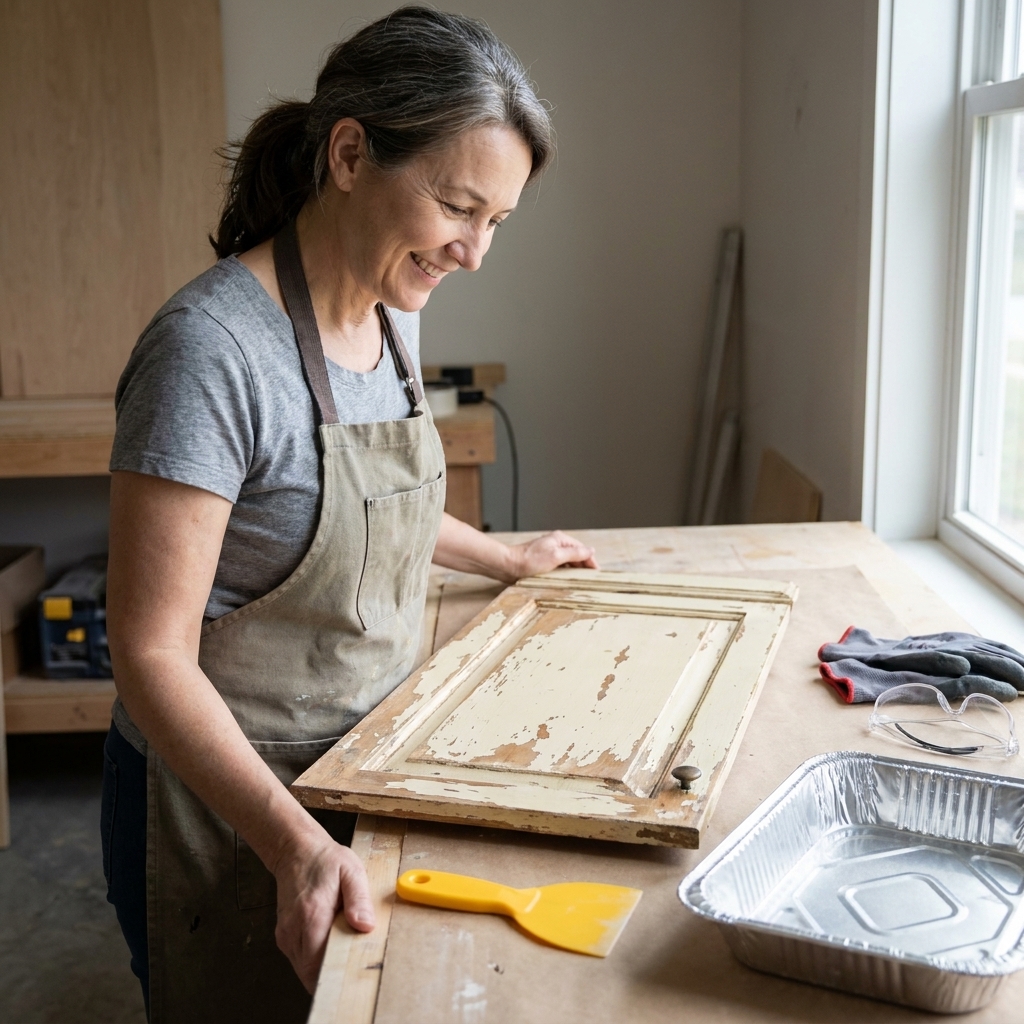
- Protect your surface with thick plastic or rosin paper. For chemical strippers, I like a disposable foil roasting pan to hold messy gunk.
- Have a trash bag ready for sludge, used plastic wrap, and dirty rags.
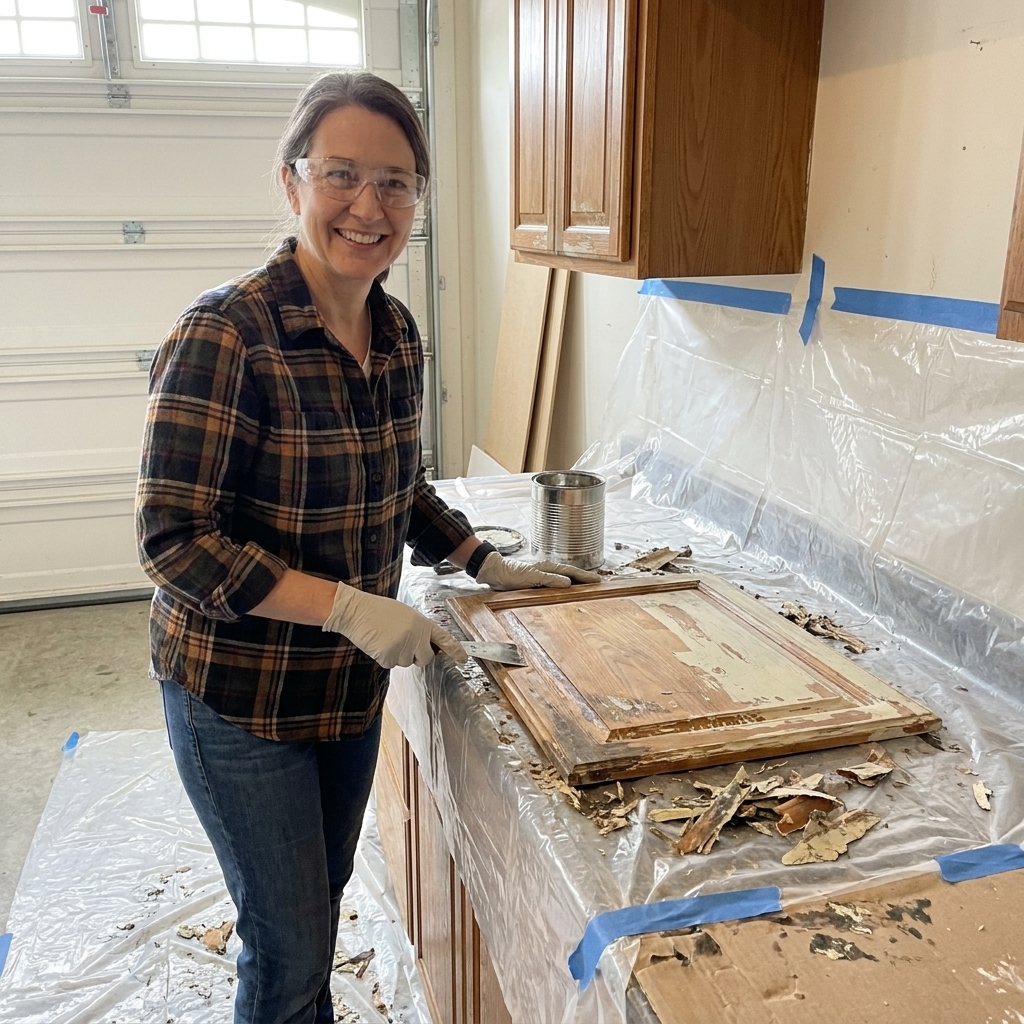
Method 1: Chemical strippers
Chemical strippers are my go-to when I see multiple paint colors at chipped edges or when the door has deep profiles that would take forever to sand. The trick is choosing the right type, applying it thick enough, and letting it do the work.
Choose the stripper type
Safer gel strippers
Look for gel or paste formulas that cling to vertical surfaces. These are commonly marketed as low-odor or “safer” strippers. They usually work slower, but they are easier to control and more pleasant for a weekend project.
- Best for: One to three paint layers, latex paint, indoor-friendly projects
- Tradeoff: May require two passes on older enamel or thick buildup
Solvent-based heavy-duty strippers
These cut through tough coatings faster, including old enamels and some catalyzed finishes. They can also be harsher on you and your workspace.
- Best for: Very thick paint, stubborn enamels, time-sensitive jobs
- Tradeoff: Strong odor, higher PPE and ventilation needs
Citrus-based strippers
Citrus strippers can be great when you want a longer open time and less harsh fumes. They often need patience and a cover layer to keep them active.
- Best for: DIYers who prefer milder products and do not mind longer dwell times
- Tradeoff: Slow on thick enamel, can feel gummy if under-applied
Quick note on what finish you are dealing with
If you can dent the coating with a fingernail, it is often latex and usually strips more easily. If it feels rock hard and glossy, it may be oil enamel or a tougher shop finish, which often needs a stronger stripper, more dwell time, or two rounds. When in doubt, test on the back of one door before you commit to a whole stack.
How to use chemical stripper on cabinet doors
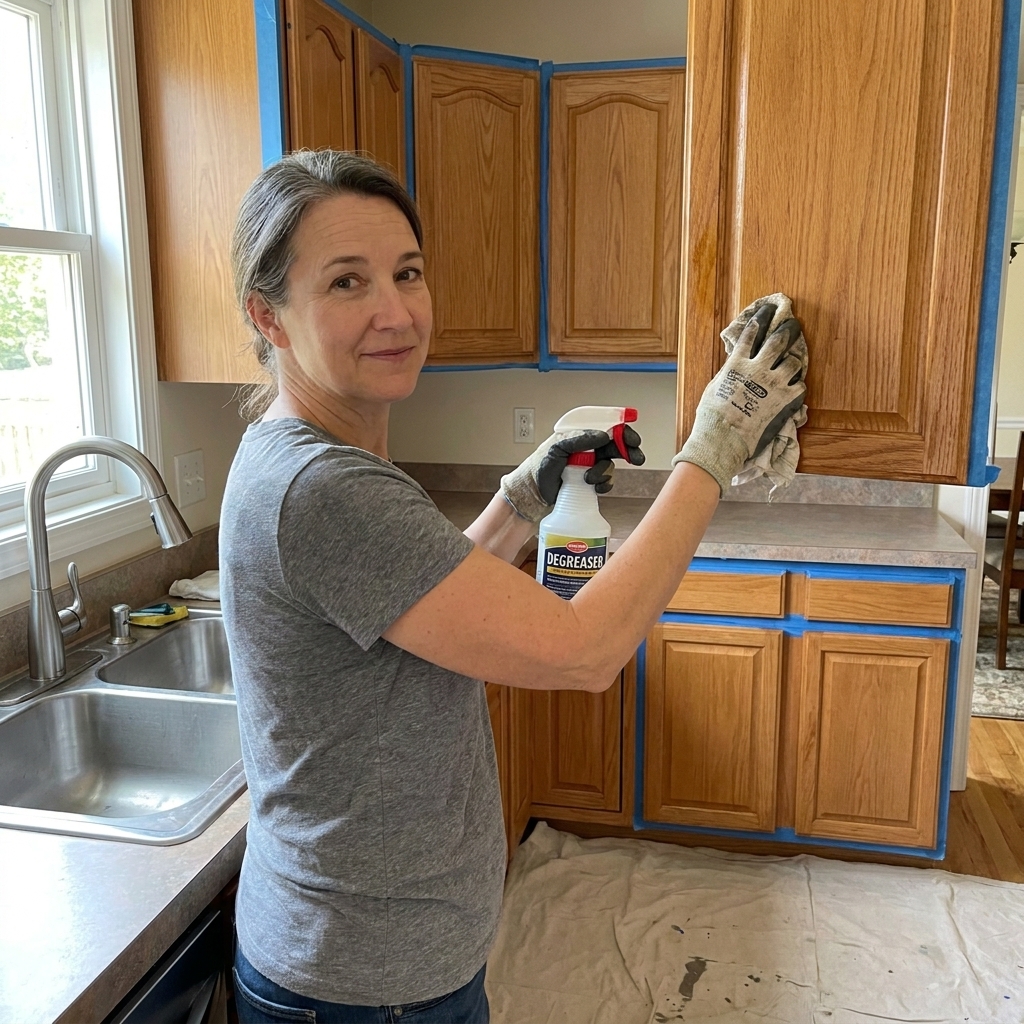
- Clean first. Degrease with a kitchen degreaser or warm water and dish soap. Let dry. Stripper works best on clean surfaces.
- Apply generously. Use a cheap chip brush. You want a thick, even coat. Thin coats dry out and quit early.
- Keep it wet. Press plastic wrap over the wet stripper so it does not dry out while it works.
- Wait. Follow the label, then check a small spot. You want the paint to wrinkle and lift easily.
- Scrape gently. Use a plastic putty knife for flat areas. Push with the grain. Wipe sludge into a foil tray or trash container.
- Detail the profiles. Use a nylon brush, an old toothbrush, or a profile scraper for grooves and corners.
- Repeat if needed. Thick paint often takes two rounds. That is normal.
Neutralizing and rinsing
This part depends on the product. Some strippers rinse with water. Others require mineral spirits or a manufacturer-specific wash. The goal is to remove residue that can cause primer or paint failure later.
- Read the label and follow it exactly for cleanup.
- Let doors dry fully before sanding, usually overnight.
My pro tip: If the paint is lifting but smearing, you are scraping too soon. Give it more dwell time, or add a fresh coat on top to re-wet the first layer.
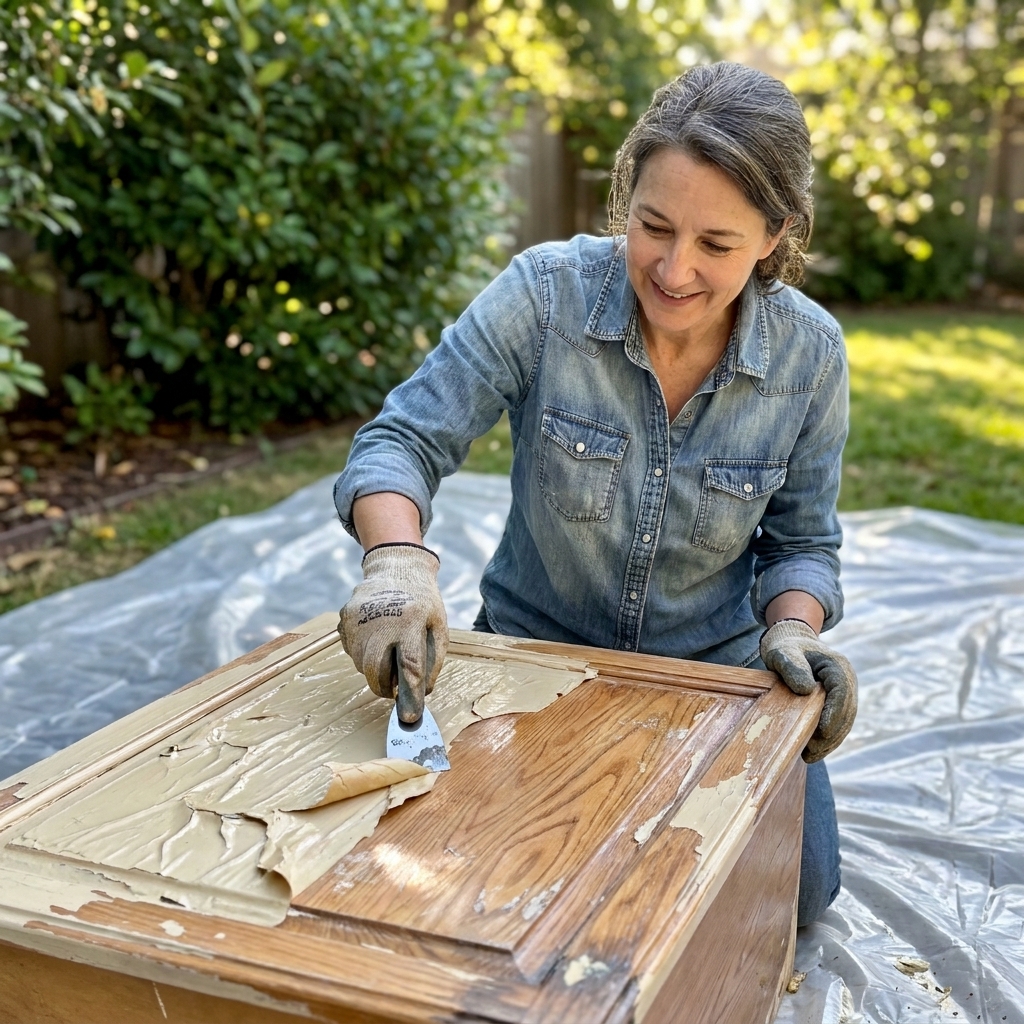
Method 2: Infrared paint removers
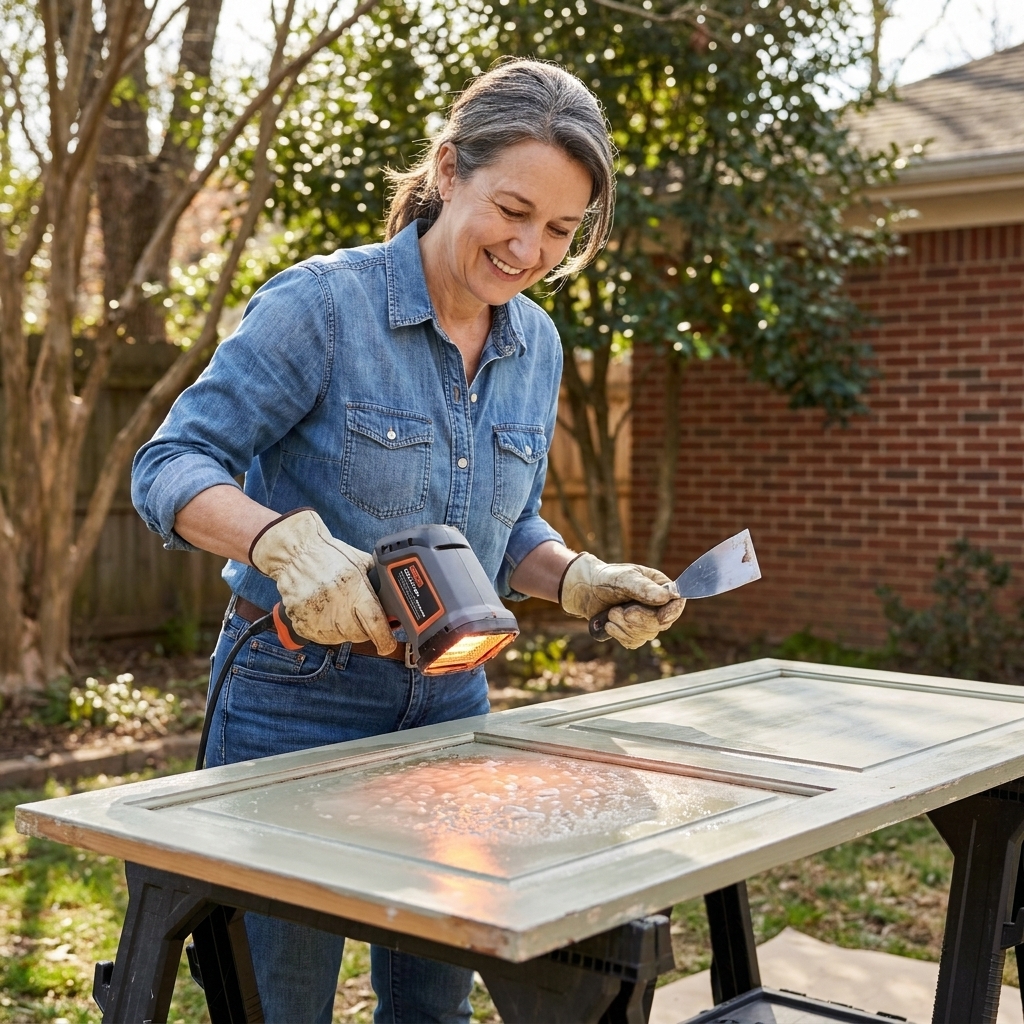
Infrared tools soften paint with targeted heat, letting you lift it with a scraper. Unlike a heat gun, infrared can warm layers more evenly, which can reduce scorching risk when used correctly. I like this method when I want to reduce chemical mess, or when I am working on solid wood doors with chunky profiles.
When infrared is the best choice
- You want minimal dust and fewer harsh fumes.
- The door has thick paint but you can work outdoors or in a well-ventilated space.
- You have the patience to work in small sections.
Watch-outs for veneer and glue
If your doors are veneered or have veneered panels, use extra caution. Heat can soften adhesives and cause bubbling or edge lift. I always test a small spot on the back first and keep dwell times conservative.
How to strip cabinets with an infrared tool
- Set the door flat and stabilize it so it cannot shift.
- Heat a small area (about 4 by 6 inches) for the recommended time.
- Scrape while the paint is soft. Use a sharp, clean scraper and keep the blade flat to avoid gouges.
- Move to the next section, overlapping slightly.
Avoid scorching
- Follow the tool directions and do not overheat edges and corners.
- If you smell burning wood, stop immediately and reduce dwell time.
- Have a metal tray ready for hot paint scrapings.
Method 3: Smart scraping
No matter which method you choose, scraping is where you either end up with a smooth door or a door full of battle scars. The goal is to remove softened paint while keeping the wood intact.
Use the right scraper
- Plastic putty knife: My default for beginners and soft woods. Safer, fewer gouges.
- Card scraper: Excellent for controlled removal and smoothing after stripping. Great on flat sections.
- Metal putty knife: Effective, but only if you keep it sharp and low-angle.
- Profile scrapers: Best for shaker edges, ogee details, and grooves.
Rules that save your cabinet doors
- Keep your blade at a low angle. Think shaving, not chopping.
- Work with the grain whenever possible.
- Wipe your blade constantly. A gunked-up edge drags and scratches.
- Do not force stuck spots. Reapply stripper or reheat instead.
Detail work for grooves and corners
For recessed panels and trim details, I reach for nylon brushes, wooden skewers, and small profile tools. Avoid metal picks unless you have a very steady hand.
Which method should you choose?
| Method | Best for | Pros | Cons |
|---|---|---|---|
| Chemical stripper | Thick layers, detailed doors | Gets into profiles, less physical effort | Messy, requires careful cleanup and ventilation |
| Infrared tool | Solid wood doors, low-dust removal | Minimal chemicals, controlled softening | Slower section-by-section, equipment cost, risky on veneer if overheated |
| Scraping (paired with stripper or heat) | Every project as a supporting technique | Precise, inexpensive tools | Easy to gouge if rushed or using the wrong blade |
After stripping
1) Final wash and dry
Once the paint is off, do one last cleanup step based on your stripper type. Then let the door dry completely. Trapped moisture or stripper residue can cause finish problems later.
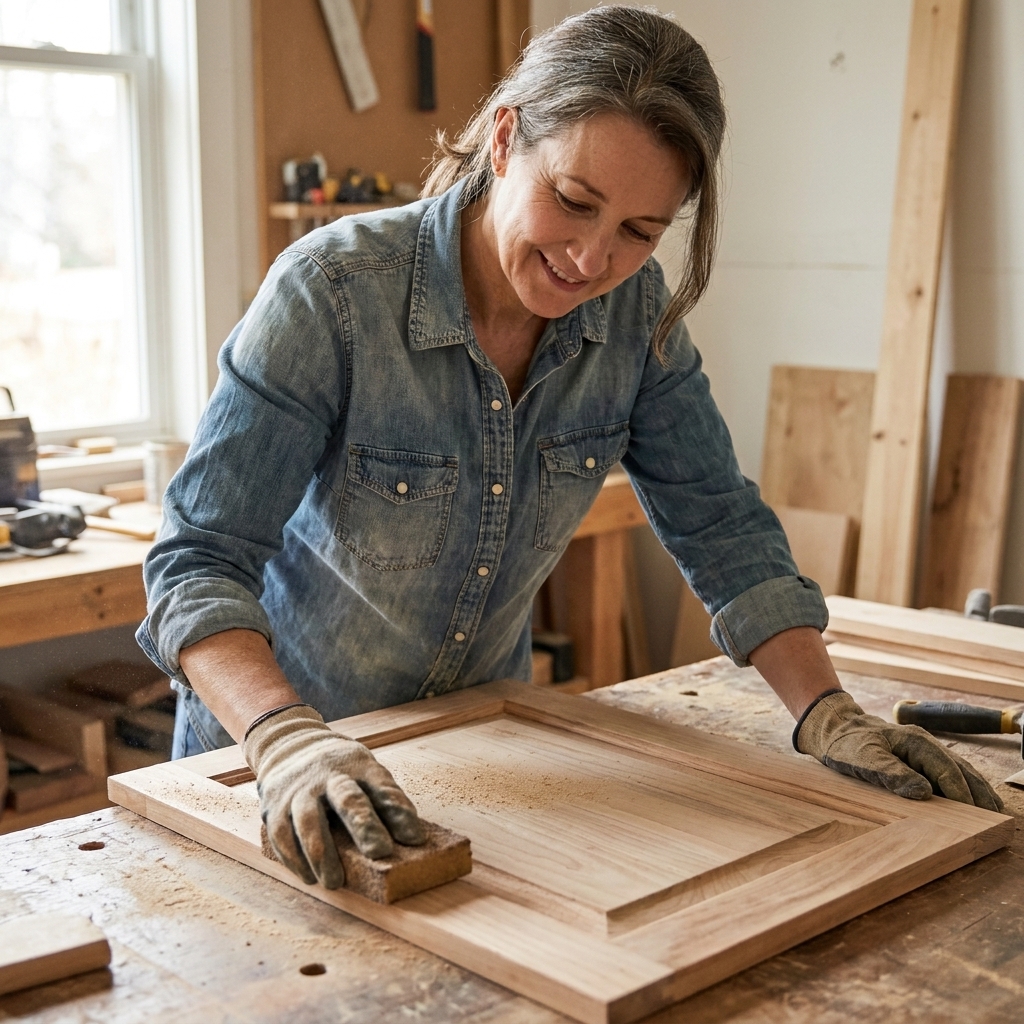
2) Sand lightly
Stripped wood usually needs sanding to even out raised grain and remove tiny remnants. Start gentle.
- Start with 120 to 150 grit on flat areas.
- Finish with 180 grit for painting.
- For staining, follow your stain brand recommendations, often 150 to 180 grit.
Use a sanding sponge for edges and profiles so you do not flatten crisp details.
3) Inspect and repair
- Fill dents and dings with wood filler if you are painting.
- If you are staining, use stainable filler sparingly and test it. Many fillers do not match stain the way you hope.
4) Remove dust
Vacuum, then wipe with a damp microfiber cloth or a tack cloth suitable for your finish system. Clean wood equals smoother paint.
Common problems
The paint turns to sticky goo
- Apply a thicker coat and keep it wet with plastic wrap.
- Wait longer before scraping.
- Switch to a stronger stripper if the coating is enamel or very old.
I still see paint in the grain
- Use a nylon brush and a little more stripper to scrub with the grain.
- Avoid aggressive wire brushes, which can shred softer woods like pine.
The wood looks fuzzy or raised
- That is common after water-based wash steps.
- Let it dry fully, then sand lightly with 180 grit.
I gouged the wood with my scraper
- For paint-grade doors, fill gouges with a quality wood filler and sand smooth.
- For stain-grade doors, gouges are harder. Your best bet is careful sanding and accepting a more rustic look, or switching to paint.
My simple workflow
- Degrease and rinse.
- Test your method on the back of one door (including cleanup).
- Apply thick gel stripper and keep it wet with plastic wrap, then wait.
- Plastic scrape first, detail brush second.
- Repeat one more round if needed.
- Clean off residue per label and dry overnight.
- Sand 150 then 180 grit, vacuum, wipe down.
This method is slow enough to be safe, but fast enough that you can make real progress over a weekend.
FAQ
Can I strip cabinet doors inside my kitchen?
I avoid it if at all possible. Even low-odor strippers are messy, and you do not want sludge near food prep areas. If you must work indoors, choose the mildest product that will do the job, ventilate aggressively, protect every surface, contain debris, and keep the doors on a covered worktable.
Do I have to strip to bare wood before repainting cabinets?
No. If the existing paint is stable and bonded, you can often clean, scuff sand, spot-prime, and repaint. Stripping is for failure, flaking, heavy texture, or when you want a stained finish.
What is the safest way to remove paint from detailed cabinet doors?
A clingy gel stripper plus nylon brushes is usually the most forgiving for details. Infrared can work too, but it takes practice in grooves and corners, and you should be cautious on veneer.
What should I do with stripped paint waste?
Collect sludge, chips, used plastic wrap, and dirty rags in a sealed bag or lidded container. Disposal rules vary by area, especially if you suspect lead. Also note that some stripper residues and solvents can be hazardous even without lead. Check your local household hazardous waste guidelines for the safest option.