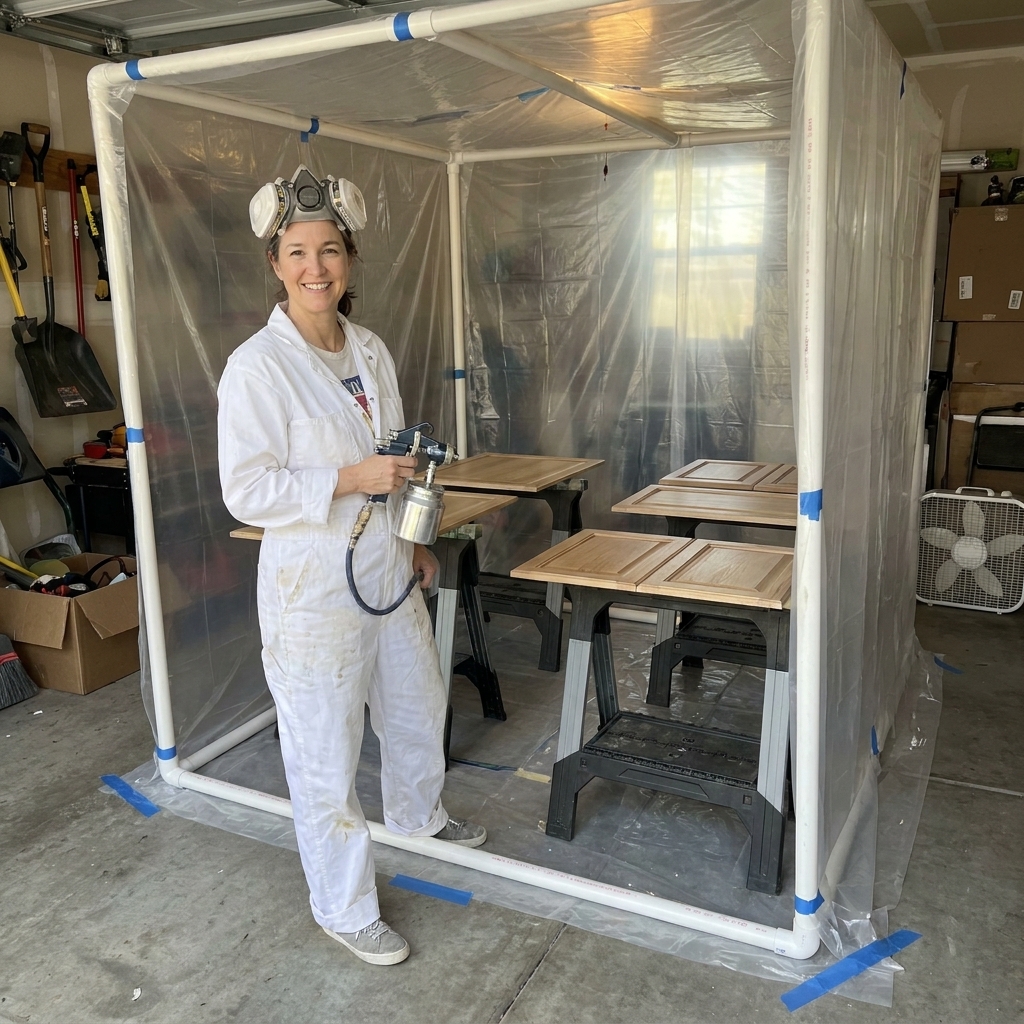
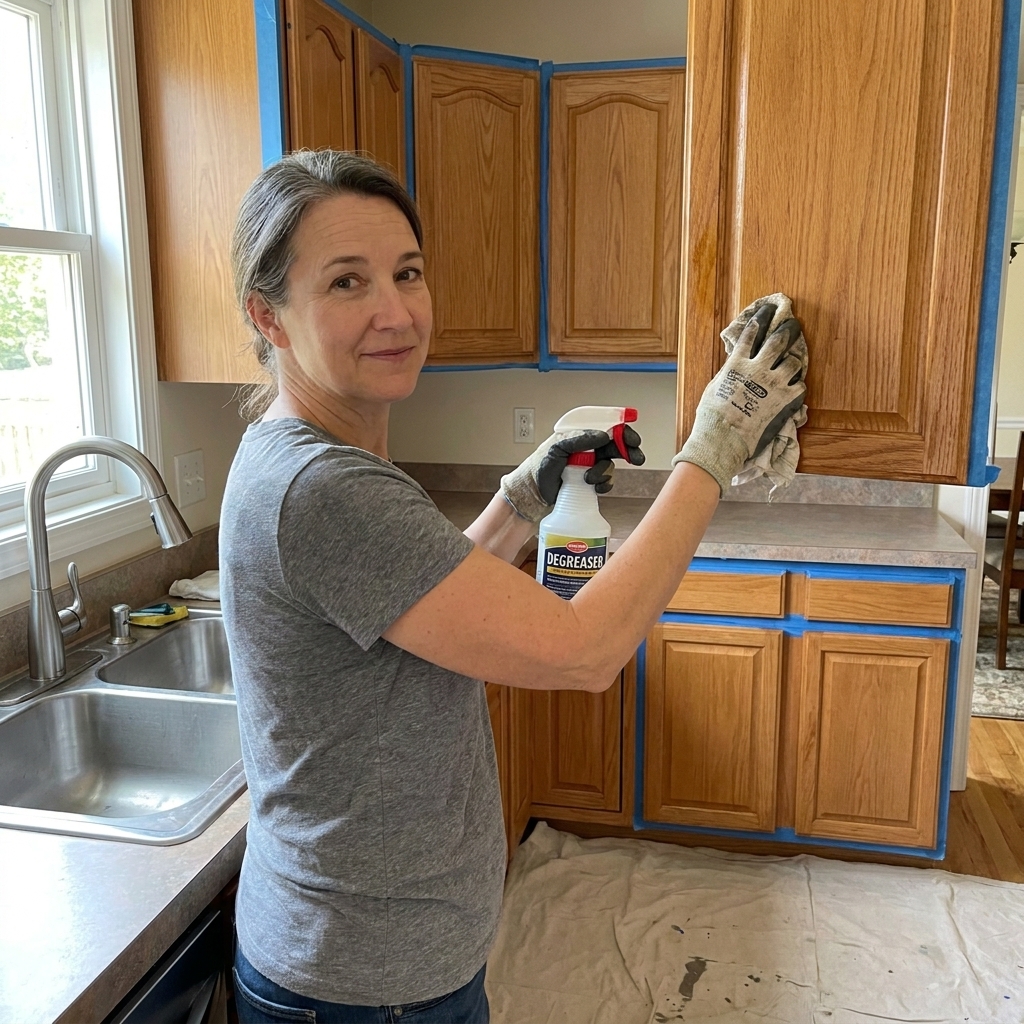
If you only upgrade one thing before you strip or spray your kitchen cabinets, make it your safety gear. Cabinet refinishing is a very doable weekend project, but the products that make old finishes melt off and new paint lay down smooth can also irritate your lungs, burn your skin, and damage your eyes.
I learned this the hard way on my first honey-oak kitchen makeover years ago. I thought cracking a window was enough. It was not. These days, I treat safety like I treat prep work: non-negotiable.
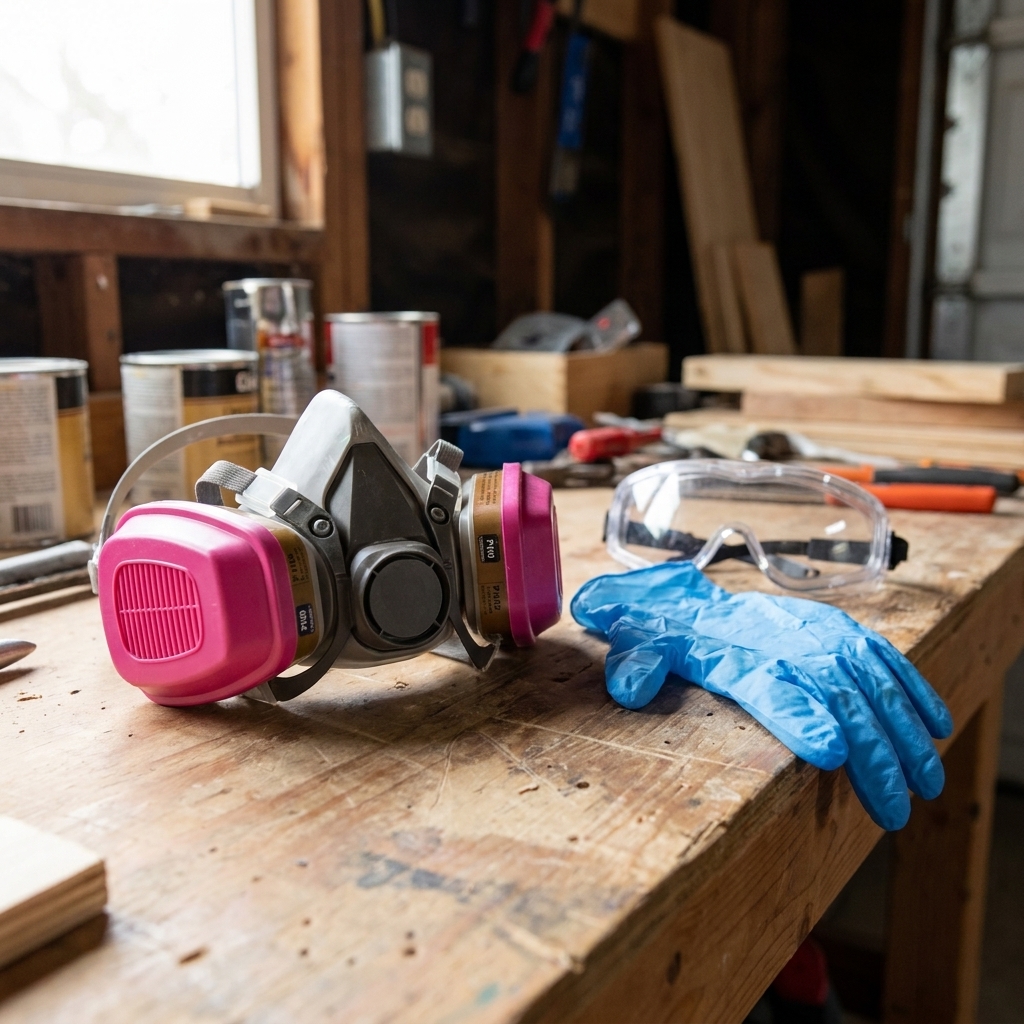
Your cabinet refinishing safety checklist
Here is the quick checklist I use for cabinet projects involving chemical stripper, sanding, priming, and spray painting. I will break each item down below so you can pick the right version for your products and your project setup.
- Respirator (NIOSH-approved) with the correct cartridges for vapors and, if spraying or sanding, particulate filtration
- Chemical-resistant gloves (not just any disposable glove)
- Eye protection that seals well around your eyes
- Protective clothing and simple habits to keep chemicals off your skin
- Ventilation plan (fans, open doors, spray shelter, and where fumes will travel)
Respirators: what to buy and why
For cabinet refinishing, a disposable mask is not the same thing as a cartridge respirator. A filtering facepiece respirator (like an N95) can be appropriate for many particulate hazards, but it will not protect you from vapors from many strippers, deglossers, oil-based primers, lacquers, or solvent-based spray products.
If your project includes both fumes and dust or overspray, a reusable half-face respirator can be a big step up because it can improve the seal and lets you use the right cartridges for the job.
Start with a NIOSH-approved half-face respirator
Look for a reusable half-face elastomeric respirator from a reputable brand (3M, Honeywell, North, Moldex). Fit matters more than brand. If it does not seal to your face, the cartridges cannot do their job.
- Half-face respirator: protects your lungs, pairs with goggles.
- Full-face respirator: protects lungs and eyes in one piece. Pricier, but a great upgrade if you spray often or are sensitive to fumes.
The cartridges you actually need for cabinets
This is the part most DIYers get wrong. Cartridges are not one-size-fits-all. Start by checking the SDS (Safety Data Sheet) for every chemical you use, and look at the “Respiratory protection” section.
For typical cabinet work, you are usually dealing with two hazards:
- Organic vapors (from solvents, many strippers, oil-based coatings, some cleaners and deglossers)
- Particulates (from sanding dust and atomized paint when spraying)
My go-to cabinet setup: Organic Vapor (OV) cartridges paired with a P100 particulate filter. For many common DIY products, an OV/P100 setup is a practical, flexible choice, but the SDS gets the final say.
Exact cartridge types to look for
- OV (Organic Vapor) cartridges: commonly labeled “OV” or “Organic Vapor.”
- OV/P100 combination cartridges: an all-in-one option that covers both organic vapors and particulates.
- OV cartridges plus P100 prefilters: OV cartridges with a snap-on or adapter-style P100 particulate filter (brand-specific).
If you spray water-based cabinet paint, you may still want OV protection because many primers, cleaners, and deglossers release vapors, and atomized paint is still a particulate issue.
When you need more than OV/P100
Some products include additional hazards (acid gases, ammonia, formaldehyde). The only reliable way to know is to check the SDS for the product you are using and follow its specific guidance.
Examples where you should slow down and double-check the SDS:
- Two-part finishes (some contain isocyanates)
- Industrial strippers that call out specific gas filtration needs
- Any product that warns a respirator may not provide adequate protection
If you see isocyanates mentioned, pause. Many manufacturers and industry guidance recommend supplied-air respiratory protection for iso-containing sprays. Follow the SDS exactly. If that protection is not realistic for your setup, the safest move is to switch to a DIY-friendly alternative.
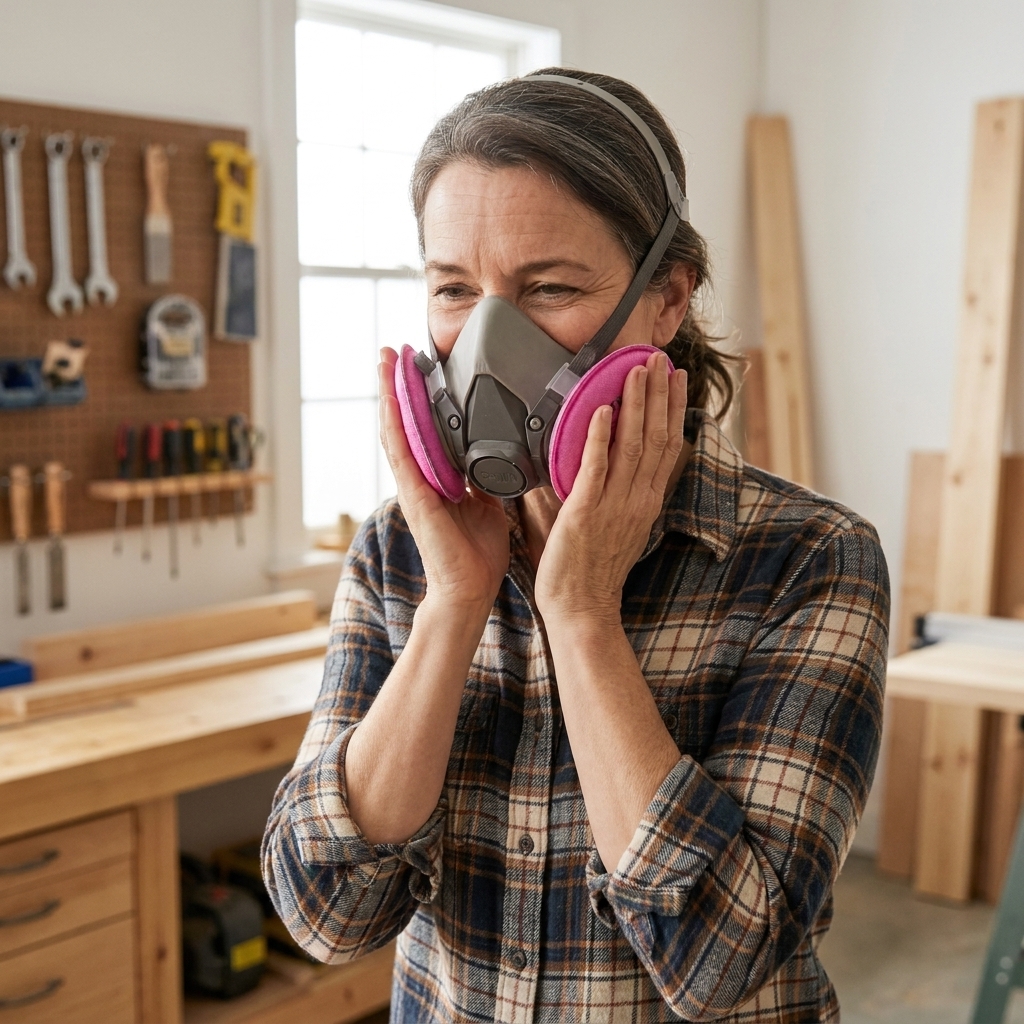
Fit check: the 30-second habit that matters
Every time you put your respirator on:
- Negative pressure check: cover the filters with your hands and inhale gently. The mask should pull slightly toward your face without air leaks.
- Positive pressure check: cover the exhale valve area and exhale gently. You should feel slight pressure without leaks around the seal.
Facial hair breaks the seal. If you have stubble or a beard, you will not get reliable protection with a tight-fitting half-face respirator.
Also, a user seal check is not the same as a formal fit test. It is still the minimum I do every single time.
When to replace cartridges and filters
Cartridges do not last forever, and you should not try to “smell test” your way to safety. Some solvents can fatigue your nose quickly, and some harmful vapors are not reliably detectable by smell.
Organic vapor cartridges
- If you detect odor or taste while wearing a properly sealed respirator, treat it as a warning sign of breakthrough or a seal problem. Stop, move to fresh air, re-check the seal, and replace cartridges if needed.
- Replace sooner if you are working in higher concentrations (small rooms, heavier stripping, longer spray sessions).
- Store smart: between uses, keep cartridges in an airtight bag or container so they do not keep absorbing vapors from the air.
P100 particulate filters
- Replace if breathing becomes noticeably harder, filters look dirty, or after heavy sanding or spraying.
- Do not blow them out with compressed air. That can damage filter media and kick dust back into your workspace.
Bottom line: if you are investing hours into cabinet prep and paint, it is worth budgeting for replacement filters. Your lungs are not a reusable tool.
Gloves: what actually resists strippers and solvents
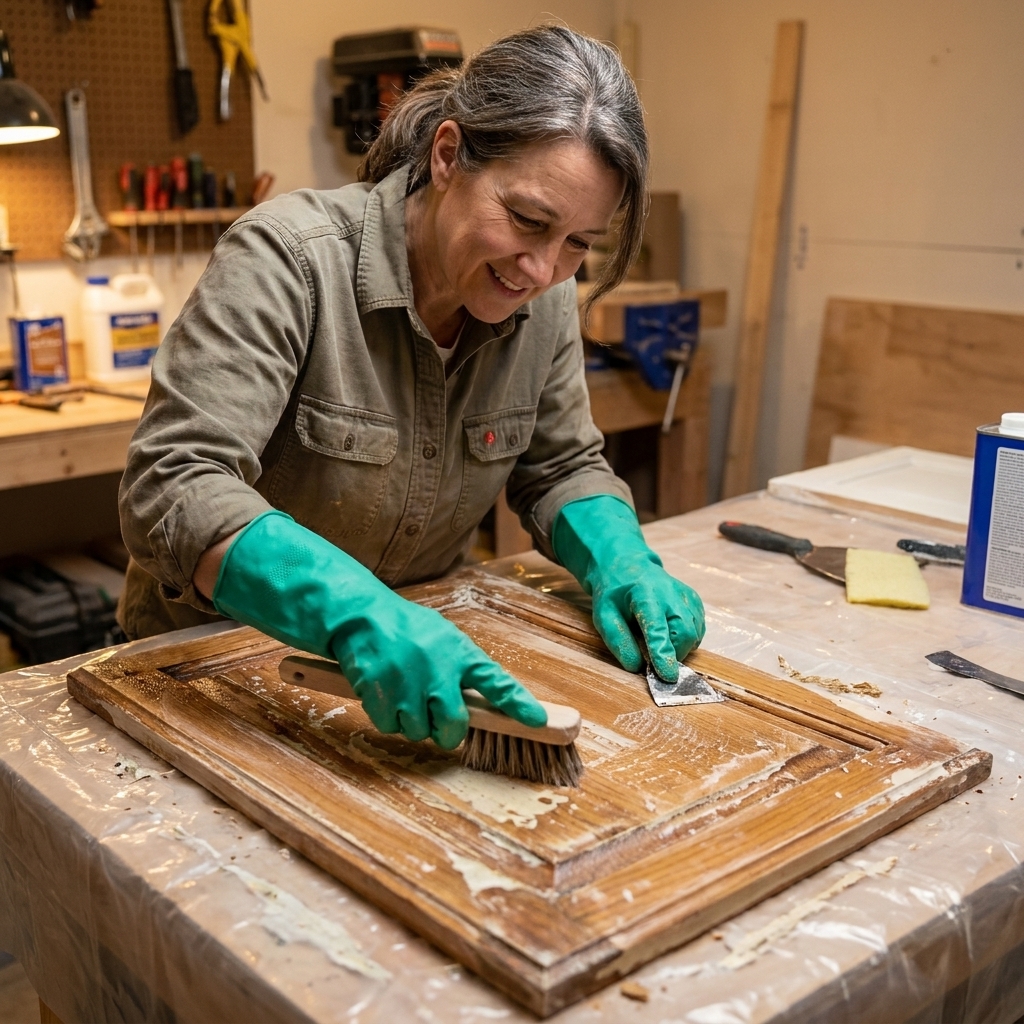
Gloves are where I see DIYers accidentally cut corners because a thin disposable glove “feels fine.” With chemical strippers, feeling fine can turn into a burn or a rash fast.
Best glove materials for cabinet stripping
For toxic strippers and strong solvents, choose gloves that are truly chemical-resistant:
- Butyl rubber: excellent for many aggressive solvents. Great protection, often bulkier and pricier.
- Laminated film gloves (often marketed for chemical handling): strong chemical resistance across many solvents. Some people layer these under a thicker glove for durability.
- Neoprene: good all-around chemical resistance for many solvents and cleaners.
- Nitrile (heavy-duty): okay for many tasks, but thickness matters and it is not universal for all strippers and solvents.
Important: No glove is universal. A thin 3 to 5 mil disposable nitrile glove is very different from a thicker chemical-handling glove, and nitrile can fail quickly with some solvents and strippers. Check the stripper’s SDS and, when possible, a chemical resistance chart for the exact chemical you are using.
My practical glove setup for cabinet projects
- Stripping and solvent wiping: chemical-resistant gloves (neoprene, butyl, or laminated film depending on product) that cover past the wrist.
- Sanding and general prep: durable nitrile or work gloves, depending on the task.
- Painting: nitrile gloves keep hands clean and prevent skin contact with coatings, especially when handling tack cloths, wet doors, and sprayer parts.
Glove habits that prevent surprise burns
- Change gloves if you get stripper inside them. Do not tough it out.
- Wash hands after glove removal. Contamination happens when you peel them off.
- Do not reuse disposable gloves after handling stripper.
Eye protection: goggles beat glasses for stripping and spraying
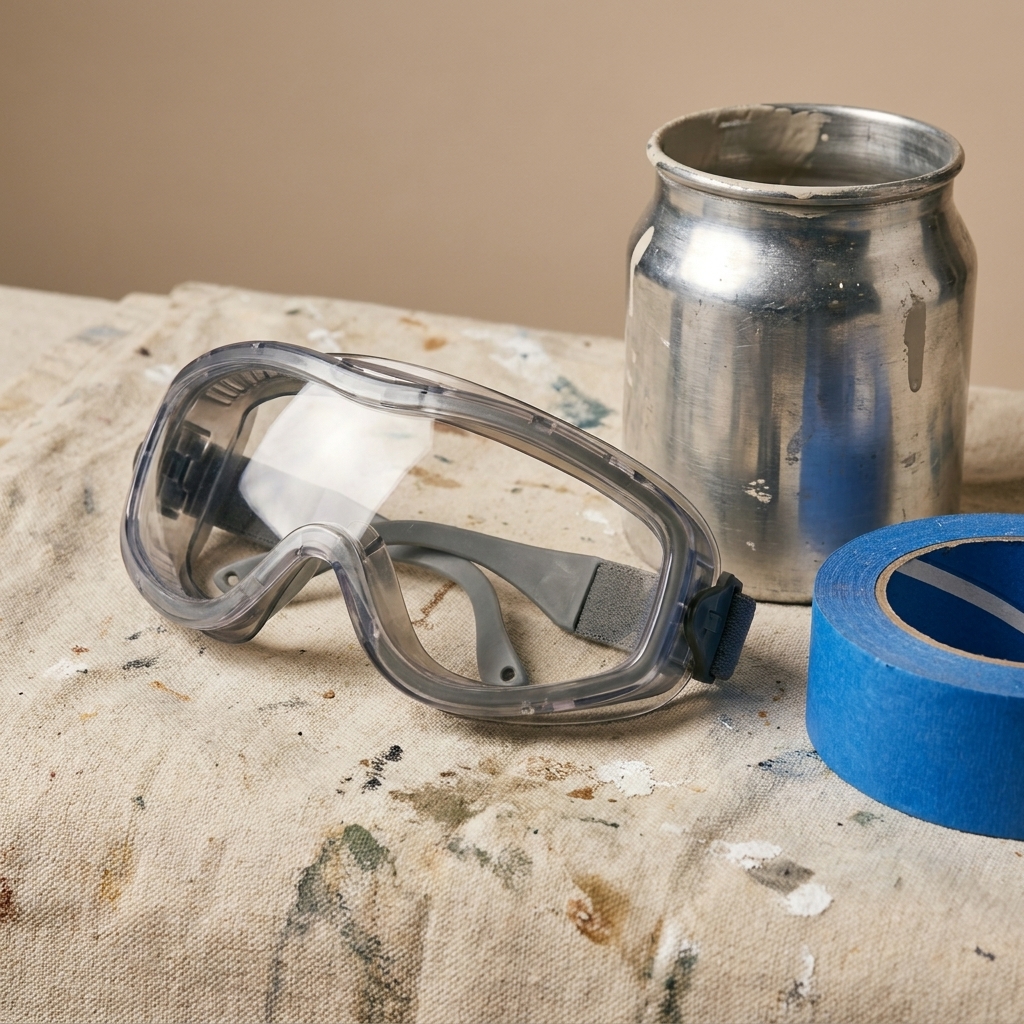
Strippers splash. Spray paint bounces and drifts. Sanding dust finds its way into the tiniest gaps. This is why I recommend sealed safety goggles for most cabinet refinishing jobs.
What to look for
- Indirect vented goggles: reduce fogging but help block splashes and mist.
- Good seal: soft gasket that sits flush against your face.
- Anti-fog coating if you can get it.
Standard safety glasses are better than nothing for sanding, but for chemical stripping and spraying, goggles are the safer choice.
If you wear a half-face respirator, make sure your goggles are compatible and do not break the respirator seal.
Extra protection that makes a big difference
Skin and clothing
- Long sleeves and long pants: especially during stripping and sanding.
- Disposable coveralls: helpful for spraying so paint mist does not settle on your clothes and skin.
- Chemical-resistant apron: a great add-on for stripping at a workbench.
Hearing protection
If you are using a shop vac, orbital sander, or air compressor for any length of time, grab earplugs or earmuffs. It is easy to underestimate how loud a “little” prep day gets.
Hair and dust control
- Hat or hood while spraying keeps overspray out of your hair.
- Vacuum attachment on your sander plus a shop vac with a fine dust bag or HEPA filter helps keep dust out of the air.
Ventilation and work setup for safer cabinet refinishing
Safety gear works best when you also control the air in your workspace. The goal is to move fumes and overspray away from your breathing zone and out of the building, without blowing dust onto wet paint.
For stripping indoors
- Open windows near the work area if possible.
- Use a fan to exhaust air outward, not to blow air around the room.
- Protect nearby surfaces with plastic and keep pets and kids out of the area.
For spraying
- Best: spray outside or in a garage with the door open and a controlled airflow.
- Create a spray zone with plastic sheeting to limit overspray travel.
- Avoid ignition sources: many solvents are flammable. No smoking. Keep away from pilot lights, heaters, and spark-producing switches or tools.
Also plan your drying area. Freshly painted doors off-gas as they cure, even if they feel dry to the touch.
Rags and fire safety
If you use oil-based products, stains, or solvent wipes, do not leave solvent-soaked rags wadded up on the bench. Follow the product label for rag disposal. When in doubt, lay rags flat to dry outdoors in a safe area, or store them in a sealed, non-combustible container until disposal.
Safety by task: what I wear, step by step
1) Cleaning and deglossing
- Respirator: OV/P100 if the product has strong fumes, otherwise strong ventilation and the SDS guidance
- Gloves: nitrile or chemical-resistant depending on cleaner strength
- Eye protection: goggles if splashing is possible
2) Chemical stripping
- Respirator: OV/P100 (or the SDS-recommended setup)
- Gloves: butyl, neoprene, or laminated film (match to product)
- Eye protection: sealed goggles
- Clothing: long sleeves, consider an apron
3) Sanding
- Respirator: P100 at minimum (OV/P100 is fine too)
- Gloves: optional, but useful for grip and splinter protection
- Eye protection: safety glasses or goggles
4) Priming and painting (brush and roller)
- Respirator: follow the SDS. Often OV/P100 for solvent-based coatings, otherwise at least P100 if you are sensitive or working in a tight space
- Gloves: nitrile
- Eye protection: glasses if splatter risk is low
5) Spray priming and spray painting
- Respirator: follow the SDS. Often OV/P100 for typical DIY spraying since spray creates airborne particulates, and many products also off-gas
- Gloves: nitrile
- Eye protection: sealed goggles or a full-face respirator
- Clothing: coveralls or dedicated spray clothes
Older homes: lead dust is a different problem
If your home was built before 1978, assume there is a chance old paint somewhere in the layers contains lead. Sanding or scraping lead-based paint can create hazardous dust.
If that is your situation, consider using an EPA-recognized lead test kit or hiring a pro to test, then follow lead-safe work practices. At minimum, control dust aggressively, keep kids and pets away, and do not dry-sand unknown old finishes.
Common mistakes I see (and how to avoid them)
- Using an N95 for fumes: N95s are for particulates, not solvent vapors. Upgrade to a cartridge respirator with OV protection when the SDS calls for it.
- Buying cartridges without checking compatibility: cartridges are brand and model specific. Match them to your respirator.
- Assuming “low odor” means safe: odor is not a reliable indicator of exposure.
- Wearing thin disposable gloves with stripper: choose chemical-resistant gloves based on the product SDS and resistance charts.
- Wearing safety glasses while stripping: splashes can go around glasses. Use goggles.
- Not doing a seal check: take 30 seconds. It matters.
Quick FAQ
Do I need a respirator for water-based cabinet paint?
If you are spraying, yes, I recommend it. Atomized paint becomes airborne particulates. Also, many primers, degreasers, and deglossers used in prep produce vapors even if your topcoat is water-based. Check the SDS for each product in your stack.
Is an N95 enough for cabinet sanding?
An N95 can be appropriate for many sanding and dust situations, but for heavy sanding or working with older, unknown finishes, I prefer P100 filtration and the improved seal you can get with a reusable respirator.
Can I reuse organic vapor cartridges?
Yes, within reason, but store them in an airtight container between uses. If you notice odor or taste while wearing a properly sealed mask, stop and troubleshoot the seal and cartridge condition, then replace if needed.
What gloves should I buy if I do not know what stripper I will use yet?
Pick your stripper first, then check the SDS for glove recommendations. If you want one flexible starting point, look at neoprene or laminated film gloves, then confirm compatibility with your exact product.
My final reminder before you start
Cabinet refinishing is supposed to leave you with a brighter kitchen, not a headache, a rash, or a trip to urgent care. If your product label or SDS suggests stronger protection than what you have on hand, believe it and upgrade before you open the can.
If you get stripper on your skin or in your eyes, flush immediately with clean water and follow the SDS first-aid instructions. If symptoms are severe or you are unsure what to do next, contact Poison Control or seek medical care.
Paint can be forgiving. Lungs and eyes are not.