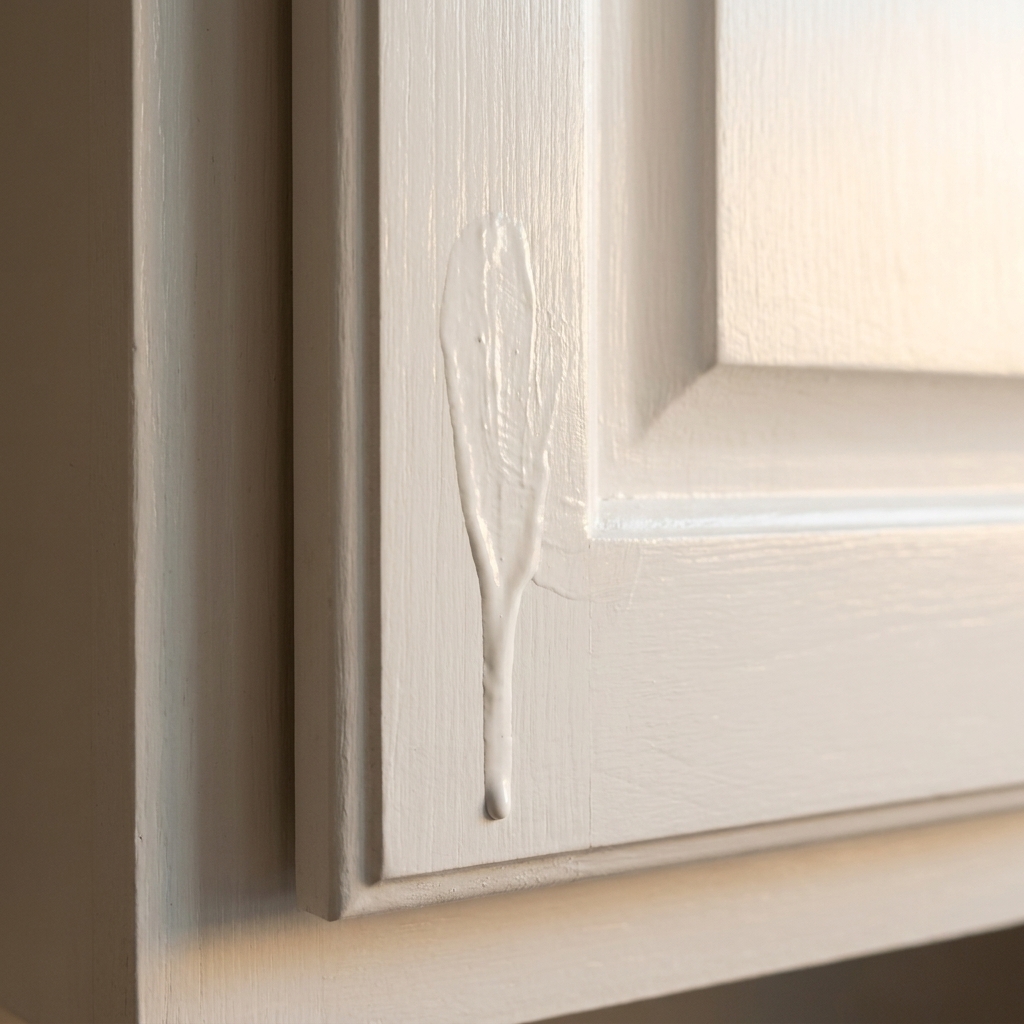
If you have ever tried to spray cabinet enamel and ended up with spitting, clogs, or a cloud of overspray, there is a good chance your tip setup was fighting you. When I first moved from rolling to spraying my own cabinets, I assumed “bigger tip equals easier.” Sometimes yes, but it can also mean a rougher finish, more paint in the air, and a whole lot more sanding.
This guide will help you decode the numbers on HVLP and airless tips and choose a size that can actually handle thicker cabinet products like waterborne urethane-alkyd enamels, acrylic cabinet paints, bonding primers, and high build primers. I will also flag where you should double-check your coating’s technical data sheet (TDS) and your sprayer’s limits, because not every setup can push the same sizes.
Two spray worlds
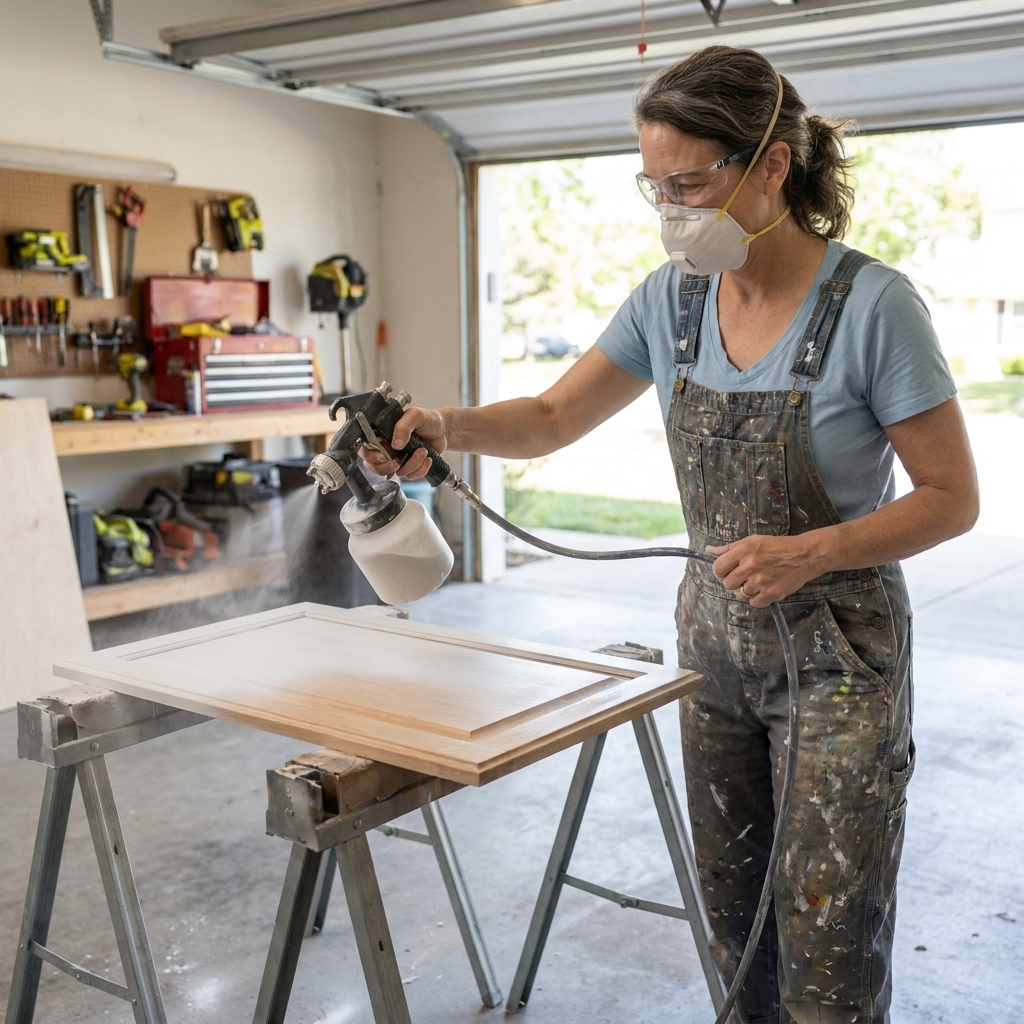
Most cabinet DIYers end up in one of these camps:
- HVLP (high volume, low pressure): great control, less bounce-back, typically a finer finish at the cost of spraying slower. Tip sizing is usually talked about as needle and nozzle size in millimeters.
- Airless (or airless with a fine finish tip): fast, powerful, and excellent for thicker coatings, but you need the right tip and pressure control to keep the finish from getting grainy or orange-peely. Tip sizing is usually a 3-digit code (and sometimes other markings depending on brand).
Neither is “better” for every kitchen. The important part is matching your coating’s thickness to your tip, your pressure, and what your sprayer can realistically handle.
How airless tip numbers work
Airless tip numbers often look like 311, 312, 410, or 515. For the most common marking style, here is what those numbers mean in plain English:
- First digit = fan width in inches (approximate) when you spray about 12 inches from the surface. A quick estimate is: first digit times 2. Example: a 4 sprays about an 8-inch fan.
- Last two digits = orifice size in thousandths of an inch. Example: 10 means 0.010 inch.
Example: A 410 tip gives an approximately 8-inch fan and a 0.010-inch orifice.
Quick reality check: tip marking conventions vary by manufacturer and tip line, and real fan width changes with distance, pressure, and material. Use the rule above as a starting point, then confirm using the manufacturer chart for your specific tip line (for example, Graco FFLP, Titan FineFinish, Wagner, and so on).
Why cabinet painters like smaller fans
Cabinet doors, face frames, and boxes have lots of corners and narrow runs. A smaller fan width helps you stay on target and reduces overspray. For cabinets, many DIYers do best starting in the 3 or 4 fan range (about 6 to 8 inches).

How HVLP needle sizes work
With HVLP, you will usually choose a needle and nozzle set like 1.3 mm, 1.5 mm, 1.8 mm, or 2.0 mm.
- Smaller needles (around 1.0 to 1.4) atomize thinner materials beautifully, but thicker enamels can struggle, leading to pulsing or dry spray unless you thin and slow down.
- Mid-size needles (around 1.5 to 1.8) are the sweet spot for many cabinet enamels and primers.
- Larger needles (2.0 and up) can move heavier primer faster, but they also make it easier to lay on too much material. That is where you can invite runs, heavy edges, and texture if your technique and reduction are not dialed in.
If your HVLP gun has a built-in cup filter, keep it clean. If it has a tiny strainer at the pickup tube, that little piece can cause “mystery clogs” even when your paint is strained.
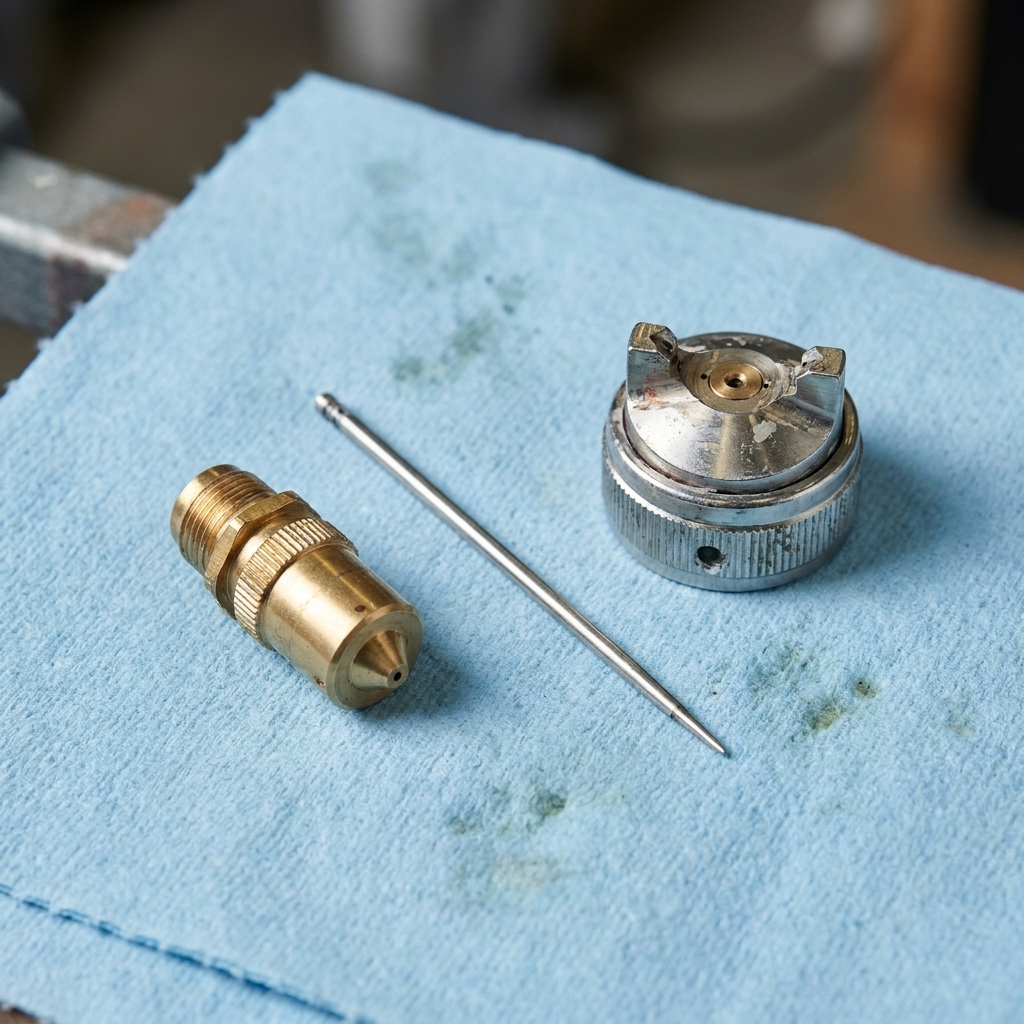
Best starting tip sizes
Below are practical starting points I recommend for DIY cabinet jobs. Every brand and every sprayer is a little different, so treat these as typical starting ranges, then verify your coating’s TDS and your sprayer’s manual.
Cabinet enamels
- Airless fine finish tips: 308 to 310 for smoother, thinner enamels; 310 to 312 for thicker enamels; 410 if you prefer an 8-inch fan for doors and sides. (If you are shopping, look for “fine finish” style tips such as Graco FFLP or Titan FineFinish.)
- HVLP needle/nozzle: 1.5 mm is a strong all-around starting point; move to 1.7 to 1.8 mm if the product is thick and you are getting pulsation or spitting.
Bonding primers
- Airless fine finish tips: 310 to 312 is common for many bonding primers; step up to 312 to 314 if your primer is thick or you are spraying an unthinned shellac-based or high-solids primer that is rated for spraying.
- HVLP needle/nozzle: 1.7 to 2.0 mm depending on thickness. If you have to thin a lot just to get it through a 1.5, it is usually happier at 1.8 or 2.0.
High build primers
High build is where many “cabinet sprayers” start to feel underpowered.
- Airless tips: often 314 to 417 for cabinet-focused high-build primers on smaller airless rigs. Some true high-build products call for larger orifices (often beyond this range) and a sprayer that can keep pressure steady without surging, so check the primer TDS and your sprayer’s maximum tip rating.
- HVLP needle/nozzle: commonly 2.0 to 2.5 mm, and some turbine HVLP units still struggle with true high-build products unless you thin within spec and spray multiple lighter coats.
Clear coats
- Airless fine finish tips: 208 to 210 or 308 depending on viscosity and desired fan.
- HVLP needle/nozzle: 1.3 to 1.5 mm is typical.
Note on “milky” clear: waterborne clears can look milky if applied too wet or too thick (trapped moisture), especially in cool or humid conditions. Lighter coats and proper flash time help a lot.
My cabinet-door rule of thumb: if you are unsure, start smaller and do a test spray. You can always bump up one size if the sprayer is struggling, but it is a pain to fix a finish that was applied too heavy.
Quick cheat sheet
| What you’re spraying | Airless fine finish tip range | HVLP needle/nozzle range | Notes |
|---|---|---|---|
| Cabinet enamel topcoat | 308, 310, 312, 410 | 1.5, 1.7, 1.8 | Use the smallest tip that sprays smoothly without tails. |
| Bonding primer | 310, 312, 314 | 1.7, 1.8, 2.0 | Primer is often thicker than you think. Strain it. |
| High build primer | 314, 316, 417 (some need larger) | 2.0 to 2.5 | Check TDS and sprayer limits. Expect extra sanding. |
| Clear coat | 208, 210, 308 | 1.3, 1.5 | Waterborne clears can look milky if applied too heavy. |
Choosing fan width
Fan width affects control as much as speed. To keep the math consistent with the common tip code, I like to think in terms of the first digit series and the fan it usually produces at around 12 inches from the surface.
- 2-series or 3-series tips (first digit 2 or 3) typically produce about a 4 to 6 inch fan. Great for face frames, stiles, rails, tight cabinet box interiors, and smaller parts.
- 4-series tips (first digit 4) typically produce about an 8 inch fan. This is a comfortable cabinet-door fan for many DIYers: efficient, but still controlled.
- 5-series tips (first digit 5) typically produce about a 10 inch fan. Can be fine for cabinet sides and larger panels, but it is easy to waste paint and dust your garage with overspray.
If you only buy one tip for cabinets, I would rather see you with a 3-series or 4-series fan than a wide fan that forces you to spray farther away and chase overspray.
Dialing in the spray
For airless
- Start at the lowest pressure that gives a fully even fan. If you see fingers or tails at the edges, raise pressure in small steps.
- Keep your distance consistent (usually 10 to 12 inches for most tips). Moving closer can cause runs fast on cabinet doors.
- Move your whole arm, not your wrist. Wrist-fanning is a common cause of heavy edges and dry centers.
- Use a fine finish or low-pressure fine finish tip if you can. Standard tips can spray cabinet paint, but fine finish tips often reduce texture and overspray.
For HVLP
- Use enough air for proper atomization. Many rough finishes come from low air and trying to compensate by opening up fluid too much.
- Adjust fluid slowly. Aim for a wet coat that levels, but does not sag at the inner door profile.
- Watch for dry spray on edges. If you are too far away or moving too fast, you will get a dusty finish that feels like sandpaper.
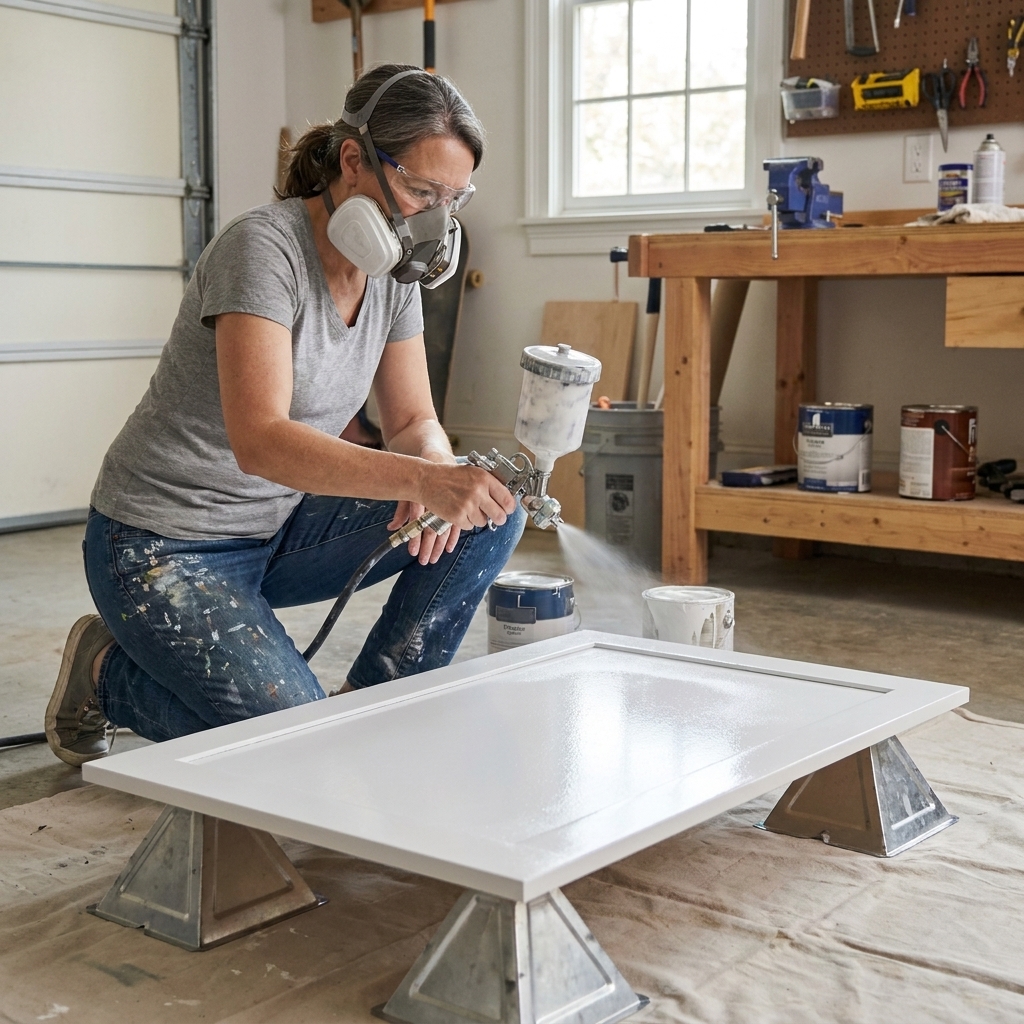
Clogs, spits, and orange peel
If it keeps clogging
- Your tip is likely too small for the product, or the product needs better straining.
- Check the gun filter and manifold filter (airless) or the cup filter (HVLP). Filters load up before a tip does.
- Old paint skin in the can will ruin your day. Strain every time.
If it spits or pulses
- Airless: could be low pressure, a clogged filter, an inlet restriction, or air in the system. Make sure the pickup tube is fully submerged and the prime valve is closed tight.
- HVLP: often means the coating is too thick for the needle, your cup vent is blocked, or your fluid control is too far open for the available air.
If the finish looks orange-peely or rough
- You may be using too large an orifice at too low a pressure, which creates big droplets that do not level.
- You may be too far from the surface, causing dry spray.
- The product may need a little more open time (within the manufacturer’s guidance) or you may need to warm the material and space slightly for better leveling.
If overspray is out of control
- Try a smaller fan width first.
- Lower pressure until the fan starts to distort, then bump it up just enough to clean the edges.
- Move closer within the recommended range, so less paint floats away before it lands.
Do you need to thin?
Sometimes, but it depends on your sprayer and your product.
- Airless: many cabinet enamels are designed to spray without thinning, especially with the right fine finish tip. Thinning can still help leveling, but too much thinning can reduce hiding and durability.
- HVLP: thicker enamels often need either (1) a bigger needle or (2) modest thinning that follows the manufacturer’s limits. I prefer changing needle size before I start chasing the perfect viscosity with lots of water.
Always check the label or technical data sheet for spray guidance. If it says “do not thin,” take that seriously.
Check your equipment
Two quick checks can save you a lot of frustration:
- Airless sprayer limits: many entry-level airless units have a maximum recommended tip size, and they may struggle with steady pressure as you go larger. If your sprayer surges, spits, or cannot maintain a clean fan, dropping tip size or using a true fine finish low-pressure tip can help.
- HVLP capability: turbine HVLP performance varies by stage and gun design. A 3-stage turbine that sprays lacquer beautifully may still fight thick cabinet enamel without the right needle size or approved reduction.
Safety basics
Atomized coatings are not harmless dust. Even “low odor” waterborne products put fine particles in the air.
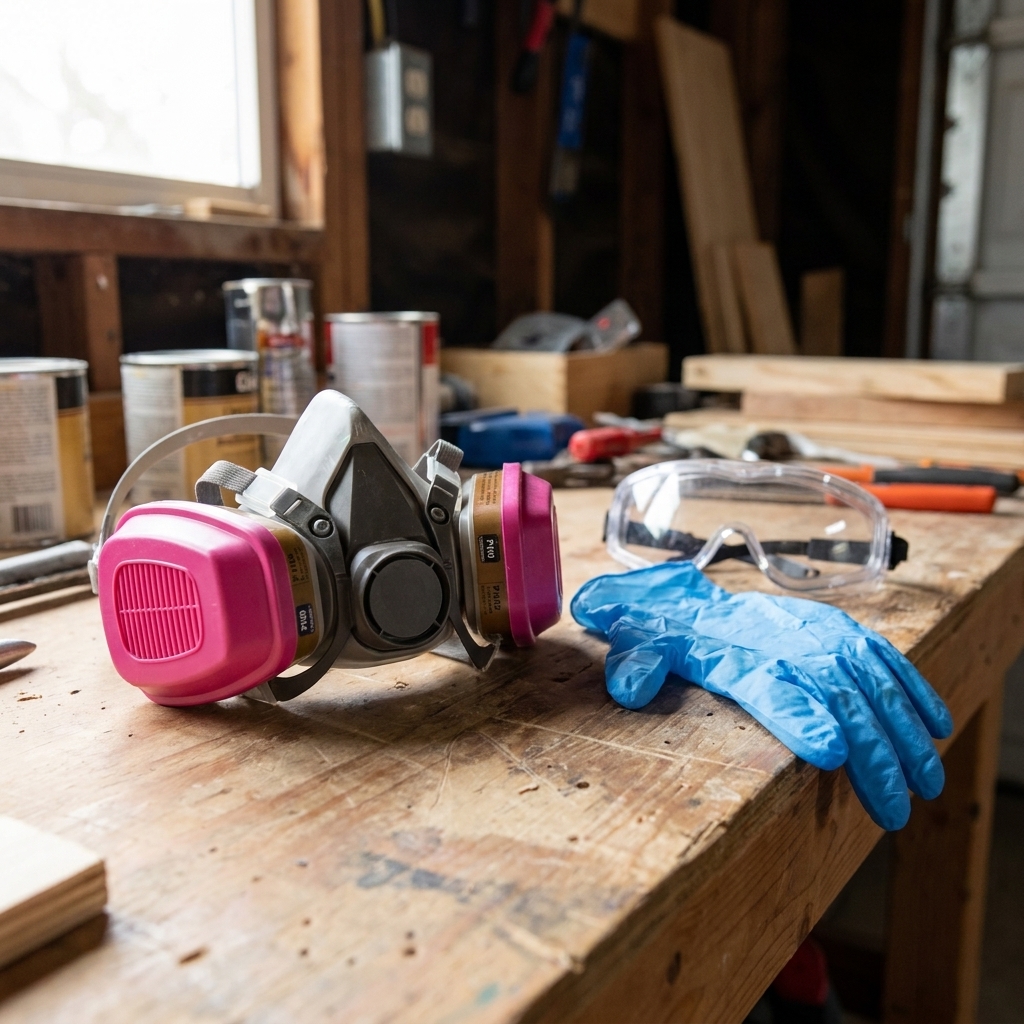
- Wear a properly rated respirator for paint spraying and change filters on schedule. If you are spraying anything solvent-based, use cartridges rated for organic vapors plus particulates.
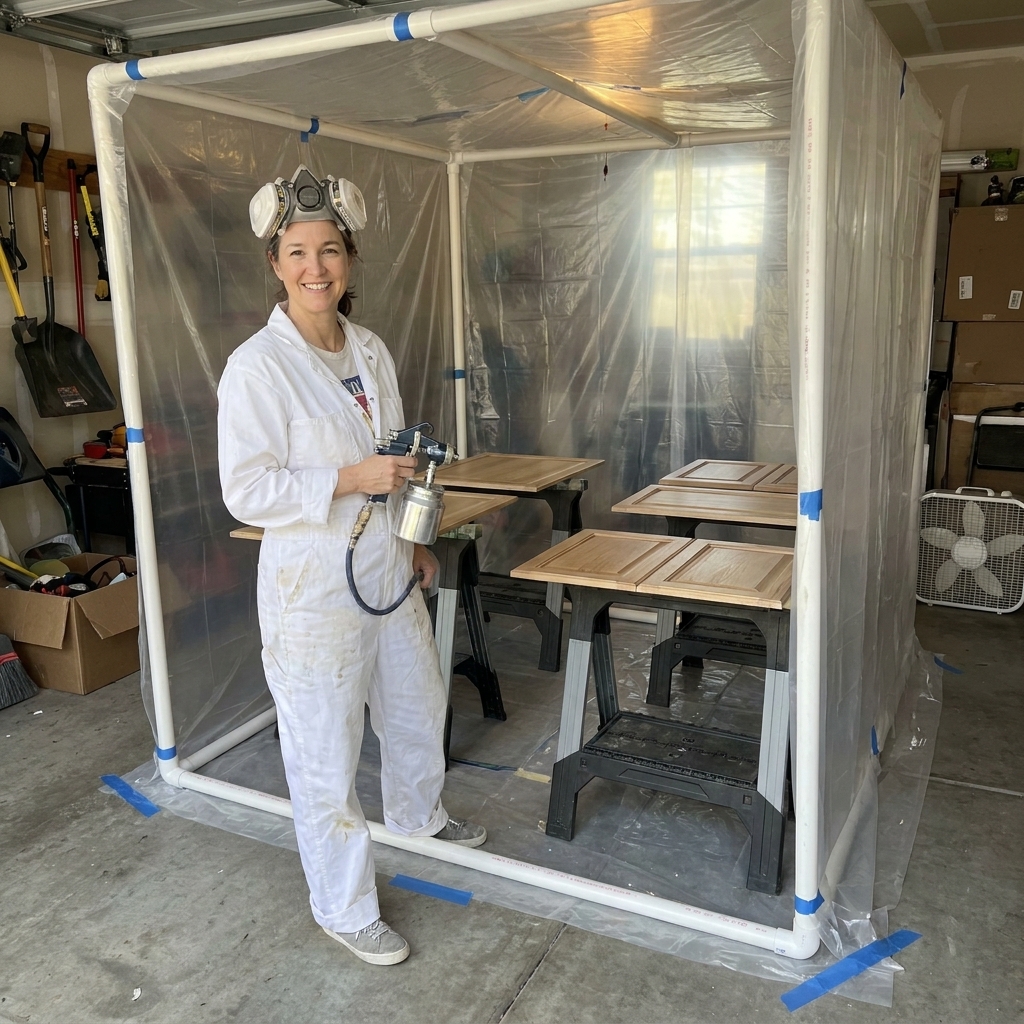
- Ventilate and contain overspray. Mask aggressively, use plastic to create a booth if you can, and keep air moving out of the space.
- Watch ignition sources. Keep sparks, pilot lights, and open flames away from spray areas, especially with solvent-based products.
How I pick a tip
- Decide your sprayer type (HVLP needle size vs airless tip code).
- Choose a cabinet-friendly fan (3-series or 4-series for many airless cabinet jobs, medium fan pattern for HVLP).
- Start with a mid-size orifice that matches your coating category (enamel vs primer).
- Spray a test board or scrap door using your real prep steps and dry time. (Bare wood and primed surfaces can spray differently.)
- Adjust pressure and technique first, then bump tip size if you still have tails or clogs.
- Write down what worked. Your “kitchen recipe” becomes gold for the next project.
FAQ
What is the most common airless tip for cabinets?
If I had to pick a single starting point that works for a lot of cabinet enamels, it would be in the 310 to 312 range, or a 410 if you want a slightly wider fan. Then confirm your tip line’s chart and your coating TDS.
Is a 515 tip too big for cabinet paint?
For most cabinet enamels, yes. A 0.015 orifice pushes a lot of material fast, which makes it easier to get runs, texture, and overspray on doors and face frames. It is more common for walls and larger surfaces.
Can I spray primer and paint with the same tip?
You can, but you might not love the results. Primer is often thicker, so people size up for primer and then size down for the enamel topcoat to get a finer finish. If you only have one tip, pick the smallest one that can spray your primer without constant clogging.
Why does my spray pattern have heavy edges and a light center?
That is usually a pressure and atomization issue or a partially clogged tip. On airless, increase pressure slightly and make sure filters are clean. On HVLP, increase air, reduce fluid a touch, and confirm the air cap is clean.
Final tip
Your goal is not the biggest tip that blasts paint. Your goal is the smallest tip that sprays your product smoothly with a clean fan and minimal texture. That is where cabinet finishes start looking factory instead of “weekend project.”
If you tell me what sprayer you have and what primer and enamel you are using, I can suggest a tighter starting range and what to try first if it tails or feels too thick.