Vintage brass hardware has a warmth you just cannot fake. The problem is that decades of cooking grease, hand oils, and old polish can turn that glow into a sticky, brown film that makes your whole kitchen feel tired. The good news: you can get most brass pulls, knobs, and hinges looking amazing again with a few pantry basics and a little patience.
Below is my go-to, natural-ish routine for cleaning, polishing, and restoring old brass hardware. It is budget-friendly, it works, and it is gentle enough that you are not gambling with your finish every time you scrub.
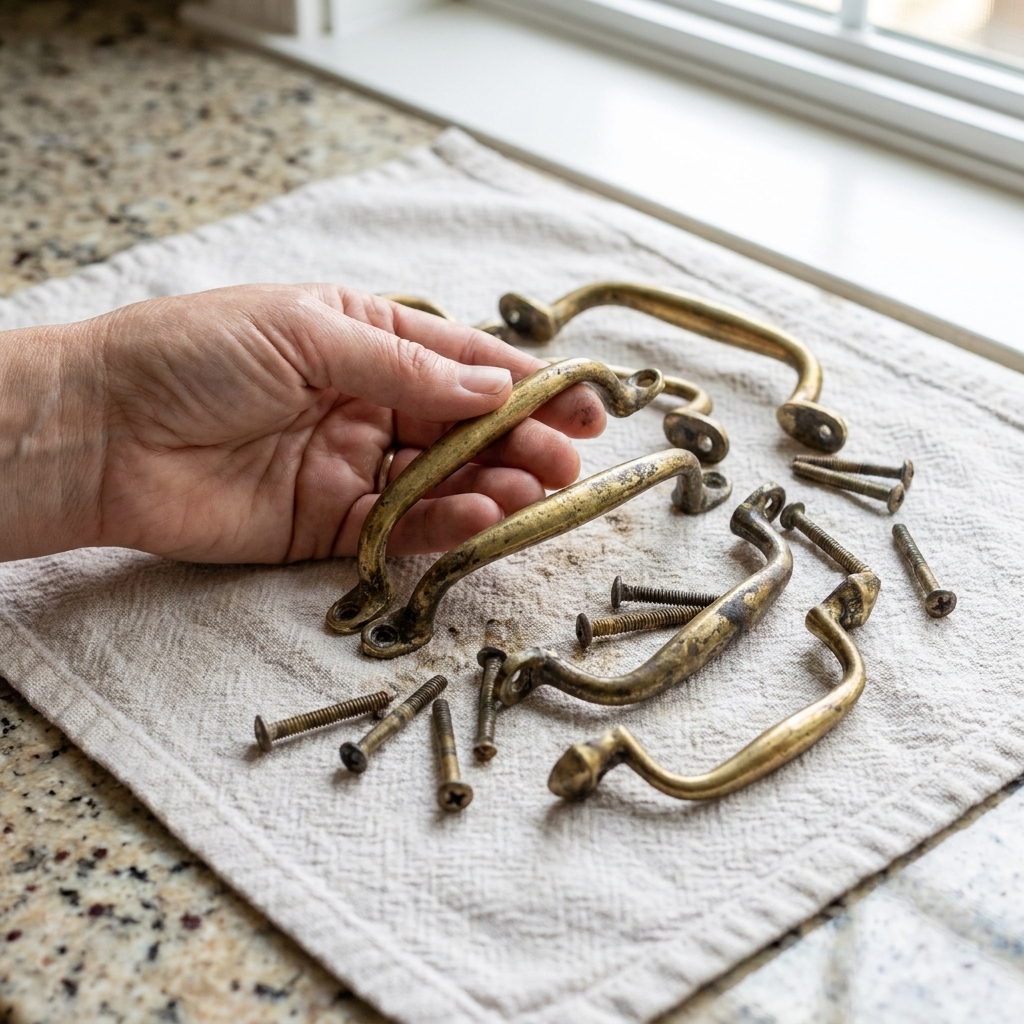
Before you start: solid brass or plated?
This one step can save you from rubbing right through a thin plated finish.
- Grab a magnet. If it sticks strongly, the piece is likely steel with brass plating. If it does not stick, it could be solid brass, or it could be brass-plated over a non-magnetic base metal like zinc (pot metal). So use the magnet as one clue, not the final verdict.
- Check worn edges. If you see silvery or gray metal peeking through on corners or high spots, treat it like plating.
- Look for a stamp. Some pieces are marked “Solid Brass” on the back.
My rule: If you are not 100 percent sure it is solid brass, clean gently, do a spot test, and polish lightly. You can always do another round, but you cannot put plating back once it is gone.
Do a quick spot test
Before you commit to soaking or simmering a whole pile of hardware, pick one less-visible piece and start with the mildest method first (soap and warm water). If you see color lifting, patchiness, or a suddenly different tone, stop and reassess.
Tip for lacquered hardware: If the brass has a slightly “plastic-y” shine, or you see peeling, flaking, or blotchy clear areas, there may be old lacquer on it. Acids like vinegar and lemon can cloud or undercut that clear coat and make it look patchy fast.
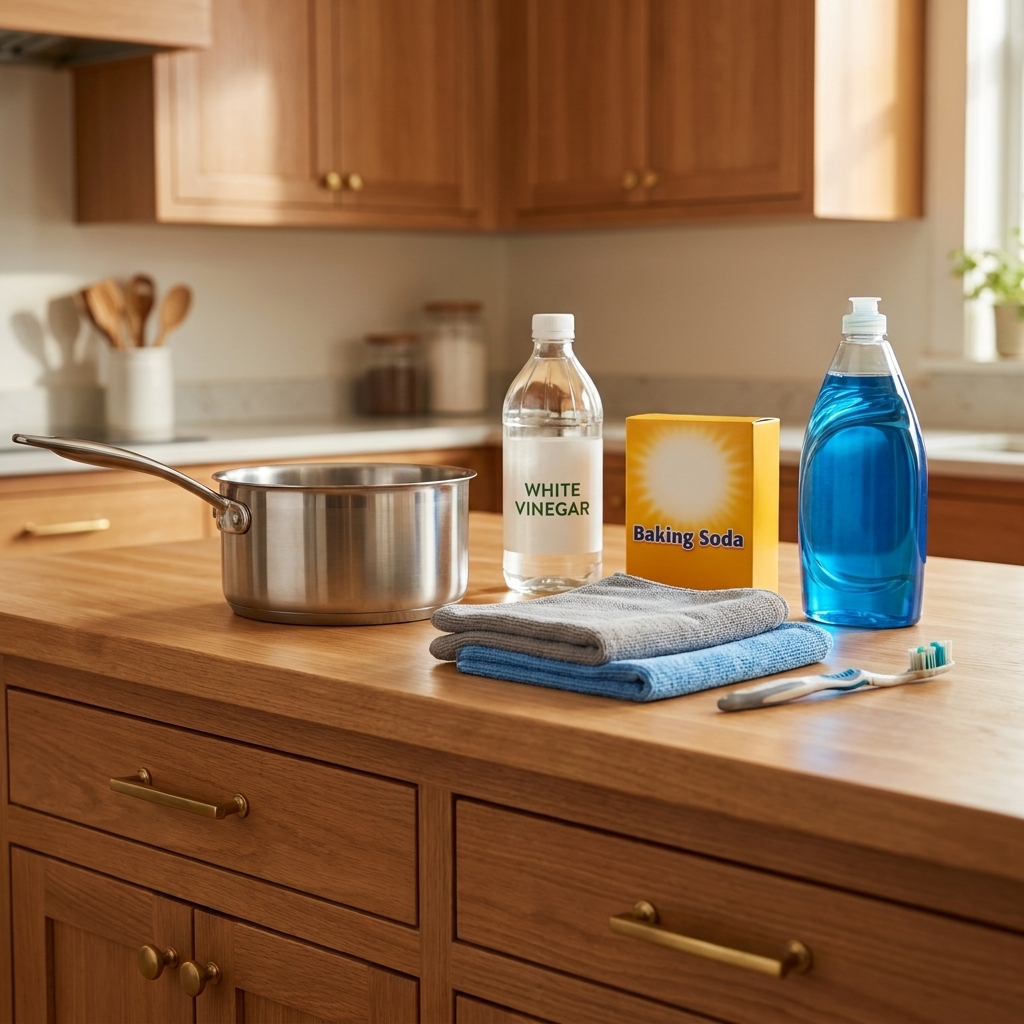
Supplies from the pantry and the cleaning caddy
- Dish soap (a degreasing one helps)
- Large pot you do not mind using for cleaning
- White vinegar
- Baking soda
- Lemon (optional, but great for spot polishing)
- Soft toothbrush or detail brush
- Microfiber cloths
- Wooden spoon or tongs
- Old towel
- Small bowl
- Gloves (recommended)
Optional, nice-to-have: a tiny amount of metal polish for stubborn tarnish, and a clear wax for protection (more on both later).
Quick safety note: Vinegar and metal polish are low drama, but they can still irritate skin and eyes. Wear gloves if you are sensitive, rinse splashes right away, and keep good airflow if you use polish. Also, do not mix cleaners. Stick to one method at a time, then rinse well.
Step 1: Remove and label everything
If you are doing a full kitchen worth of hardware, a little organization goes a long way.
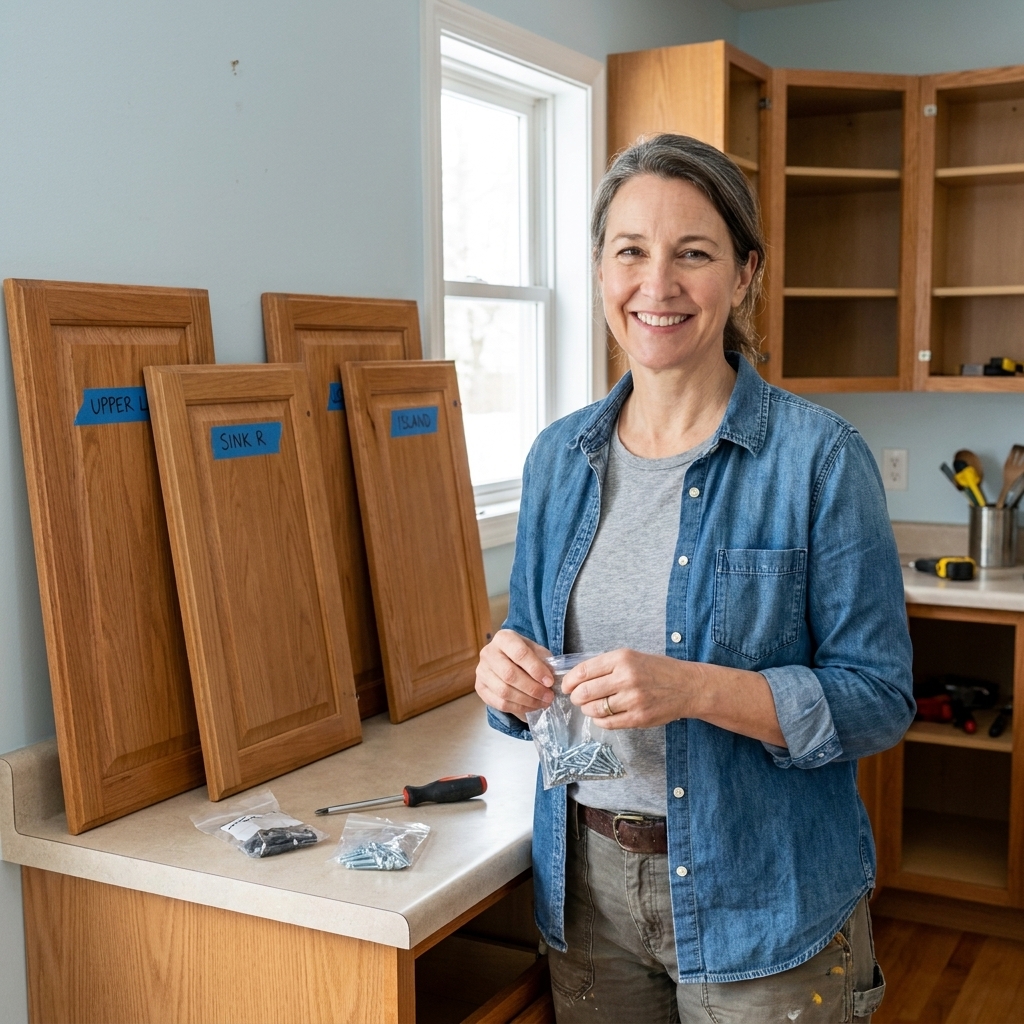
- Remove pulls and knobs and keep each set of screws with its hardware.
- If you have multiple sizes, sort into small bowls or zip bags.
- For hinges, snap a quick photo of each door before you start so re-hanging is painless.
Tip: If your screws are gross too, clean them with the hardware. Just know that vinegar can darken some screw finishes. If you care about the screw color, test one first.
Step 2: Degrease first (do not skip this)
Grease is the number one reason brass looks “permanently” dull. If you try to polish before you degrease, you basically smear old kitchen oils around.
Easy sink soak
- Fill a bowl or sink with very warm water.
- Add a good squirt of dish soap.
- Soak hardware for 15 to 30 minutes.
- Scrub crevices with a toothbrush, then rinse.
If your pieces already look noticeably cleaner after this, you are on the right track.
Step 3: Simmer away years of grime
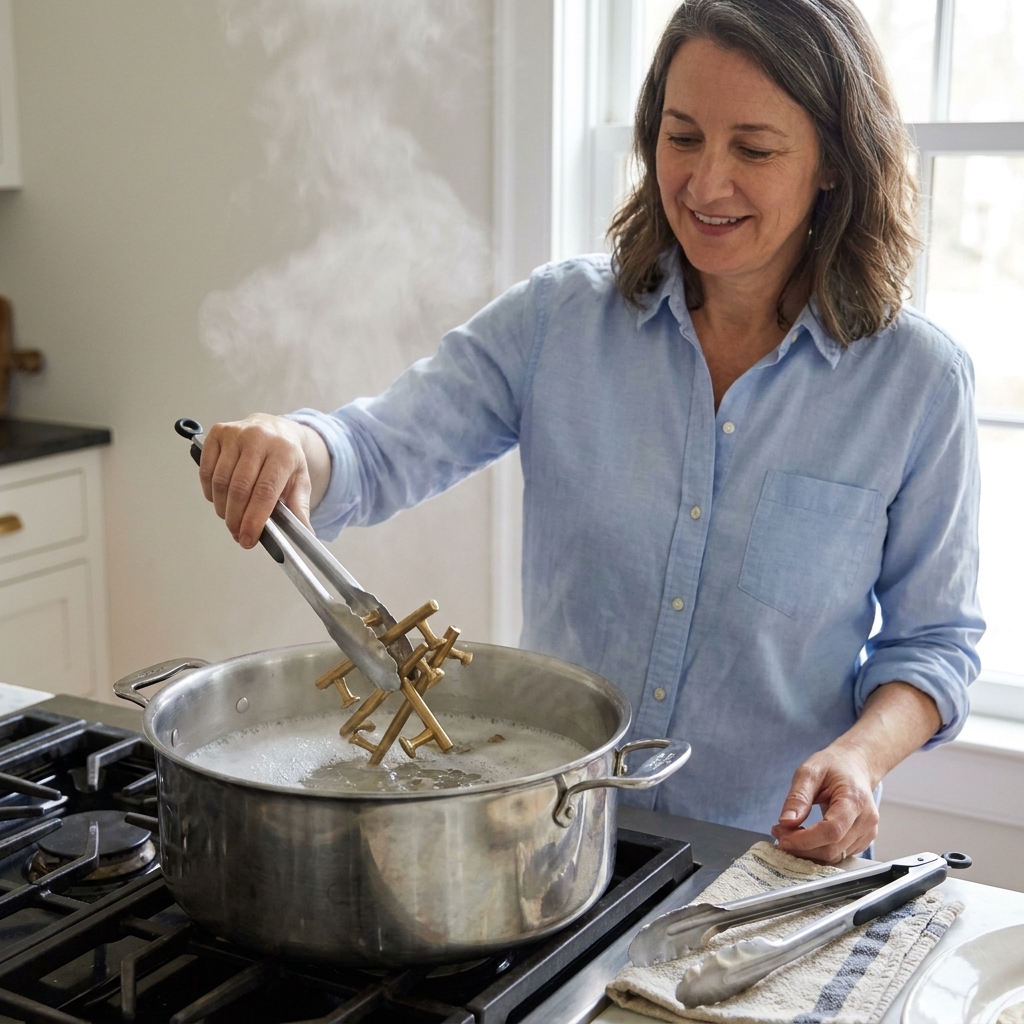
A gentle simmer is fantastic for ornate pulls and hinges because it loosens built-up gunk in all the tiny details you cannot reach.
Gentle simmer method
- Place hardware in a large pot and cover with water.
- Add 1 to 2 tablespoons dish soap (more if the hardware is very greasy).
- Bring to a gentle simmer, not a rolling boil.
- Simmer for 10 to 15 minutes.
- Turn off heat and let the pot cool enough to handle safely.
- Remove hardware with tongs, scrub with a toothbrush, then rinse well.
Important safety note: Use a dedicated cleaning pot if you can. If you only have one stockpot, wash it thoroughly afterward. Keep the simmer gentle to avoid pieces banging around and scratching each other.
When to skip simmering: Avoid this method for hardware with a clear lacquer you want to keep, glued-on parts, plastic bits, composite backplates, or anything that feels like an assembly that could loosen. Heat and water can speed up lacquer failure and can weaken old adhesives.
Step 4: Remove tarnish (start mild)
Once grease is gone, what you are seeing is usually tarnish. Tarnish is normal on brass, especially vintage pieces. The goal is to brighten it without stripping character or damaging plating or lacquer.
Option A: Diluted vinegar soak
This is my go-to for solid brass and unlacquered hardware, or for heavier plating that is in good shape. When in doubt, spot test first.
- In a bowl, mix 1 cup warm water with 1/2 cup white vinegar.
- Soak hardware for 5 to 15 minutes.
- Scrub lightly with a toothbrush.
- Rinse thoroughly and dry immediately.
If your hardware is plated or possibly lacquered: shorten the soak time, avoid aggressive scrubbing on edges, and skip vinegar entirely if you see any clear coat clouding or peeling. Acids can undercut lacquer and cause patchiness.
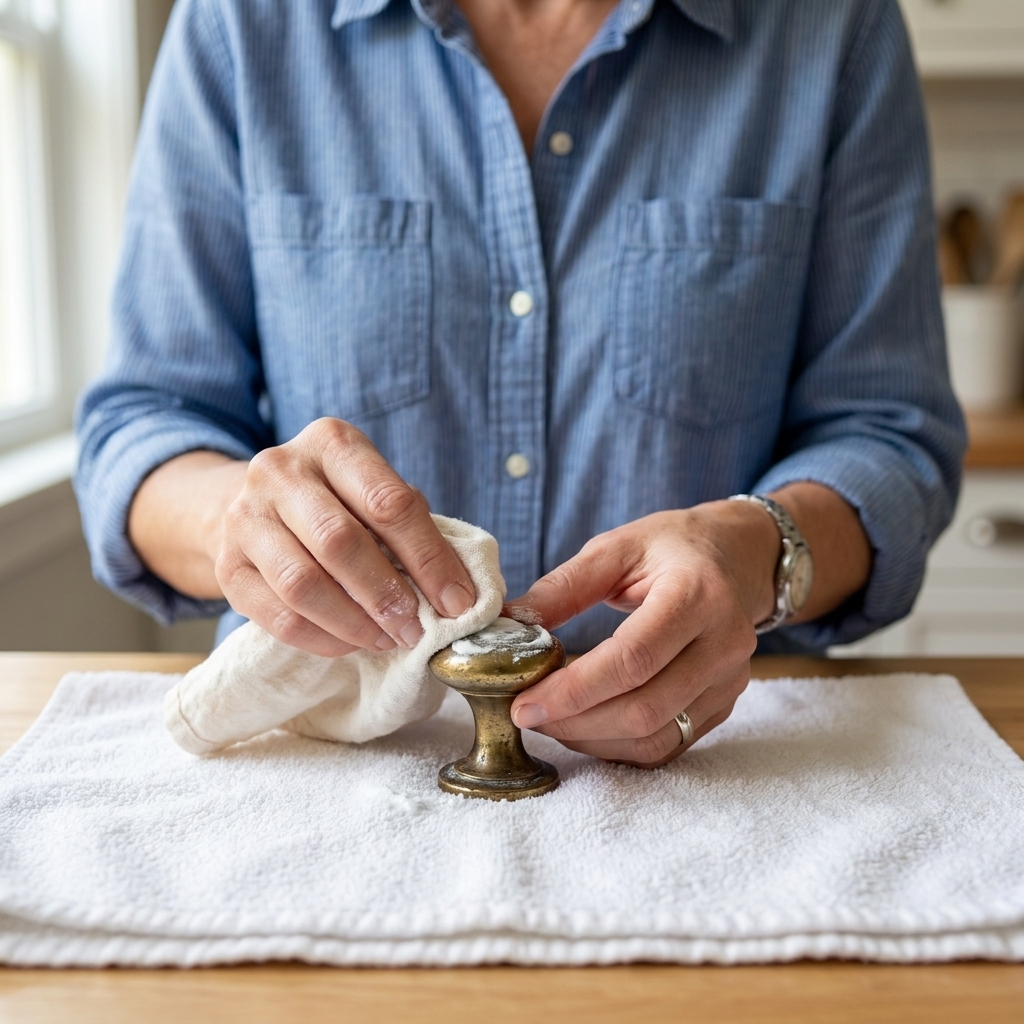
Option B: Lemon and baking soda paste (spot polishing)
Perfect for targeted dullness or small spots on solid, unlacquered brass.
- Make a paste with baking soda and a little lemon juice (or water).
- Rub gently with your fingertip or a soft cloth.
- Use a toothbrush for details.
- Rinse and dry.
Option C: Baking soda and water (gentlest)
If I suspect plating or a thin clear coat, I skip acids and start here.
- Make a paste with baking soda and water.
- Gently rub, rinse, and dry.
What to avoid: Steel wool, harsh abrasive powders, and long vinegar soaks on questionable finishes. They can permanently change the look, and not in a charming vintage way.
Step 5: Rinse and dry thoroughly
Brass and water spots are not friends, and moisture trapped in screw holes can kick off new tarnish faster than you would think.
- Rinse with clean water.
- Dry immediately with a microfiber cloth.
- Let pieces air-dry on a towel for at least an hour before reinstalling.
Extra tip: A quick blast of cool air from a hair dryer helps chase water out of crevices and hinge barrels.
Bring back shine (or do not)
Some vintage brass looks best with a soft glow, not a mirror finish. After cleaning, you have two paths:
- Keep the aged patina: Stop after the cleaning steps and protect it (next section).
- Brighten it up: Do a quick hand buff with a soft cloth. If it still looks flat, use a tiny amount of metal polish on a spot-tested piece first.
If you choose metal polish, apply it sparingly and keep it away from painted or lacquered areas. Many polishes are mildly abrasive, which is why they work and also why you want a light touch.
Protect the finish
After all that work, protection is the secret sauce. Clean brass will start oxidizing again pretty quickly, especially with fingerprints, humidity, and cooking grease in the air.
Option A: Wax (my favorite)
A thin coat of clear paste wax can slow tarnish and fingerprints.
- Apply a very small amount with a soft cloth.
- Let it haze, then buff.
- Do 2 light coats rather than 1 heavy coat.
Option B: Embrace patina
If you love the aged look, the simplest protection is gentle handling and mild cleaning going forward. Avoid harsh cleaners, and just wipe with a barely damp cloth followed by a dry buff.
What about clear spray? Clear coatings can work, but they are tricky on hardware because any missed spot can tarnish unevenly, and chips are noticeable. For most DIY kitchens, wax is the easier, more forgiving choice.
Reinstall without scratches
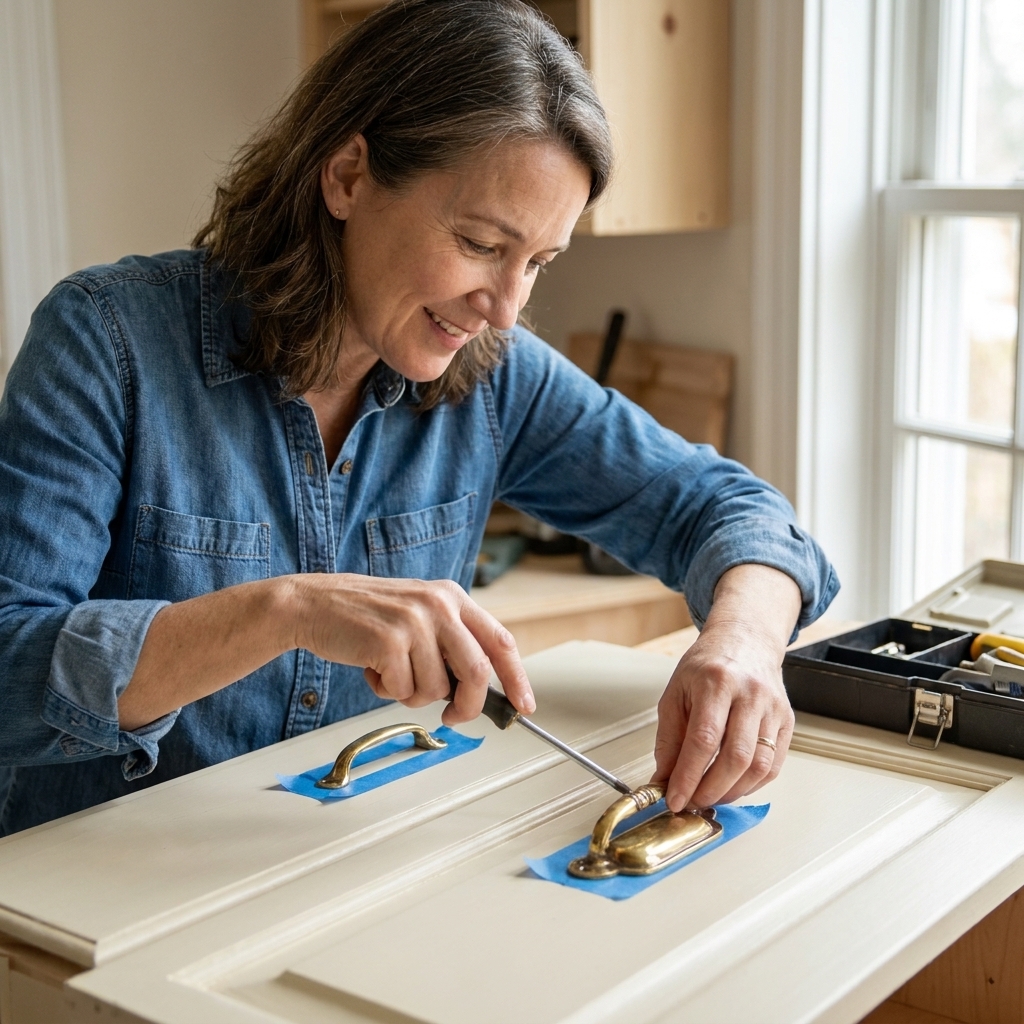
If you are doing this alongside a cabinet paint job, reinstall day can undo your hard work if you rush it.
- Wait until cabinet paint is fully cured when possible.
- Put painter’s tape around the hole area while you tighten screws.
- Hand-tighten first, then do a final snug with a screwdriver. Avoid over-tightening, which can dent paint.
Troubleshooting
My brass turned pinkish
That can happen if brass is over-cleaned with acids and the surface becomes copper-rich. Stop using vinegar or lemon, rinse well with clean water right away, dry thoroughly, and switch to gentle cleaning and buffing. It often mellows back down over time.
Dark spots will not move
That may be pitting, corrosion, or worn plating, not dirt. Clean it well, then consider stopping and protecting with wax. Sometimes “perfect” is not the goal, especially with vintage pieces.
Crevices are still gunky
Do a second short simmer in soapy water, then scrub while it is still warm. A wooden toothpick can help lift softened grime without scratching.
I accidentally removed some finish
If it is plated, the best fix is usually to stop polishing, even out the look with a gentle clean, and embrace the patina. If you want a uniform finish, that is when replacement or professional re-plating makes sense.
Quick care routine
- Weekly: wipe with a dry microfiber cloth.
- Monthly: wipe with a barely damp cloth, then dry immediately.
- Every 6 to 12 months: re-wax if you notice fingerprints sticking around.
If you cook a lot, especially frying, you may need to wipe more often. Grease in the air settles quietly, and brass shows it fast.
FAQ
Can I clean brass hardware with straight vinegar?
I do not recommend it. Straight vinegar is stronger than you need, and it raises the risk of discoloration or damage to plating or lacquer. Dilute it and keep soak times short.
Is simmering safe for vintage hinges and pulls?
Usually yes for solid, all-metal pieces, and it is great for loosening grease. Keep it at a gentle simmer, avoid letting pieces rattle, and skip simmering if the hardware has plastic parts, glued-on pieces, or a clear lacquer finish you are trying to preserve.
Will natural methods make brass look brand new?
They can brighten it a lot, but true “like new” brass often requires heavier polishing, which can remove character and sometimes material. In most vintage kitchens, a clean, warm glow looks more authentic.
What if my hardware is lacquered?
If there is an old clear coat, acids can cloud it and abrasives can scratch it. Start with dish soap and warm water only. If it still looks blotchy, you may be dealing with failing lacquer, and refinishing the hardware becomes a bigger project.
Can I put brass hardware in the dishwasher?
I would not. Dishwasher detergent is harsh, heat is high, and the long wet cycle can dull brass, strip wax, and damage plating or lacquer. Hand cleaning is slower, but it is much safer for vintage finishes.