Glass-front cabinet doors are one of those details that make a kitchen feel custom, until you try to paint them and realize you are working around fragile panes, skinny mullions (also called muntins), and about a million little corners where paint loves to sneak. The good news is you often do not need to remove the glass to get a clean, professional finish. You just need the right tape, the right sequence, and a couple of go-to tricks for when paint inevitably misbehaves.
Before You Start: Should the Glass Stay In?
If your door has glass held in with removable stops (little wood strips pinned or stapled in), you can pop them off and remove the glass. It is a nice option when you are spraying and want zero masking. But for many DIY kitchen makeovers, leaving the glass in place is faster and works well as long as the pane is solid and the frame is stable.
- Leave the glass in if the stops are painted in place, brittle, or likely to split, or if you are rolling and brushing.
- Remove the glass if you are spraying and the stops come off cleanly without damage, and the pane lifts out without forcing.
My budget kitchen rule is simple: if removing the glass feels like it could turn into a repair project, do not. Mask it well and keep going. If the glass is loose, cracked, or the frame is extremely delicate (common on very old doors), fix and stabilize that first, or consider removing the pane.
Tools and Materials
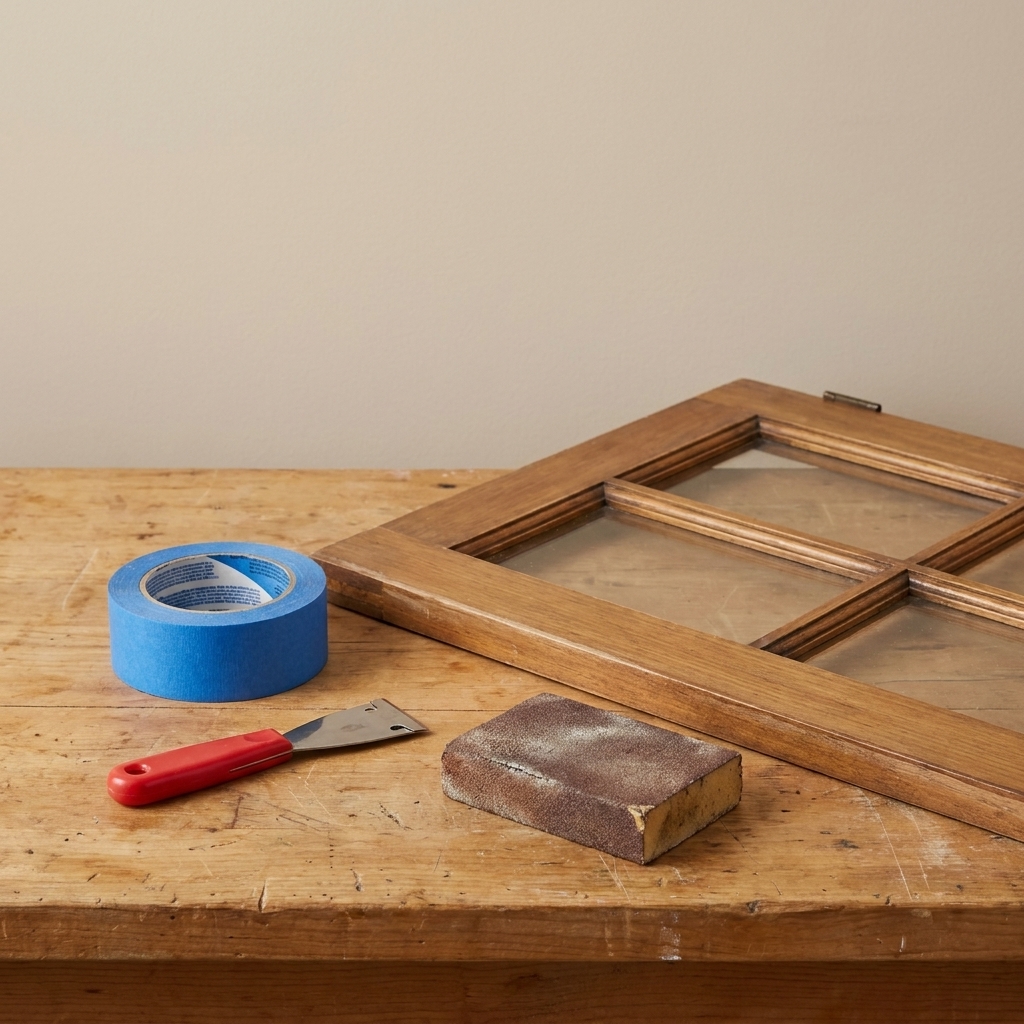
- Painter’s tape: 1 inch or 1.41 inch high-quality tape (blue or green) plus optional 1/4 inch or 1/2 inch narrow tape for tight corners
- Plastic putty knife or an old gift card (for pressing tape down without scratching)
- Razor scraper with fresh blades (the small handheld kind made for glass)
- Degreaser plus clean microfiber cloths
- Isopropyl alcohol (or denatured alcohol where available) for final wipe on glass edges
- Fine sanding tools: sanding sponge in fine and extra-fine grits, plus folded sandpaper for detail work
- Vacuum with brush attachment or tack cloth
- Primer and cabinet-grade paint
- Angled sash brush (small) and a small foam roller, or a sprayer if that is your plan
- Optional but helpful: clear paintable caulk for hairline gaps, wood filler for dents, glazing putty for loose glass
- Safety gear: eye protection and cut-resistant gloves for razor scraping
Step 1: Clean Thoroughly
Glass-front doors collect a sneaky mix of kitchen grease and dust right along the inside edges of the mullions. That grime is a major reason tape lifts and paint crawls.
Cleaning sequence that works
- Degrease the wood around the glass, focusing on the interior frames and corners. Wipe until your cloth comes away clean.
- Clean the glass edge where the tape will stick. A quick wipe with isopropyl alcohol helps remove invisible residue.
- Let it fully dry before taping. Moisture under tape is a recipe for bleed-through.
If you use alcohol, do a quick test in an inconspicuous spot, especially on unknown finishes or older doors. If your doors have any silicone residue (sometimes found around glass inserts), remove it completely. Paint will not stick to silicone, and tape will not seal well over it.
Step 2: Check Glass and Stops
Do a fast safety check before you start sanding and pushing on the door.
- Press gently on the glass from both sides. If it rattles, you may have loose glazing points, loose stops, or old putty that has cracked.
- Tighten what you can: carefully re-seat a loose stop, or add a tiny pin nail if it is truly loose and you are comfortable doing so.
- Stabilize with glazing putty if needed (only where appropriate for your door style). Let it cure according to the product directions before painting.
A door that flexes or a pane that wiggles makes sanding and taping harder, and increases the odds of a crack later.
Step 3: Mask the Glass
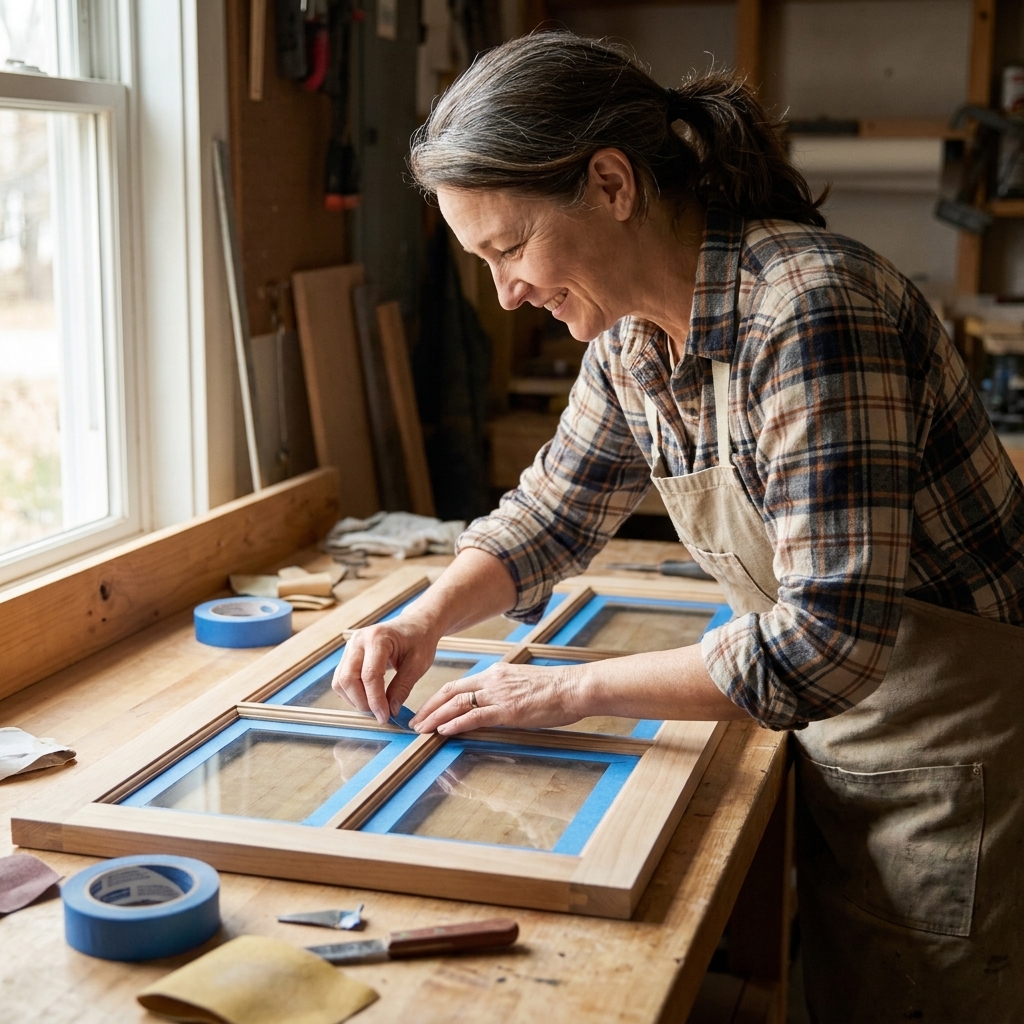
The goal is to keep paint off the glass while still letting you paint the mullions right up to the edge. Here is my method for crisp lines with minimal frustration.
My tape-first method
- Lay the door flat on a padded surface. Gravity helps keep paint from creeping under tape later.
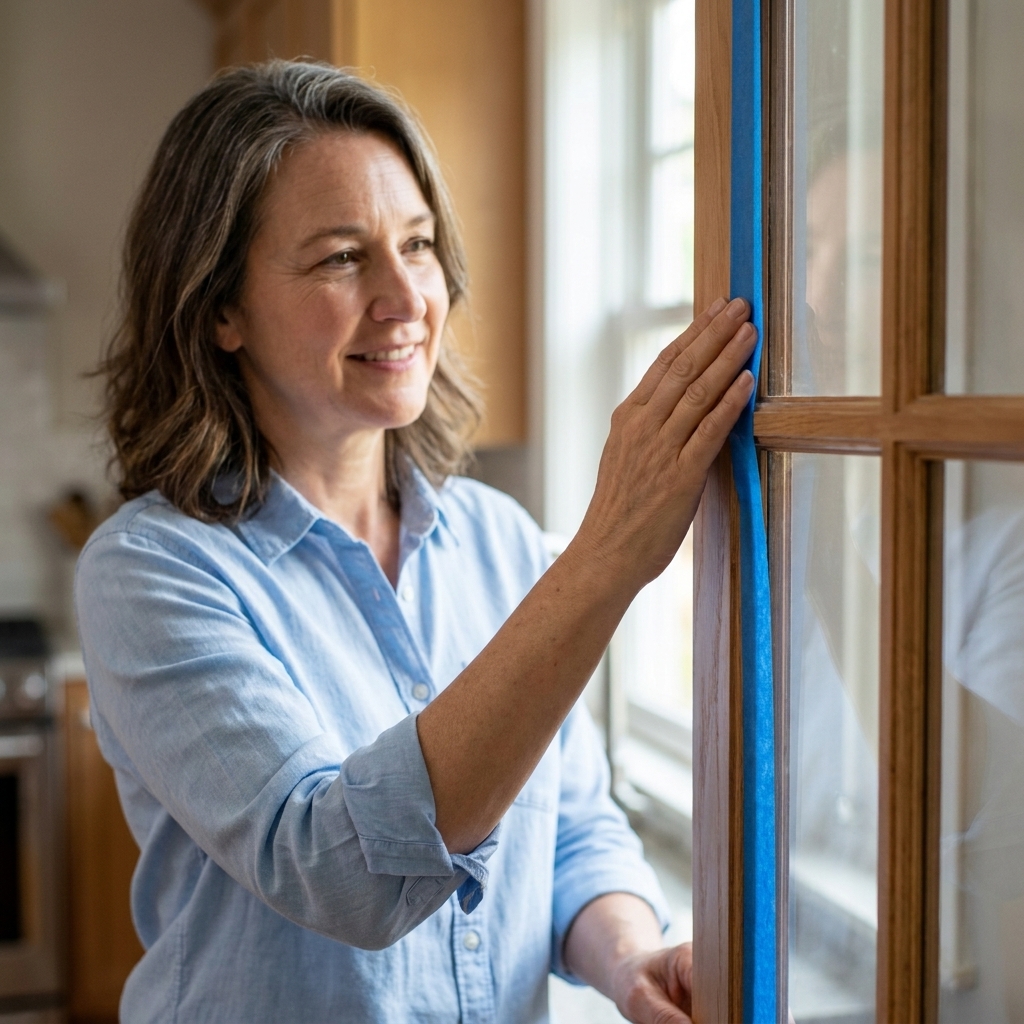
- Start with the long runs. Apply painter’s tape along one mullion edge at a time, overlapping the tape slightly onto the glass.
- Use short pieces for corners. Instead of forcing tape to bend sharply, use small pieces to tile around the corners. This prevents tiny tunnels where paint can travel.
- Seal the tape edge. Run a plastic putty knife or old card along the tape edge that meets the mullion. Press firmly, especially at the corners.
- Trim if needed. If you cannot get a perfect fit, lightly trim the tape with a sharp utility blade. Use a gentle hand and cut on the glass, not the wood, so you do not score the mullion.
Note on sequence: If you prefer sanding before masking, that is fine. Just be careful not to scratch the glass with a sanding block edge. I usually mask first so the tape acts like a little buffer while I am working close to the pane.
Optional upgrade: seal the tape edge
If you are painting a high-contrast color (like white over dark oak, or black over white), add this extra step to fight bleed-through:
- After taping, brush a thin coat of primer (or the existing base color if you are repainting over the same color) along the tape edge on the mullion.
- Let it dry.
- Paint as normal.
This seals micro-gaps so the color coat cannot creep under the tape. It is one extra step that can save you a lot of razor scraping later.
Step 4: Sand Carefully
This part makes people nervous, and I get it. Mullions are skinny, and it feels like one wrong move could stress the pane. The trick is to sand with a light touch and the right tools, and to avoid torquing the door.
Safe sanding rules
- Use a sanding sponge instead of a hard sanding block. Sponges conform to the profile and reduce pressure points.
- Support the mullion from behind with your free hand when you sand close to the glass edge.
- Sand with the grain and use short strokes. Let the grit do the work.
- Avoid aggressive grits unless you are stripping a heavy finish. For most cabinet paint jobs, a thorough scuff sand is enough.
- Keep metal away from glass. Watch zipper pulls, tool corners, and utility blades. This is another reason masking early can help.
- Do not press on the glass while sanding nearby. Keep pressure on the wood only.
For inside corners where the mullion meets the frame, fold a piece of sandpaper into a firm little edge and kiss the corner lightly. You are not trying to reshape the profile. You are just giving primer something to grip.
After sanding
Vacuum the door, then wipe with a slightly damp microfiber cloth or a tack cloth to remove dust. Dust left in the corners is a common reason you get gritty paint around glass panes.
Step 5: Fill Dings and Holes
If you are moving hinges or changing pulls, do your filling now, before primer.
- For small dents: a lightweight wood filler works well.
- For hardware holes: use a stronger filler suitable for deeper fills, applied in thin layers if needed.
To keep filler off the glass, run tape slightly wider than you think you need along the glass edge before you fill, then pull it right after you smooth the filler. Let the filler dry fully, sand it smooth, then re-mask neatly for paint.
Step 6: Prime for Adhesion
Glass-front doors often have more hand contact around the frames, and the mullions take a beating from cleaning cloths. Primer is what keeps that narrow paint line from chipping later, especially if you are painting over oak, stained wood, or a slick factory finish.
Pick the right primer
- For tannin bleed (oak, maple, cherry): a shellac-based or stain-blocking primer can save you from yellowing that shows up weeks later.
- For slick finishes (laminate-like or shiny factory paint): an adhesion or bonding primer is your friend.
- Compatibility matters: follow the paint system on the labels (primer and topcoat) and stay within the recommended recoat windows.
Primer tips for skinny mullions
- Brush first, then roll. Use a small angled brush to cut in along the glass edge and into corners. Immediately follow with a small foam roller on the flatter areas to reduce brush marks.
- Keep coats thin. Thick primer loves to bridge the tape edge and tear when you remove tape later.
- Watch the inside edges. It is easy to miss the narrow lip right next to the glass. I like to change my viewing angle and use a work light.
Let primer dry fully, then do a light scuff sand to knock down texture. Wipe clean before paint.
Step 7: Paint in Thin Coats
Your best finish comes from patience, thin coats, and respecting dry times. Temperature and humidity can change everything, so follow the label for recoat and handling times.
Brushing and rolling
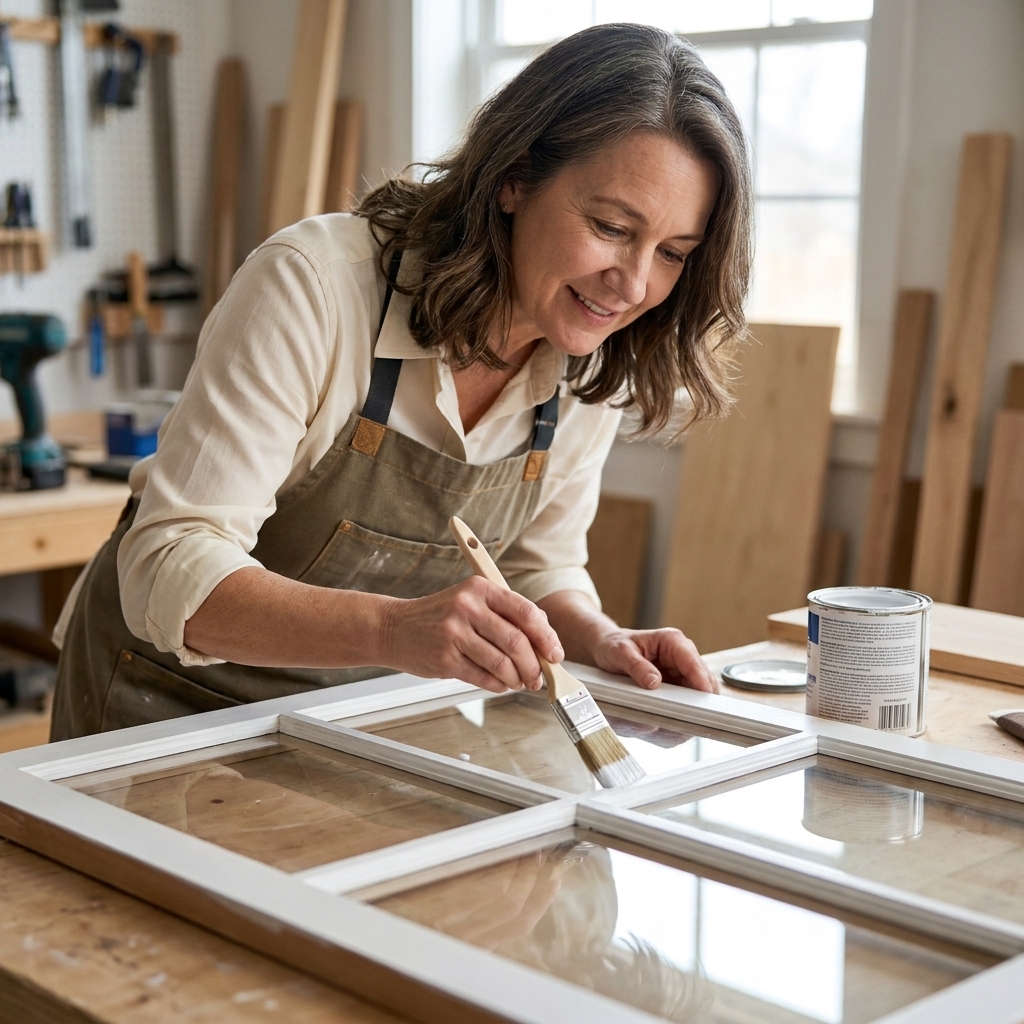
- Paint the mullions first using a small brush. Work in sections and keep a wet edge.
- Roll the wider rails and stiles with a foam roller while the brushed paint is still wet, feathering lightly where they meet.
- Do not overload the brush. Most drips happen at the inside corners of the mullions.
- Apply 2 to 3 thin coats rather than one thick coat.
If you are spraying
Spraying can look amazing on glass-front doors, but it amplifies any tape gaps. Make sure tape is firmly burnished, and keep your first coat as a light tack coat. Let it flash off, then build coverage with additional light passes.
When to pull the tape
For the cleanest line, I pull tape when the final coat is dry to the touch but not fully cured. If you wait days, the paint film can bond to the tape and tear, especially along delicate mullion edges.
Pull tape back on itself at a low angle, slowly. If you see paint lifting, stop and score the edge very lightly with a sharp blade, then continue.
Fix Paint on Glass
Even with great tape, you may get a little paint creep. Let it firm up before you go after it.
Scrape cleanly
- Let the paint dry hard. Overnight is often enough for many water-based paints, but if it still feels rubbery, give it more time.
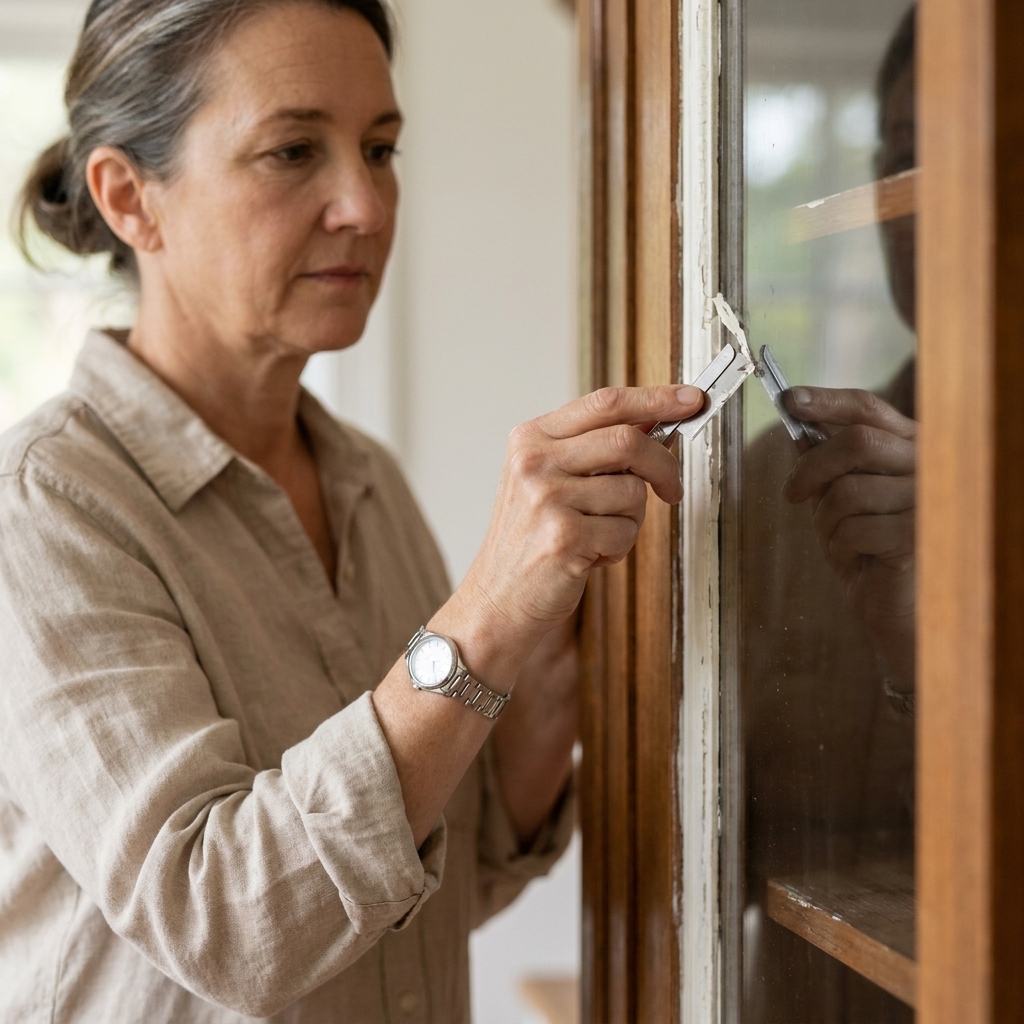
- Use a fresh razor blade in a glass scraper tool.
- Spritz the glass lightly with water or glass cleaner for lubrication.
- Hold the blade at a shallow angle and gently push. Do not dig.
- Wipe and repeat. Switch to a new blade if you feel dragging.
Wear eye protection, keep fingers behind the blade edge, and dispose of used blades in a proper sharps container. Stay on the glass only. If you nick paint along the mullion edge, you can touch it up with a small artist brush.
Avoid Common Issues
Problem 1: A ridge at the paint line
This usually happens when paint builds up against tape. Keep coats thin, and avoid pushing paint into the tape edge. If you still get a ridge, lightly sand the edge after it cures, then touch up carefully.
Problem 2: Rough mullions
Skinny pieces show texture more than flat panels. Do a light sand after primer and between paint coats if needed, and keep your roller pressure light. A small foam roller helps a lot.
Quick Checklist
- Degrease wood and clean glass edges
- Stabilize any loose glass or stops
- Mask glass with quality tape, burnish edges
- Scuff sand gently, vacuum and wipe clean
- Fill dents and holes, sand smooth
- Prime thin, sand lightly after drying
- Paint in thin coats, pull tape at the right time
- Scrape any bleed after paint dries hard using a razor scraper
FAQ
Should I tape the glass or use liquid masking?
I reach for tape first because it is predictable and easy to clean up. Liquid masking can work, but it is messy in tiny corners, and if it seeps into gaps it can be annoying to peel. If you love liquid masking, test it on one pane first.
What if there is a tiny gap between the wood and glass?
Small gaps are common, especially on older doors. Tape can bridge them, but paint can still creep if the gap is uneven. The seal-the-edge step using primer helps a lot. If the gap is large, address it before painting so the glass is stable.
Can I sand right up to the glass edge?
Yes, gently. Support the mullion, use a fine sanding sponge, and keep pressure on the wood, not the glass.
How do I remove tape residue from glass?
Warm water and dish soap often works. If it is stubborn, a little rubbing alcohol on a microfiber cloth will usually lift it. Avoid soaking unfinished wood edges.
Do I need to worry about lead paint?
If your cabinets are older and you suspect lead paint, test before sanding. Use proper containment and a HEPA vacuum, or hire a pro. It is not the place to guess.
One Last Tip
The first time I painted glass-front doors, I rushed the taping because I wanted to get to the fun part. I spent more time scraping tiny bleeds than I did painting. Now I treat masking as part of the finish, not a chore. Put on a podcast, take your time, and your glass will look crisp enough that people assume you bought new doors.