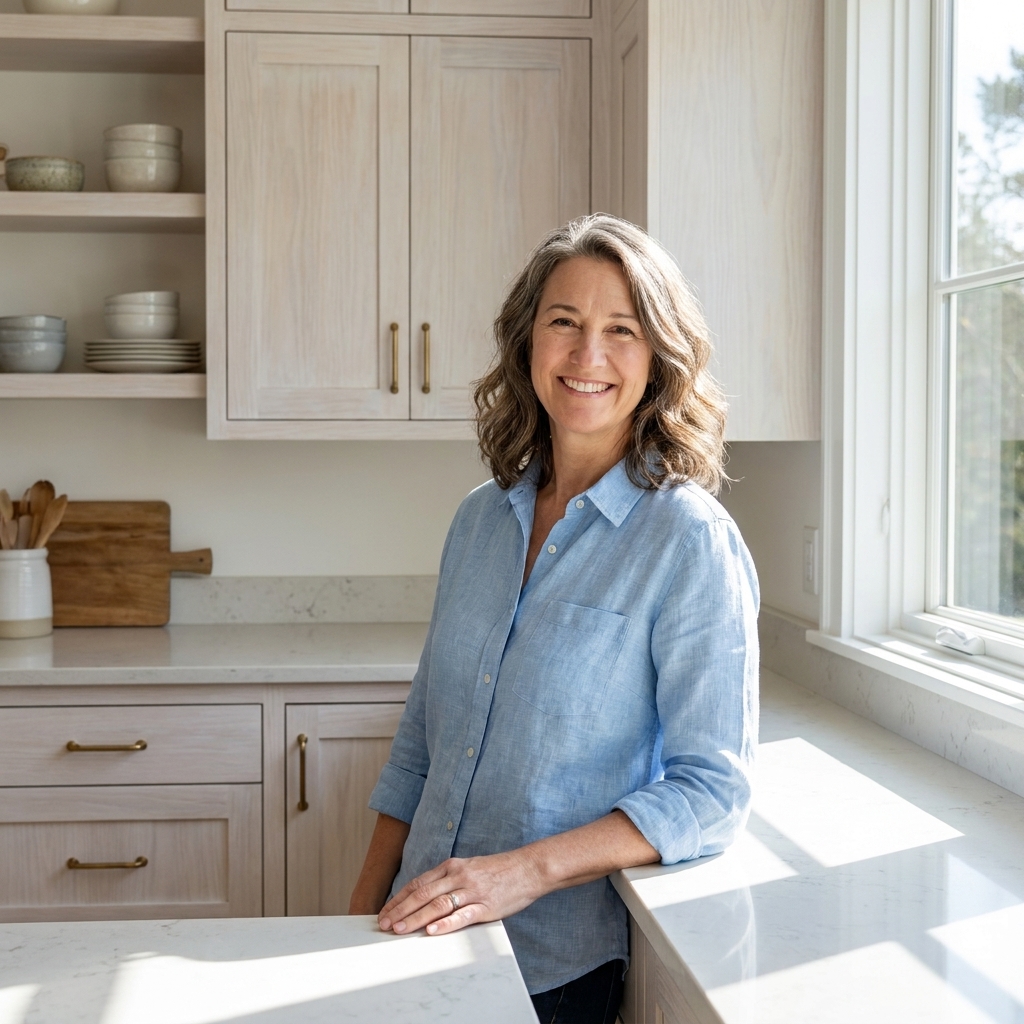
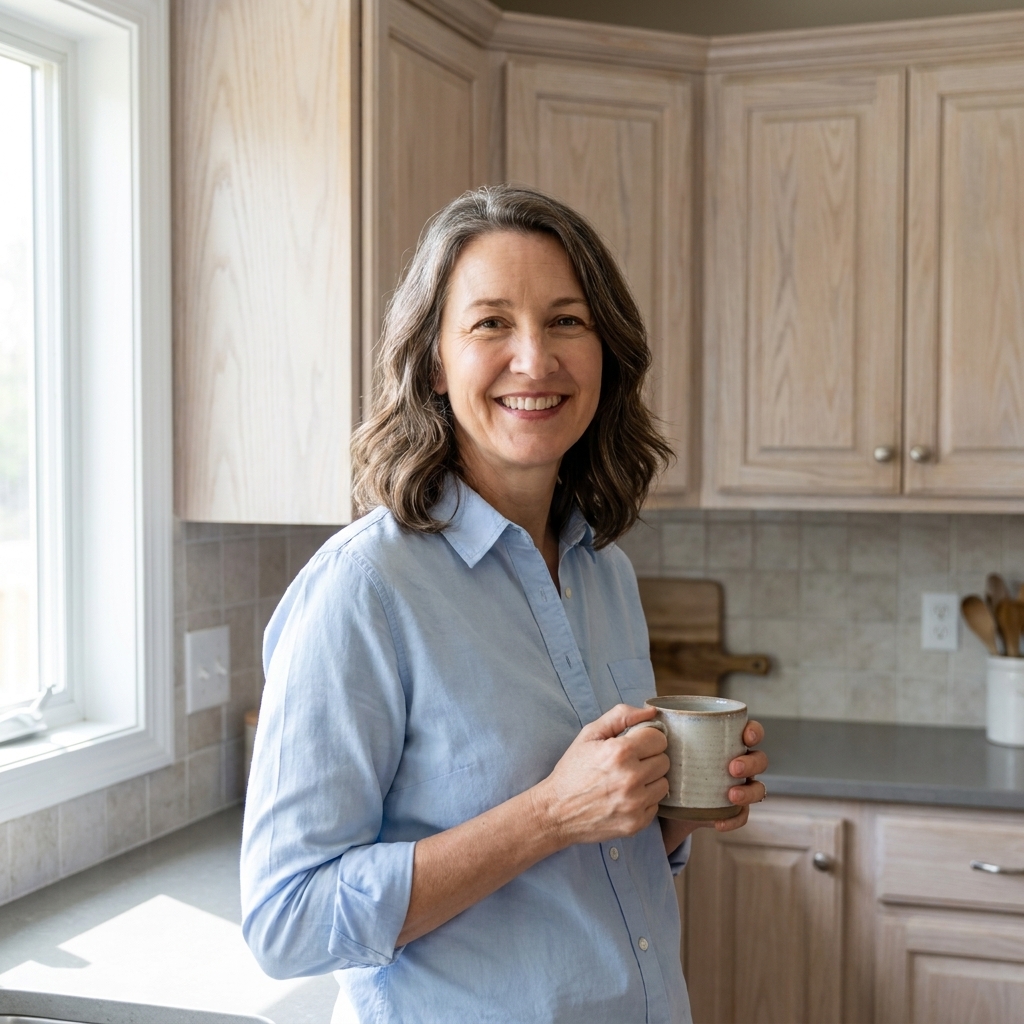
If you love the airy, beachy vibe of light wood but your kitchen is stuck in the honey-oak era, whitewashing is one of the most budget-friendly ways to get there. It tones down orange and yellow undertones, softens heavy grain, and keeps the wood texture visible so your cabinets still look like real wood, just brighter and more modern.
I started experimenting with whitewash years ago after my own 1990s oak cabinets laughed in the face of regular “white paint.” The magic is in the transparency. You are not covering the wood, you are tinting it.
Whitewash vs bleach vs paint
These three approaches can look similar in photos, but they behave very differently on real wood. Here is how I decide which route to take.
Whitewashing
Best for: Adding a soft, milky veil over wood while keeping grain and variation. Great for oak, ash, and other open-grain woods.
What it changes: Tones down warm/orange undertones and visually “lifts” the overall color.
Bleaching (wood bleach)
Best for: When the wood is very dark, very orange, or blotchy and you want a lighter base before whitewashing.
What it changes: Actually lightens the wood fibers. This is a chemical step, not just a color wash.
Painting solid (cabinet paint)
Best for: When you want zero wood grain showing or you have mixed wood species and repairs you do not want to highlight.
What it changes: Everything. Paint is the most forgiving, but it is not the same “natural” look.
Before you start
- Whitewash does not hide damage. Dents, deep scratches, and filler patches will still show, sometimes more.
- Oak grain will still look like oak grain. Whitewash makes it lighter, not smoother.
- Results depend on your wood. Maple can look cleaner and more uniform. Oak can look beautifully textured. Knotty pine can go rustic fast.
- A protective topcoat is strongly recommended in kitchens. High-touch surfaces can stain, streak, and grab grime around handles without a clear finish, even if your pickling product has some binder in it.
Tools and materials
You can whitewash cabinets with simple supplies. I will give you a few options depending on your comfort level.
Must-haves
- Degreaser or heavy-duty cleaner (and plenty of rags)
- Screwdriver and a bag for hardware
- Painter’s tape and drop cloths
- Sandpaper: 120 and 180 grit (and a sanding sponge for profiles)
- Tack cloth or vacuum plus a damp microfiber
- High-quality synthetic brush and lint-free rags (or a foam brush)
- Protective topcoat (water-based polyurethane is my go-to)
For the whitewash mix
- Option A: Water-based paint (true white or soft off-white) plus water
- Option B: Water-based whitewash pickling stain (store-bought)
- Option C: Water-based glaze plus white tint (more advanced, very controllable)
If you are bleaching
- Wood bleach product (see the section below)
- Gloves and eye protection
- Disposable brush
- Plastic sheeting to protect counters
Safety basics
- Wear eye protection when sanding and working with cleaners or bleach.
- Use a properly fitted mask or respirator for sanding dust.
- Ventilate well, especially for bleaching and topcoats.
- Dispose of chemical rags and rinse water according to the product label and your local rules.
Step 1: Remove doors and hardware
Yes, you can whitewash in place, but doors are so much easier flat. Label everything. I stick painter’s tape inside each door and write the location (like “Left of sink”). Put screws in a bag for each door if you can.
Pro tip: If you plan to replace hardware and your new pulls will not cover the old holes, now is the time to plan for filling and drilling. (I cover this in the FAQs below.)
Step 2: Clean like you mean it
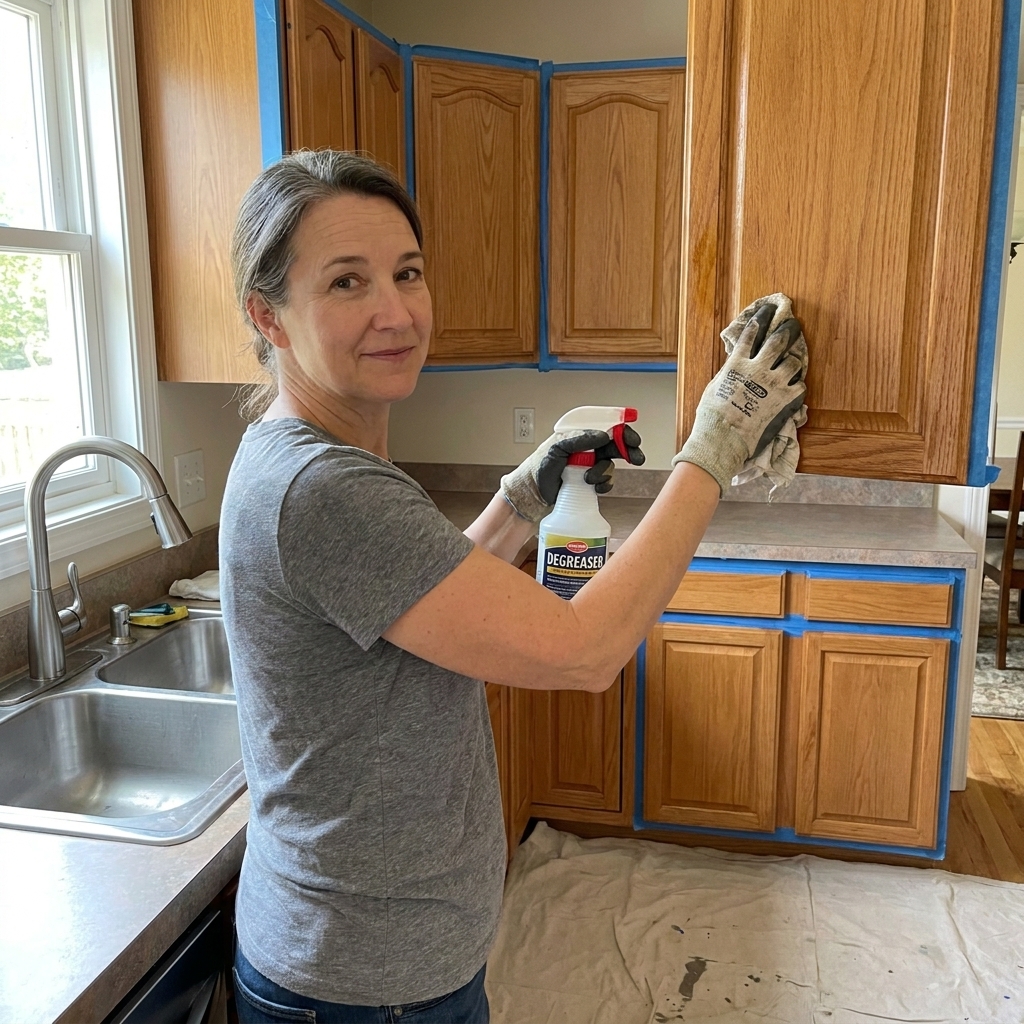
Kitchen cabinets have a sneaky film of grease that can ruin adhesion and make your whitewash streaky. Clean every surface with a degreaser and rinse with clean water. Let everything dry fully.
Where to focus: Around knobs and pulls, above the stove, and the cabinet frames near the trash pull-out.
Step 3: Sand for a consistent finish
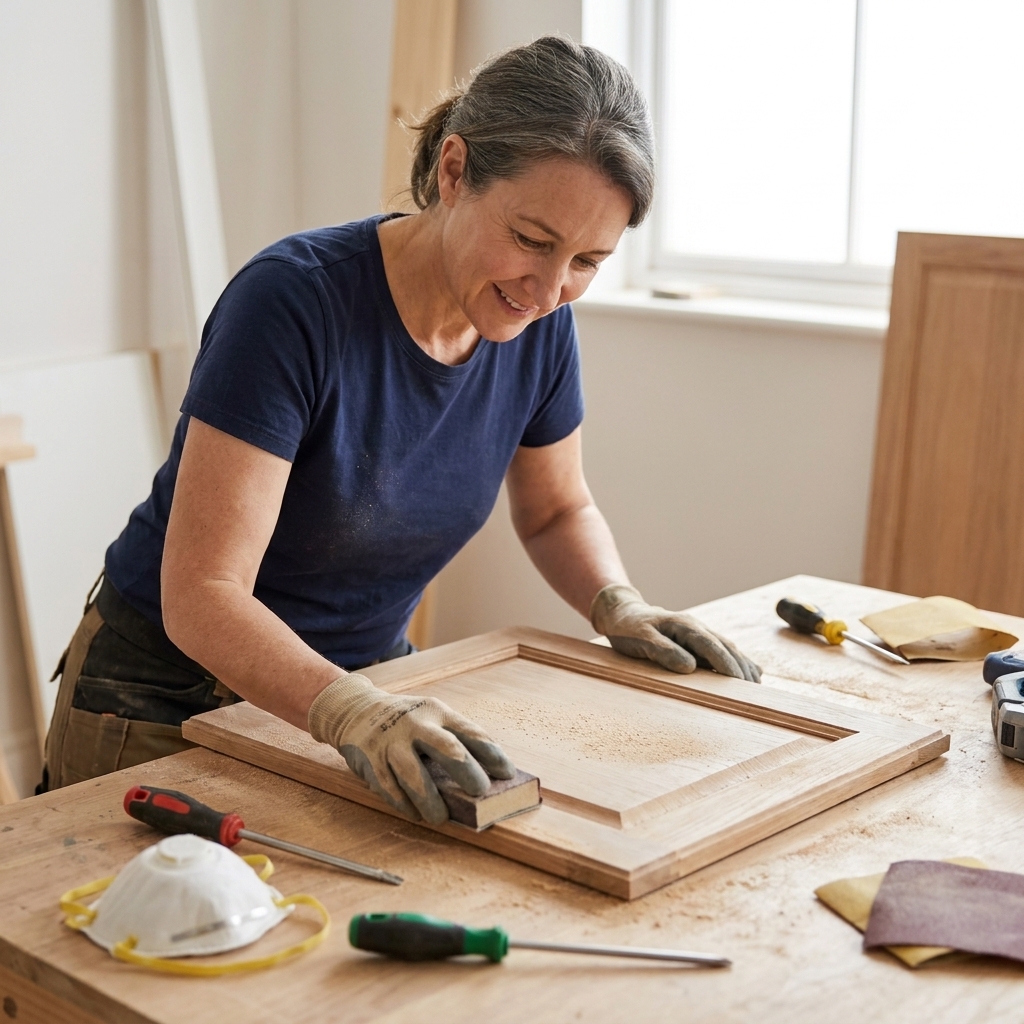
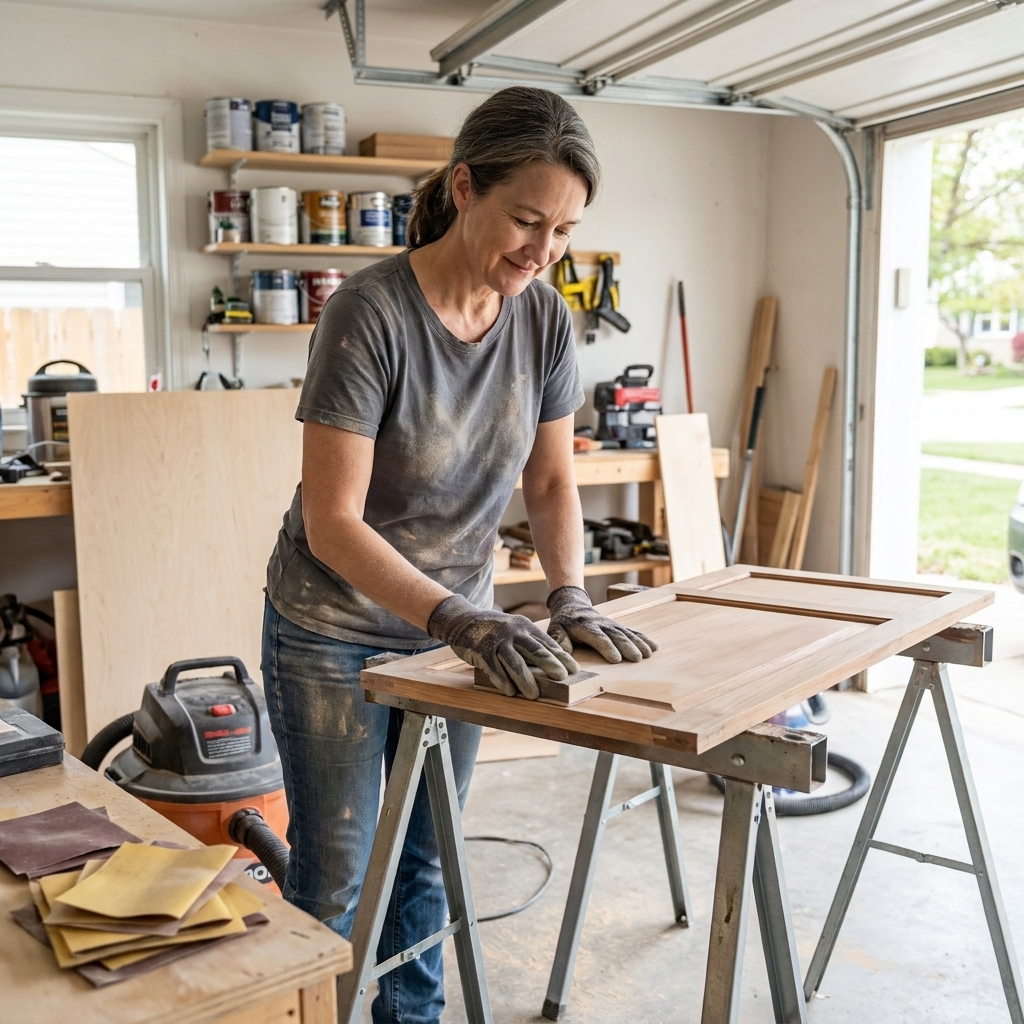
Whitewash needs a clean, slightly scuffed surface so the wash can grip and lay down evenly. Your goal is not to remove all the existing finish, it is to degloss and create tooth.
- If the cabinets have a shiny clear coat, start with 120 grit.
- Follow with 180 grit to smooth scratches.
- For detailed edges, use a sanding sponge and go with the grain.
Vacuum dust, then wipe with a slightly damp microfiber. Dust is the enemy of a smooth finish.
Quick finish compatibility check
Some factory cabinets are coated with a tough conversion varnish or lacquer. You can still whitewash, but prep matters a lot. After cleaning and sanding, flick a few drops of water onto a door. If the water beads up hard and sits there, you likely need more deglossing (or a stronger sanding step) for reliable bonding. When in doubt, do a full test on the back of a door, including your topcoat, and do a scratch test once it cures.
Optional: Bleach first
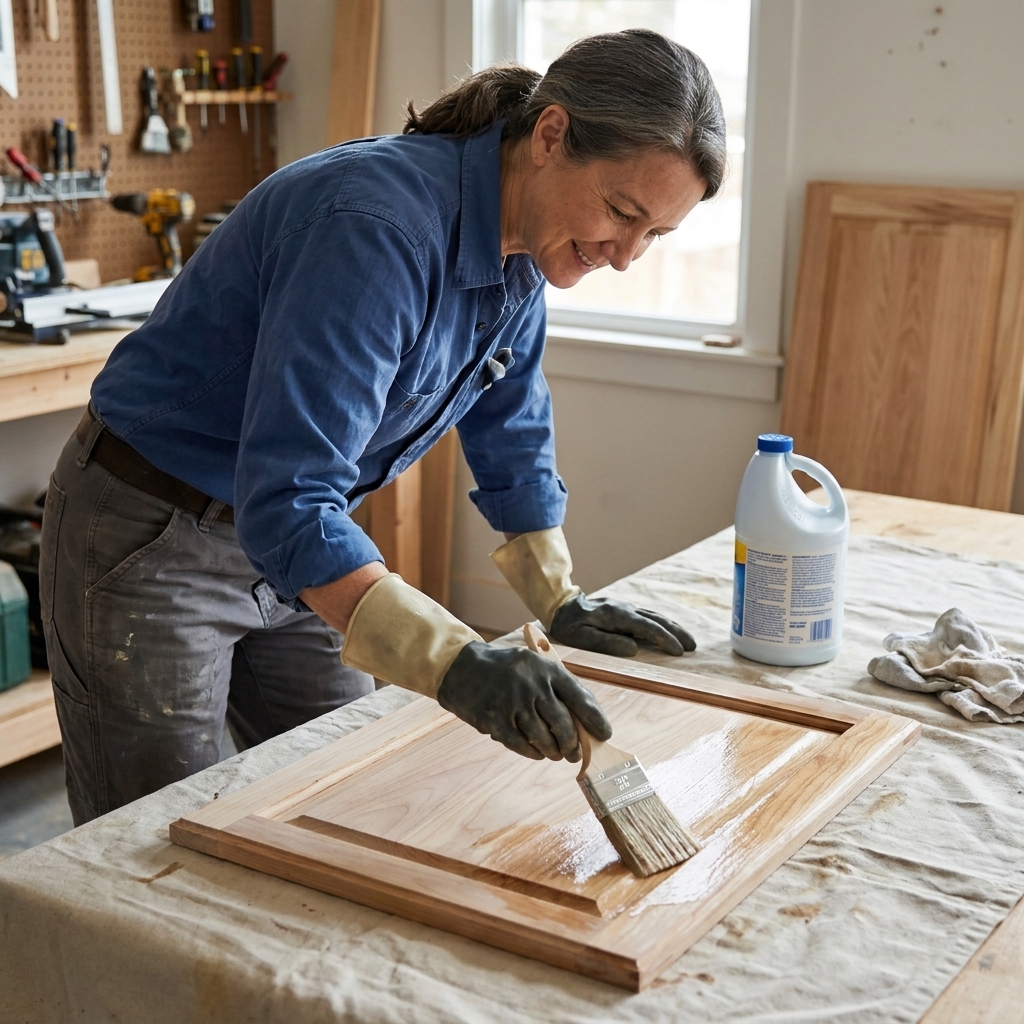
If your cabinets are walnut-dark, red-toned, or heavily ambered, bleaching can help you get a brighter coastal tone without needing a heavy, opaque whitewash.
Which bleach should you use?
- Oxalic acid: Best for dark water stains and tannin marks. It is more of a stain remover than an overall lightener.
- Two-part wood bleach (A/B): Best for significantly lightening the overall wood color. This is the one that can truly shift the base tone.
Basic bleaching process (high level)
- Sand and clean first. Bleach works on bare or well-sanded wood.
- Apply per manufacturer directions, keeping a wet edge.
- Let it work and dry as directed.
- If the product calls for rinsing and neutralizing, do not skip it. Residue can interfere with adhesion and topcoats.
- Let the wood dry thoroughly.
- Lightly sand with 180 grit to knock down raised grain.
My advice: Test bleach on the back of a door or inside a cabinet first. Bleach can surprise you, especially on oak and on wood with varied sapwood and heartwood.
Step 4: Mix a DIY whitewash
You can buy pre-mixed whitewash, but I often mix my own because I can control the transparency.
My simple mix
- 1 part water-based paint (white or soft off-white)
- 2 to 4 parts water depending on how sheer you want it
Start more transparent than you think. You can always add another coat, but it is harder to take it back once it dries.
Choosing the right white
- Crisp bright white: Stronger contrast, more modern.
- Soft warm white: More forgiving on honey oak and feels coastal, not stark.
- Avoid very gray whites at first: They can read muddy on warm woods.
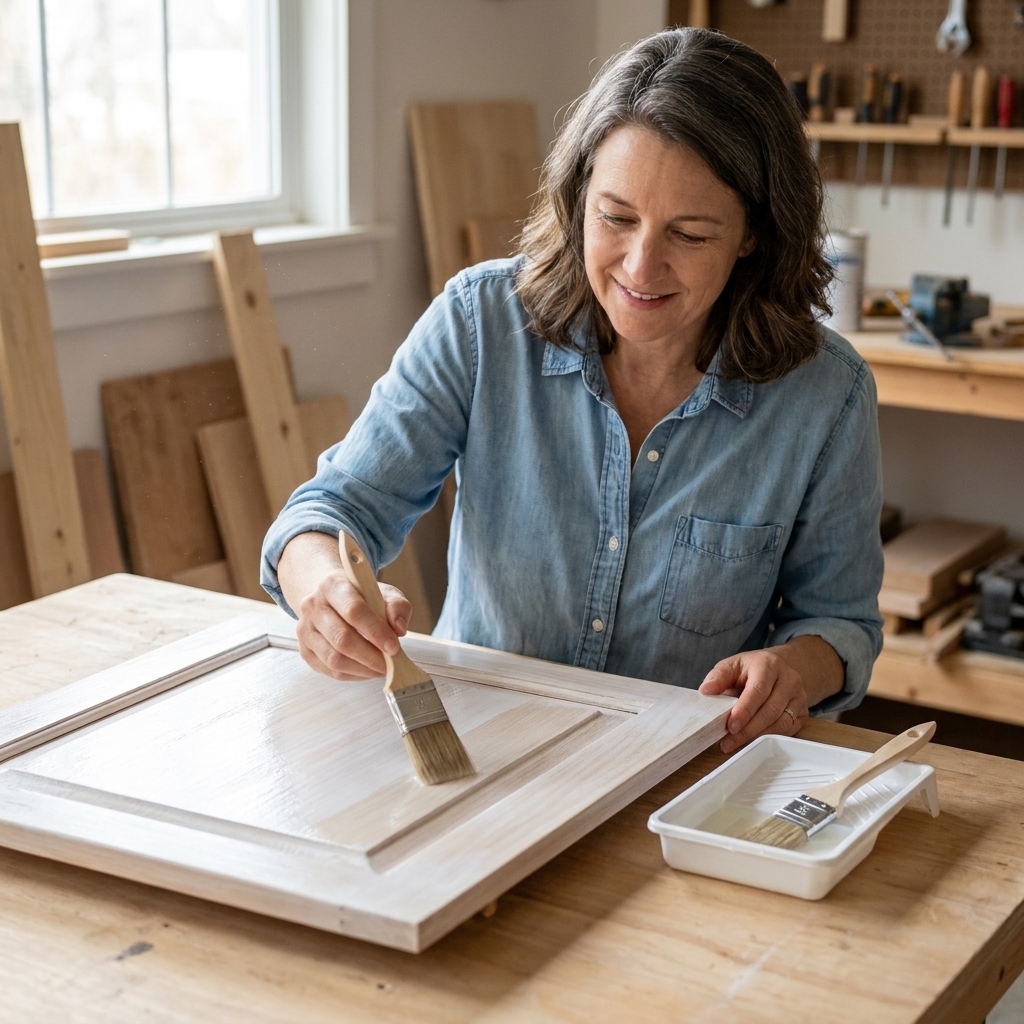
Step 5: Apply the whitewash
The key is working in small sections and wiping back evenly.
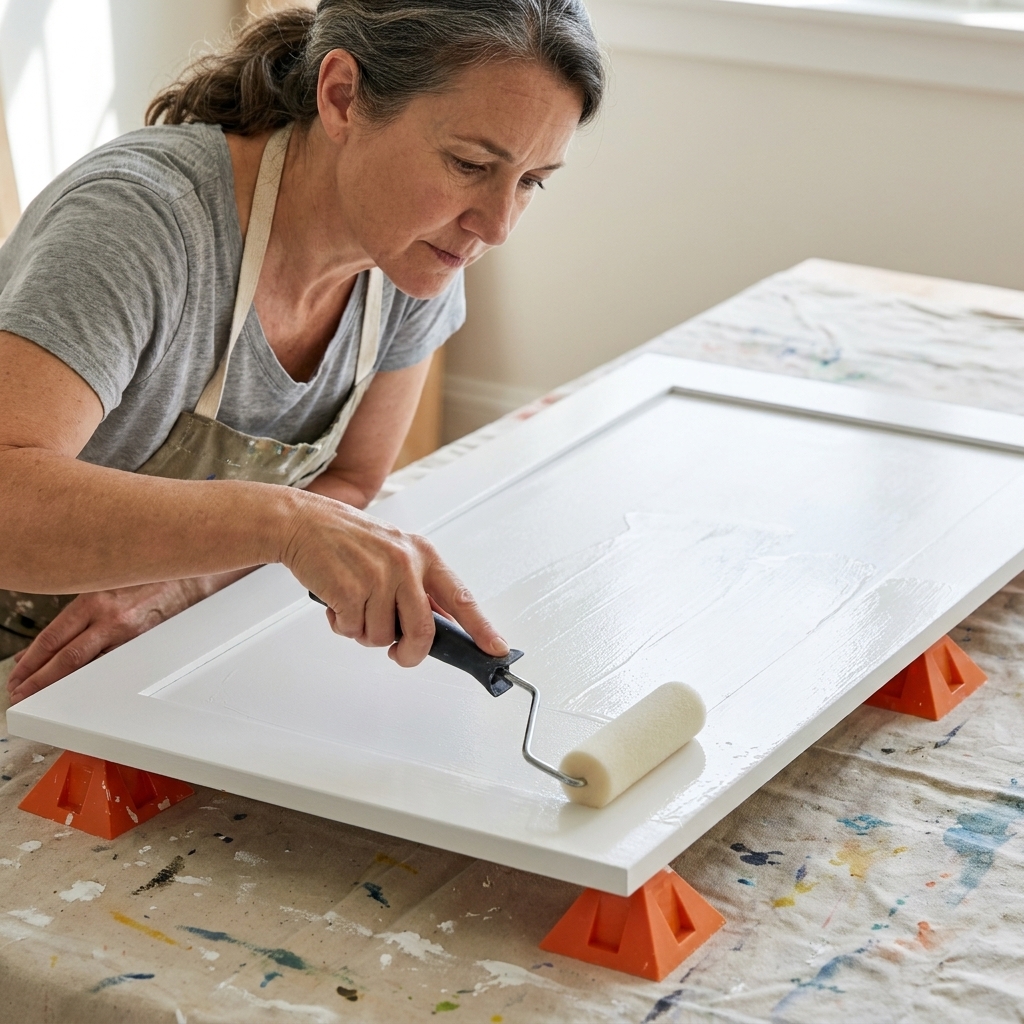
- Work flat if possible. Doors on sawhorses are easier to control.
- Brush on a thin coat with the grain. Do not overwork it.
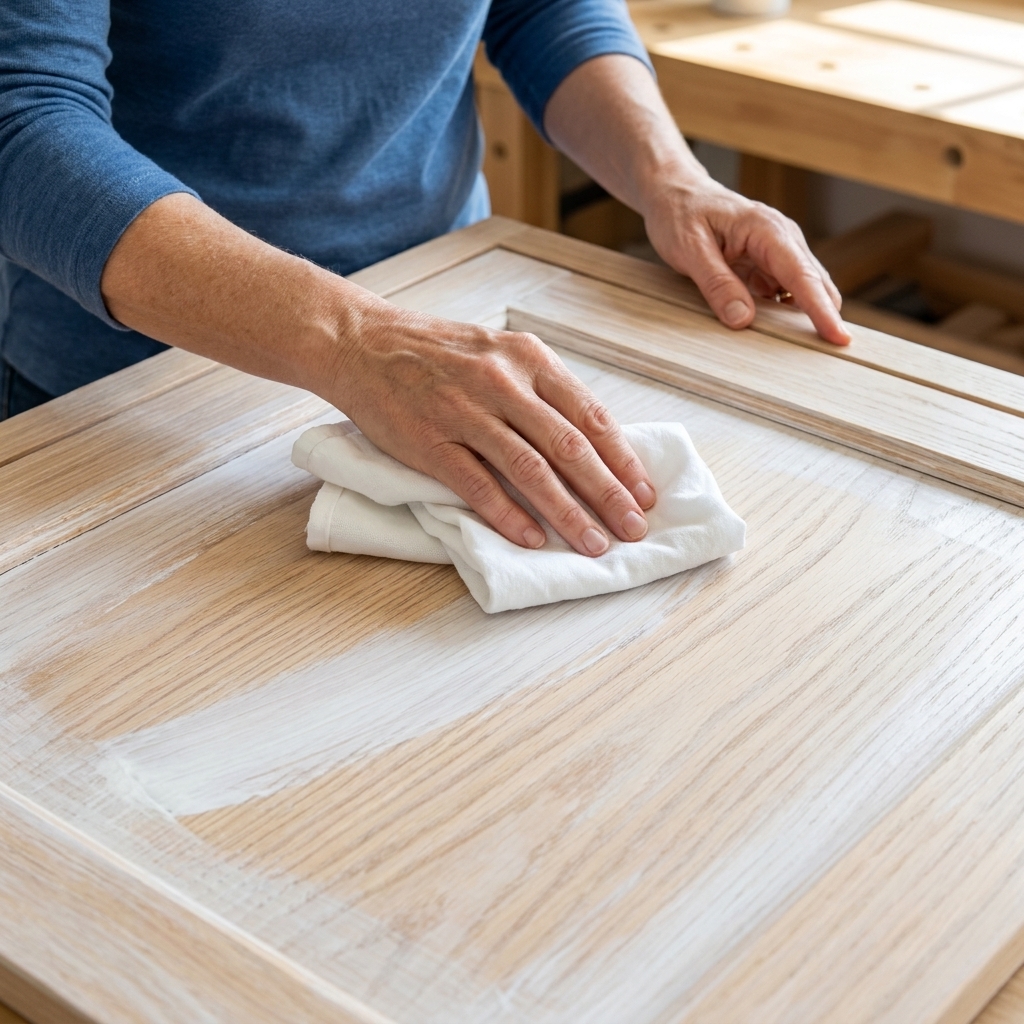
- Wait just until it starts to set. You are looking for that moment when it begins to lose its wet shine or lightly haze, which could be 20 seconds or a couple minutes depending on your mix, humidity, and temperature.
- Wipe back with a clean lint-free rag in long strokes with the grain.
- Feather your edges. When you start a new section, overlap slightly and wipe through the seam so you do not get lap lines.
For oak: After wiping back, take a dry brush and very lightly drag it with the grain. This helps pull whitewash out of heavy pores so it does not look polka-dotted.
Let the first coat dry fully, then evaluate in natural daylight. Most cabinets need 2 coats for that airy, beachy lift without turning chalky.
Step 6: Match frames and doors
Cabinet frames can absorb differently than doors, especially if the doors are a different wood or were replaced at some point. Two tricks that help:
- Keep your mix consistent. Mix enough for the whole kitchen if you can, or measure your paint and water so you can recreate it.
- Always test on the frame. I test inside the cabinet opening where it will not show.
If the frames are looking lighter than the doors, wipe back more on the frames or add a third coat on the doors only. If the doors are looking lighter, do the opposite.
Step 7: Seal it
This is the step that makes whitewashed cabinets livable. A good topcoat protects against water, cooking splatter, and the constant touching around pulls.
Best topcoat for whitewashed cabinets
I prefer a water-based polyurethane because it dries clear and is less likely to amber. Look for an interior clear coat rated for cabinets or trim. If you choose a floor-rated water-based poly, make sure it is clear-drying and brush-friendly, then test it first so you like the look.
Sheen recommendations
- Matte or flat: Beautifully natural, but can show marks sooner depending on product quality.
- Satin: My favorite balance for kitchens. Wipes clean without looking shiny.
- Gloss: Durable but can look plastic-y over a rustic whitewash.
How to apply without streaks
- Lightly sand with 220 grit if your whitewash feels rough.
- Apply a thin coat with a high-quality synthetic brush or foam applicator.
- Let it dry, then sand very lightly with 320 grit.
- Apply a second coat. Add a third on high-touch areas if needed.
Dry and cure timeline
- Rehang doors: When the finish is dry enough to handle without tackiness (often 24 to 48 hours, but follow the product label).
- Reinstall hardware: After rehanging is safe, and you are not leaving fingerprints in the finish. Go gently.
- Normal cleaning: Wait until the topcoat is fully cured (often about 21 to 30 days). Check your can for cure-time guidance, and avoid harsh cleaners until then.
Common problems and fixes
It looks streaky
- Cause: working too large of an area, or the wash is drying before you wipe.
- Fix: do smaller sections and wipe sooner. If it already dried, do a light sand and apply a thinner coat.
It looks too white and chalky
- Cause: mix is too concentrated or too many coats.
- Fix: lightly sand and apply a very diluted wash to reintroduce wood tone, or wipe with a damp cloth while the next coat is wet to lift more off.
The pores are bright white dots (hello, oak)
- Cause: whitewash settling in open grain.
- Fix: brush-drag technique after wiping, or use a slightly thicker clear coat which can visually soften the contrast.
Yellowing after sealing
- Cause: oil-based topcoat or an ambering varnish.
- Fix: choose a water-based poly labeled “non-yellowing” for your next project. If it already yellowed, you may need to sand back and re-seal with a different product.
Combos I like
Honey oak (yellow-orange)
Usually: sand, then whitewash in 2 thin coats, then a water-based satin topcoat. Bleach is optional, but can help if the oak is extremely ambered.
Red oak or red-toned wood
Often: consider a two-part bleach test first. Then do a warm whitewash (not gray) to keep it from turning pink.
Dark stained cabinets
If you have a deep stain and you want a true light coastal finish, you will likely need to strip or sand aggressively plus consider bleach. A heavy whitewash over dark stain can look cloudy and uneven.
FAQ
Can I whitewash cabinets without sanding?
I do not recommend it. Cabinets in kitchens have grease and a clear coat. Without sanding, whitewash tends to bead, streak, and scratch off easily. Even a light scuff sand makes a huge difference.
Do I need a primer for whitewashing?
No, not in the usual “paint primer” sense. Whitewash is meant to tint the wood while still letting texture show. Primer would block that and push you toward a painted look. The exception is if you are switching to solid paint, then yes, use a bonding primer.
How do I fill old hardware holes if I am changing pulls?
For painted cabinets, wood filler is fine. For whitewashed cabinets, fillers can stand out. The best approach is to use a stainable wood filler, sand it smooth, and accept that it may still be slightly visible. If you want a perfectly seamless look, choose new hardware that covers the old holes, or add a backplate.
Is whitewash durable enough for a kitchen?
It can be, as long as you protect it. Think of whitewash as a stain. Add a good clear topcoat and you will be able to wipe down cabinets like normal.
Can I use chalk paint for whitewash?
You can, but it dries fast and can go patchy on large surfaces. If you try it, dilute well, work in small sections, and plan on sealing. For a smoother result, I prefer a regular water-based trim paint diluted with water.
My best advice
If you take only one tip from this tutorial, let it be this: do a full test panel on the back of a door, including your topcoat. Whitewash can look one way wet and another way once sealed. When you love the sample, the rest of the kitchen becomes a repeatable weekend project instead of a stressful experiment.
If you want the brightest coastal look without the “painted cabinet” vibe, a light bleach (when needed) plus a soft whitewash and a satin clear coat is a combination I come back to again and again. It is affordable, it is doable, and it makes older wood cabinets feel fresh and intentional.