If you have solid wood cabinet doors with a recessed center panel, you are sitting on a huge upgrade opportunity. Cutting out that center panel lets you add glass for a bright, classic look or rattan cane for instant warm, boho texture. The best part is you can do it without buying all new doors, which is exactly my kind of budget-friendly magic.
This is a real woodworking step up from painting, but it is absolutely doable if you go slowly, set up safely, and practice on a door you can live without first.
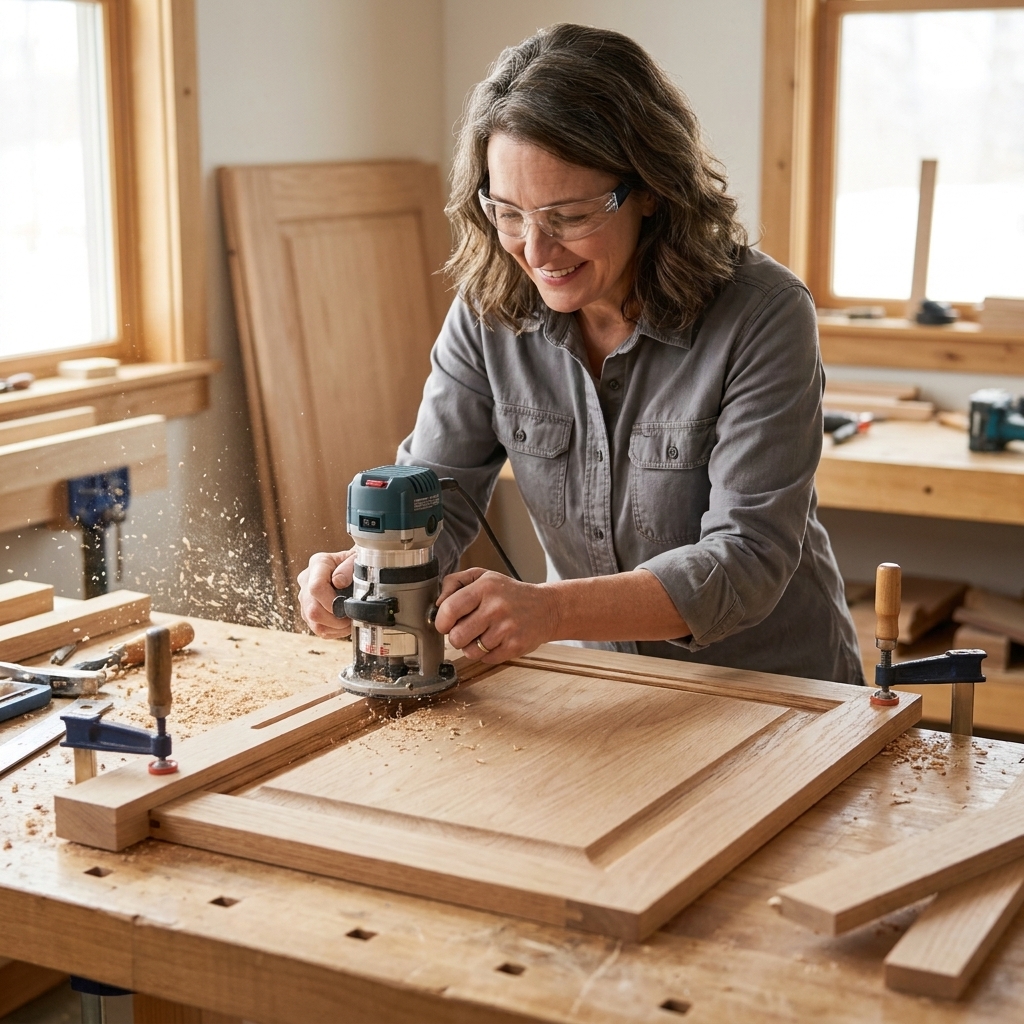
Before you cut: make sure your doors are good candidates
Not every door can be converted. Here is what I check before I pull out a router.
Yes, it usually works if:
- The door is solid wood with true frame-and-panel construction, meaning there is a separate center panel captured inside a surrounding frame.
- You have enough stile and rail width to keep strength after the cut. As a general target, I like at least 1 1/4 inches of wood left between your new opening and the outside edge of the door, and more is always better. If your stiles and rails are wide (around 1 3/4 inches or more), this project is usually much less stressful.
- The back of the door has enough thickness to cut a shallow rabbet (a little ledge) for glass or cane to sit in, while still leaving solid wood behind it.
Skip it if:
- The door is MDF, particleboard, or hollow and feels light or sounds hollow when you knock.
- The “panel” is actually routed into one flat slab (a faux shaker). You can still cut it, but you will not have a separate panel to pop out, and the remaining frame can end up too thin to be durable.
- The door is badly warped or the joints are loose. Fixing that first is possible, but it is a different project.
Quick test: Look along the inside edge where the panel meets the frame. If you see a seam line all the way around, that is a good sign it is a real floating panel.
What you may see once the panel is out: On many frame-and-panel doors, the panel sits in a groove. When you remove it, you might reveal that groove or a thin interior lip. That is normal. You are essentially creating a new opening, then cutting a clean rabbet on the back so your insert sits flat and looks intentional.
Tools and supplies (and what is optional)
You can do this with a few core tools plus a couple of “makes life easier” add-ons.
Core tools
- Router (plunge router is ideal, but a fixed base can work)
- Straight bit (1/4 inch or 3/8 inch is beginner-friendly)
- Rabbeting bit or straight bit for cutting the ledge on the back
- Drill with a 3/8 inch to 1/2 inch bit (starter holes)
- Jigsaw (to rough cut the panel out) or you can do it entirely with the router if you are confident
- Clamps (at least 4)
- Measuring tape, square, pencil
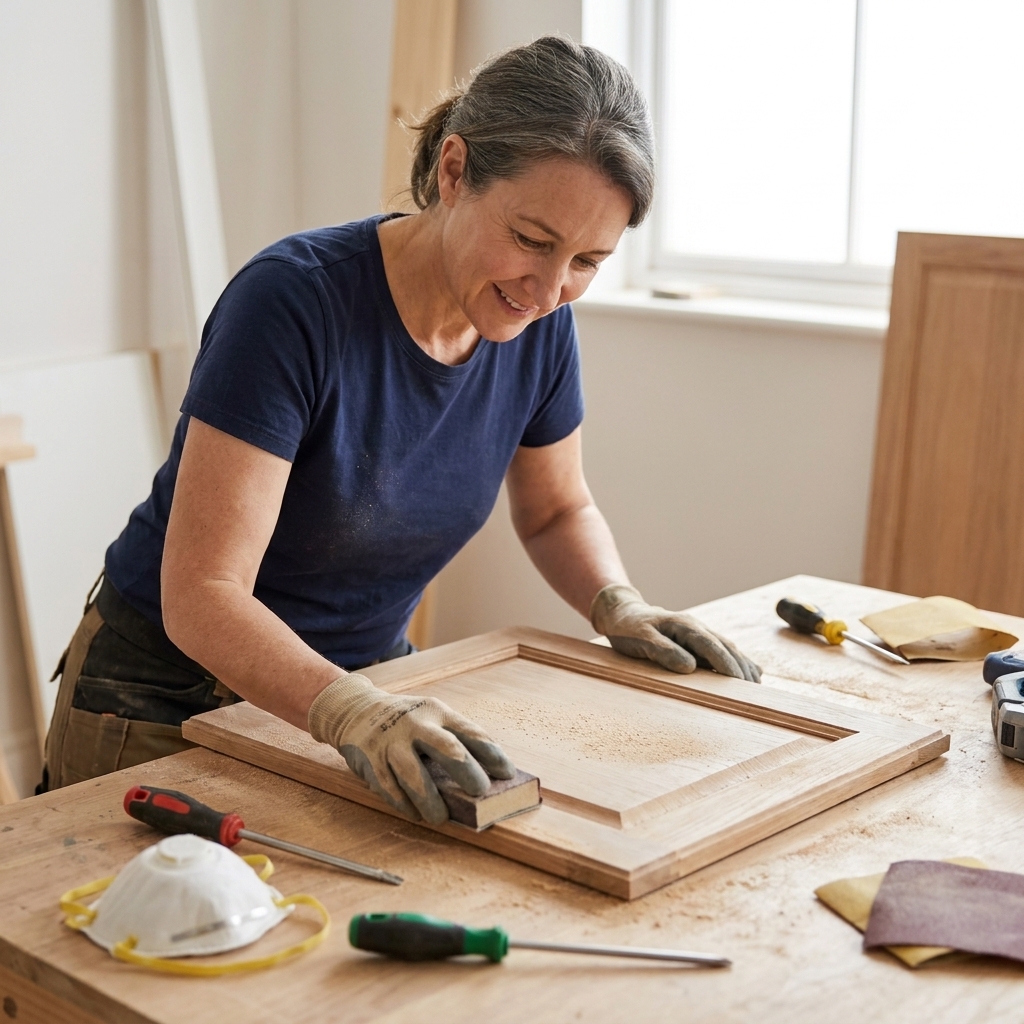
- Safety gear: eye protection, hearing protection, and a dust mask
Supplies for the insert
- Glass (tempered recommended) or acrylic (lighter and DIY-friendly)
- Rattan cane webbing (pre-woven sheet) if doing cane
- Wood stops (thin trim strips) or glazing points to hold the insert in
- Silicone (for glass rattle prevention) or staples (for cane)
Nice-to-have helpers
- Corner chisel (to square corners if you want a crisp rectangular opening)
- Shop vac hooked to the router for dust control
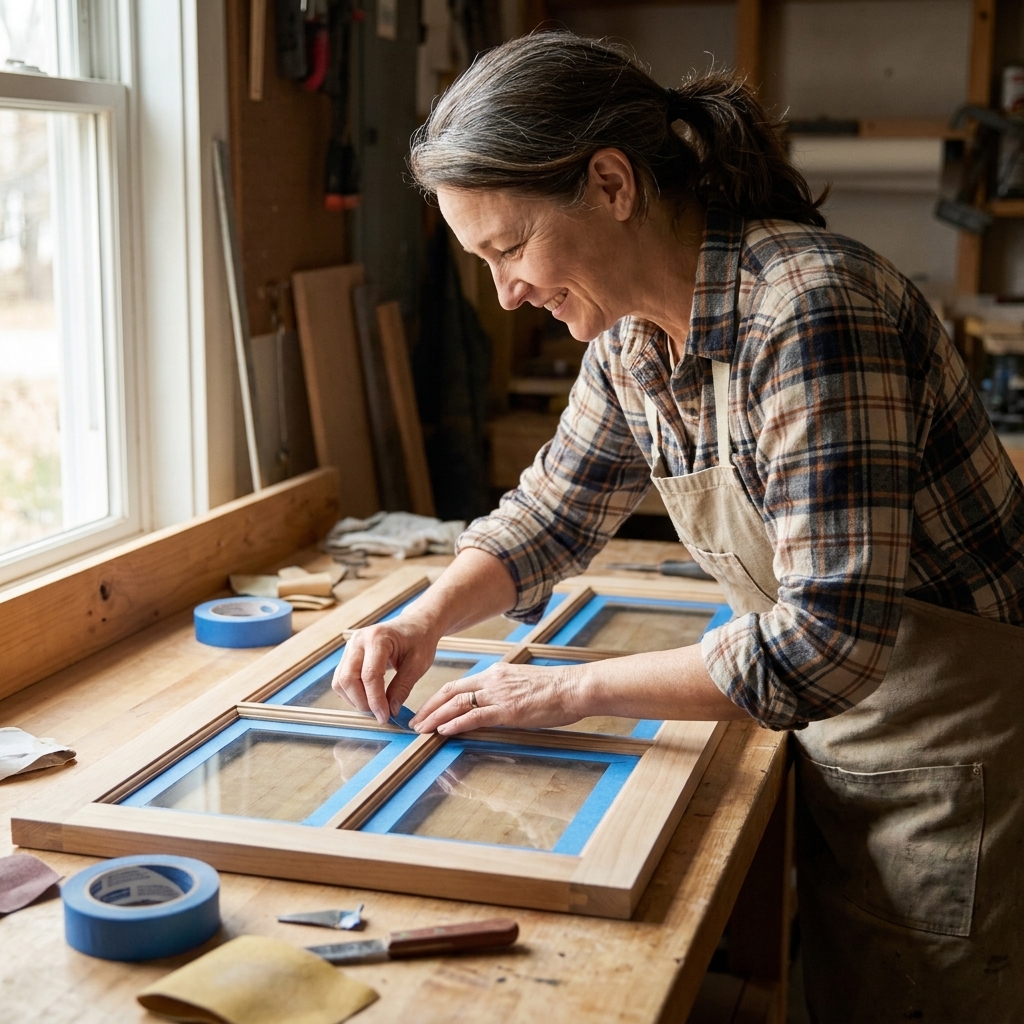
- Painter’s tape (for clean layout lines and to protect the door face)
Plan your opening size
The goal is to remove the center panel but keep enough frame strength so the door does not feel flimsy.
Good rules of thumb
- Plan around what you can safely leave, not what you want to remove. I aim to leave at least 1 1/4 inches of solid wood between the new opening and the outside edges of the door. If you can leave 1 1/2 inches to 2 inches, even better.
- Stay away from the corner joints. Those cope-and-stick joints do the heavy lifting. I keep my cut line at least 3/8 inch away from any joint line I can see.
Mark it cleanly
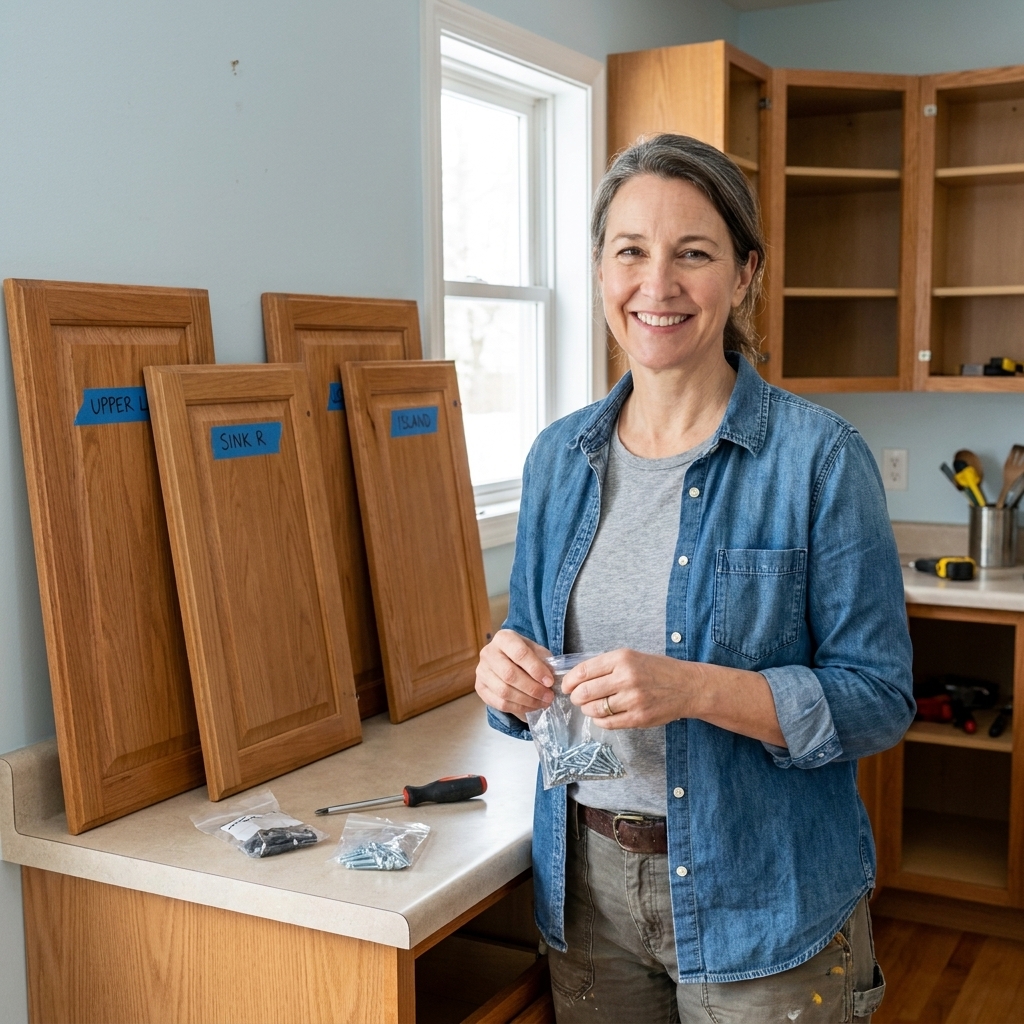
- Remove the door and hardware. Label the door location with painter’s tape.
- Lay the door face down on a flat surface.
- Use a square to mark your cut lines on the back of the door (less chance of visible tear-out).
- Tape over your lines, then redraw them on the tape. It makes the lines easier to see and protects the wood a bit.
My best advice: Make one door first. Hang it back up temporarily and live with the proportions before you commit to cutting a whole kitchen.
Build a simple router jig
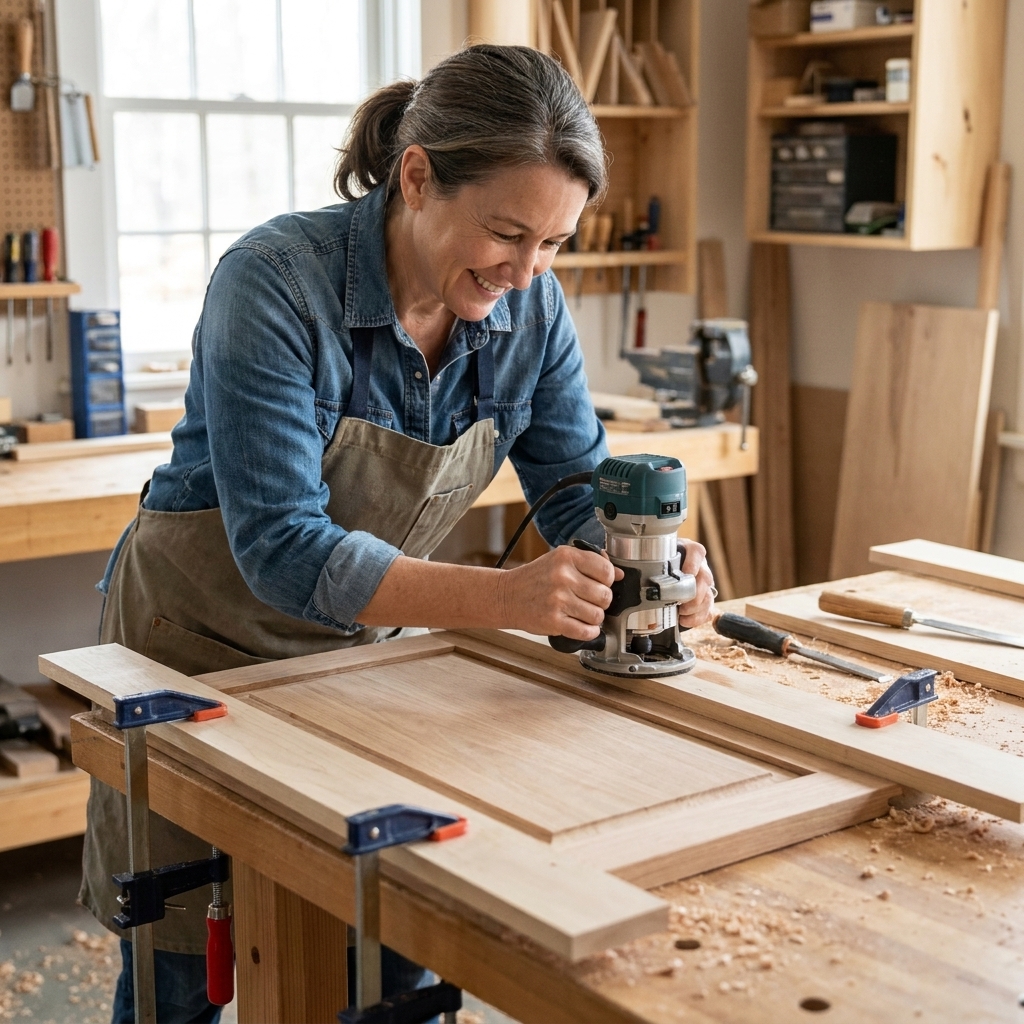
You do not need a fancy template. You just need straight guides that keep the router from wandering.
- Cut two straight boards or plywood strips long enough to span the door.
- Clamp them down to create a rectangle around your cut lines.
- Measure from the router base edge to the bit cutting edge or centerline (depending on how you mark), and offset your guide placement accordingly. For example, if the distance from the bit center to the base edge is 2 inches, your guide needs to sit 2 inches away from your cut line.
- Double-check squareness by measuring diagonals of the guide rectangle. Matching diagonals means your “frame” is square.
Tip: Do a dry run with the router turned off. Slide it around the inside perimeter and confirm you can reach every section without bumping clamps.

Step-by-step: cut out the center panel
1) Drill starter holes
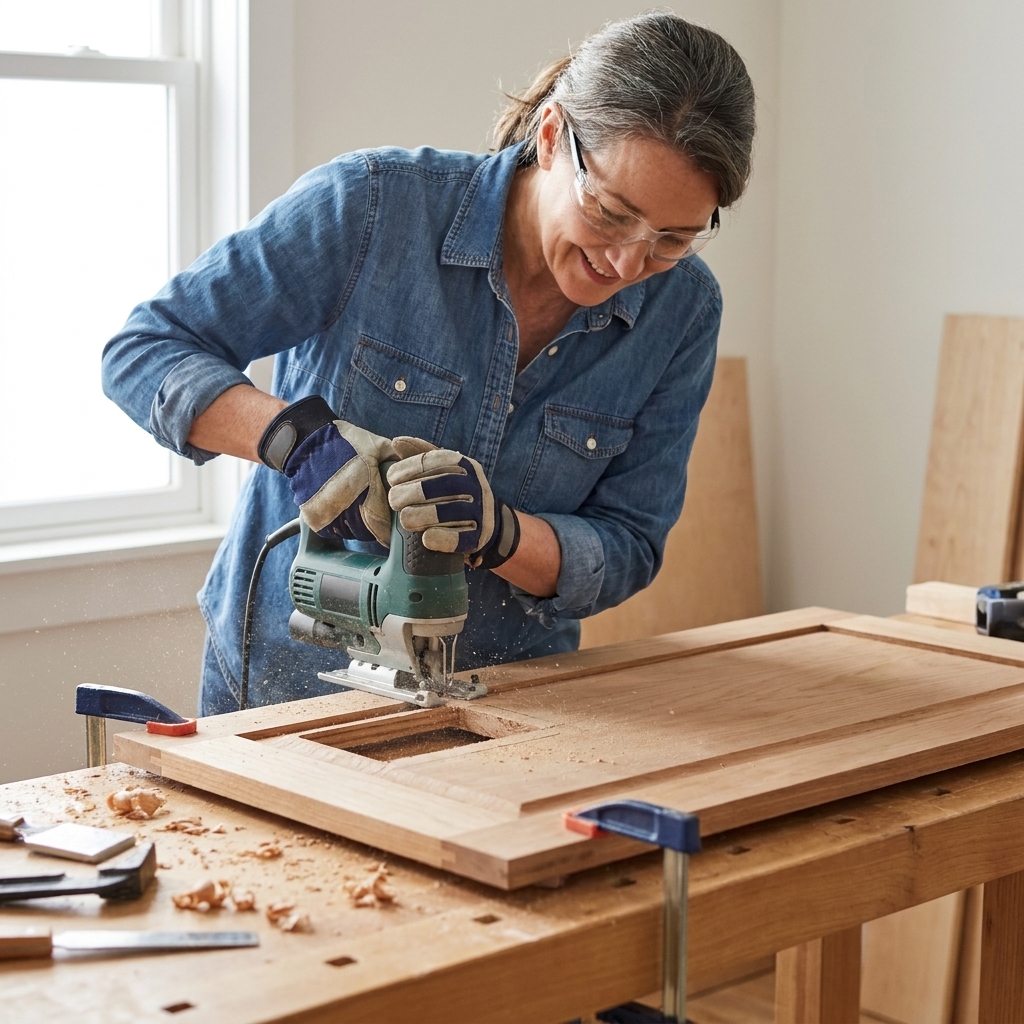
Inside your cut area, drill a hole near each corner. This gives your jigsaw blade a place to start and lets you remove most of the panel before routing. Less routing equals less heat, less tear-out, and less stress.
2) Rough cut with a jigsaw (recommended)
Rough cut the panel out first, staying about 1/4 inch inside your final cut line. Keep the jigsaw shoe flat and go slow.
3) Route to the final opening
- Set the bit depth to cut through the panel thickness, not the door frame. Many panels are 1/4 inch to 3/8 inch thick, but measure yours.
- Make shallow passes. I aim for about 1/8 inch depth per pass.
- Routing direction matters. With a typical router bit that spins clockwise when viewed from above, conventional routing is clockwise for inside openings and counterclockwise for outside edges. That keeps the router pulled into your guide instead of trying to run away from it. If anything feels like it is grabbing or climbing, stop and reassess your setup.
- Stop short of the corners if you want to avoid overcutting. Clean up corners later with a chisel.
Cleaner edges tips: Use a sharp bit, keep the base fully supported, and take light passes. If you are chasing perfect edges, you can clamp a sacrificial backer board under the door to help reduce chip-out. I do not recommend climb-cutting for first-timers.
Safety note I take seriously: Clamp the door down. Do not “hold it with your hip.” Routers can grab and jump, and cabinet doors are awkward.
Create the rabbet on the back
The rabbet is the ledge that your insert sits on. You cut it on the back side so the front face still looks like a normal cabinet door.
Size it to your insert
- Depth: Cut the shallowest rabbet that works for your insert plus your retention method. On many cabinet doors, that ends up around 1/4 inch, sometimes a touch deeper. Deeper is not automatically better.
- Width: A 3/8 inch to 1/2 inch ledge usually gives you enough surface for stops or a backer frame.
Strength check: After you cut the rabbet, you still want a solid amount of wood left at the thinnest point. If your doors are on the thinner side, keep the rabbet shallow so the frame stays strong.
Do not guess here. Measure your insert thickness, then plan for clearance and for the stops or backer frame that will hold everything in.
How to cut it
- Keep the door face down.
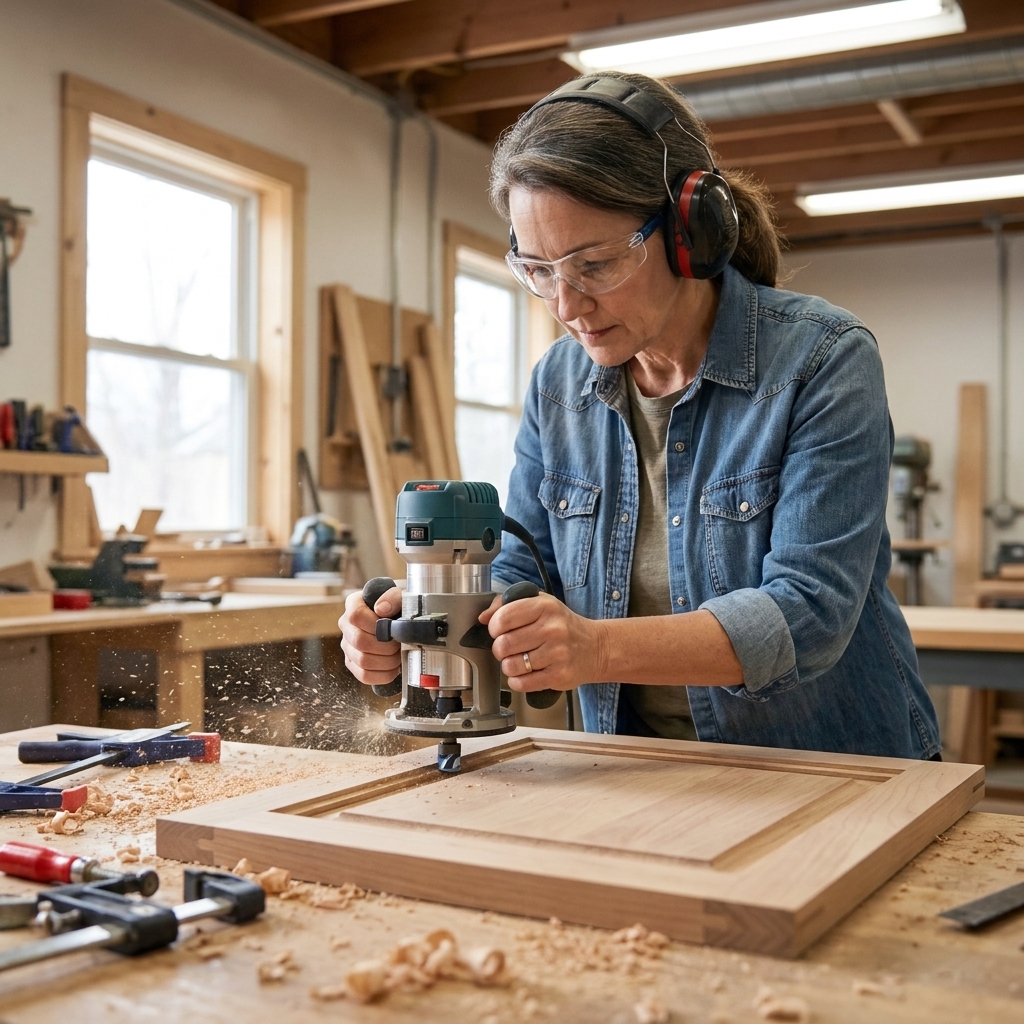
- Use a rabbeting bit with a bearing for consistency, or use a straight bit with an edge guide.
- Make multiple passes. Your router will sound happier and your cut will look cleaner.
- Test fit a scrap piece of glass, acrylic, or cane plus backer frame if you have it.
For cane: I prefer a thin backer frame that the cane is stapled to, then that frame gets screwed or pinned to the door. It is cleaner, more durable, and easier to re-tighten later if you ever need to.
Corners: square or round
Your router bit is round, so corners will naturally be rounded. That is totally fine.
- Rounded corners: Easiest. Order glass with rounded corners or choose acrylic and gently sand to fit.
- Square corners: Use a sharp chisel to pare the corners square after routing. Take thin slices and keep the chisel vertical for a clean look.
If you are going for a classic glass-front vibe, squared corners look more “factory.” If you are doing cane, rounded corners often look softer and more organic.
Install glass, acrylic, or cane
Option A: glass
- Get your glass cut to size. Tempered glass is the safest choice for kitchens, especially in busy homes. Your local code and your glass shop may have specific guidance depending on door size and location, so ask.
- Clean the rabbet ledge.
- Add tiny dots of clear silicone in the rabbet to prevent rattling.
- Set the glass in place.
- Secure with wood stops (thin trim strips) pinned or screwed into place.
Stops, made simple: I cut stops about 1/4 inch to 3/8 inch wide, pre-paint them, then pin them in from the back so the front stays clean. If you want easy cleaning or future swaps, use small screws so the stops are removable.
Tip: Pre-drill stops if you are using screws. Those little strips love to split.
Option B: acrylic or polycarbonate
Acrylic is easier to cut at home, and it is much lighter than glass. It can scratch more easily, so I like it for uppers where it will not get bumped.
- Cut to size with a fine-tooth blade or scoring tool (follow the manufacturer guidance).
- Leave the protective film on until the very end.
- Install like glass using silicone plus stops.
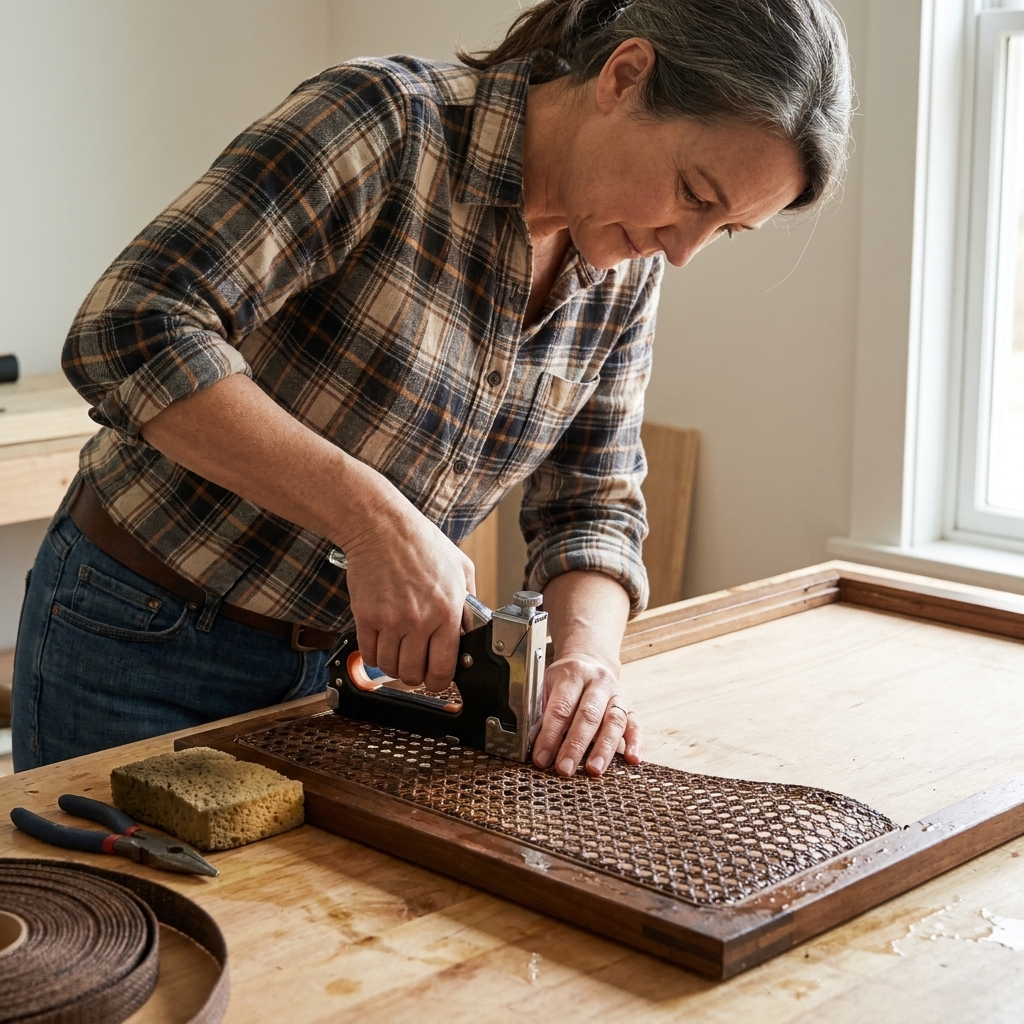
Option C: rattan cane webbing
- Cut cane about 1 inch larger than the opening on all sides.
- Soak the cane in warm water for 20 to 30 minutes so it relaxes.
- Lay it over the opening from the back, pulling it taut and aligning the pattern.
- Best practice: staple the cane to a thin wood backer frame first, then attach the frame to the door. If you have plenty of bite on the door itself, you can staple into the rabbet area, but the backer frame is usually stronger and cleaner.
- Trim excess and cover staples with wood stops or a thin trim ring.
Tip: Cane tightens as it dries. Get it smooth and snug, but do not over-stretch to the point the pattern distorts.
Hinges and weight
Glass and even thick acrylic can add weight, especially on larger doors. Before you convert a whole run, check that your hinges are in good shape and not already sagging. If a door is borderline now, it will not magically get better with a glass insert. When in doubt, keep inserts to uppers or smaller doors, and consider replacing tired hinges with fresh ones.
Prep and paint
If you are painting your cabinets, do the messy routing work first. Sawdust finds wet paint like it is its job.
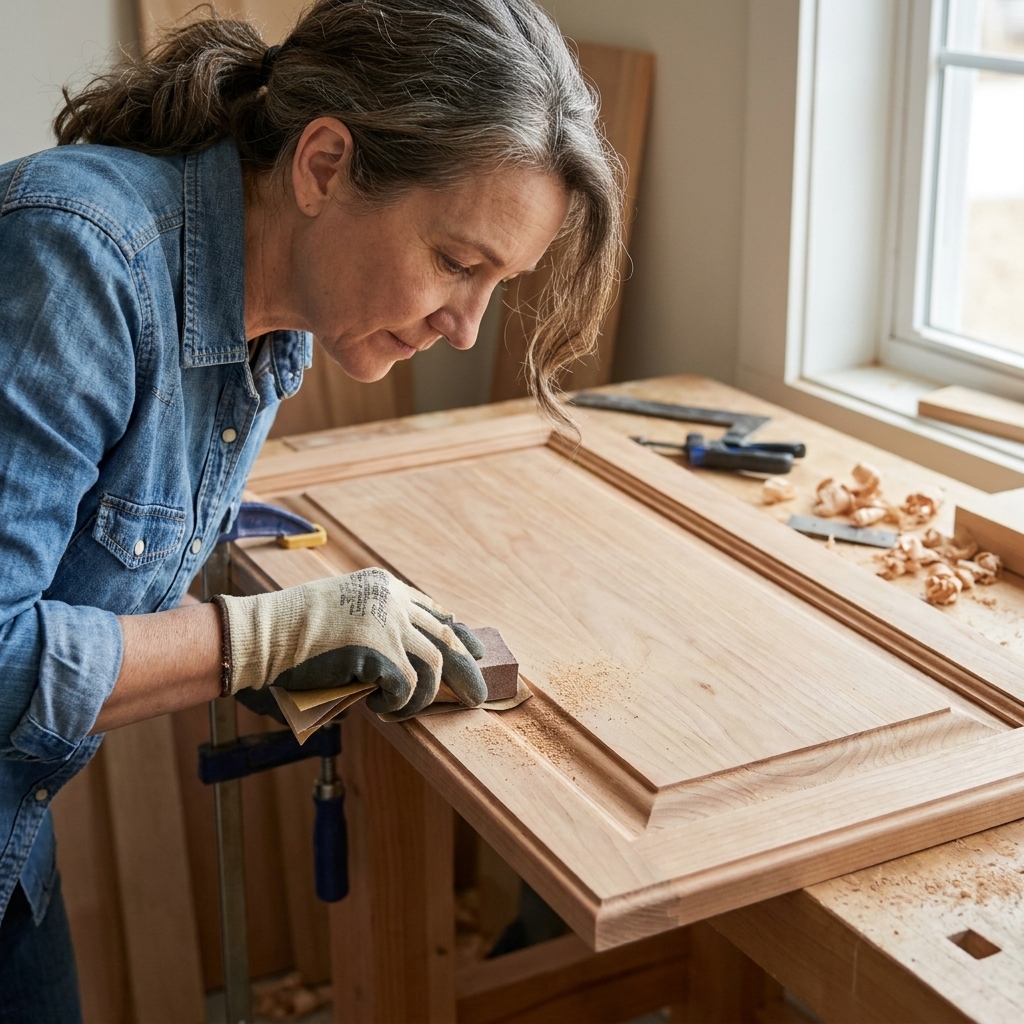
- Fill and sand before primer: If you nick the frame, use wood filler and sand smooth.
- Prime exposed raw wood: Routing exposes fresh wood fibers that can absorb paint differently.
- Paint stops separately: If you are using wood stops, I like to paint them off the door, then install. Touch-ups are faster than trying to cut perfect lines in place.
- Keep finish thickness in mind: Heavy paint build-up inside the rabbet can tighten the fit. Dry-fit your insert after primer if your tolerances are snug.

Common mistakes
- Cutting too close to the corners: Leave wood around the joints. Doors take a lot of daily pulling.
- Trying to route full depth in one pass: Multiple shallow passes are cleaner and safer.
- Not accounting for the router base offset: Your guide placement must match your router, not your neighbor’s YouTube tutorial.
- Skipping the test door: Wood species, panel thickness, and construction vary a lot. Test first, then batch the rest.
- Installing inserts before painting: It is possible, but you will spend a long time taping and cleaning.
FAQ
Do I need a plunge router?
It helps, especially for clean starts, but it is not required. If you use a fixed base router, remove most of the panel with a jigsaw first so you are not trying to plunge into the wood.
Can I do this on MDF shaker doors?
You can, but MDF edges can get fuzzy and the door can lose strength if the “frame” is not truly a separate piece. If you are unsure, I would practice on one door and keep the opening smaller than you think you need.
Should I use tempered glass?
In a kitchen, it is a smart upgrade whenever possible. Whether it is required can depend on where the cabinet sits and local code, so check with your glass shop if you are unsure. If you are on a tight budget, acrylic is a solid alternative.
How do I measure for glass?
Measure the opening from the back where the rabbet is, then subtract about 1/16 inch in both directions for a comfortable fit. If your opening is not perfectly square, measure both width and height in two spots and use the smaller number.
Will cane sag over time?
It can if it is not installed taut or if it is exposed to heavy humidity swings. Soaking, stretching evenly, and securing well around the perimeter helps a lot. A backer frame also helps keep it stable.
My honest recommendation
If you are nervous, start with two doors on the uppers, not a whole wall. You get the wow factor, you build confidence, and if you decide cane is not your forever look, you only have a couple doors to swap later.
And if you want the most forgiving path, go with acrylic for your first attempt. It is lighter, easier to size, and you will still get that bright, opened-up feel that makes a kitchen look more custom.