If your cabinets are solid wood but stuck in a dated finish, gel stain can be the sweet spot between “live with it” and a full cabinet repaint. The appeal of gel stain is that it tends to sit more on the surface than a traditional penetrating stain, so you can shift the color dramatically without stripping down to raw wood. Done right, it can look rich and intentional. Done wrong, it can stay tacky, wipe off, or chip around high touch areas like knobs and sink bases.
I learned gel stain the same way I learned cabinet paint, by testing, tweaking, and fixing my mistakes. Below is the exact process I use when I want to stain over an existing finish with as little sanding as possible while still getting a finish that can handle real life. One note up front: gel stain “systems” vary by manufacturer, so always cross-check dry times and topcoat compatibility on your product labels.
Is gel stain right for your cabinets?
Gel stain works best when you want a deeper or more even-looking color over a sealed surface, especially when you are staining over an existing clear coat. It is also helpful when your cabinets are a mix of wood tones or species and you want them to read as one consistent color.
Gel stain is a great choice if:
- Your cabinets are structurally solid but the color feels outdated.
- You have an existing clear coat like varnish, polyurethane, or lacquer and you want to avoid stripping.
- You want a wood look, not a painted look.
- You can tolerate some visible grain and character, especially if you have oak.
Consider a different approach if:
- Your existing finish is peeling, flaking, or failing in large areas. You will need to remove loose finish and stabilize first, and full stripping may be smarter.
- You want a very light color. Gel stain shines with medium to dark tones. Going lighter over an existing finish is difficult because you cannot bleach the base color.
- Your cabinets are thermofoil or laminate. Gel stain is for wood and wood veneer. Some laminates can be scuff-prepped and painted, but gel stain is not the best match.
- You need a perfectly uniform look with no grain showing. Paint will be more predictable.
- Your cabinets are already painted. Gel stain is made for wood and veneer, and it does not behave the same over paint.
What “minimal sanding” means
You do not need to sand to bare wood for gel stain, but you do need to create tooth so the stain can grip and so your topcoat can bond. Think: scuff sanding, not refinishing the way your grandpa did it.
If you skip this step, the gel stain may sit on top like makeup on oily skin. It can smear, scratch off with a fingernail, or stay sticky for days.
The goal
- Dull the sheen everywhere.
- Lightly scratch the surface.
- Remove grease, wax, and silicone so nothing repels the stain.
Tools and materials
You do not need fancy equipment, but the right supplies make this job so much calmer.
My core list
- Degreaser: a kitchen degreaser or a strong cleaner designed for prep (avoid leaving soapy residue).
- Scuff sanding supplies: 180 to 220 grit sandpaper or sanding sponges, plus 320 grit for between coats.
- Vacuum and dust wipes: a vacuum with a brush attachment plus a clean microfiber cloth. For final wipe-down, use a slightly damp microfiber cloth (water for water-based systems, mineral spirits for oil-based systems) if your product label allows it.
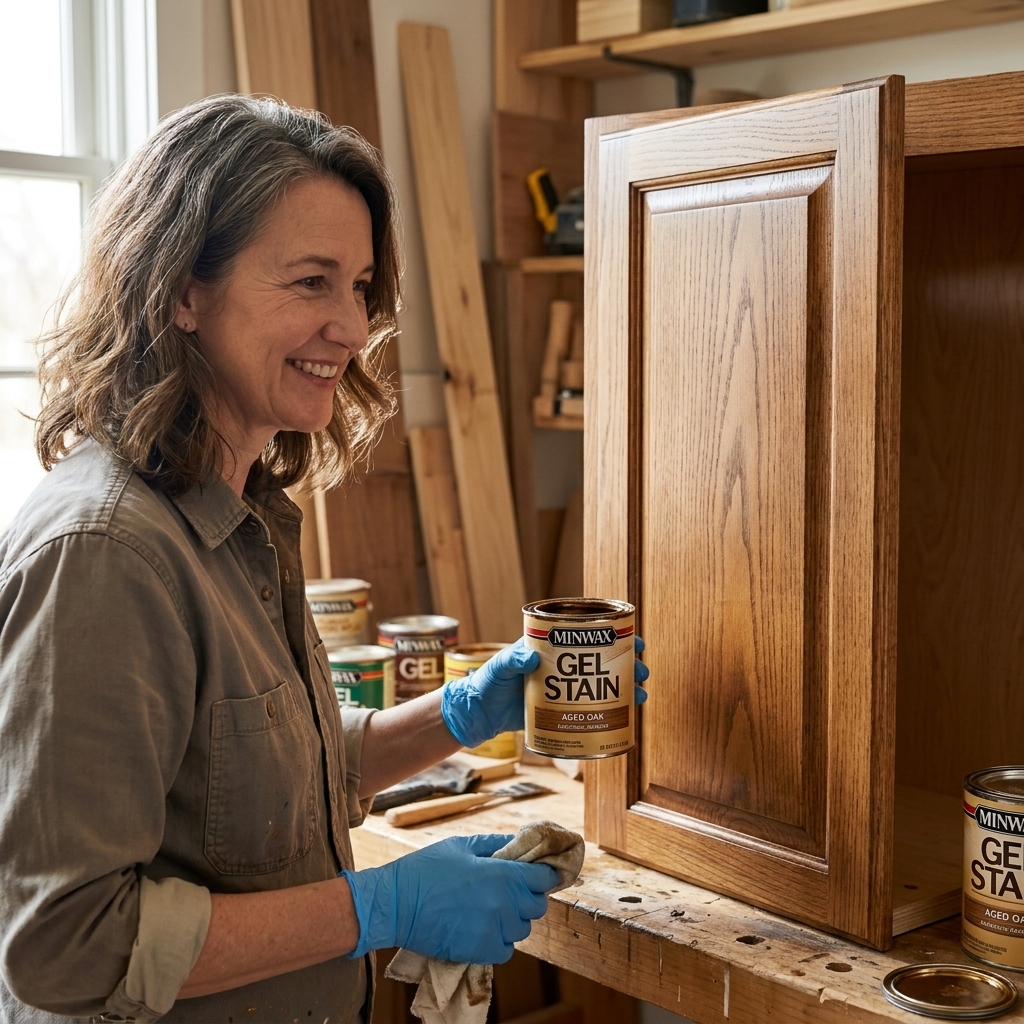
- Gel stain: oil-based gel stains are the most common for this method.
- Applicators: lint-free rags, foam brushes, and a high quality natural bristle brush for edges if needed.
- Disposable gloves: gel stain is messy and will stain your hands.
- Topcoat: a durable clear coat designed for cabinets and furniture.
- Screwdriver and baggies: for labeling doors and hardware.
Optional but helpful
- Wood filler for dents and old hardware holes.
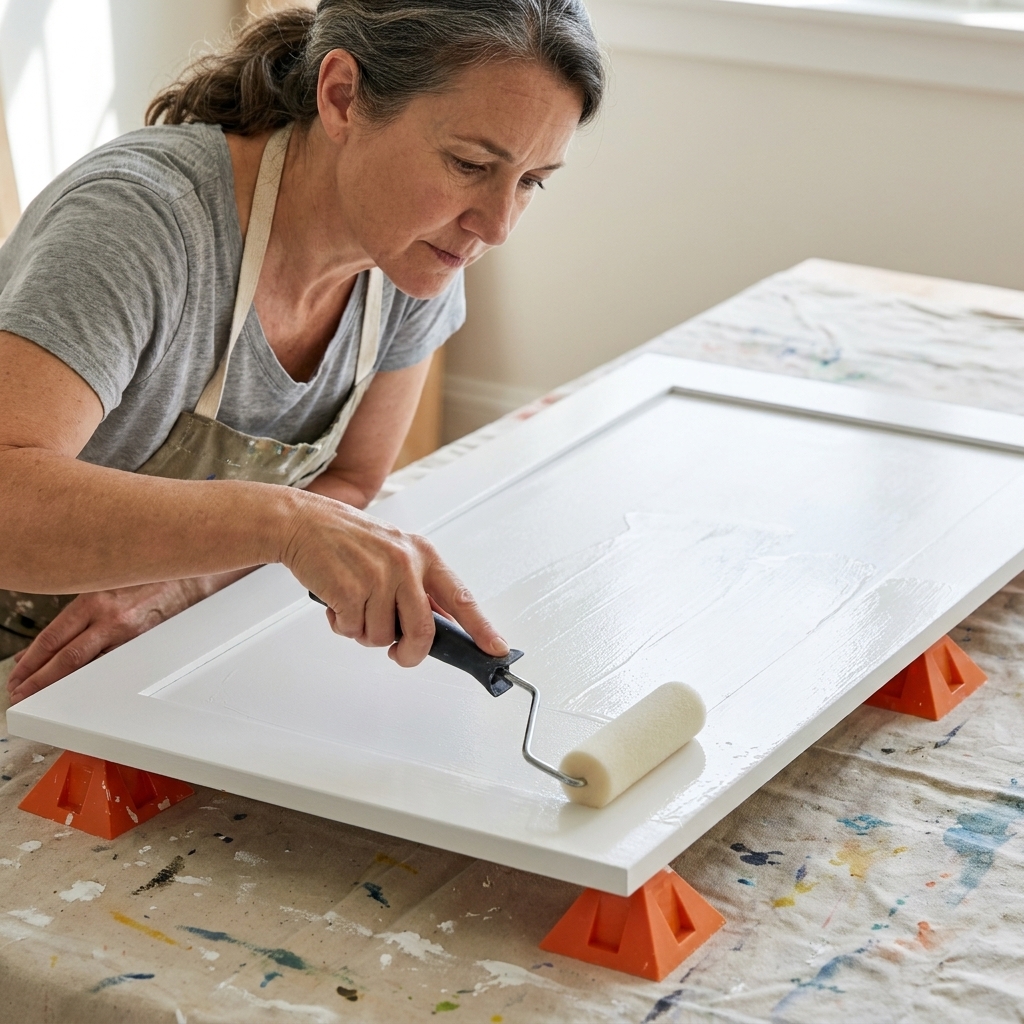
- Painter’s pyramids or small blocks to lift doors off the table.
- Blue tape and a marker for labeling.
- Tack cloths that are labeled safe for your finish (some can leave residue, especially under certain water-based clear coats).
Step 1: Know what you are staining
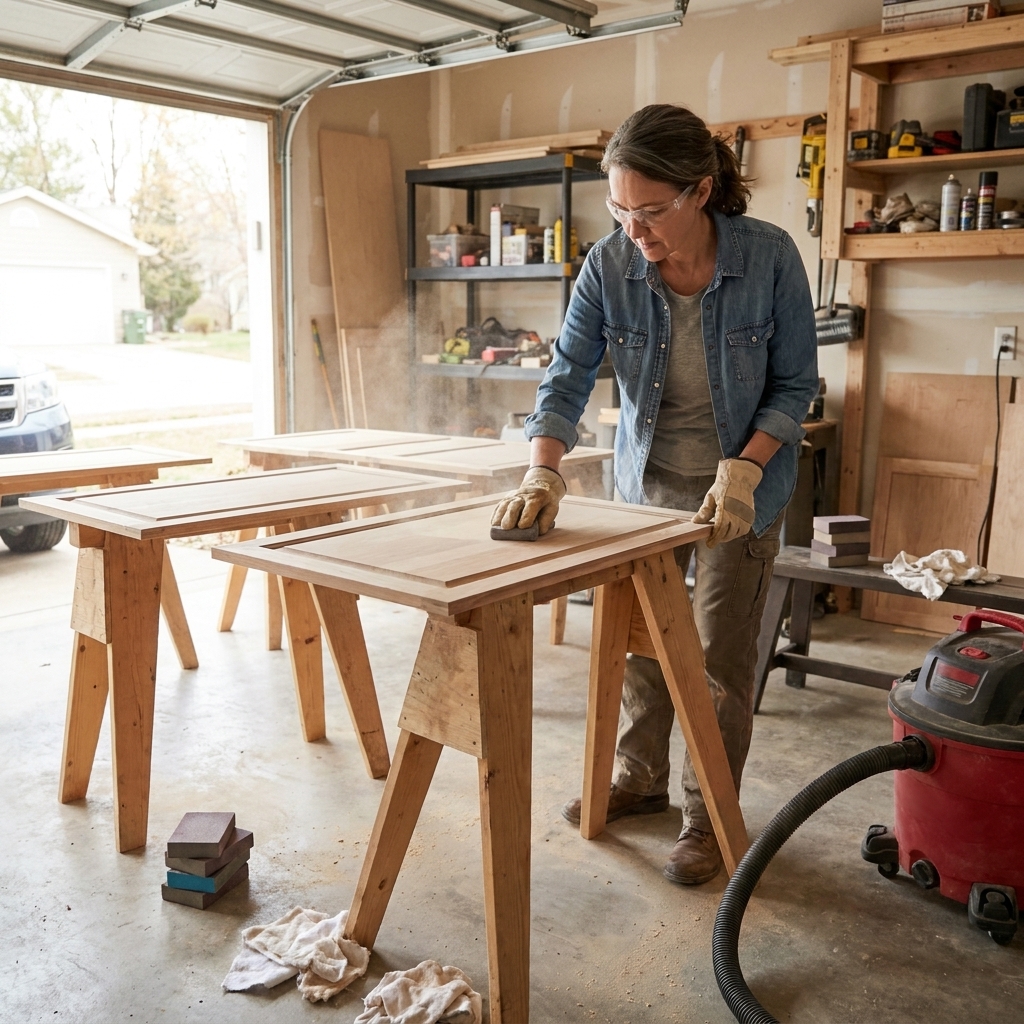
Most kitchen cabinets have one of these on top: polyurethane, varnish, lacquer, or a factory conversion varnish. For gel staining, you mainly need to know two things: is the finish intact, and is anything contaminating the surface.
Quick checks
- Sheen check: if it is glossy, you must scuff it thoroughly.
- Failure check: if the clear coat is peeling, lifting, or bubbling, scrape and sand those areas until stable. Gel stain cannot glue down a failing finish.
- Contamination check: if you have ever used furniture polish or a waxy cleaner, plan to clean twice. Silicone can cause fish-eyes and adhesion problems.
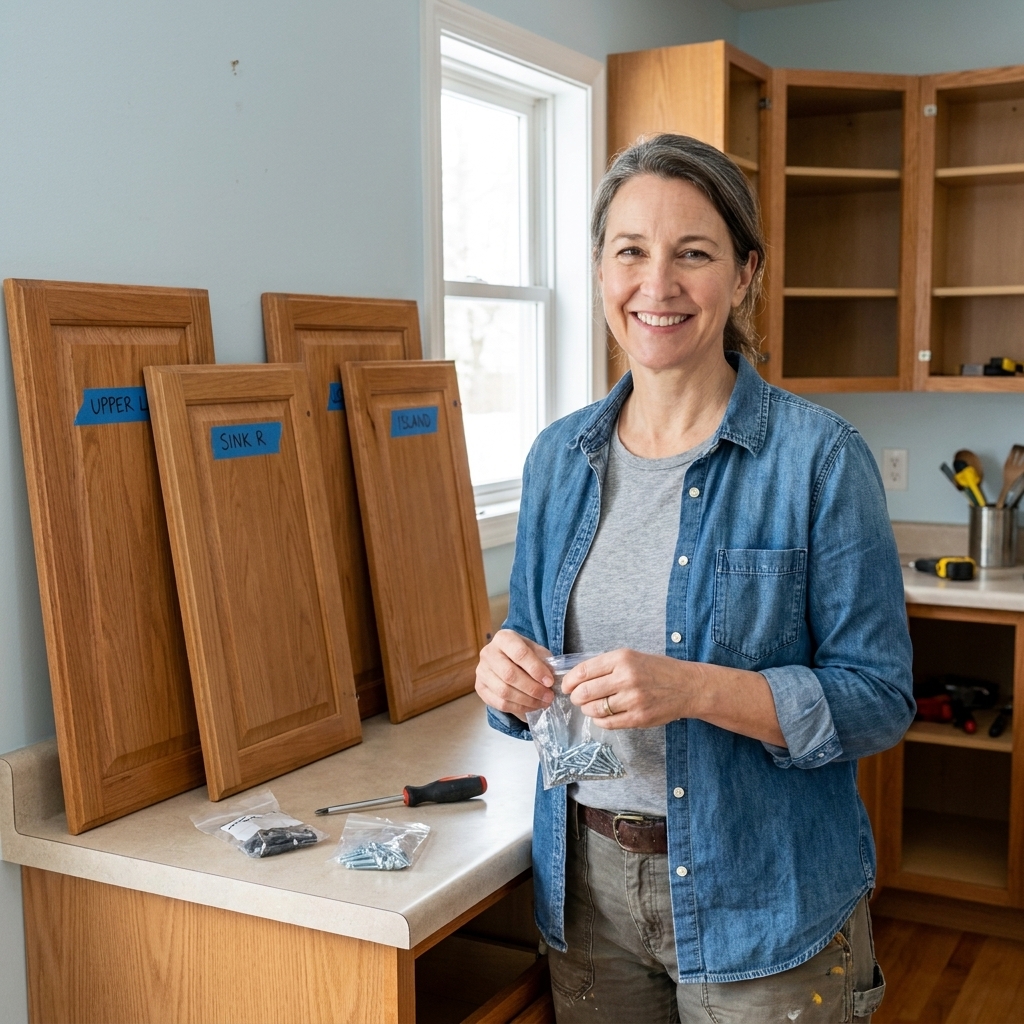
Step 2: Remove doors and hardware
You can technically gel stain cabinets in place, but doors are where most of the visible work is. Laying them flat reduces drips, keeps stain from sliding, and gives you more control.
- Number each door and its matching opening with tape.
- Remove hinges and pulls. Put screws in labeled baggies.
- Set up a clean, dust-light work zone where doors can sit untouched while they dry.
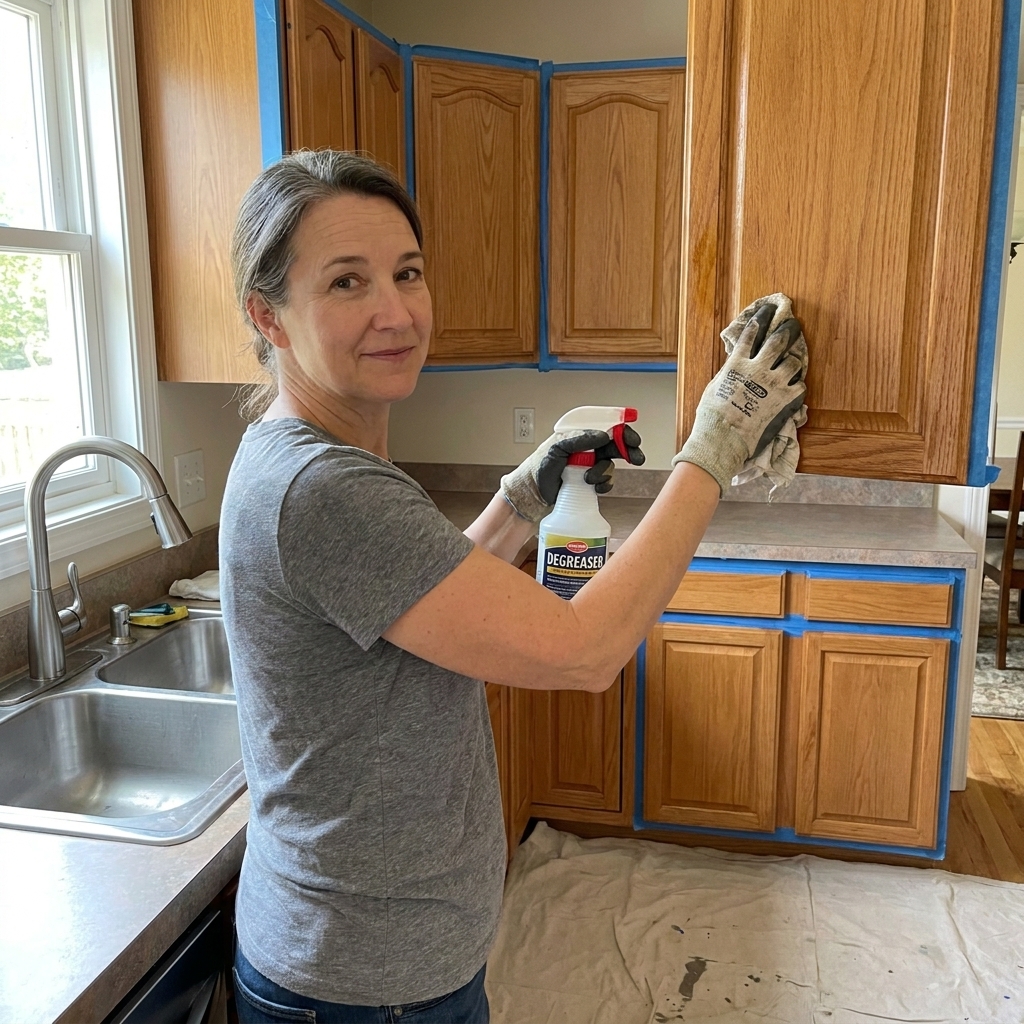
Step 3: Clean thoroughly
Cabinets near the stove and sink hold onto a film you cannot always see. Gel stain and topcoat do not like grease.
My cleaning routine
- Wash with a degreaser and a non-scratch pad, focusing on handles, corners, and the area above the stove.
- Rinse with clean water and a fresh cloth to remove cleaner residue.
- Let everything dry fully. I like to wait at least an hour, longer if humidity is high.
Tip: A little water beading is normal on an intact clear coat. What you do not want is water that separates into tiny circles, pulls away in spots, or looks like it is “rejecting” certain areas. If you see that kind of beading or fisheye behavior, assume residue and clean again.
Step 4: Scuff sand
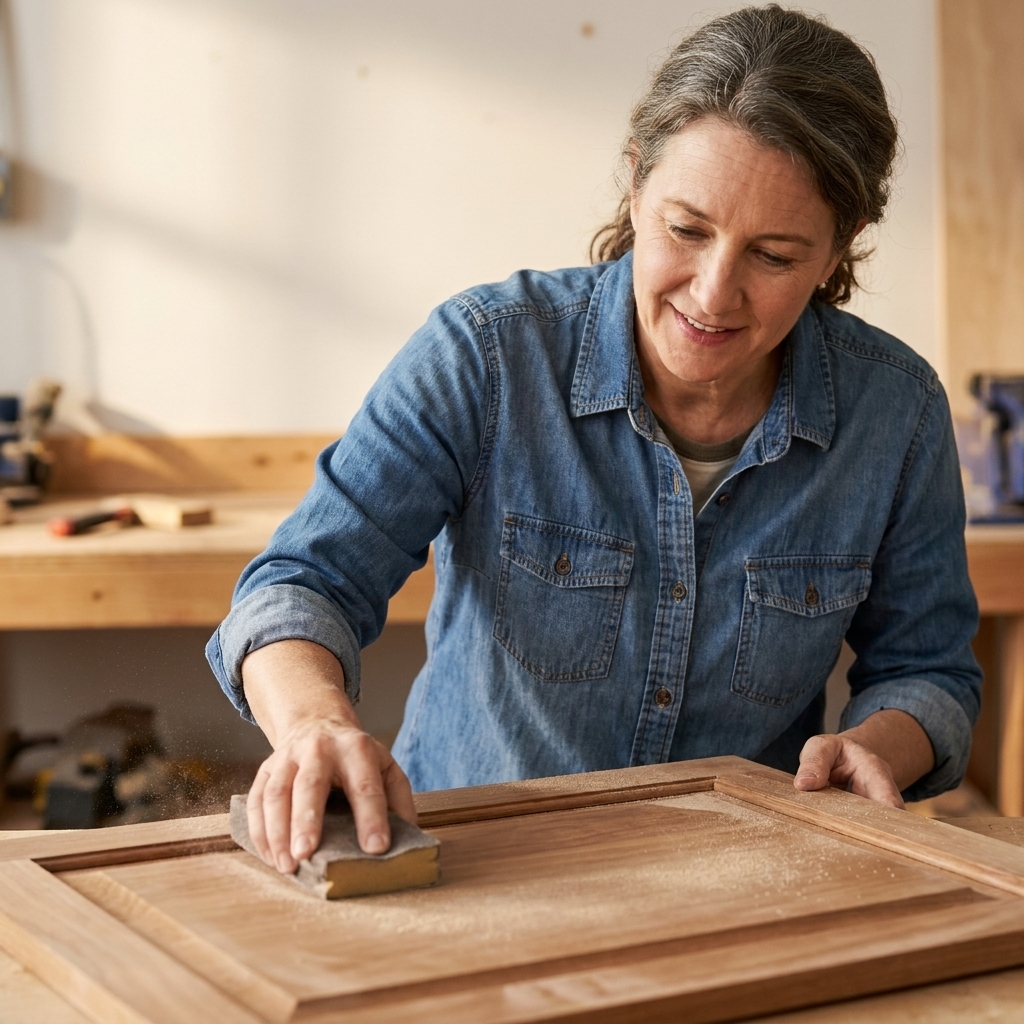
You are not trying to remove the finish. You are trying to scratch it evenly.
How to sand for gel stain
- Use 180 or 220 grit for the main scuff.
- Sand with light to medium pressure, and hit every edge and profile.
- Glossy spots are your enemy. Everything should look evenly dulled when you are done.
- For detailed profiles, fold sandpaper or use a flexible sanding sponge.
If you have wood veneer
Gel stain can work beautifully on veneer cabinets, but scuff sanding needs a lighter touch. Veneer is thin, and edges and corners are where people accidentally sand through. Use a fine sanding sponge, keep pressure gentle, and focus on dulling the sheen rather than “leveling” the surface.
Dust removal
- Vacuum thoroughly, including corners and hinge cups.
- Wipe with a clean microfiber cloth. If you prefer a tack cloth, use one that is compatible with your planned topcoat so you do not leave residue behind.
Step 5: Add bonding insurance
Some gel stain brands market themselves as a direct-to-finish product. In real kitchens, I like an extra layer of insurance when cabinets are very slick, very dark, or heavily used.
When I add a bonding step
- The existing finish is super glossy and hard.
- The cabinets are around the sink or trash pullout and take daily abuse.
- I have any doubts about past cleaners or polishes.
This can be a deglosser or a bonding sealer or primer designed for slick surfaces. Follow the manufacturer’s directions for dry time and compatibility. If you add a bonding layer, test your gel stain on the back of a door first to confirm it behaves the way you expect.
Step 6: Test your color
Gel stain can look different depending on your base color and sheen. Honey oak underneath will warm up most stains. A reddish tone underneath can push browns more red than you expected.
Also, a quick wood note: maple and cherry are more likely to look blotchy with traditional stains, while oak usually stains readily but its open grain can read darker in the pores. Gel stain helps even out the overall tone in all of these situations, but the “why” is a little different.
My simple test
- Apply your prep steps to the back of one door.
- Apply one coat of gel stain and let it dry.
- Add a second coat if you want more depth.
- Topcoat that test area. The clear coat can deepen color and change sheen.
Step 7: Apply gel stain
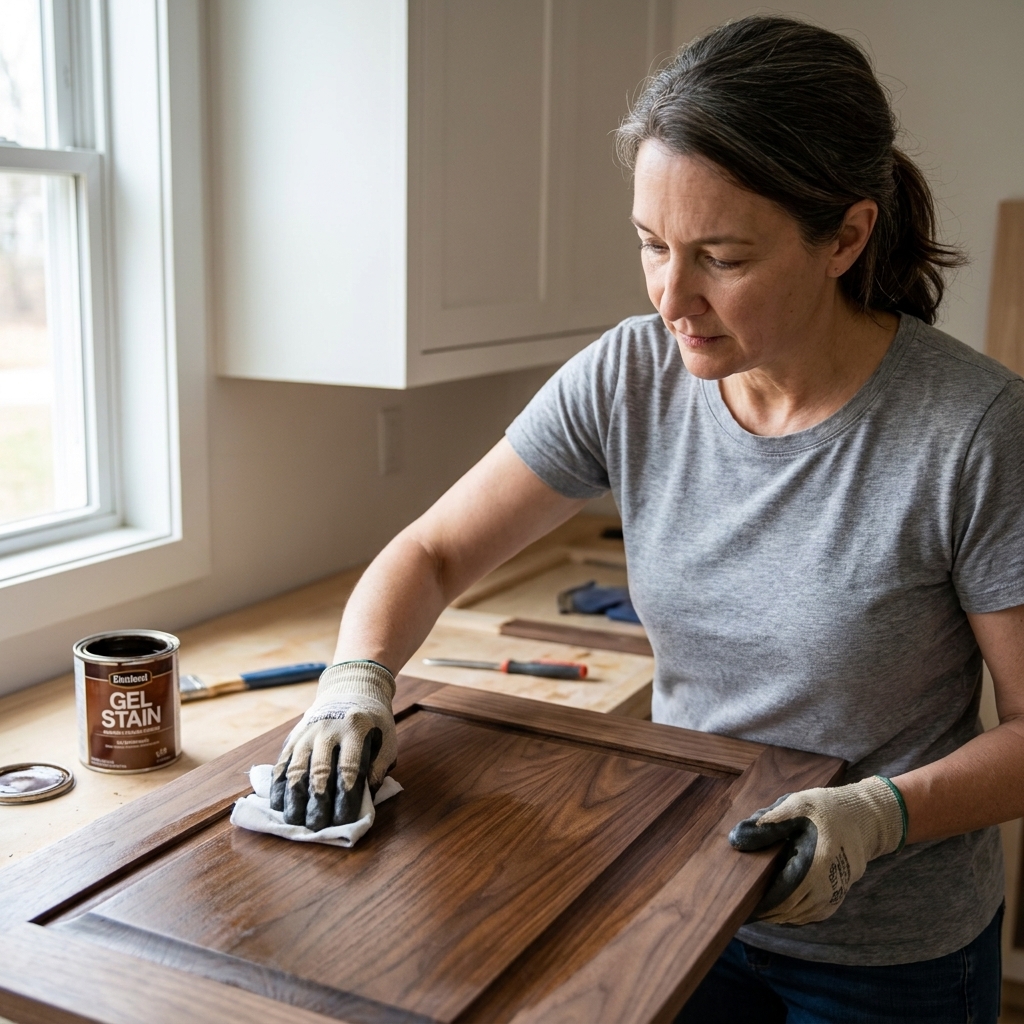
With gel stain, you are basically controlling how much stays behind. More left on the surface equals deeper color. More wiped off equals lighter, more transparent color.
Method A: Wipe on, wipe off
- Stir the gel stain thoroughly. Do not shake, which can add bubbles.
- Using a rag or foam brush, spread a thin, even layer over a small area.
- Wait a minute or two, then wipe off excess with a clean rag, moving with the grain.
- Feather your edges so you do not leave lap marks.
This method gives a more natural look and reduces the risk of sticky spots.
Method B: Brush on, tip off
- Brush a thin coat on using long strokes with the grain.
- Lightly tip off the surface with the brush to level any ridges.
- Check edges and profiles for pooling.
This method can build color faster, but it demands thin coats and patience.
Common application mistakes to avoid
- Going too thick: thick gel stain dries slowly and can stay tacky.
- Overworking: repeated brushing can lift semi-dried stain and create streaks.
- Ignoring edges: gel stain loves to collect on inside corners and profiles.
- Rushing large areas: do doors, then drawer fronts, then frames. It helps you stay consistent.
- Poor lighting: set up a work light so you can see lap marks and uneven wipe-off while the stain is still wet.
Dry time matters
Gel stain needs time to cure enough for a clear topcoat. Temperature, humidity, and how heavy you applied it all matter. Always follow the label on your stain, but here are my real-world guidelines for many oil-based gel stains.
- Light coat, wiped back: often ready for a second coat or topcoat within 24 hours.
- Heavier coat, deeper color: plan for 24 to 48 hours, sometimes longer in humid conditions.
How to know it is ready: Lightly touch an inconspicuous spot. If it feels cool, tacky, or leaves color on your finger, wait. Topcoating too soon is a fast way to lock in sticky stain.
Step 8: Topcoat for durability
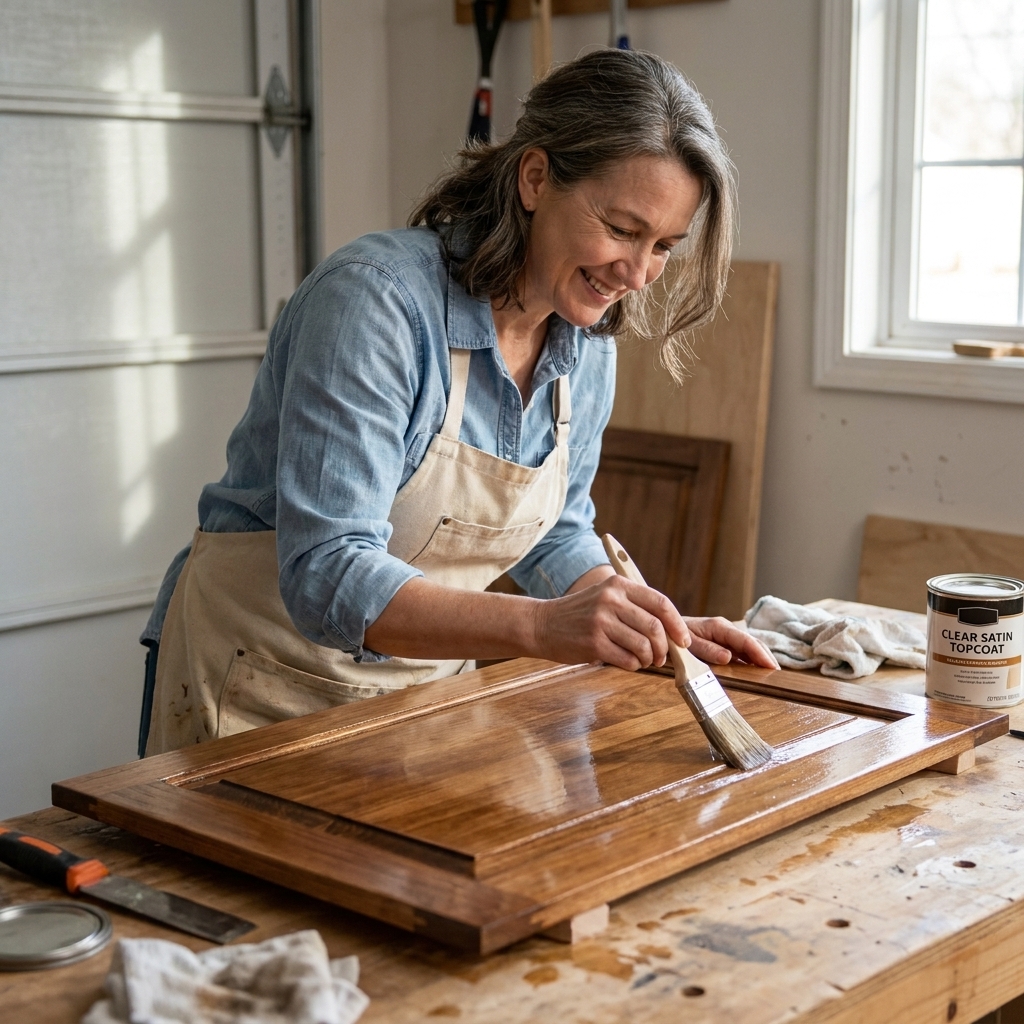
Gel stain alone is not a protective finish for kitchen cabinets. You need a clear coat to stand up to water, cleaning, and constant touching.
Choosing a topcoat
- Oil-based clear coat: often very durable and forgiving, but can amber over time.
- Water-based clear coat: stays clearer and usually has lower odor, but you must confirm it is compatible over your stain and follow recoat windows carefully.
Compatibility note: Many water-based clear coats can go over fully cured oil-based gel stain, but some systems require longer cure time or a specific sealer in between. When in doubt, use the stain manufacturer’s recommended topcoat system.
Whichever you choose, apply thin coats. Thick clear coats can sag, especially on vertical cabinet frames.
Application tips that save headaches
- Use a high-quality brush or a foam applicator designed for clear coats.
- Work in clean lighting so you can see drips.
- Lightly sand between coats with 320 grit once fully dry, then remove dust before recoating.
- Plan for 2 to 3 coats on doors and drawer fronts, and extra attention on frames near high-traffic zones.
Reassembly and cure time
This is the hardest part emotionally because everything looks done, but the finish is still getting stronger.
My timeline
- Careful handling: after final coat is dry to the touch, usually 24 to 48 hours depending on product.
- Rehang doors: when you can press a fingernail lightly in an inconspicuous spot and it does not leave a mark.
- Gentle cleaning only: for the first couple of weeks. No harsh cleaners, no scrubbing pads.
Tip: Add felt bumpers to doors and drawer fronts if you do not have them. It protects your new finish and makes everything feel more solid.
Grain and uneven color
Open-grain woods like oak and ash are gorgeous, but their pores can grab pigment and look darker in the grain lines. That is not a flaw, it is the character of open grain, but you can control it.
If the grain looks too dramatic
- Wipe back more stain so less pigment settles into the grain.
- Use more, thinner coats rather than one heavy coat.
- Focus on even pressure when wiping so you are not pushing stain into the pores in some areas and not others.
If you have blotchy areas
- Confirm your surface prep is consistent. Shiny patches can reject stain and look lighter.
- Apply another thin coat to even out color.
- Avoid spot-fixing while the coat is half-dry. Let it dry, then correct with a full light coat.
Troubleshooting
My gel stain is still tacky after two days
- The coat was likely too thick or humidity is slowing cure.
- Increase airflow, add a fan, and give it more time.
- If it is truly gummy, you may need to wipe gently with the appropriate solvent listed by your stain manufacturer to remove excess, then let it dry again.
I see streaks or lap marks
- Work in smaller sections and keep a wet edge.
- Use consistent wiping direction with the grain.
- A second thin coat often evens out minor streaking.
The stain scratches off easily
- Usually prep was not aggressive enough, or the surface had contamination.
- Scuff sand more thoroughly, clean again, and reapply.
- Make sure you topcoated and allowed proper cure time.
Fish-eyes or repelling spots
- This often points to silicone, wax, or grease contamination.
- Stop, clean, scuff, and test again before continuing.
Safety I never skip
- Ventilate well. Oil-based products build fumes fast.
- Wear gloves and eye protection.
- Rag safety matters: rags with oil-based stain or finish can self-heat as they dry. Lay used rags flat to dry outdoors on a non-flammable surface, or store them in a sealed metal container according to local guidance. Do not ball them up in a trash can.
Quick FAQ
Can I gel stain cabinets without sanding?
I do not recommend it. Even “no sanding” systems still need some form of abrasion or chemical deglossing for reliable adhesion. A light scuff sand is the easiest, most controllable path.
Do I need to strip polyurethane first?
Not if the polyurethane is intact and you scuff sand and clean thoroughly. Stripping is only necessary when the old finish is failing or you need to remove deep damage that cannot be feathered out.
How many coats should I do?
Most cabinet jobs look best with 1 to 2 thin coats. More coats can work, but only if each coat dries fully and you keep them thin to avoid tackiness.
What sheen should my topcoat be?
Satin is my favorite for kitchens because it looks realistic and hides fingerprints better than gloss. Semi-gloss can look beautiful too, especially in more traditional kitchens, but it highlights imperfections.
Will gel stain hide dents and scratches?
It can camouflage some wear, but it will not erase damage. Fill gouges and sand them smooth before staining if you want the most professional look.
My best weekend advice
If you take nothing else from this guide, take this: prep matters more than product. Clean until you are confident residue is gone, scuff until the sheen is gone, apply thin coats, and wait for real dry time before topcoat.
Gel staining finished cabinets is absolutely doable for a first-timer, and it is one of the most budget-friendly ways to get that richer, updated wood tone without tearing out good cabinets. Put on a playlist, work in small sections, and give your cabinets the patience they deserve. They will pay you back every time you walk into the kitchen.