Cabinet painting is messy in a very specific way. You will not usually dump a gallon of paint on the floor. You will, however, make hundreds of tiny chances for damage: tack cloth lint, primer splatter, enamel drips that cure like rock, and the occasional brush you swear you set down on the paper towel (but did not).
The good news is you do not need a contractor-grade containment system to protect your kitchen. You just need the right kind of protection in the right places, layered in a way that stays put while you work.
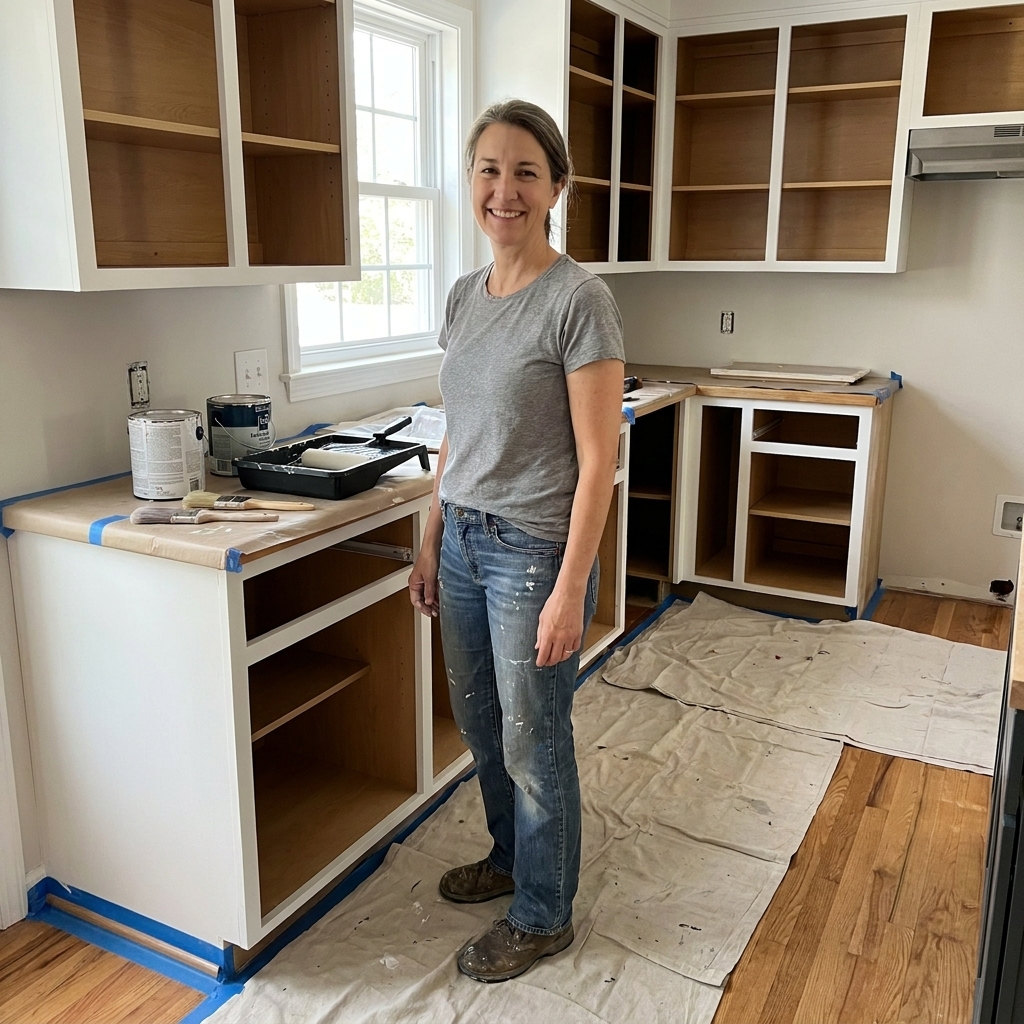
Below is my real-world breakdown of canvas, plastic, paper, and floor boards, plus the exact combos I use depending on whether I am rolling, brushing, or spraying.
Quick pick: what should you use?
- Best overall for floors: canvas drop cloth + rosin paper runner + painter’s tape at the edges
- Best for spraying: heavy canvas or floor protection board + taped seams (plastic only as a top layer in very controlled spots)
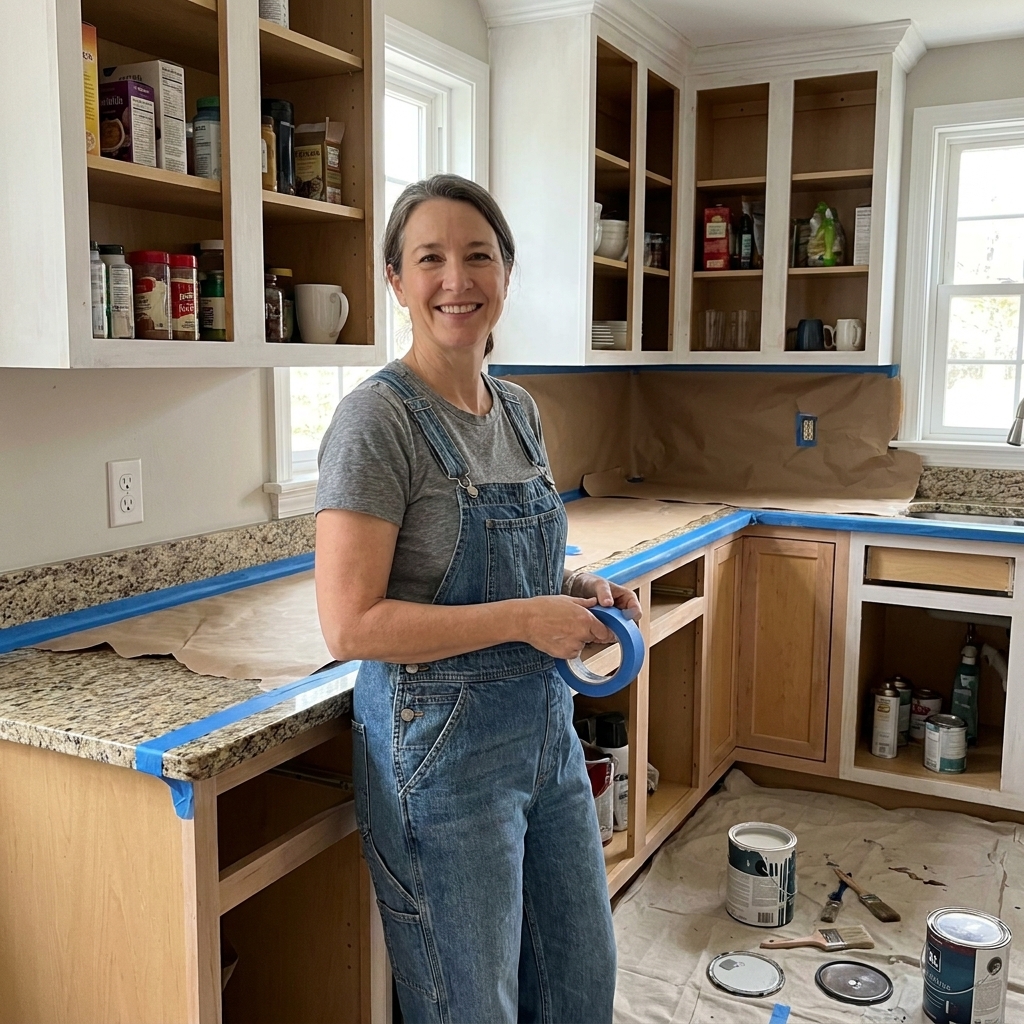
- Best for countertops: builder’s paper or kraft paper + tape + optional plastic on top (only if you are not setting tools down)
- Best for tile with deep grout: rosin paper runner over canvas, taped well so it cannot walk into the grout lines
- Best for hardwood you love: hard floor protection board (Ram Board style) + taped seams
Canvas drop cloths: the workhorse (with one big caveat)
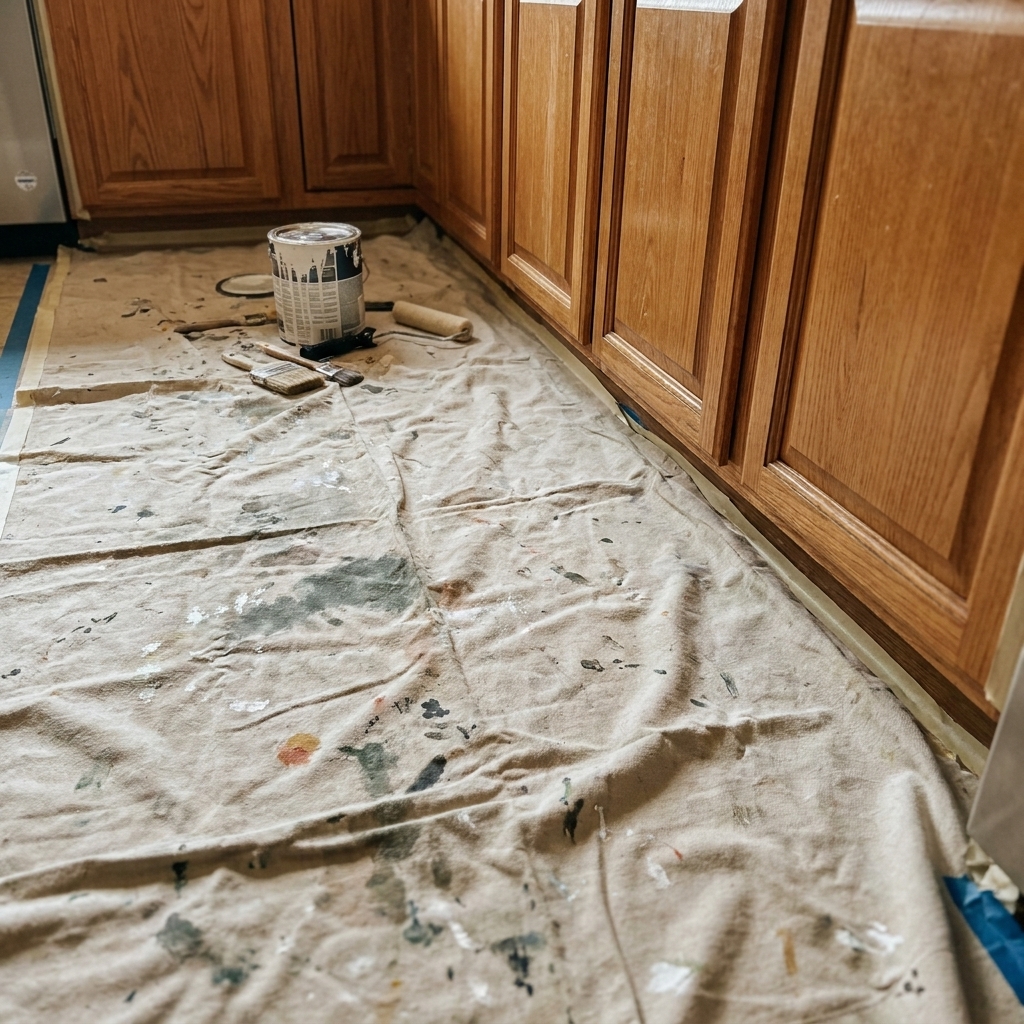
If I had to pick one protection item for a cabinet painting project, it would be a canvas drop cloth. It is grippy, reusable, and it will not turn your kitchen into a slip-and-slide the moment you step on it.
What canvas does well
- Stays put. Especially on tile and hardwood, canvas has enough friction that it does not skate around like plastic.
- Absorbs drips. Small splatters soak in instead of spreading.
- Handles foot traffic. You can walk, kneel, and set a step stool on it without it tearing.
The caveat: paint can bleed through
Canvas is not waterproof. If you drop a wet brush, spill primer, or let a puddle sit, it can soak through and reach the floor. This matters most with enamel, because it can bond to some flooring finishes if it sits long enough.
My tip for making canvas safer
Use canvas as your base layer, then add a second layer where the mess actually happens:
- In front of the sink and dishwasher
- Along the cabinet run where you are brushing frames
- Under your paint tray or sprayer station
That second layer can be rosin paper, builder’s paper, or a floor protection board (Ram Board style), depending on your floor and your method.
Plastic sheeting: great for dust and overspray, risky under your feet
Plastic gets recommended a lot because it is cheap and it blocks moisture. The problem is that in a kitchen cabinet project, you are constantly moving: stepping back, pivoting, carrying doors, shifting ladders. Plastic underfoot is where accidents happen.
Where plastic shines
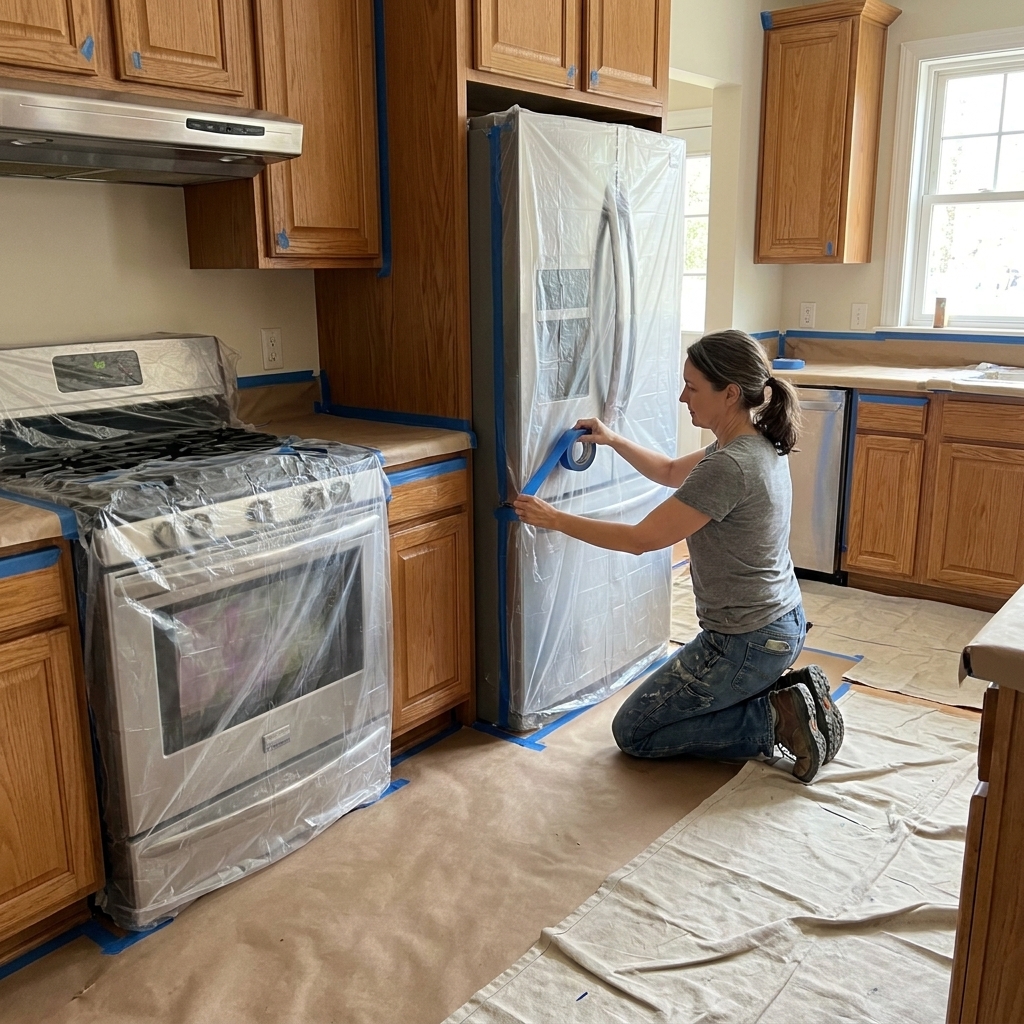
- Covering appliances (fridge, range, dishwasher front) while you sand or spray
- Blocking cabinet openings if you are spraying or doing a dusty sanding session
- Over a countertop when you are protecting from water or stripper, as long as you are not setting tools on it
Where plastic causes trouble
- Floors. It shifts and wrinkles, and it is slippery.
- Keeping paint wet and transferable. If enamel drips on plastic, it can stay wetter longer (especially with low airflow or higher humidity) and transfers easily to shoes, socks, and then the rest of your house.
If you must use plastic on the floor
I only do this in a limited zone, and never as the only layer:
- Put canvas underneath to add grip
- Tape the plastic edges down with painter’s tape
- Keep it away from traffic paths (your main route to the sink, fridge, or hallway)
Paper (builder’s and rosin): the underrated MVPs
If you have ever peeled up protection at the end of a project and found the floor underneath still perfect, there is a good chance paper did the hard work. When I say “masking paper” in a cabinet project, I am usually talking about builder’s paper or rosin paper.
Builder’s paper vs rosin paper
- Builder’s paper (often brown): smoother, great for countertops, decent for floors with light traffic
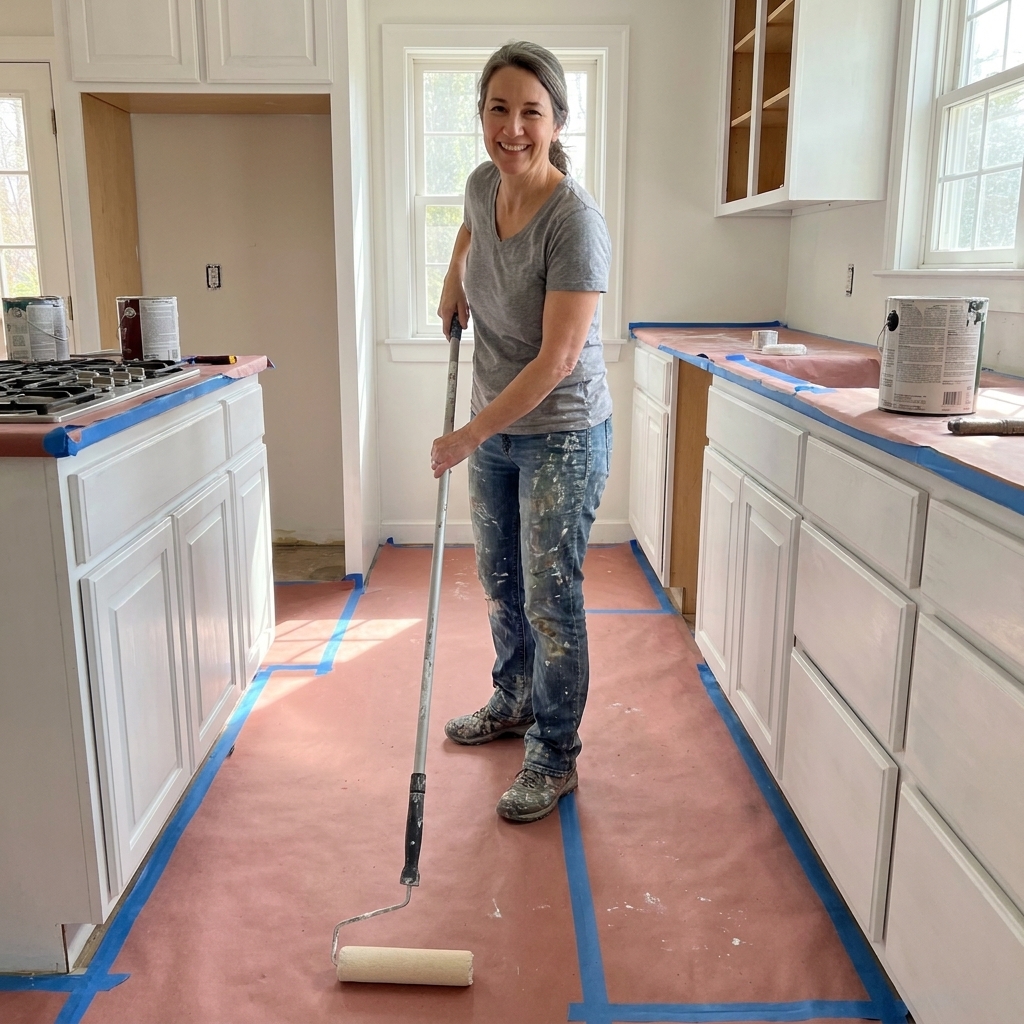
- Rosin paper (often red or brown): commonly more tear-resistant than basic builder’s paper, and a good pick for floors where you will be walking a lot
Neither is “drip-proof” the way plastic is, but both are excellent at preventing scuffs and catching light splatter. The biggest win is that paper lays flat, so you are not fighting wrinkles all day.
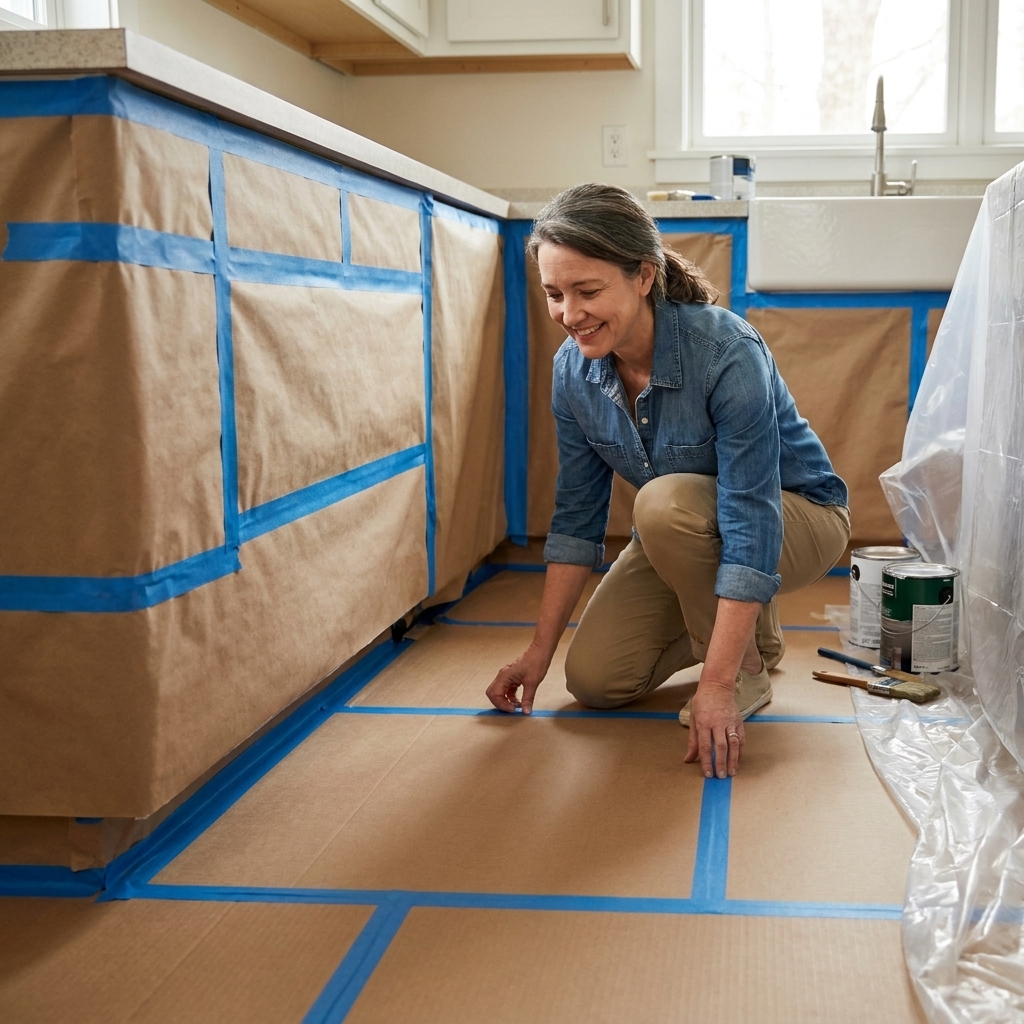
How I tape paper so it does not creep
- Run paper in long strips (fewer seams equals less tripping)
- Tape seams with painter’s tape, then add a strip every 2 to 3 feet along the perimeter
- On tile, press tape into the grout lines so the paper cannot “walk” (and if you have crumbly grout or heavily textured tile, test first)
Important: if you spill a real puddle, replace that section. Once paper is soaked, it tears and transfers paint.
Floor protection boards: when you want zero stress
If you are painting cabinets in a kitchen with hardwood floors you love, or you are spraying and expect more mess, floor protection boards are worth the cost. You will see these sold as floor protection board rolls designed for construction sites. They are stiff, durable, and they stay put once taped. Most are commonly around 36 to 40 inches wide, depending on the brand.
Why boards are so reliable
- They do not tear. Great for stools, ladders, and constant foot traffic.
- They resist soak-through. You have more time to wipe a drip before it becomes a problem.
- They create a flat surface. Easier to carry doors and not snag edges.
Where I use boards in a cabinet project
- Main walkway through the kitchen
- In front of the sink and stove (high-traffic zones)
- Under a door-drying rack area if you are moving pieces in and out
Board tips (so it does not damage your floor)
- Use painter’s tape for edges on finished wood floors
- If you need more grip, tape seams with a stronger tape on top of the board, not directly on delicate flooring
- Keep the surface clean. Grit under any cover can scratch when you walk on it
- If your floors are freshly refinished or still curing, avoid plastic directly on them. It can trap moisture and sometimes stick
What about felt-backed plastic drop cloths?
Felt-backed plastic (sometimes called leakproof drop cloths) is the hybrid a lot of DIYers land on, and I understand why. You get a bit of absorbency from the felt and a moisture barrier from the plastic.
When they are a good choice
- Small kitchens where you need quick coverage
- Short projects where you are not dragging ladders around
- Areas where you want spill resistance but still need some grip
The watch-outs
- If the felt side gets saturated, it can still transfer moisture
- Cheap versions can bunch up and curl at the edges
If you already own one, use it. If you are buying new for a full cabinet repaint, I would still prioritize canvas plus paper or a floor protection board for the main traffic lane.
Countertops and islands: protect from drips and from you
Floors are only half the story. Countertops take a beating during cabinet projects because we use them as a landing pad for everything.
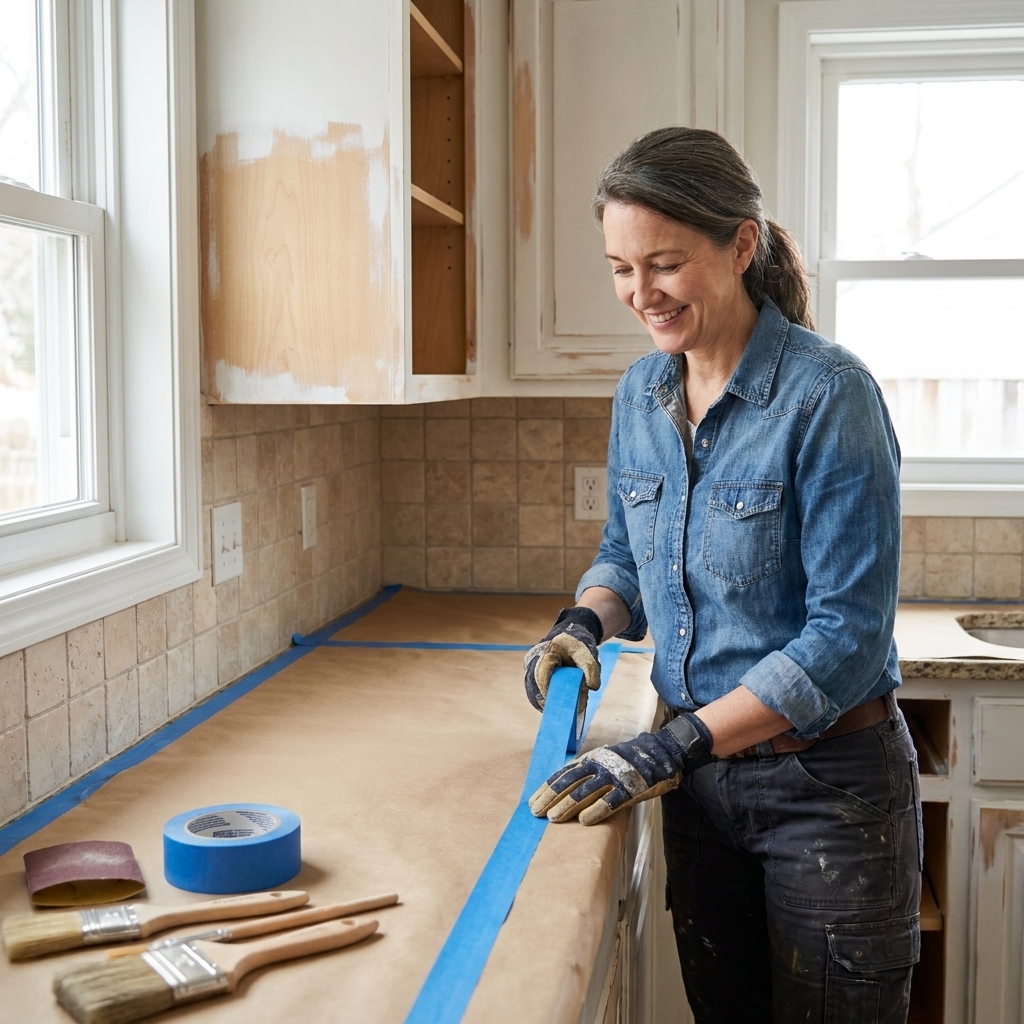
My countertop protection stack
- Builder’s paper or kraft paper taped at the edges
- Optional plastic sheet on top if I am dealing with water, deglosser, or stripping (only in controlled zones)
- A “clean zone” tray where tools can sit without touching the paper directly
If you put plastic on top, remember this: paint can stay wetter longer on plastic. So if you are setting a brush down on the counter, skip the plastic and stick with paper.
One more caution: deglossers and strippers can be rough on certain flooring and countertop materials. I always check the product label, and I keep chemicals off the floor entirely if I can.
My go-to setups (pick the one that matches your project)
1) Brushing and rolling cabinet frames
- Canvas drop cloth across the whole work zone
- Rosin paper runner in front of the cabinets where you will stand most
- Extra paper under the paint tray and where you cut in near toe kicks
2) Spraying doors in the kitchen (only if you must)
- Floor protection boards for the entire spray zone
- Plastic sheeting on vertical surfaces and openings to block overspray
- Paper over boards where you expect heavy drip (replace as needed)
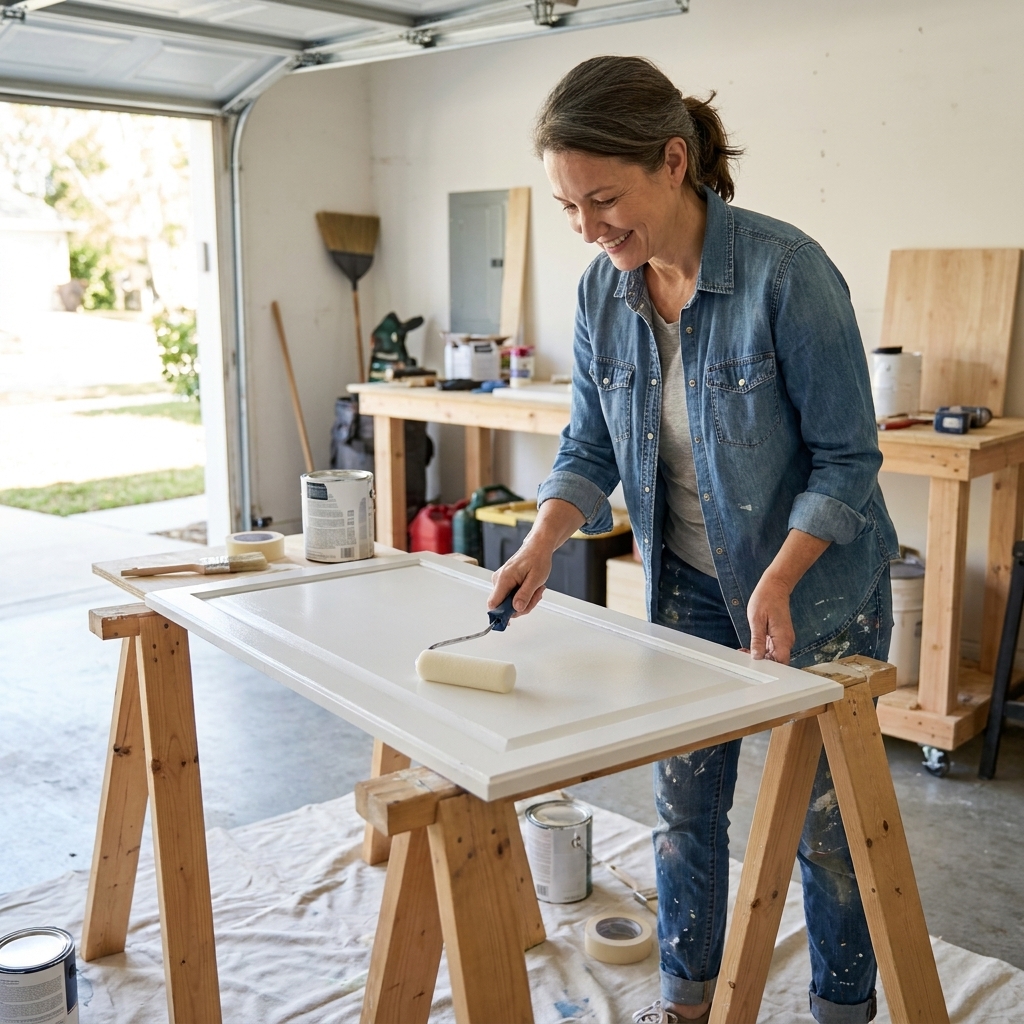
If you can spray in a garage or shed instead, do it. Spraying inside is doable, but it multiplies the protection and cleanup work.
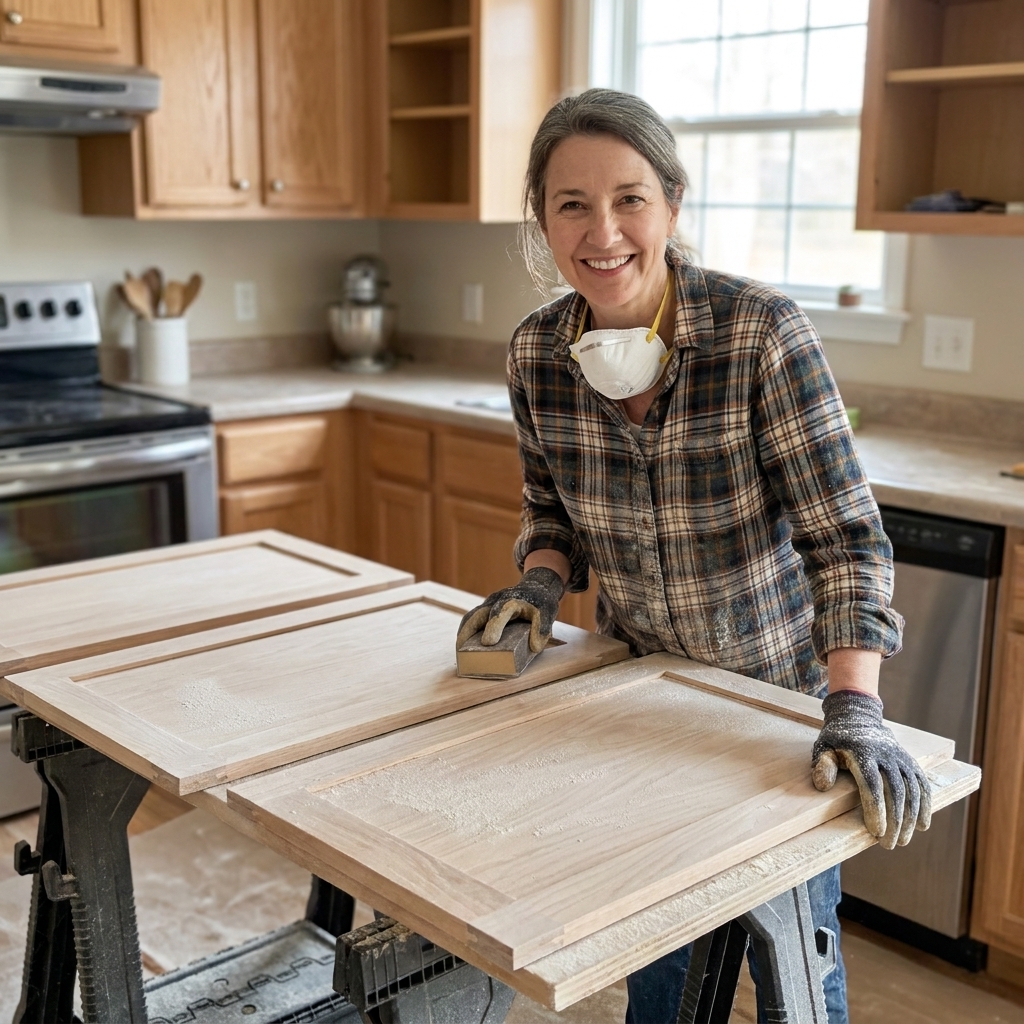
3) Sanding day (dust control)
- Paper or boards on the floor
- Plastic taped over doorways and cabinet openings (zippered doorway kits are great if you have one)
- Vacuum often so grit does not get ground into your floors
Dust control: stop it from traveling
Sanding dust is sneaky. It does not just fall straight down, it rides air currents and ends up in adjacent rooms.
- Cover or avoid returns. Do not let dust get pulled into an HVAC return. If you must work near one, cover it with filter media and tape the edges so it seals (and remove it as soon as you are done).
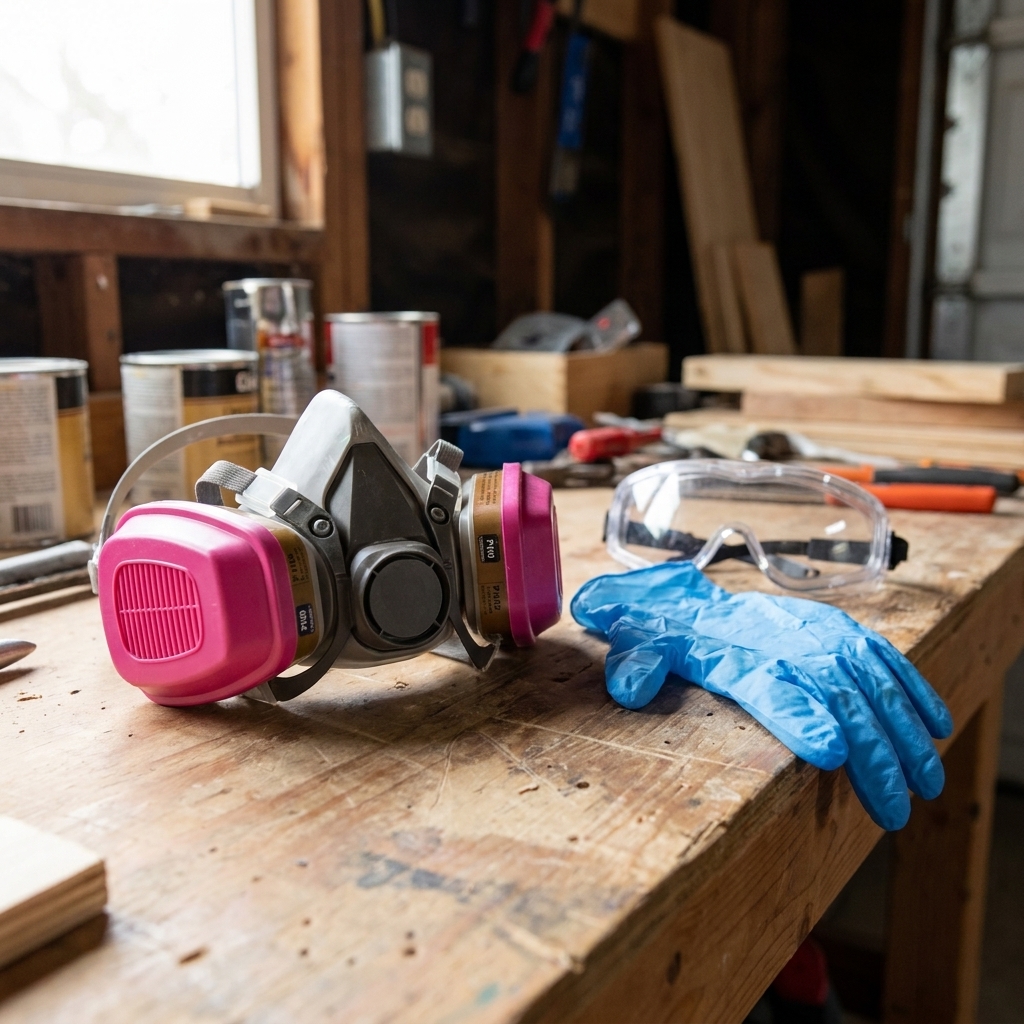
- Create gentle airflow. A box fan in a window blowing out, plus a cracked window on the other side of the space, helps pull dust and fumes out. (If you are spraying, follow the sprayer and coating safety guidance for ventilation.)
- Clean as you go. A quick vacuum pass between steps keeps grit from becoming floor sandpaper under your drop cloth.
Common floor types: what I recommend
Hardwood
Hardwood is where I spend my protection budget. Use floor protection boards or a thick canvas base plus rosin paper. Keep grit under control, and avoid aggressive tape directly on delicate finishes.
Tile
Tile is durable, but grout lines can make paper shift. Use canvas underneath, tape paper seams well, and watch for curled edges around transitions.
Vinyl and laminate
These floors can scratch easily and can sometimes react to strong solvents. Use canvas or boards, and wipe spills quickly. If you are using deglosser, keep it off the floor entirely.
How to tape without leaving a mess
- Use painter’s tape, not duct tape. Duct tape can leave adhesive and can pull finish.
- Press tape down firmly. Most “failures” are edges lifting and letting drips sneak under.
- Do not leave tape for weeks. If your cabinet project is longer, replace tape every several days, especially in sunlit kitchens.
- Test first. On older hardwood or unknown finishes, test tape in an out-of-the-way spot for a few hours.
Removing protection without damage
End-of-project cleanup is where people accidentally pull up finish or leave adhesive behind.
- Pull tape back on itself at a low angle, slowly.
- Do it sooner rather than later. Tape is easier to remove cleanly after the work session than after it bakes on for days.
- If it feels stuck, warm it slightly. A hair dryer on low can soften adhesive. Keep it moving and do not overheat the surface.
FAQ
Do I need canvas if I already have plastic?
For floors, I strongly prefer canvas (or boards) as the base. Plastic is fine for covering appliances and blocking dust, but it is slippery and tends to shift underfoot.
Will enamel paint come off my tile or wood floor?
Sometimes, but do not count on it. Once enamel cures, it can be stubborn. Your best strategy is prevention, then immediate cleanup of drips before they set.
Is newspaper okay for floor protection?
I skip it. It tears easily, ink can transfer, and it does not tape as neatly as rosin or builder’s paper.
What is the single biggest mistake with floor protection?
Leaving gaps at the edges. Most drips land right where you stand, and they love to sneak under a loose edge near the toe kick. Tape your edges like you mean it.
My bottom line
If you want a simple, reliable answer: lay down canvas first, then use rosin paper or a floor protection board where you will actually work and walk. Save plastic for vertical coverage and dust control. That combo has kept my floors safe through plenty of enamel, plenty of primer, and more than a few “oops” moments.